David Herron
Tags: Panasonic Lumix Cameras »»»» Digital Camera Repair »»»»
In this article I have two Lumix DMC-ZS25's, one with a broken LCD display, the other with "System Error (Zoom)". With luck both cameras can be fully restored, but to start I'll swap the good LCD display into the camera that is otherwise fine, and maybe later I'll work on the Zoom Error camera.
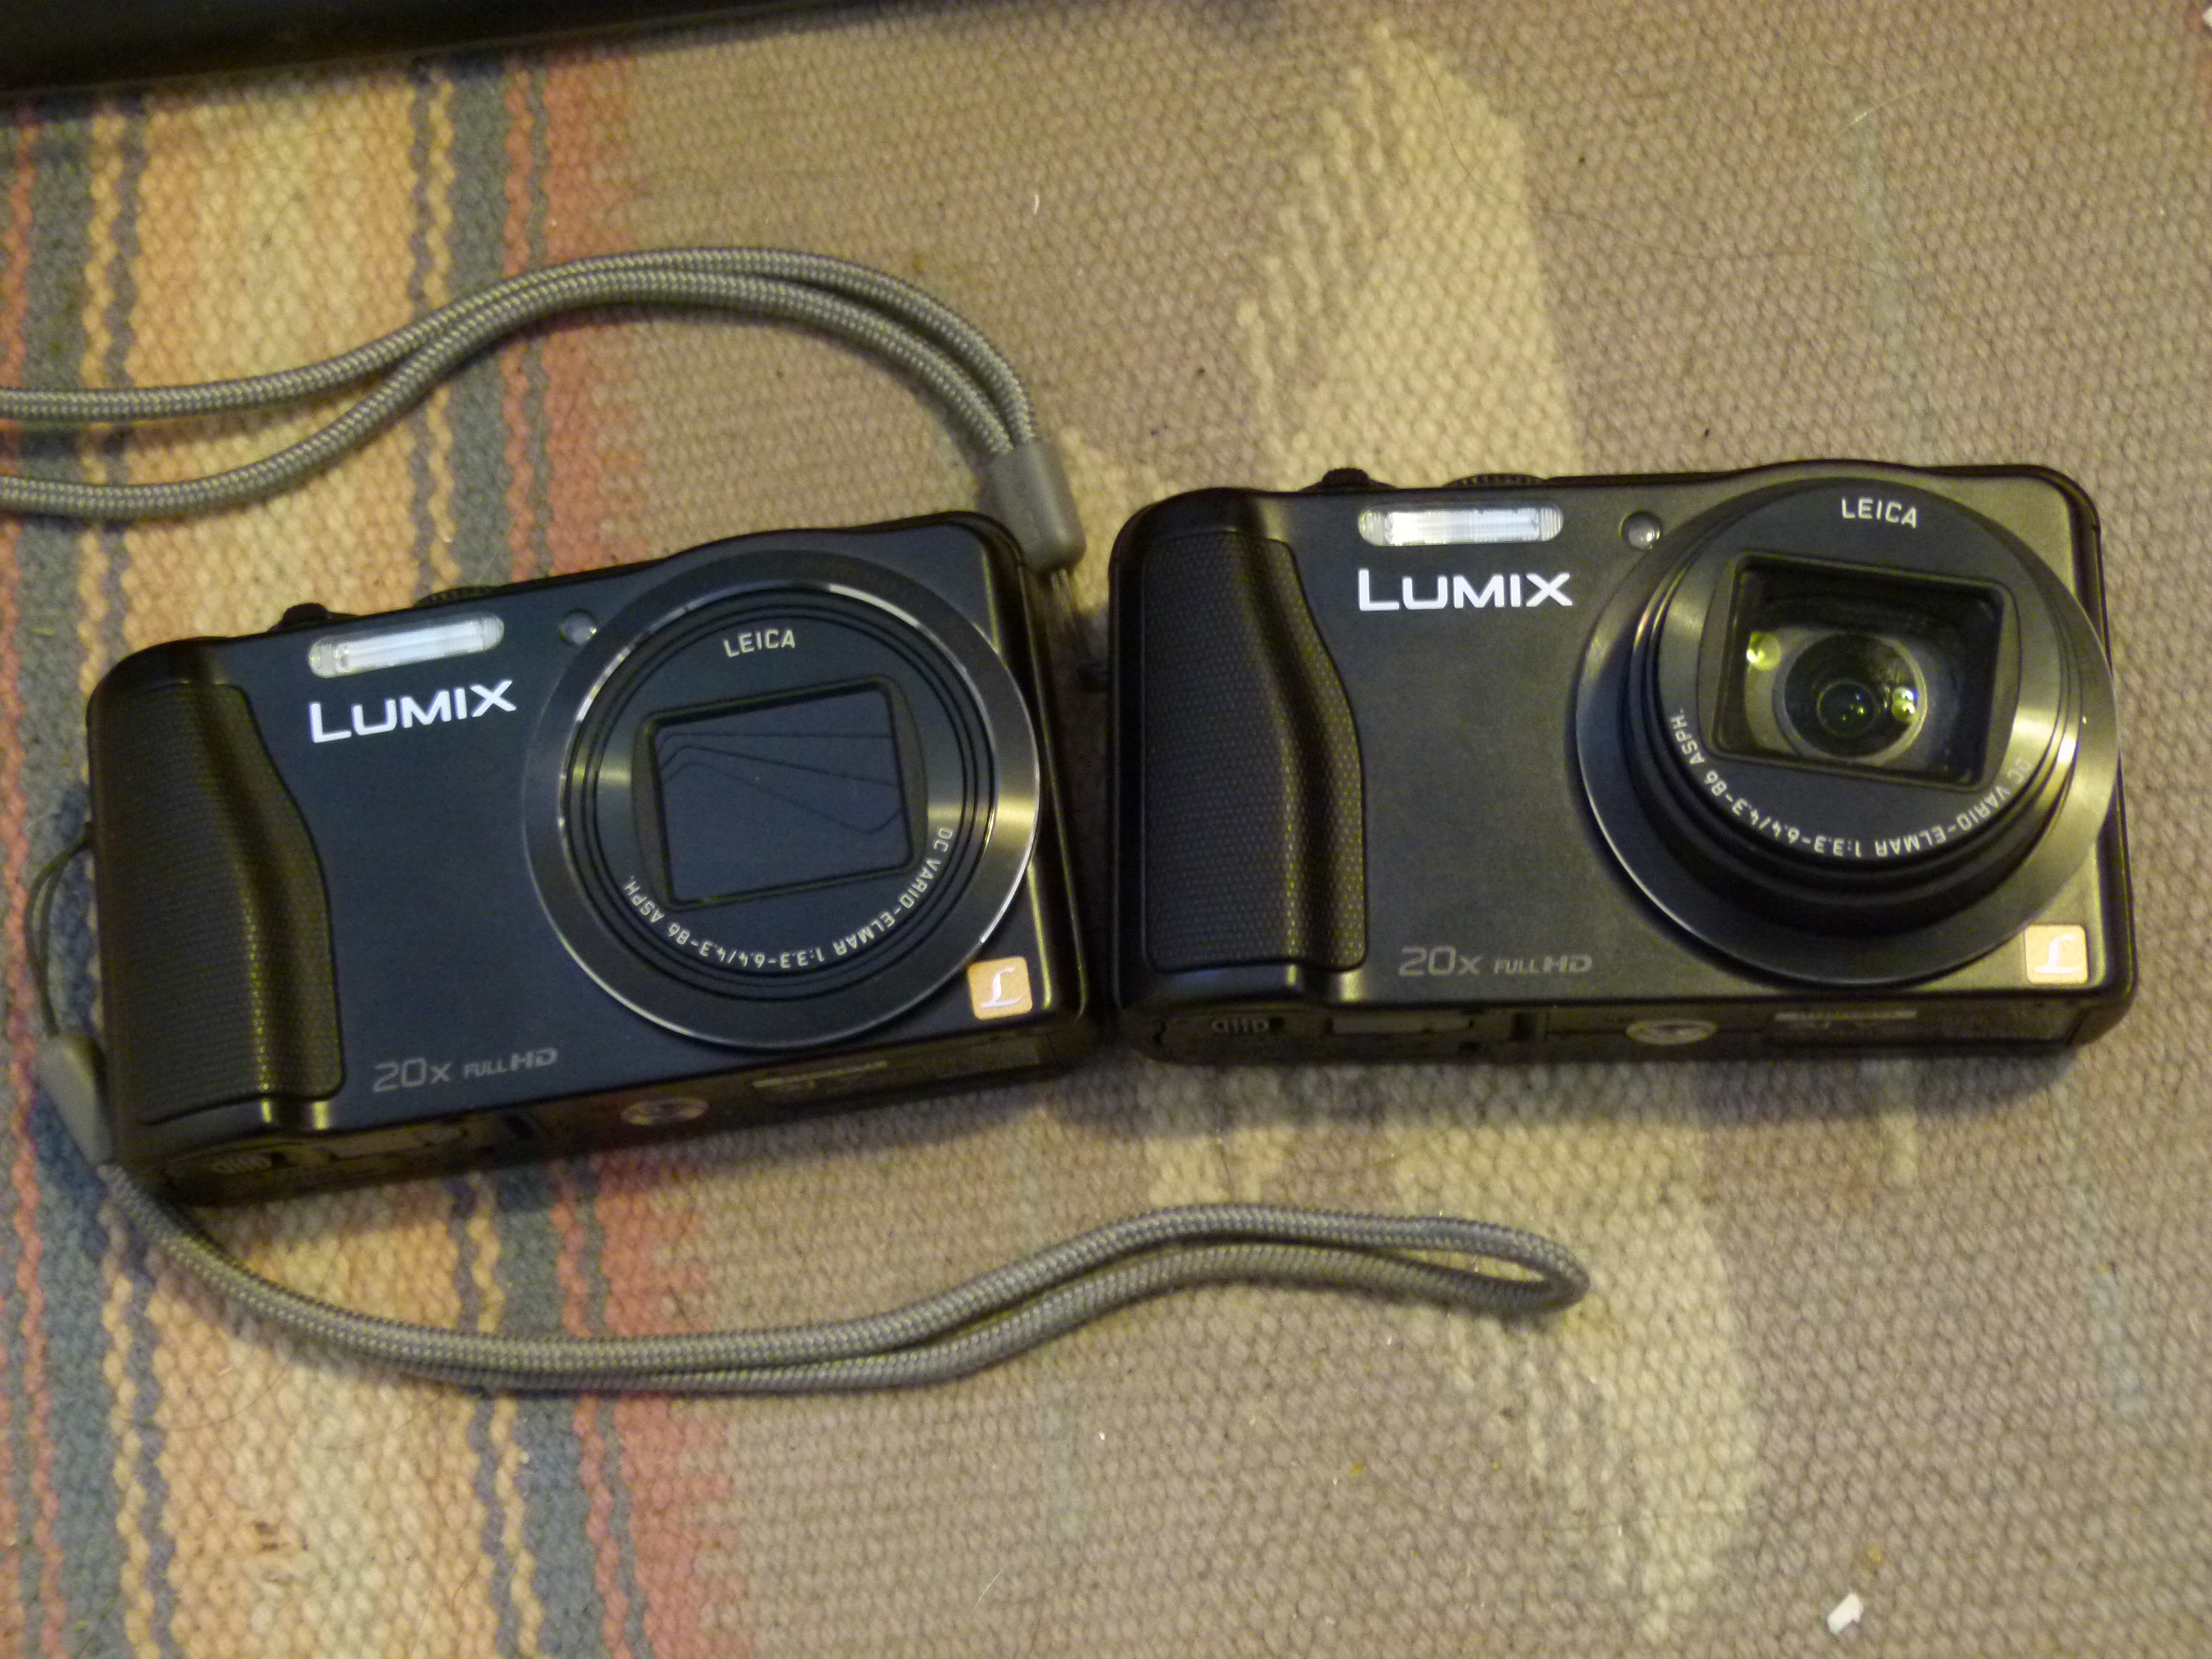
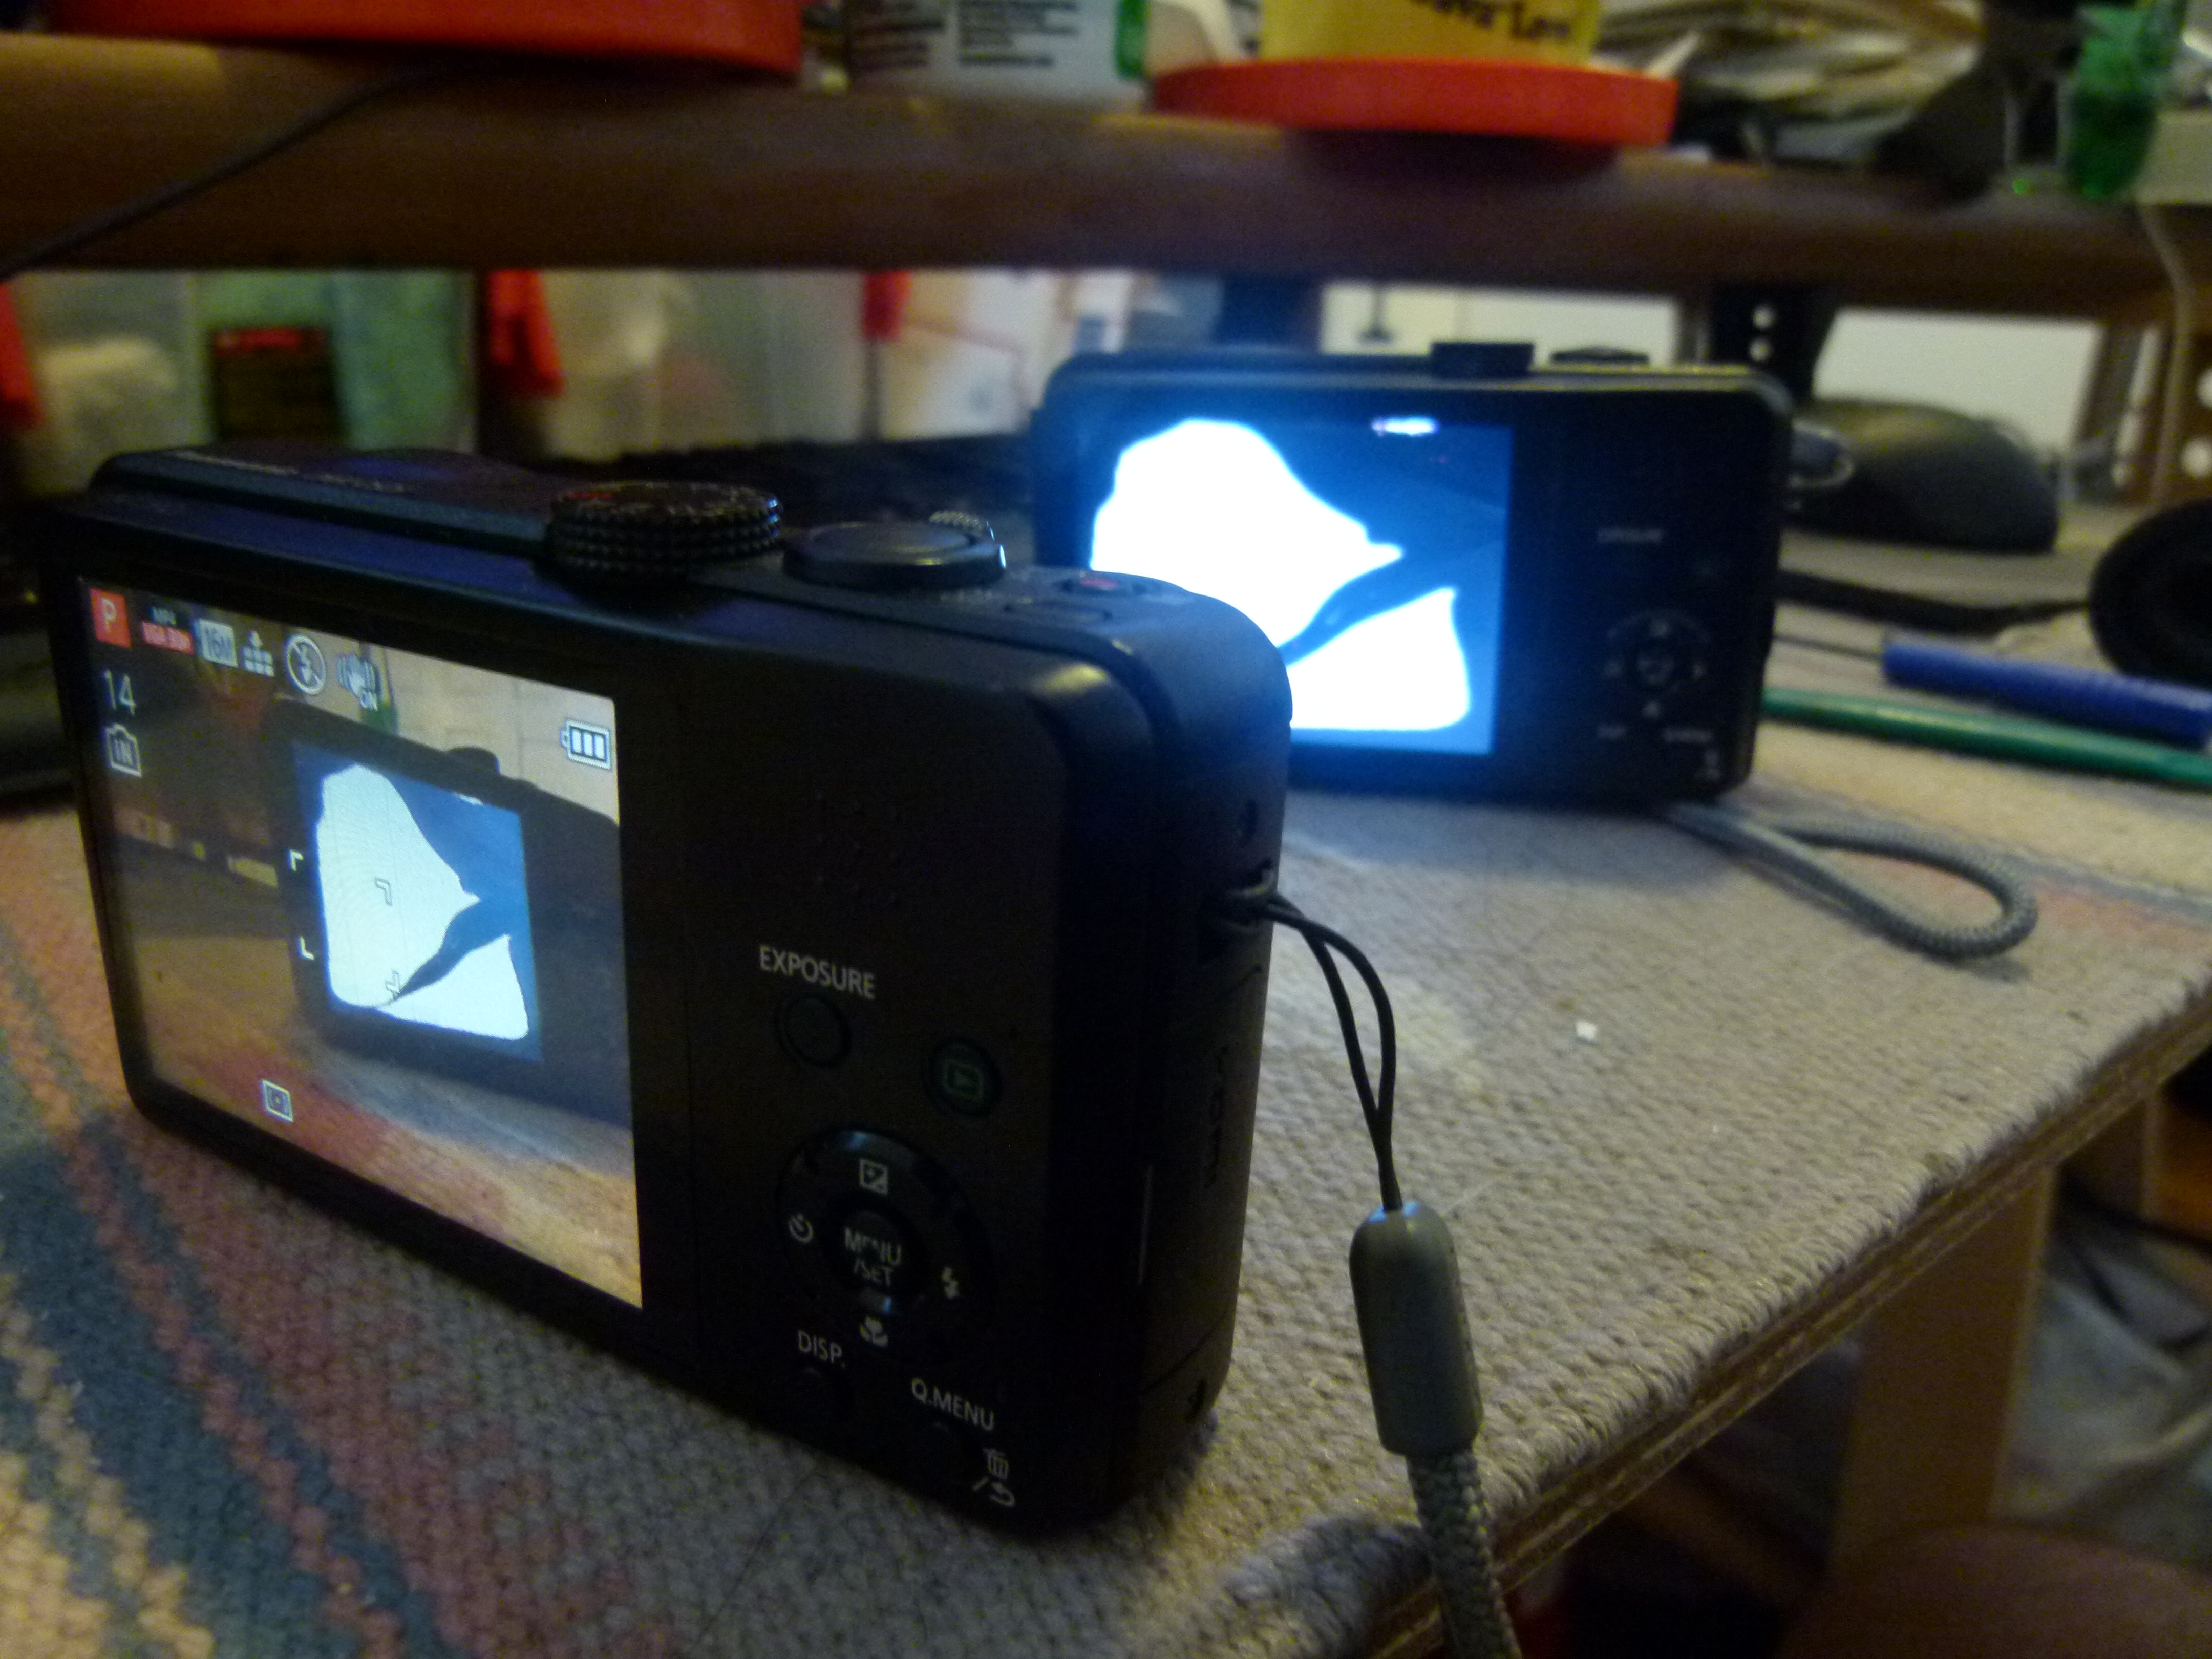
Let's first orient ourselves to the two cameras. Above we have them side-by-side. What may not show up in the picture is that physically both cameras are in excellent pristine condition. The one camera has its lens extended, which is a side effect of the System Error (Zoom) problem.
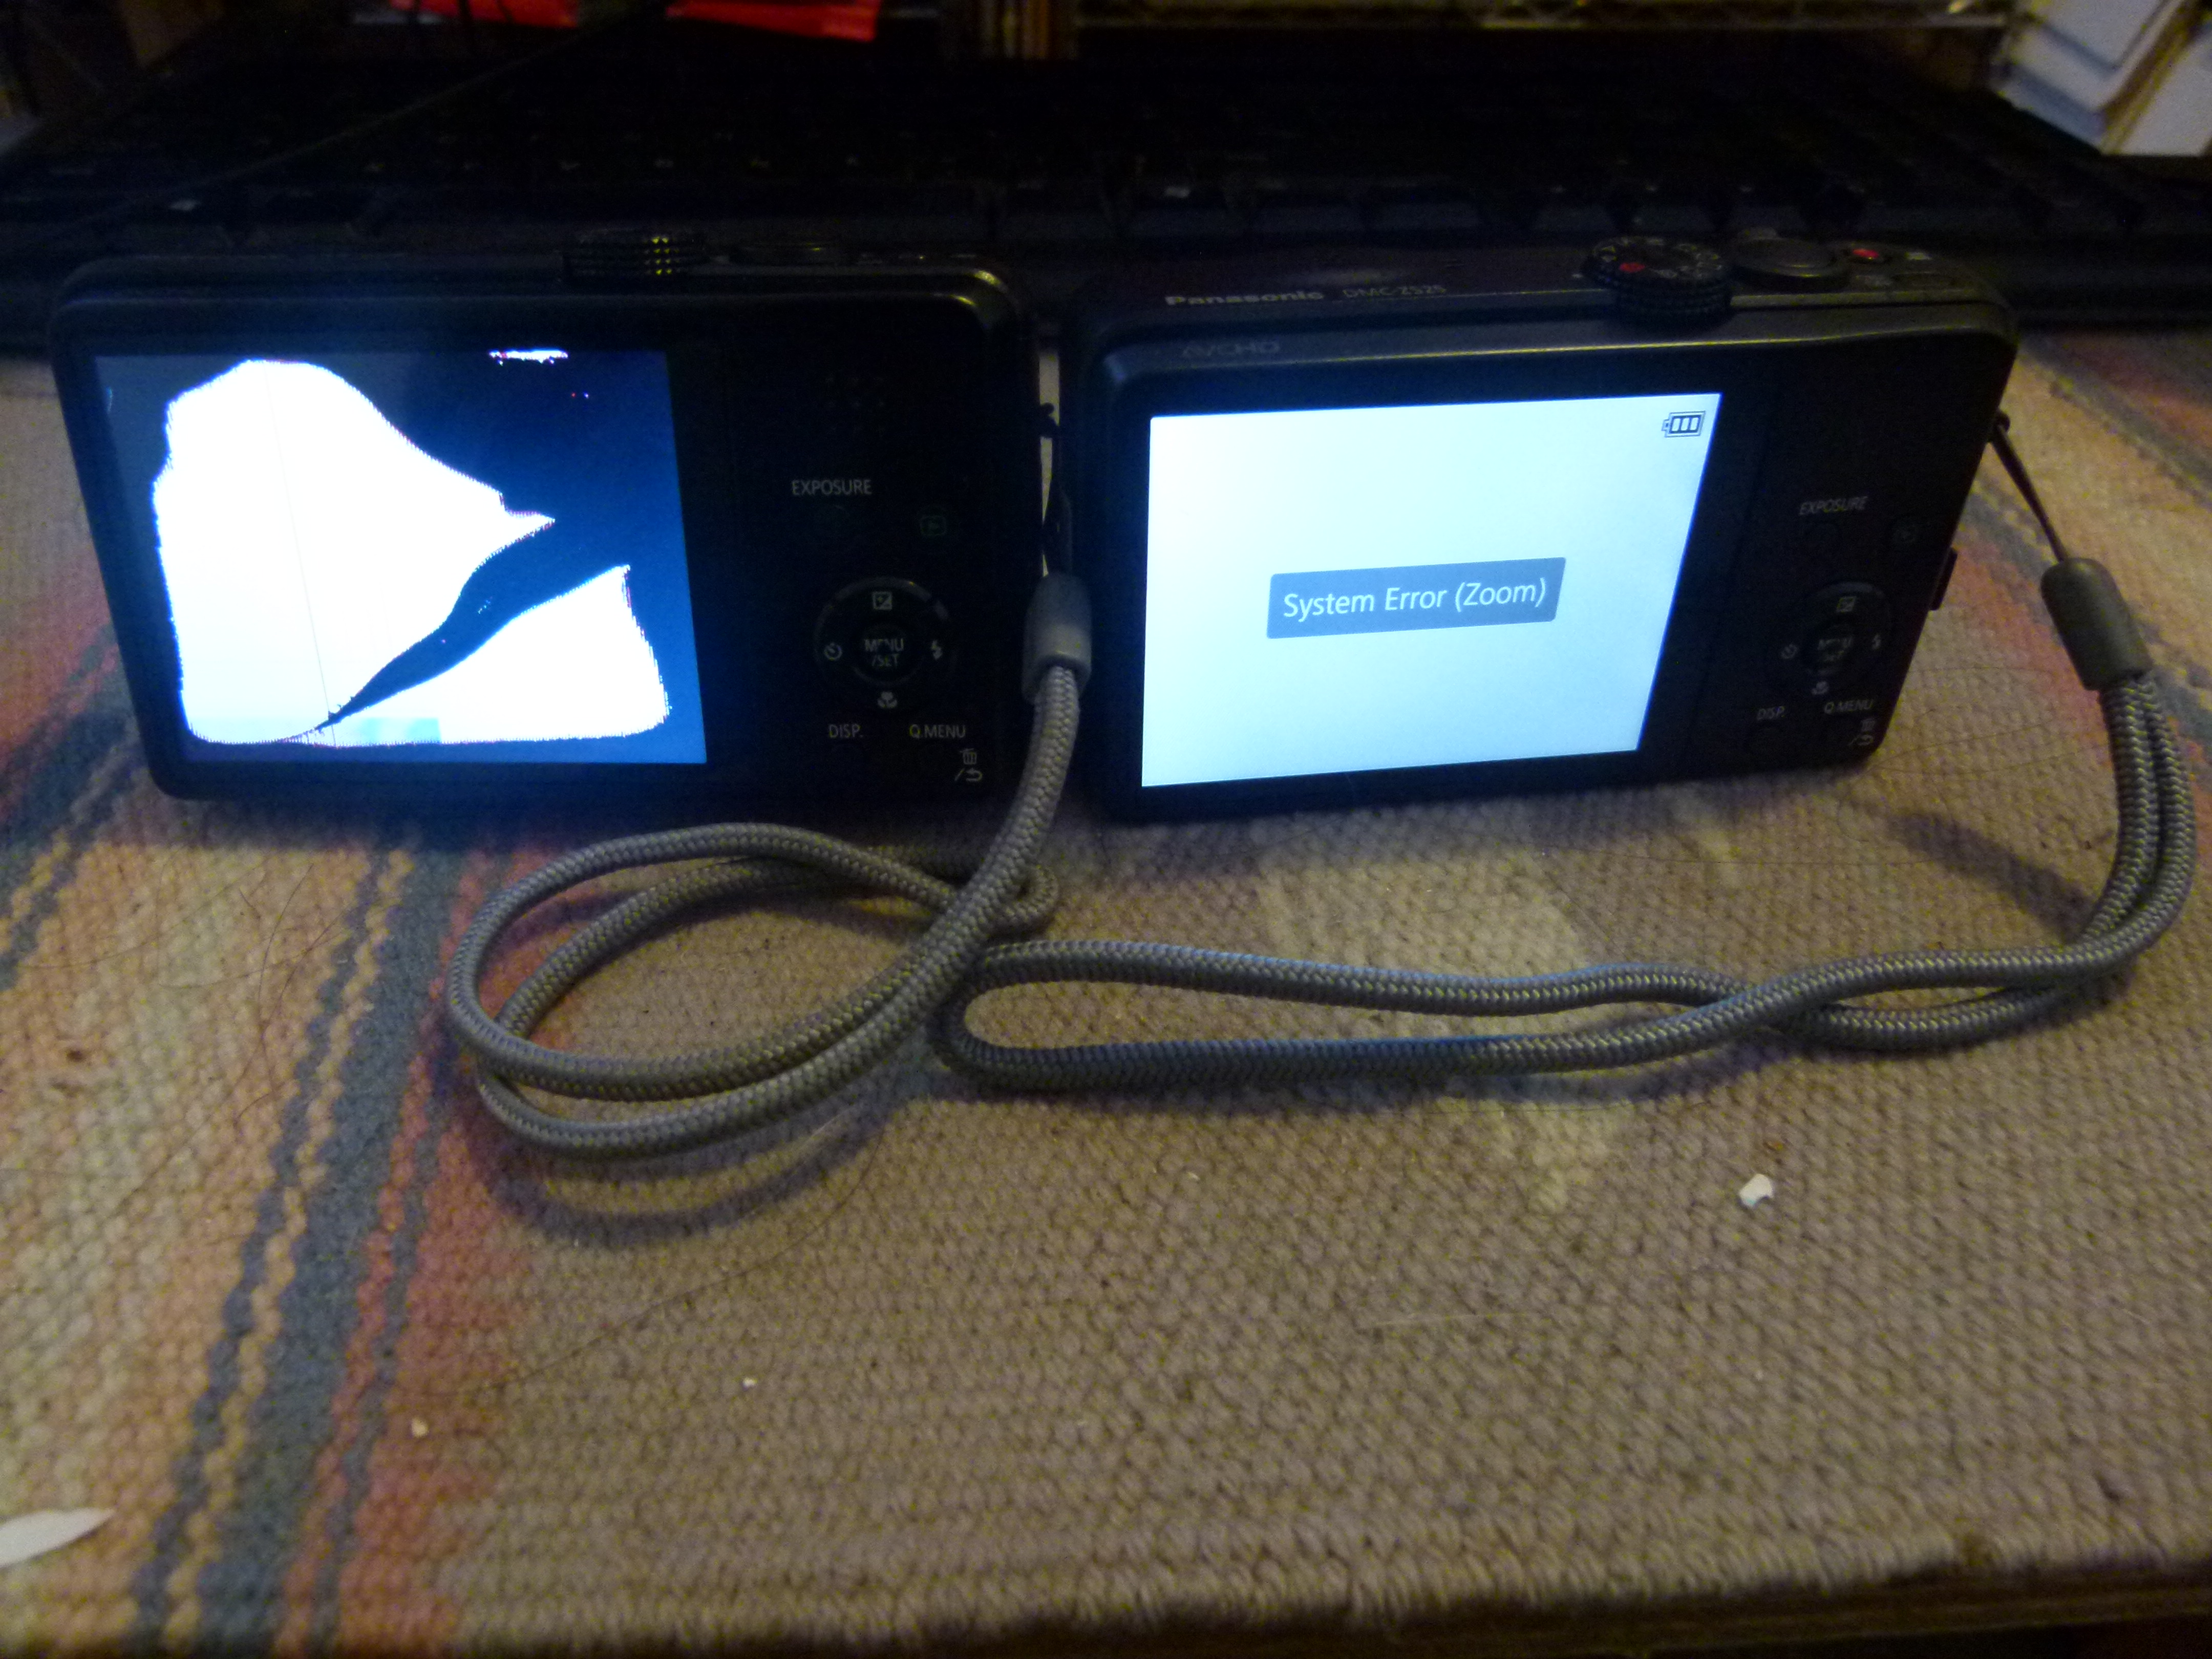
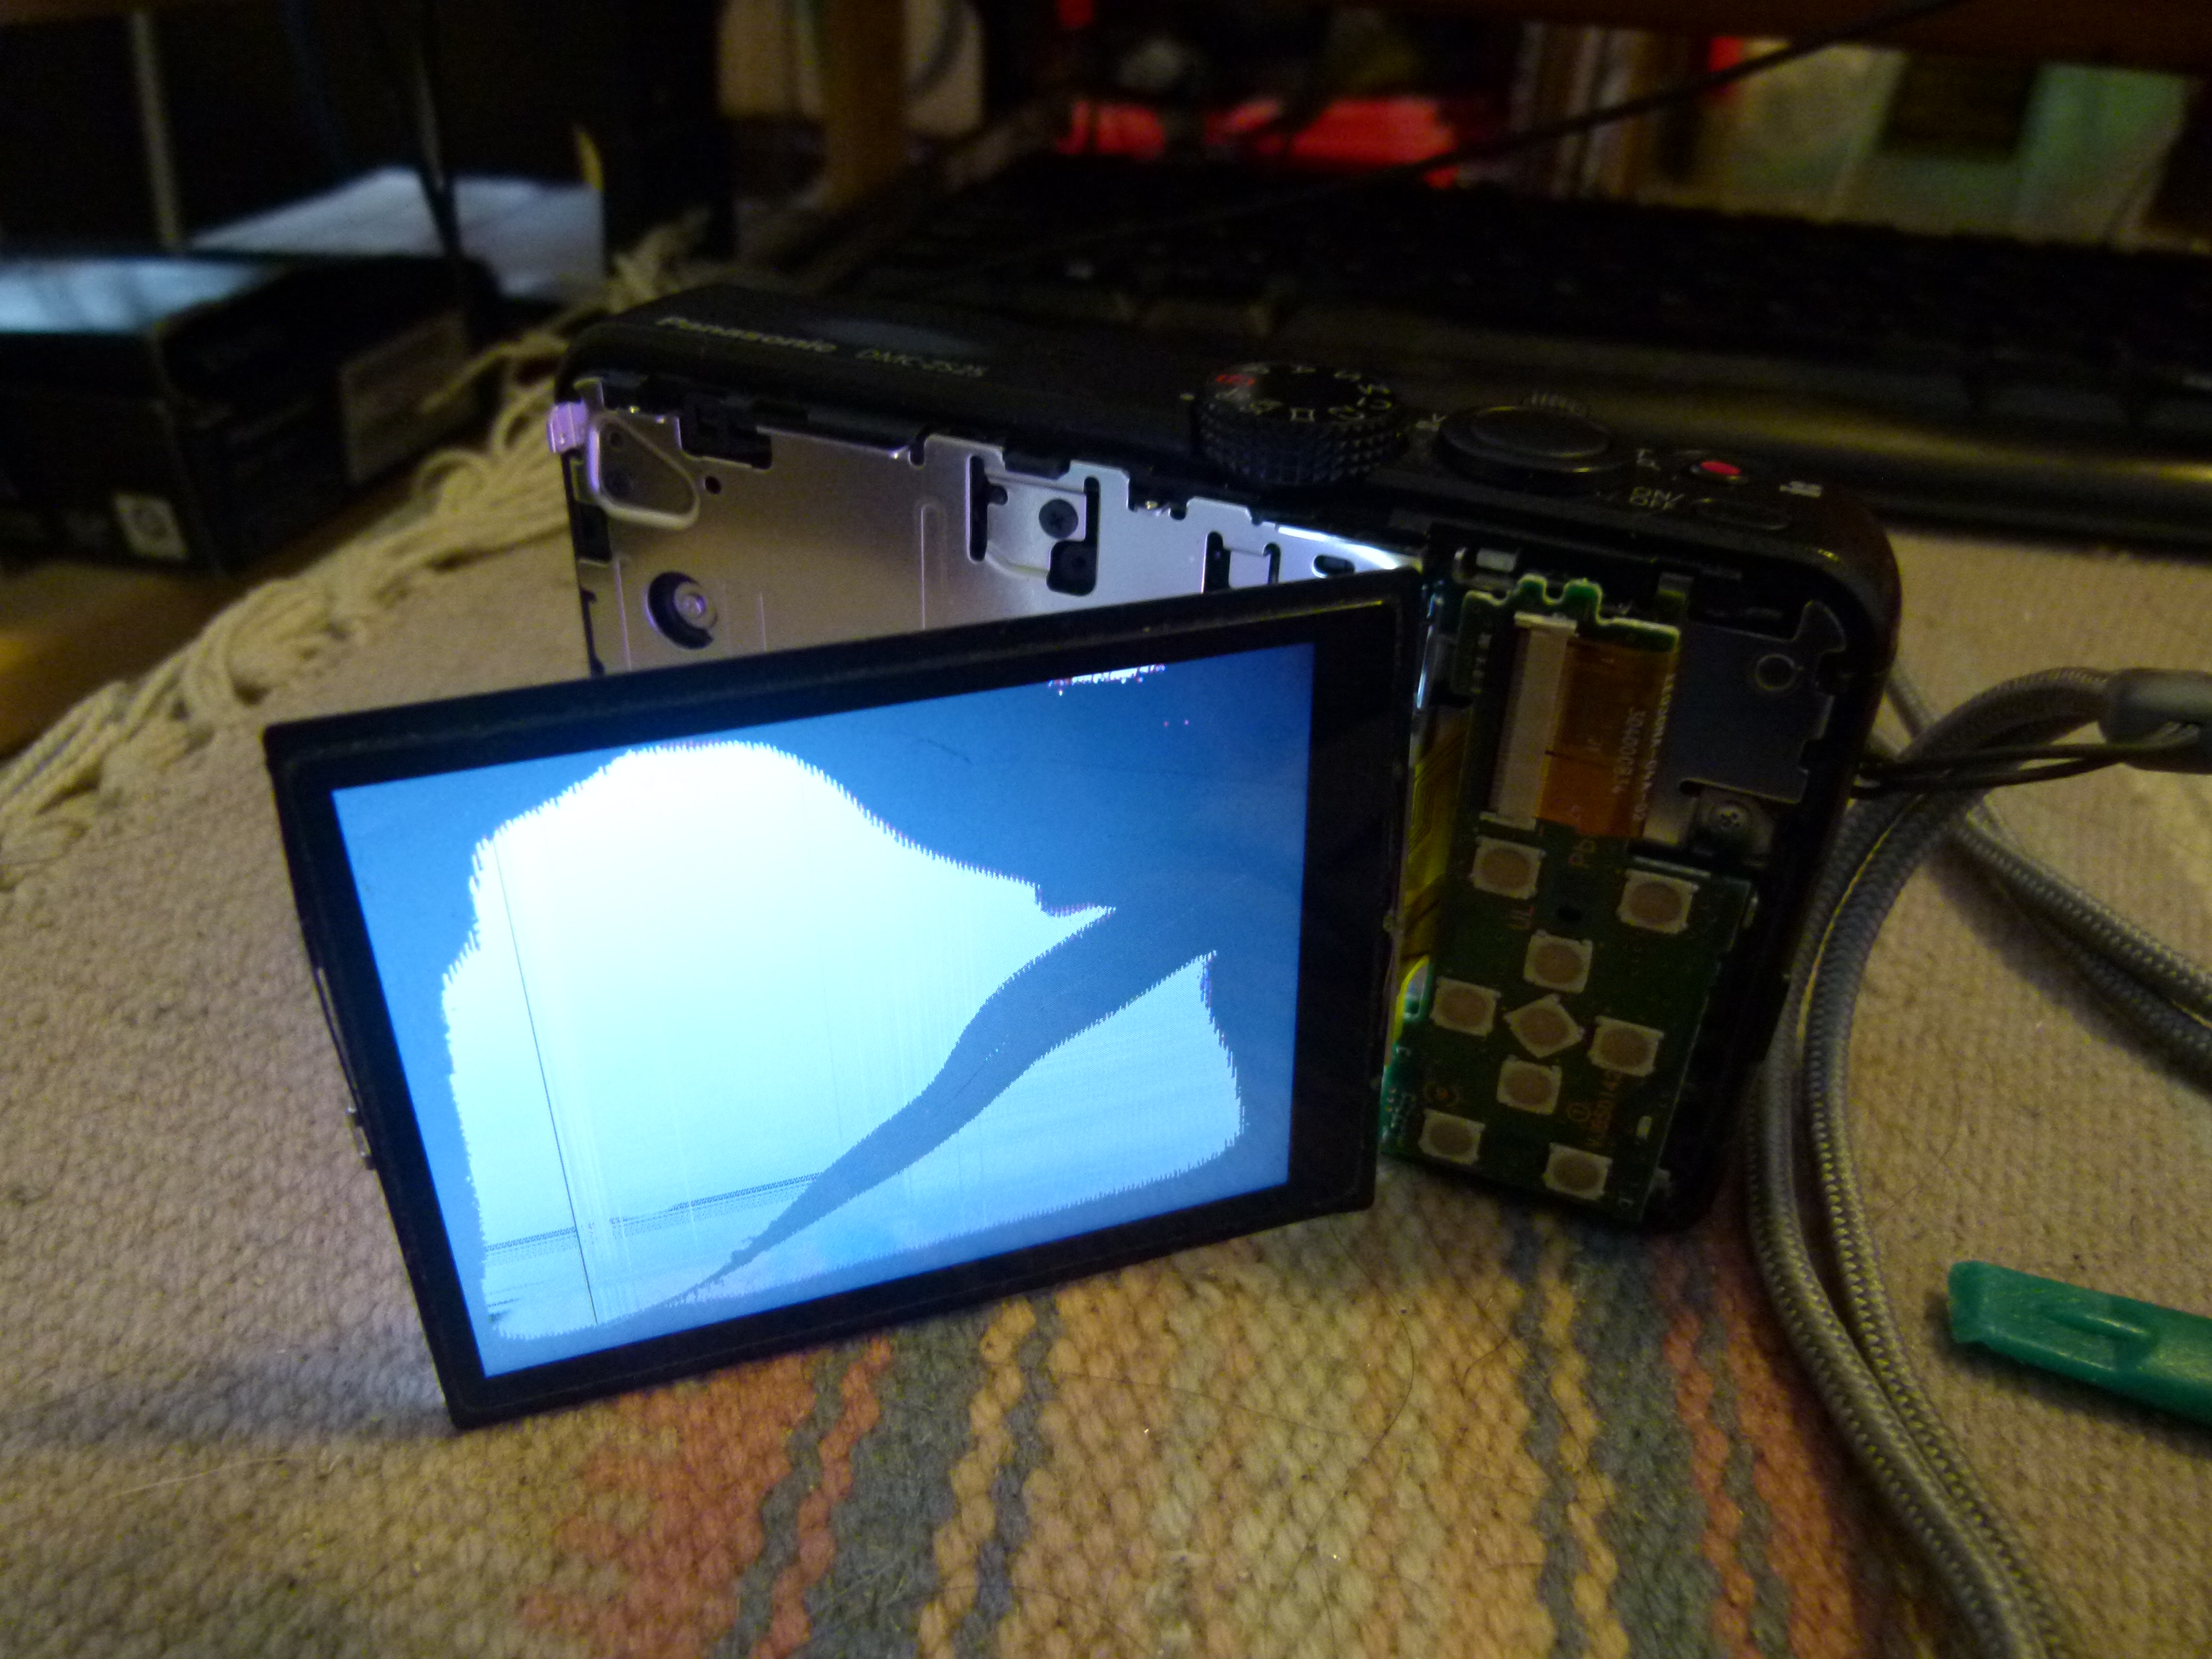
Here we see the error indications. The LCD display is clearly messed up on the left-hand camera, and the right-hand camera has the System Error (Zoom) indication.
I recently worked on a pair of DMC-ZS19's to resolve the Zoom Error issue. In that case the lens did not zoom at all, and I was able to determine the stepper motor for the zoom function was not getting power. Since I had two ZS19's, I merged parts from the two lenses to produce one working lens. In this case the lens does zoom a little bit, but the body of the lens is loose. Hence it seems someone dropped this camera on the lens or otherwise mushed the lens. To see whether it can be fixed will require disassembly, which I'll do some other day.
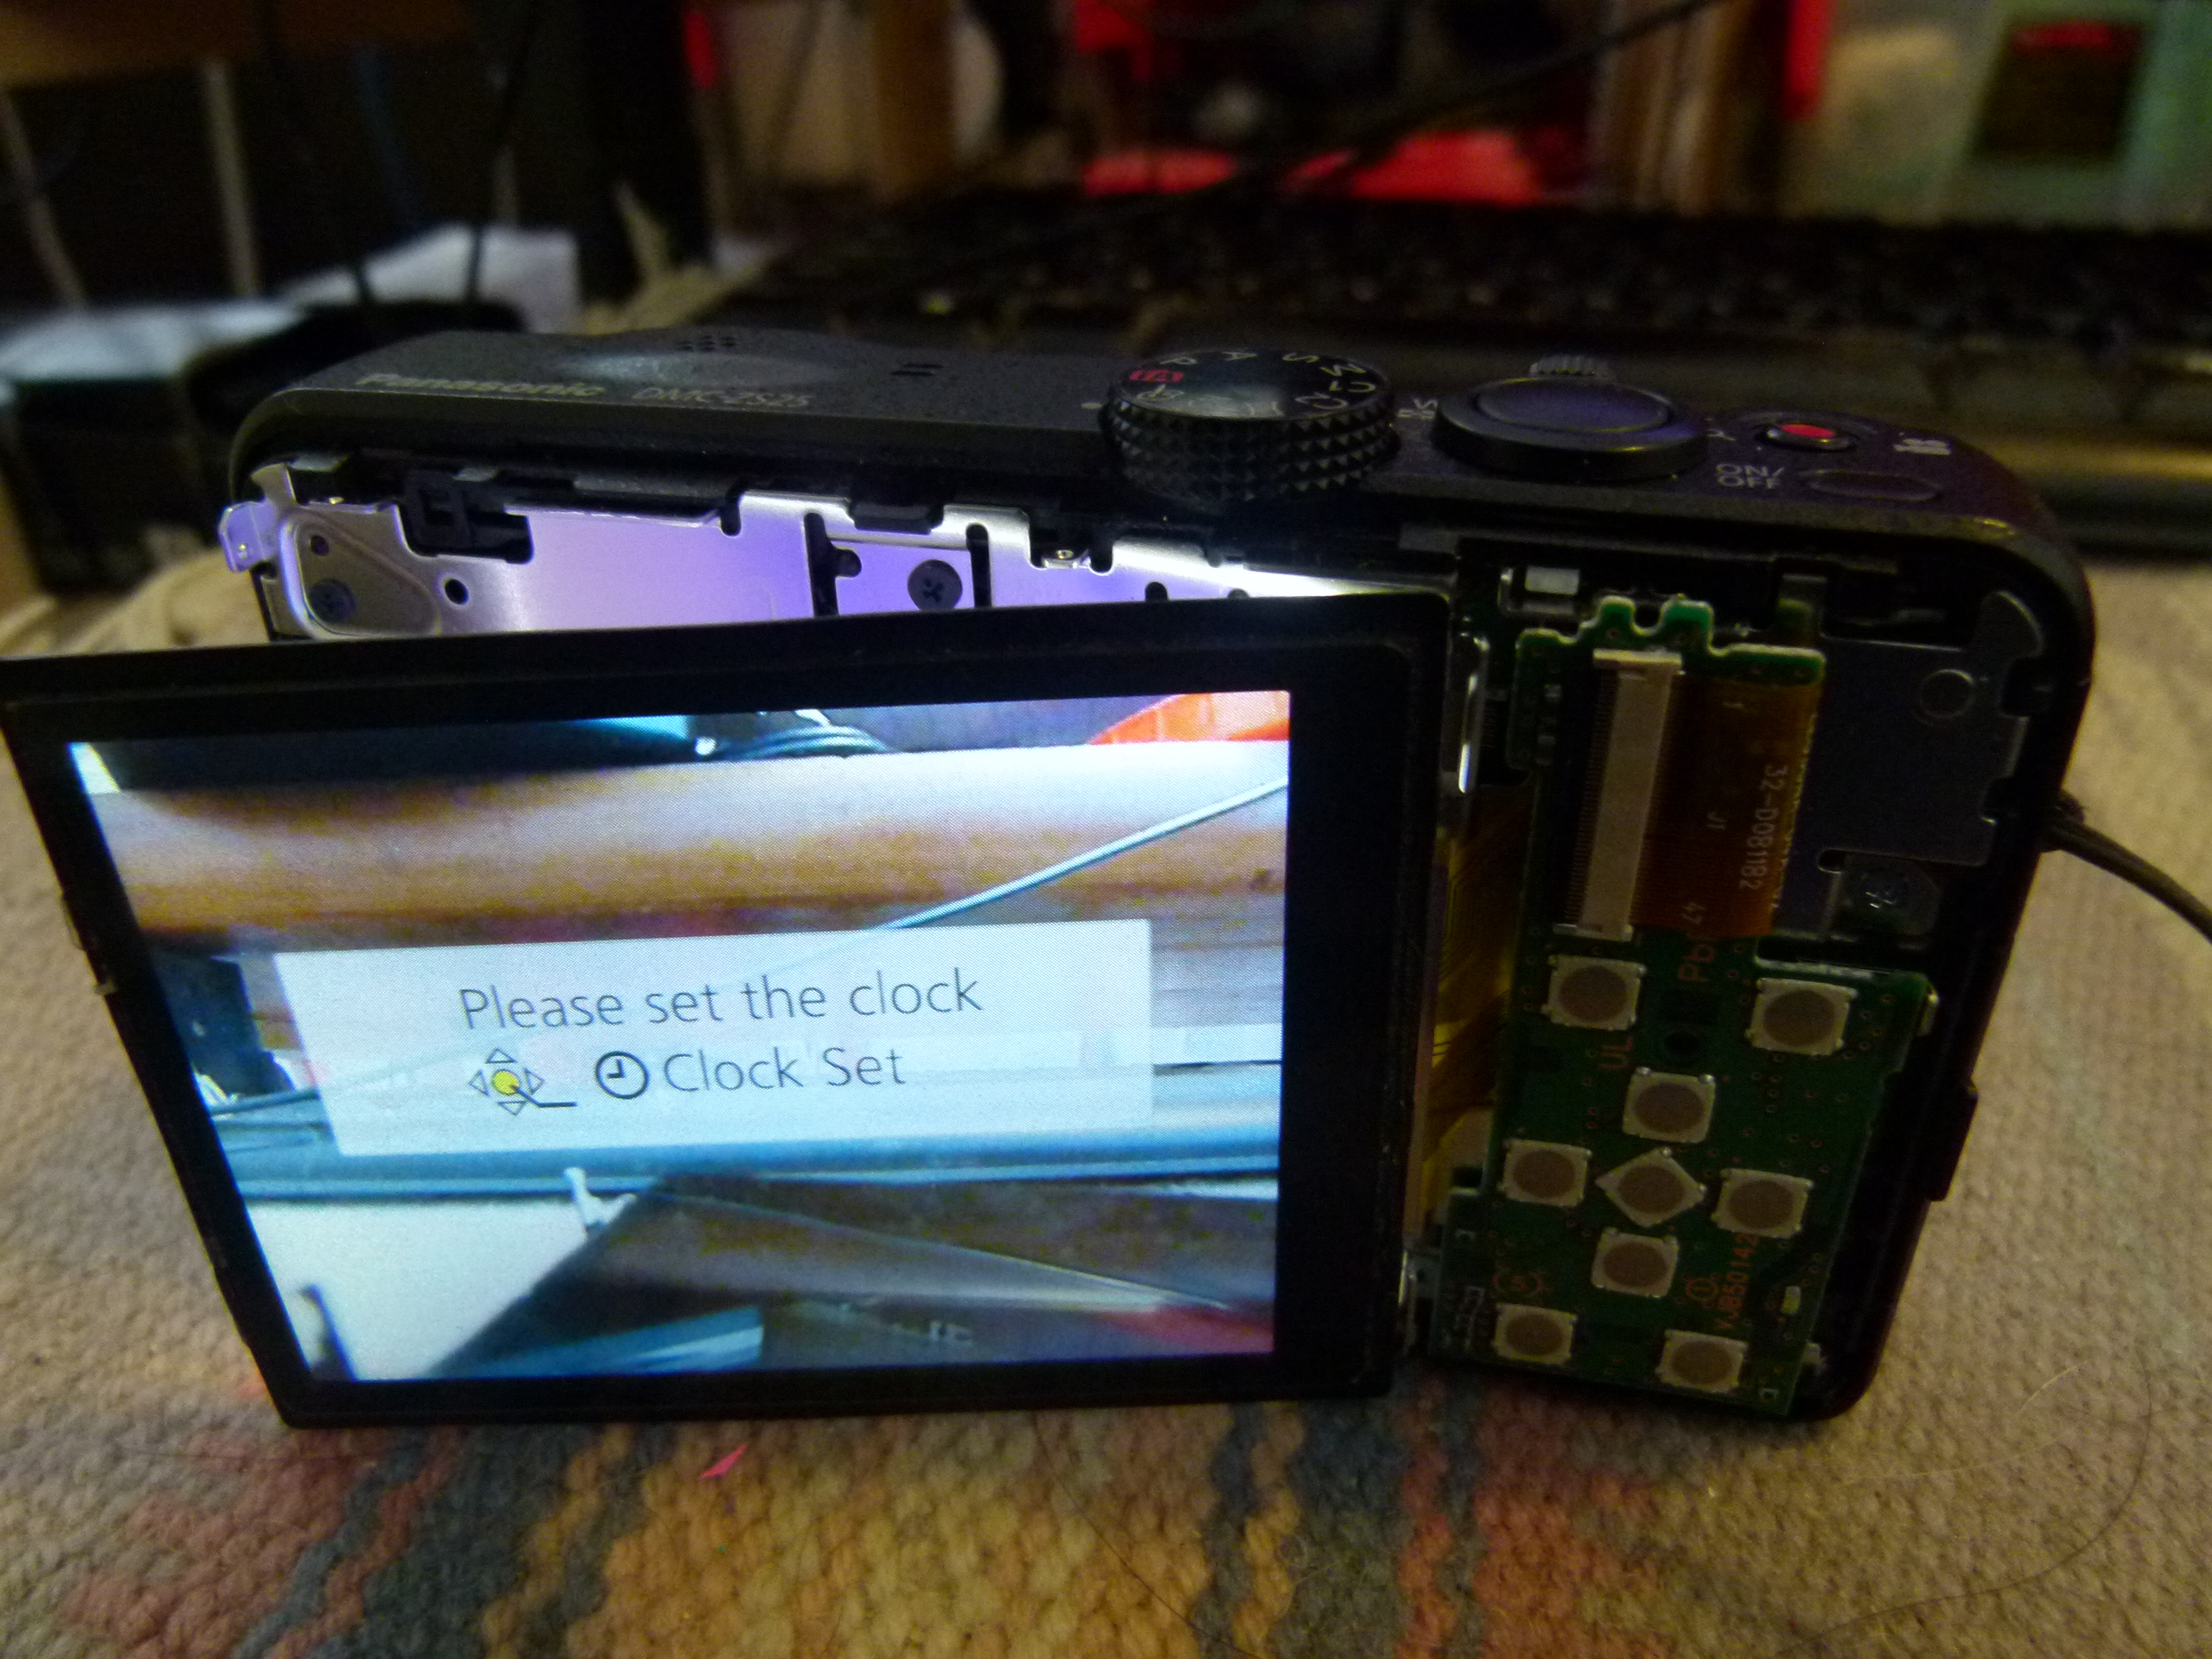
Turning back to the camera with the messed up display, it seems possible it is otherwise functioning. For instance we can see a little bit of the scene in the LCD indicating the camera is capturing images and is otherwise working.
Therefore we can swap the LCD display from one ZS25 to the other and maybe the left-hand camera will work correctly.
The teardown procedure for the ZS25 is very similar to the ZS19. See Extracting lens unit from Panasonic Lumix DMC-ZS19 - partial teardown
Why did I get two cameras? I actually have a standalone LCD display on its way as well, and certainly I could have bought just the LCD display and not have a second camera to repair. But I got to thinking about the economics as discussed with the writeup of the ZS19 Zoom Error repair. Namely - the second camera was about the price being charged for an LCD display, and after using its LCD display there may be sellable parts left over.
The costs were:
- Bad LCD camera: Bought in an auction for about $12
- Zoom Error camera: Bought from eBay for $47 (including shipping)
- LCD Display: Bought from eBay for about $39 (including shipping) - This display is still en-route
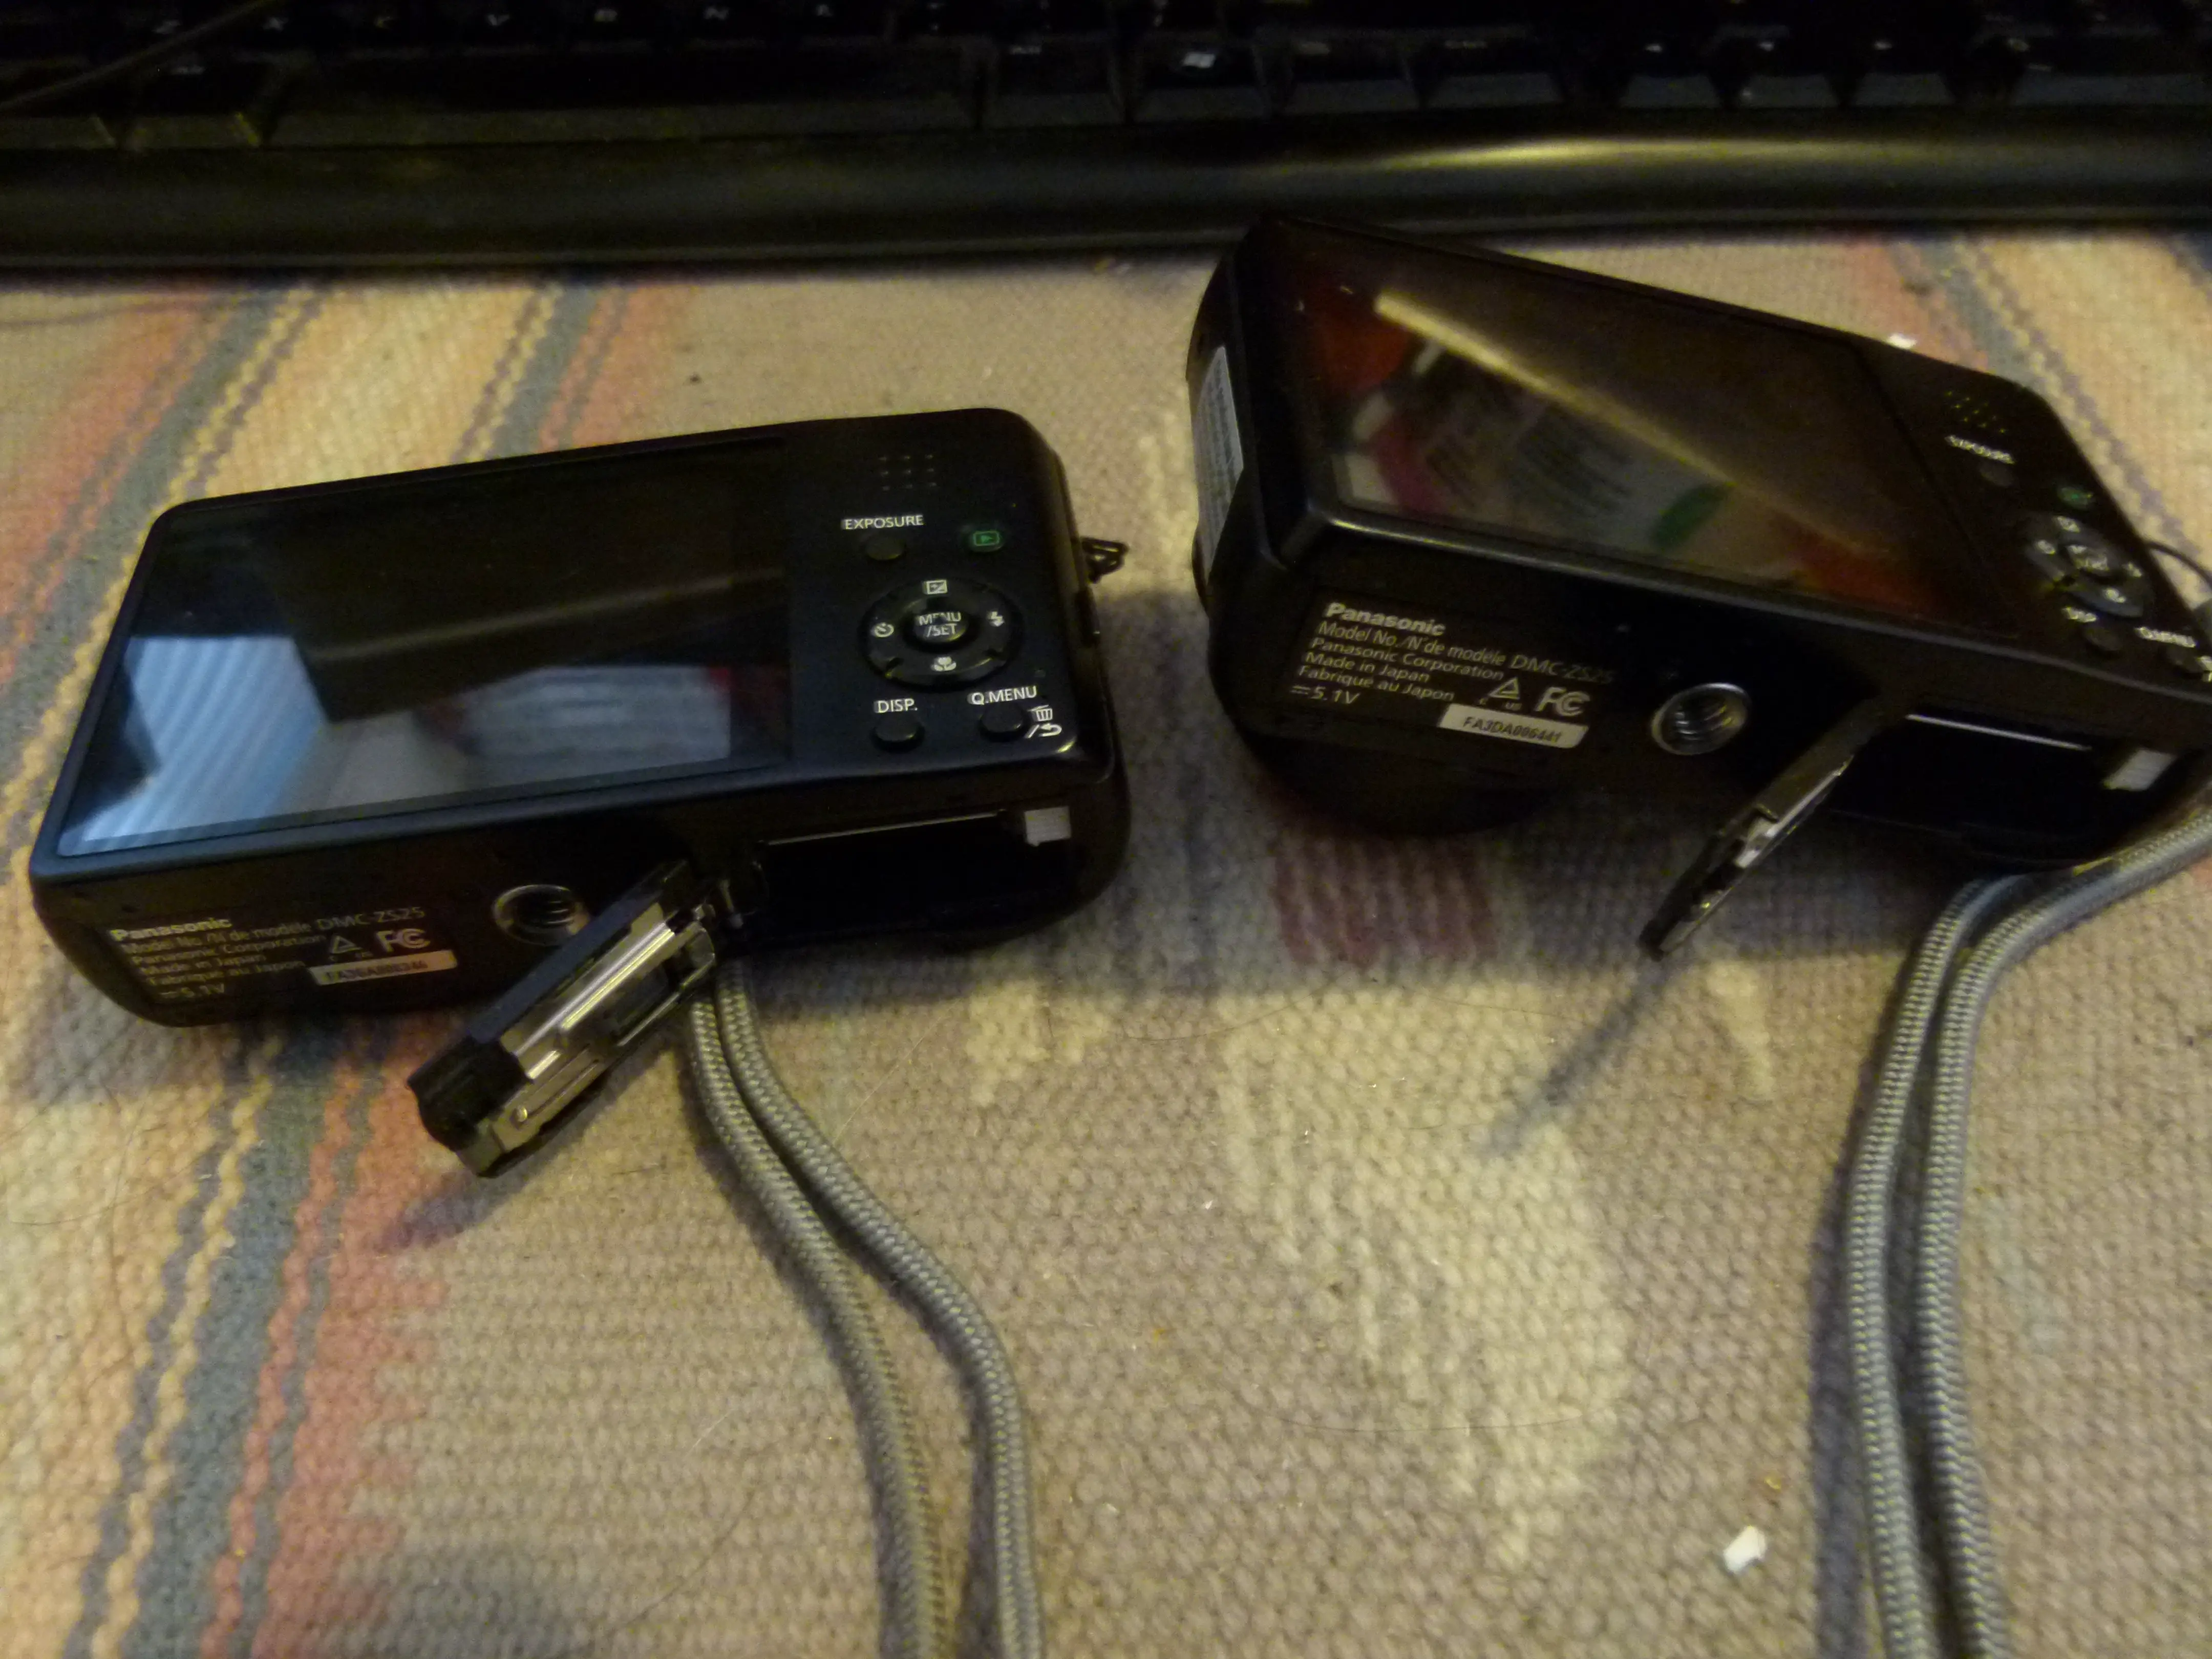
First step - remove the batteries.

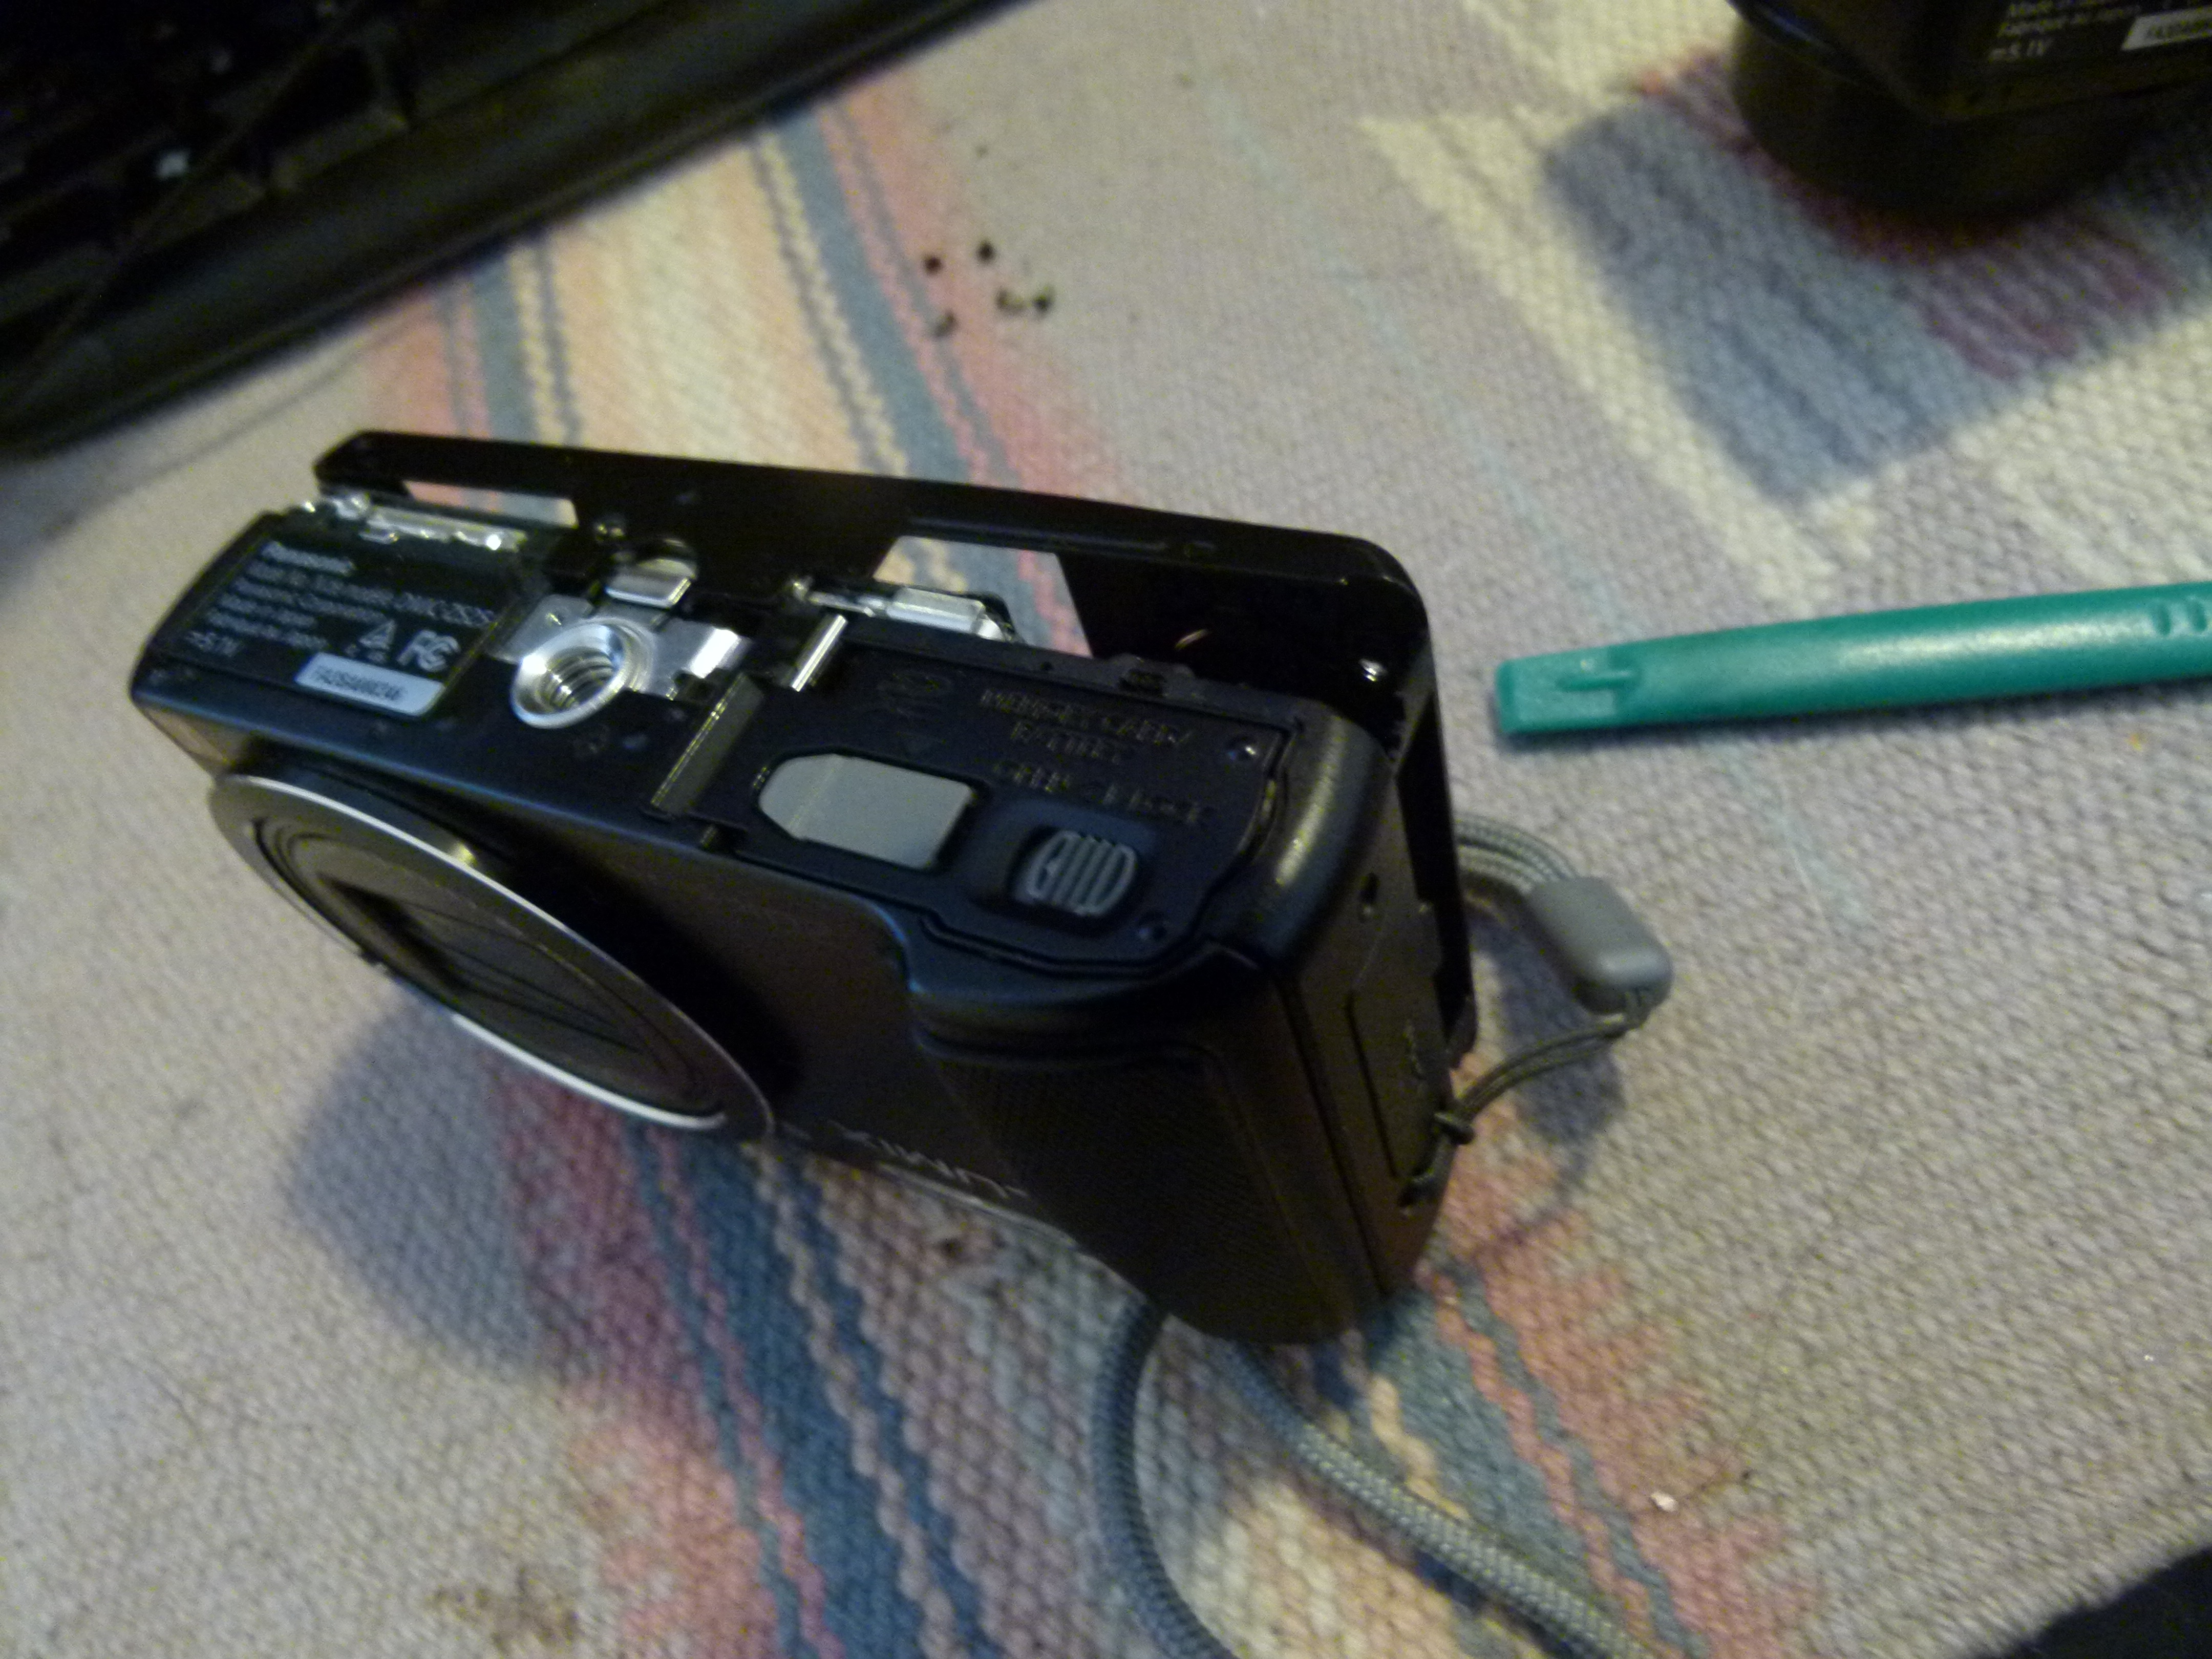
As for the DMC-ZS19 there are five screws to remove. Two on each side, and one of the two screws on the bottom. We do not need to remove both bottom screws, only the rear-most of the bottom screws.

The back is fairly easy to remove. I found it best to start on the bottom, near the left side of the camera as shown above. I use a plastic spudger to get into the crack, and widen the crack all the way around.
It seems that Panasonic used a bit of glue around the edge of the back. But it was not hard to deal with.
After some messing around the back will easily lift straight up. There are some fingers that go into the depths of the camera, so be careful to lift straight upwards.
A word on removing screws. The manufacturer puts some kind of thread-lock on the screw. It is easy to get into a situation where the screw is partly removed but it will not turn and you've stripped out the screw head. To avoid that, for the initial stage of removing the screw be very careful and deliberate. I found it necessary to hold the camera firmly, the screwdriver firmly, carefully insert it straight into the screw head, and to turn very slowly and carefully at first. After a little bit you'll feel the screw loosen up and it's safe to turn it more quickly.
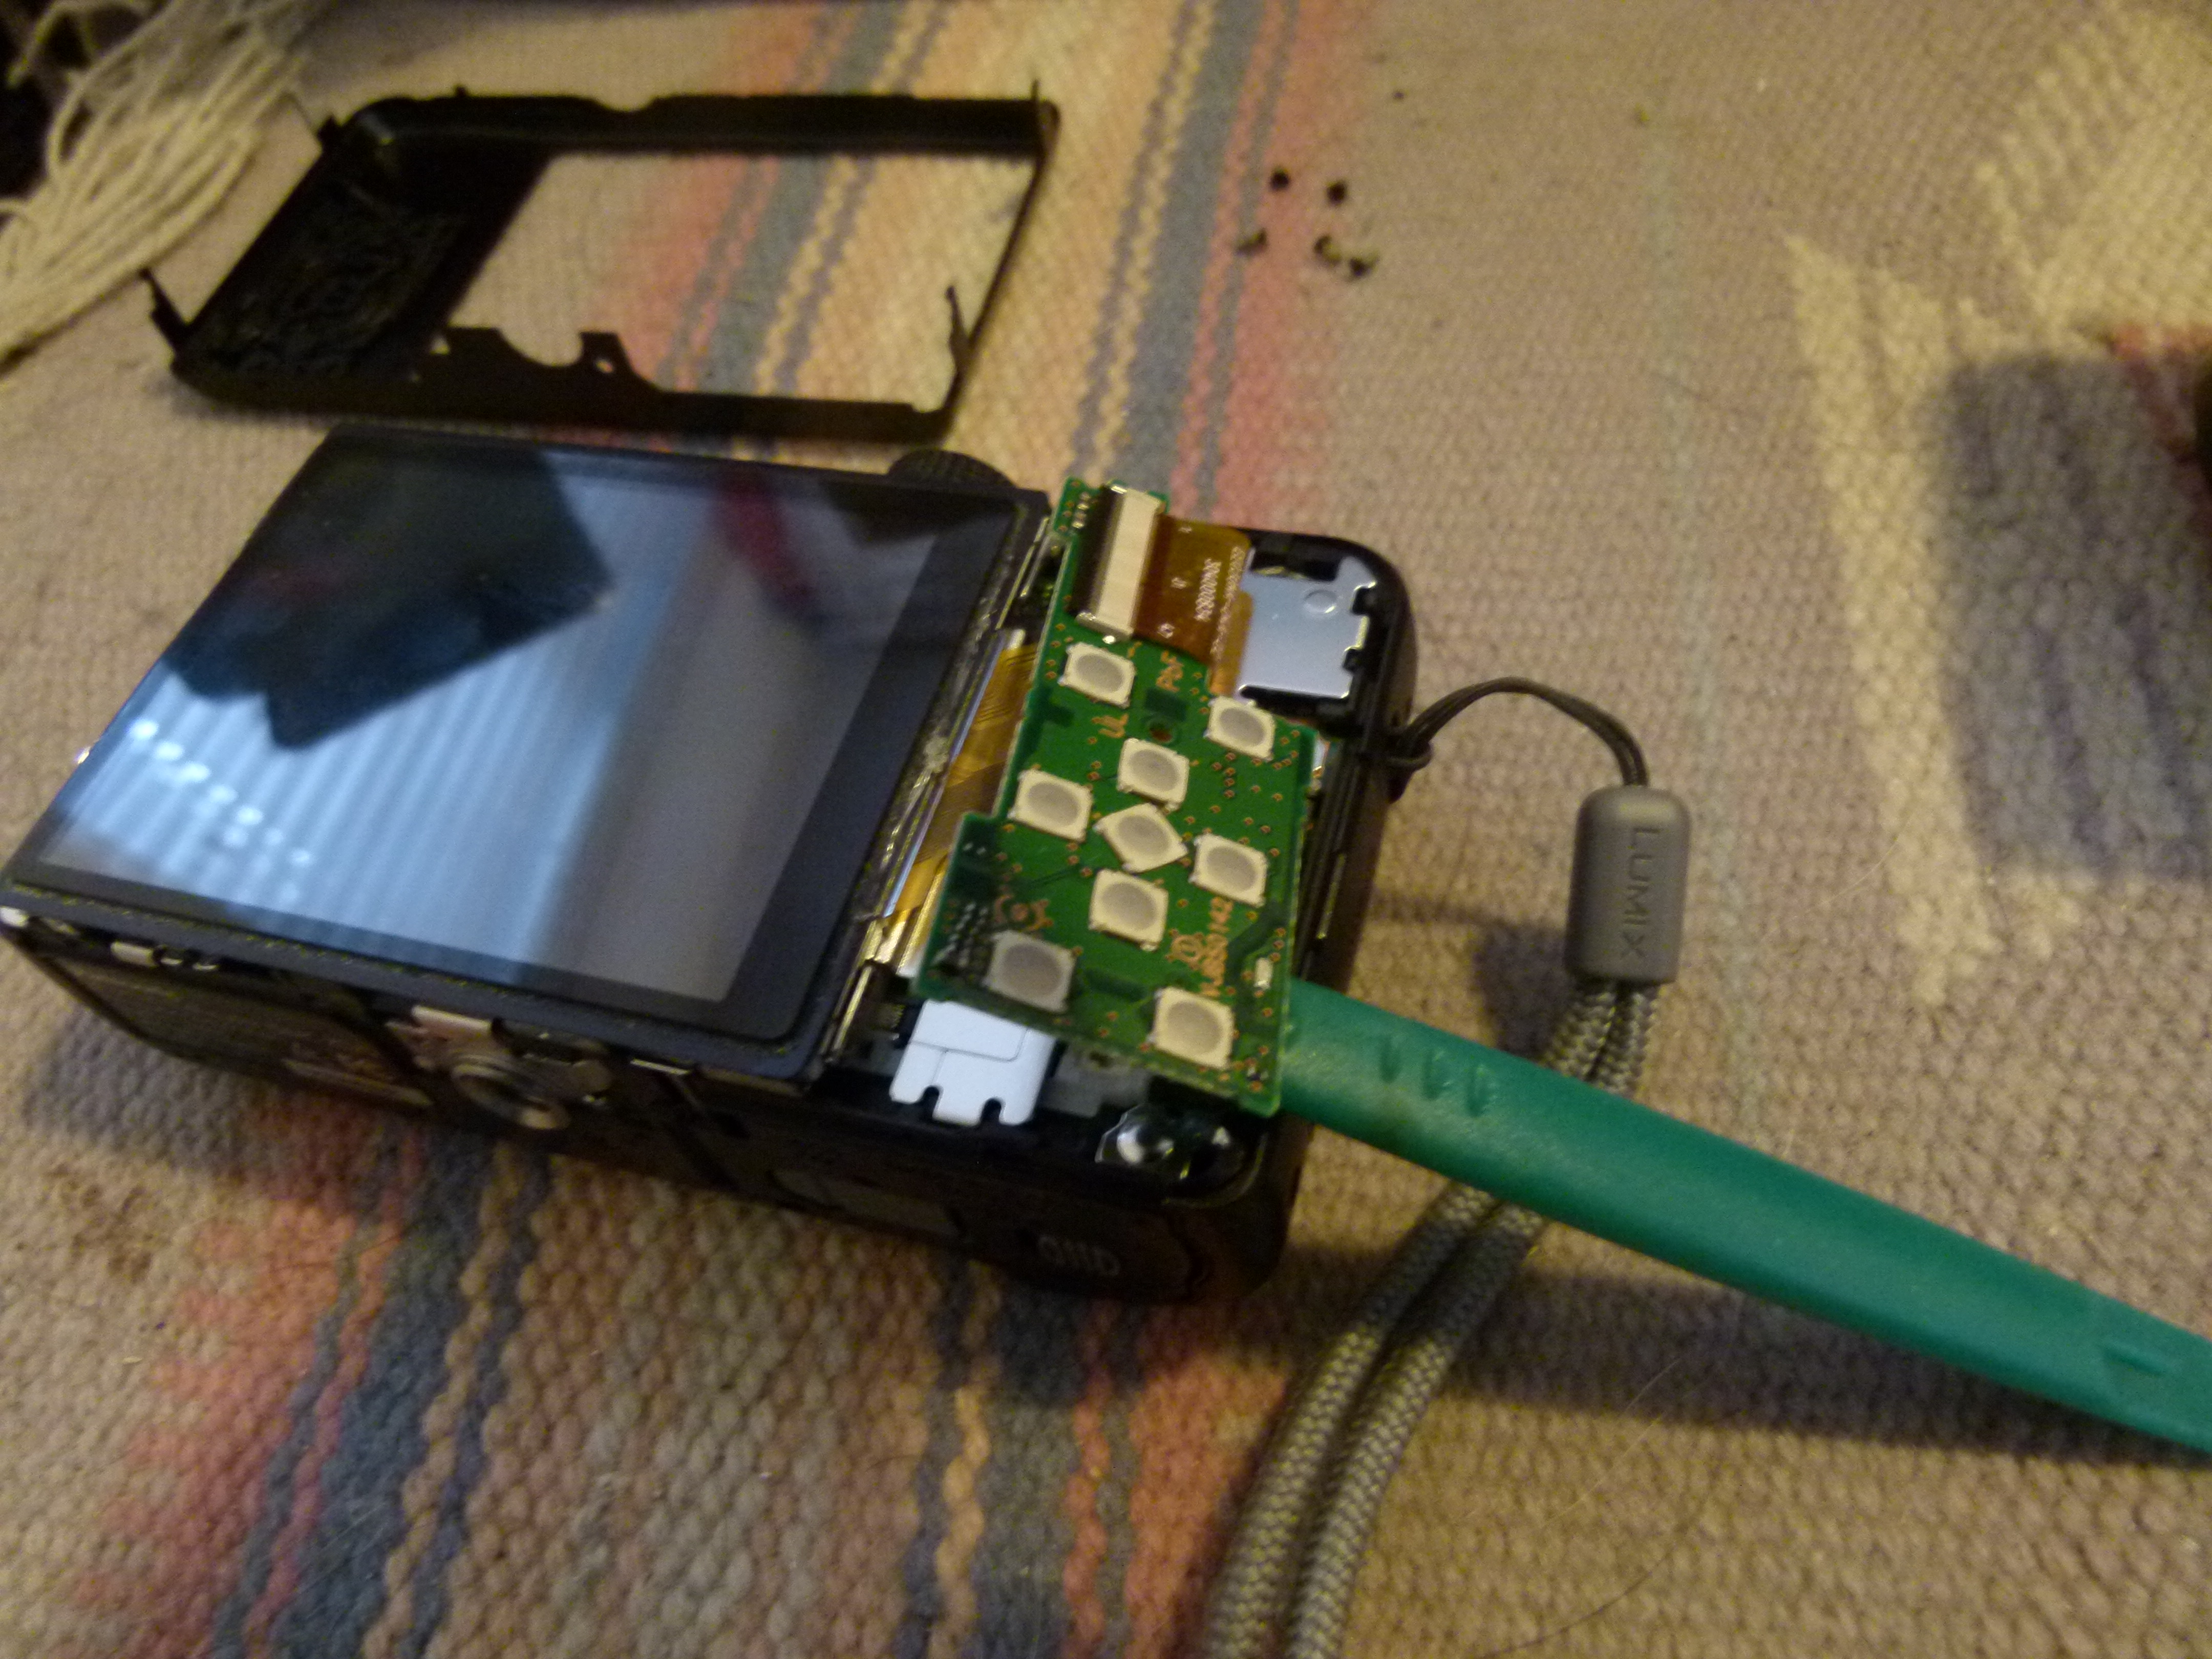
The LCD unit connects to a control board. As was the case with the ZS19, the control board is connected to the main logic board by a hidden connector. Simply put your plastic spudger under the board and lift up, and it easily pops up.

The LCD is fairly easy to remove. On the left side of the camera - the side opposite from the control board - the LCD display clips over a little tab. Simply use a screwdriver to lift the clip, and the display then pops up. And you can then easily lift it up and out of the way as shown here.
On a side note - at this point we have torn down the ZS25 as far as we need for the LCD swap. It is easy to further tear down this camera. The metal bracket shown here is held on by four screws, and is relatively easy to remove. Once that's removed the lens is easy to remove. The process is very similar to the ZS19: Complete fix for System Error Zoom on Panasonic Lumix cameras (DMC-ZS19)
Another thing you can do is hook up the LCD like this.
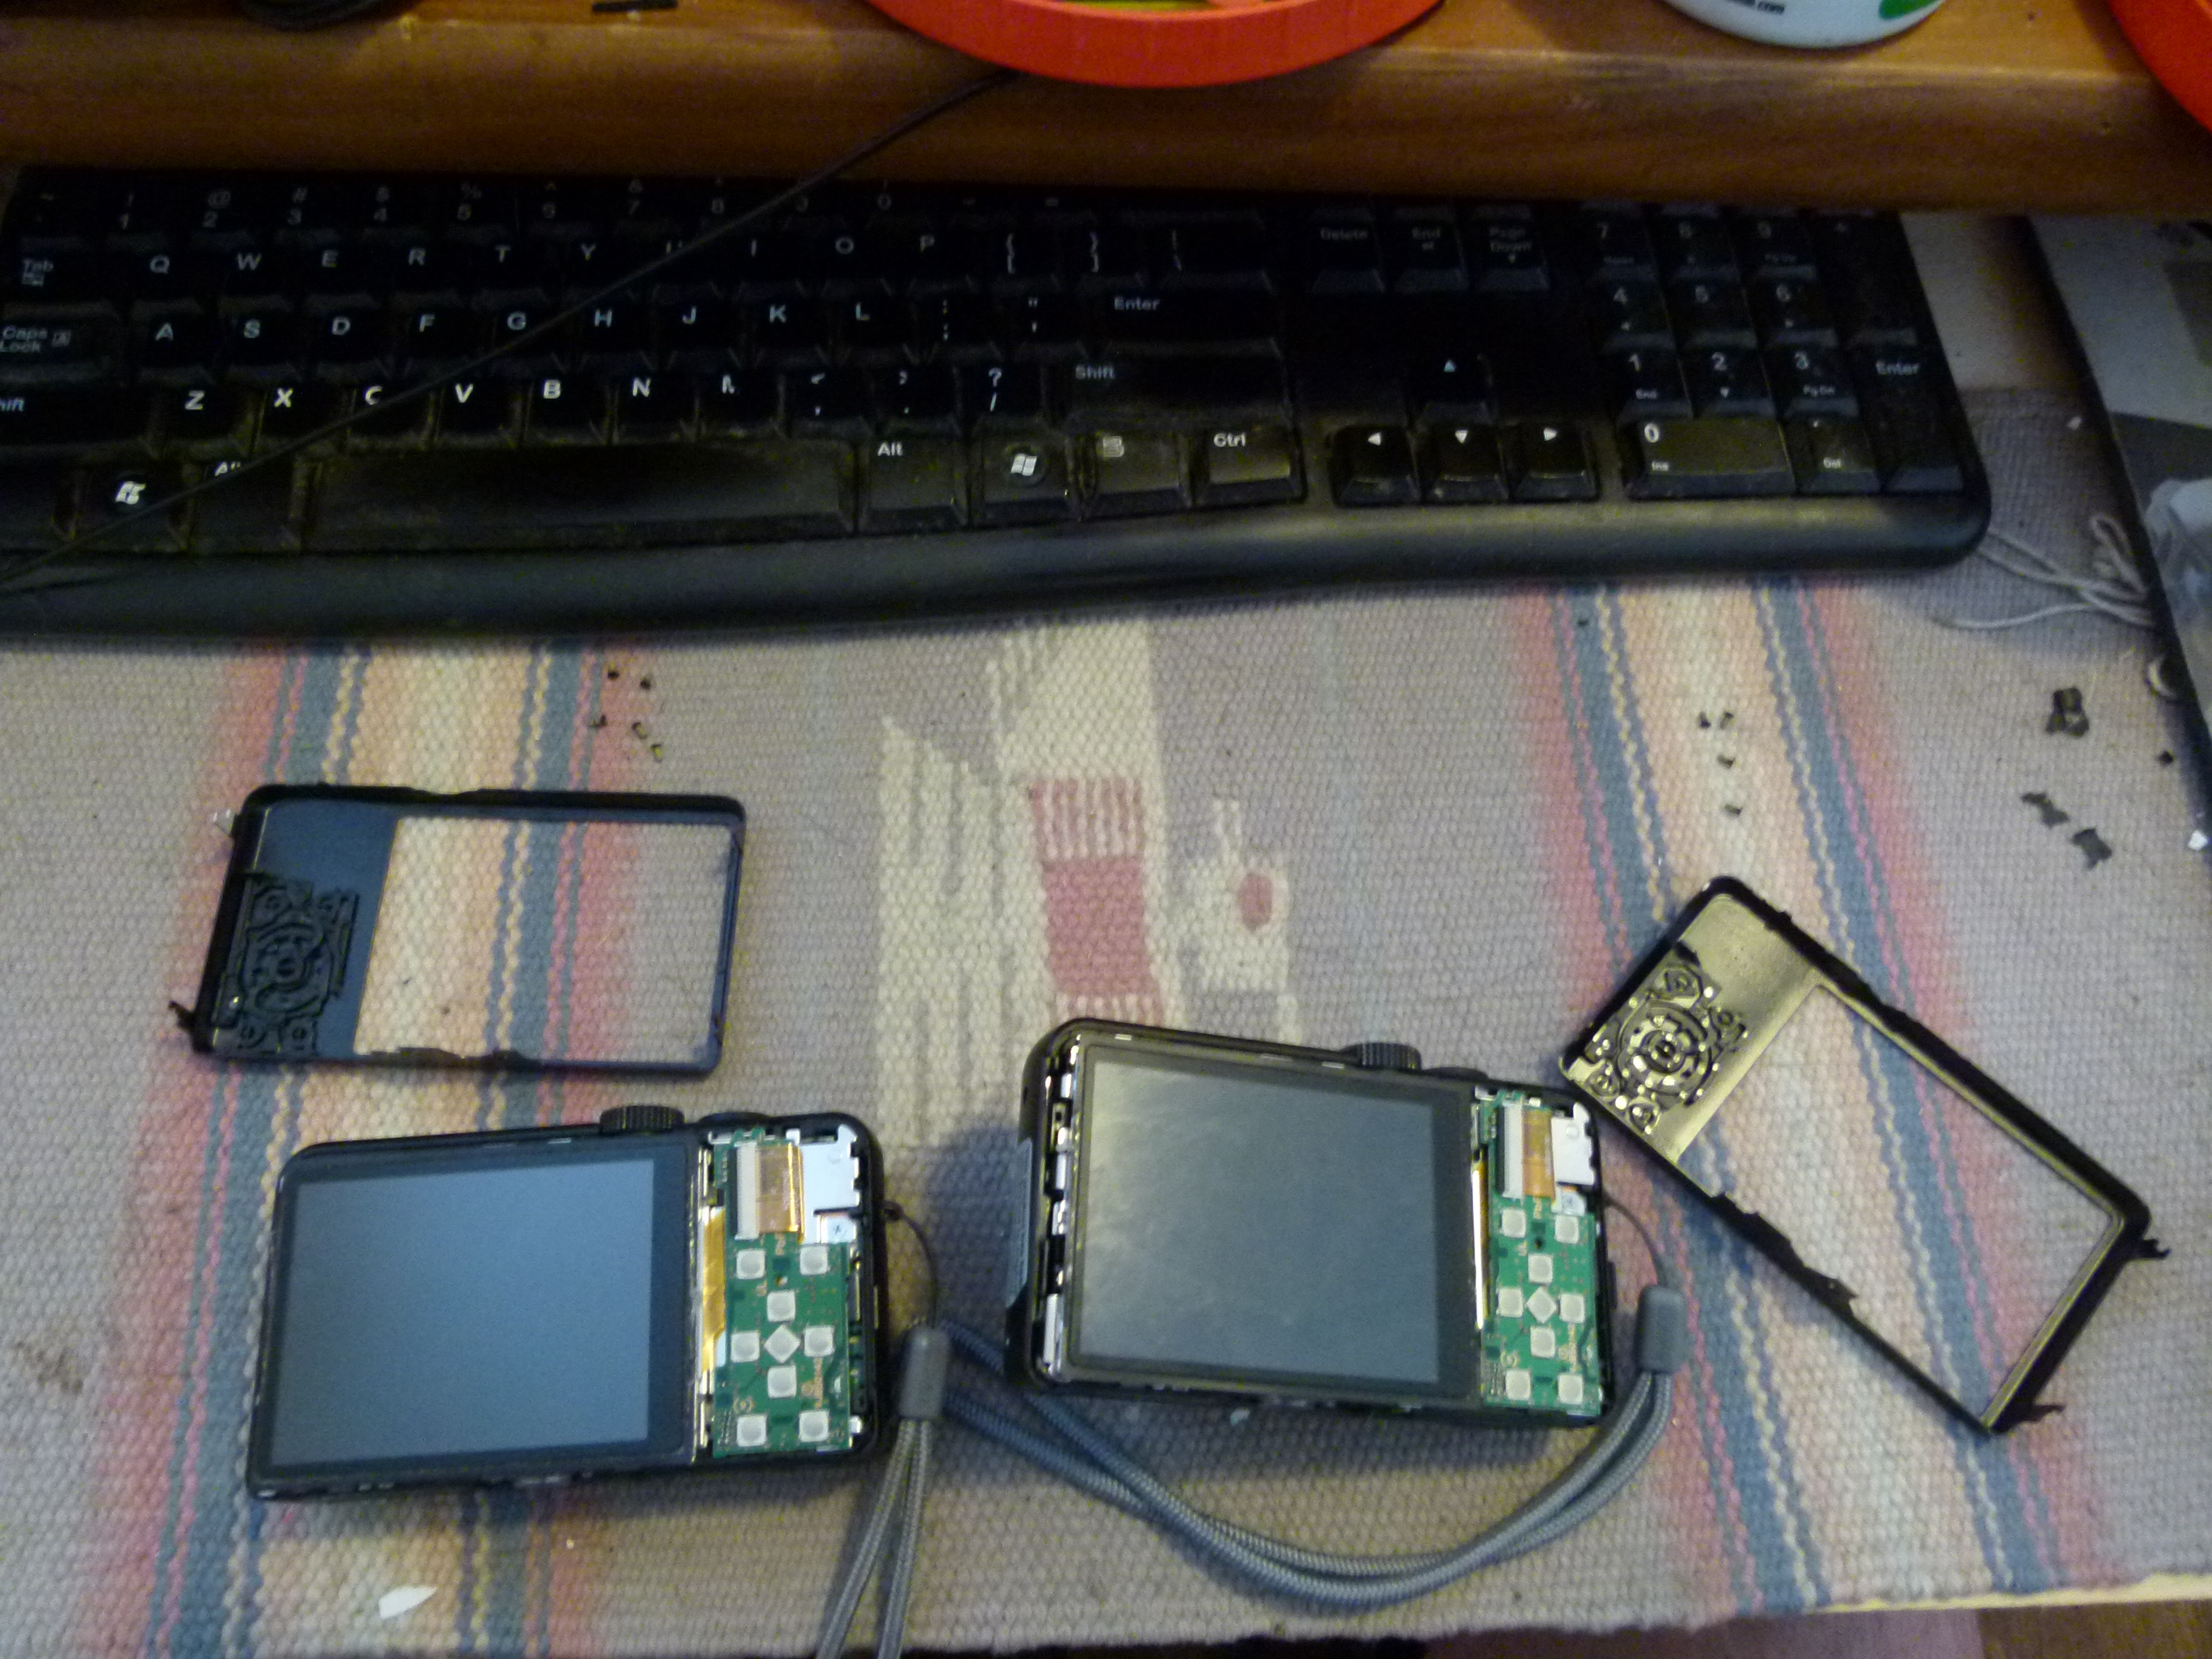
We have both of the Lumix DMC-ZS25's opened up and ready for to swap the LCD displays.

Swapping the LCD's is very simple at this point. Simply pop the new one in place.
If you had a bare LCD with no control board, the swap is a little more involved. You'd have to disconnect the LCD from its control board, then connect the new LCD display to the control board.
Once the LCD displays are swapped one simply reverses the steps to put the backs back on. Carefully insert the long pieces into the slots they go into, and make sure the back snaps properly in place. Then you screw in the five screws, and you're good to go.


