David Herron
Tags: Panasonic Lumix Cameras »»»» Digital Camera Repair »»»»
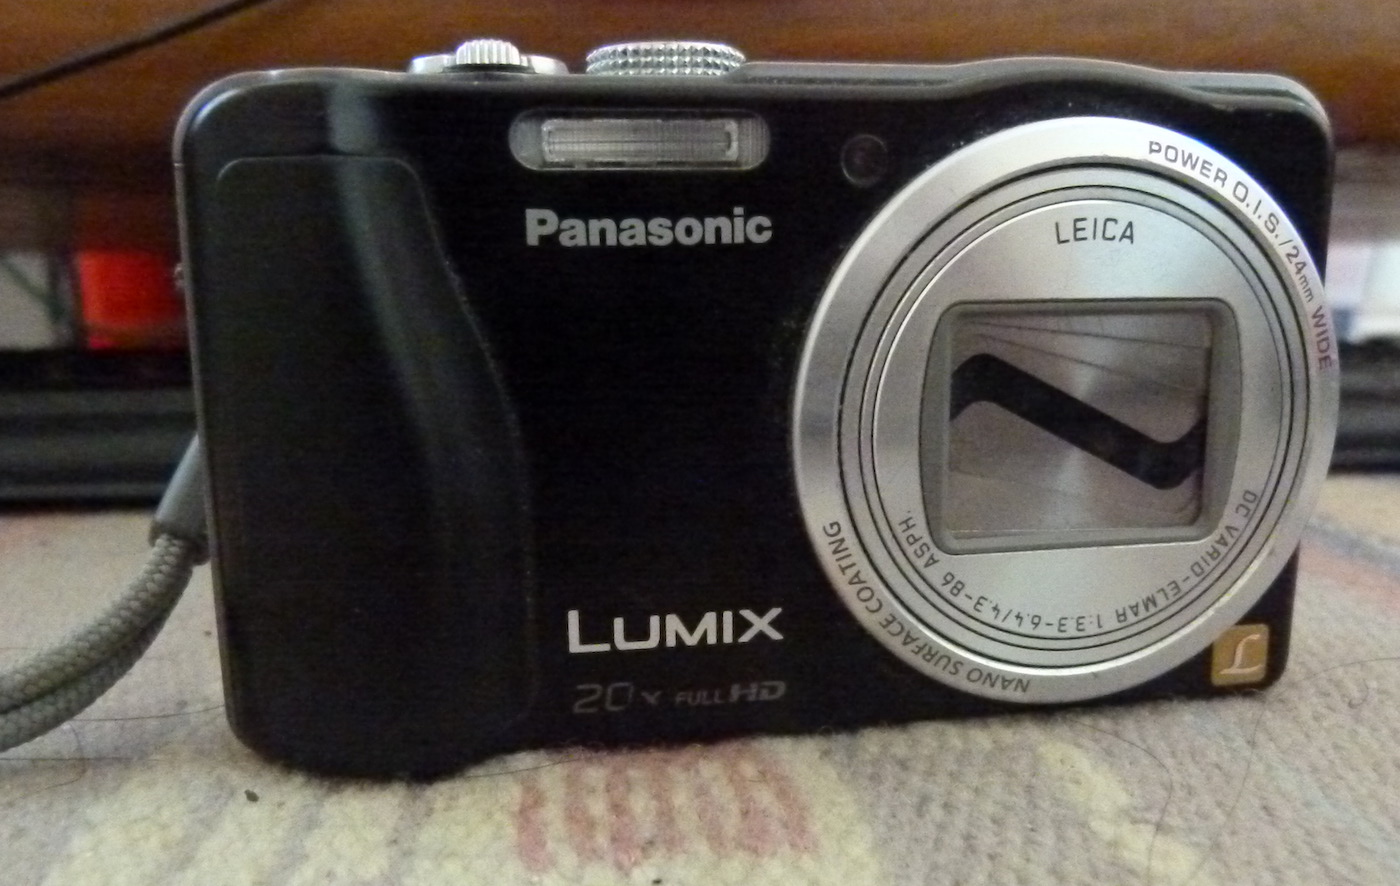
Panasonic Lumix point-and-shoot cameras have a frequent failure where the display shows System Error (Zoom). Most say that when a Lumix camera shows this error it's a goner, because the cost to repair is more than the camera is worth. I recently bought a Lumix ZS19 that turned out to have this problem, and after some diagnosis I came up with a theory of how to fix this issue. I am happy to report a successful repair that involved buying another Lumix ZS19, and merging parts of the lenses on the two cameras. This repair requires some skill, and took several hours.
The System Error (Zoom) message means the camera lens does not operate at all. The cost to repair is significant, and therefore most recommend not bothering to repair this issue.
A Lumix camera with this behavior shows the following image when powering up:
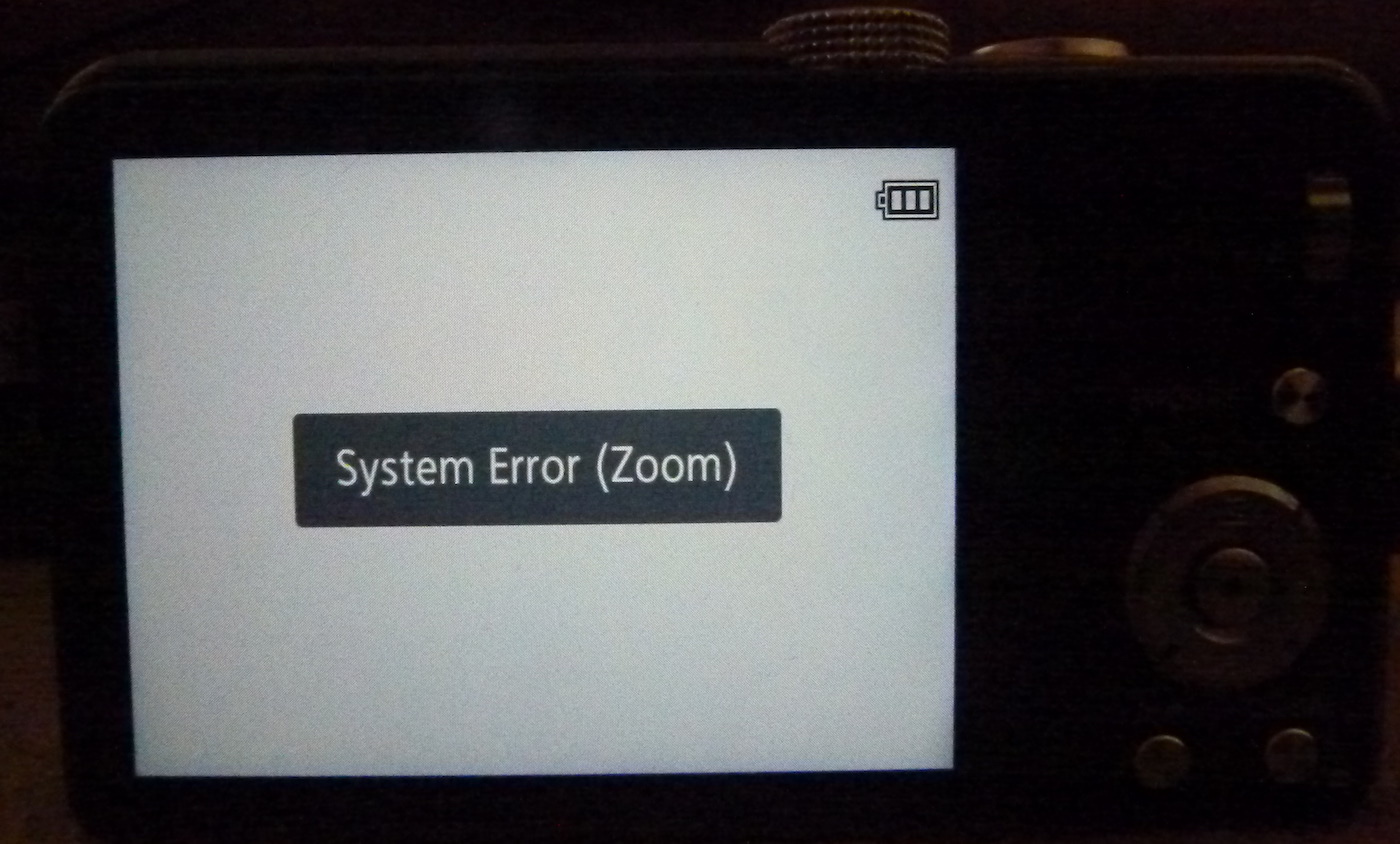
The camera is useless at this point because it cannot take pictures.
One test to perform is to check whether it can display pictures from the SD card by switching to Preview mode. If the camera can still show pictures from the SD card, that indicates the camera is generally functioning, and the failure is limited to the lens.
One of the videos attached below shows one method for fixing the System Error (Zoom) problem, but I did not use that method. In the video it's explained this Zoom Error issue happens when a build-up of dust inside the lens prevents the lens from operating smoothly. The lens has a harder and harder time of operating. The current to drive the stepper motor for the lens runs through a skinny wire, requiring enough power that the wire "blows" because of too much current.
In the video the repair is to solder in a jumper wire to bypass the broken wire.
I inspected my ZS19 and found the wire was broken just as predicted in that video. Hence the "Zoom" error means that the camera is unable to make the lens zoom in and out. Lumix cameras do a little zooming while powering up, and therefore if the camera cannot zoom during power up then the camera knows there is a serious problem.
But, I found no dust buildup in my disassembly of both lenses. Hence camera #1 had the Zoom error for some other reason. There must be another condition which causes the stepper motor wiring to blow.
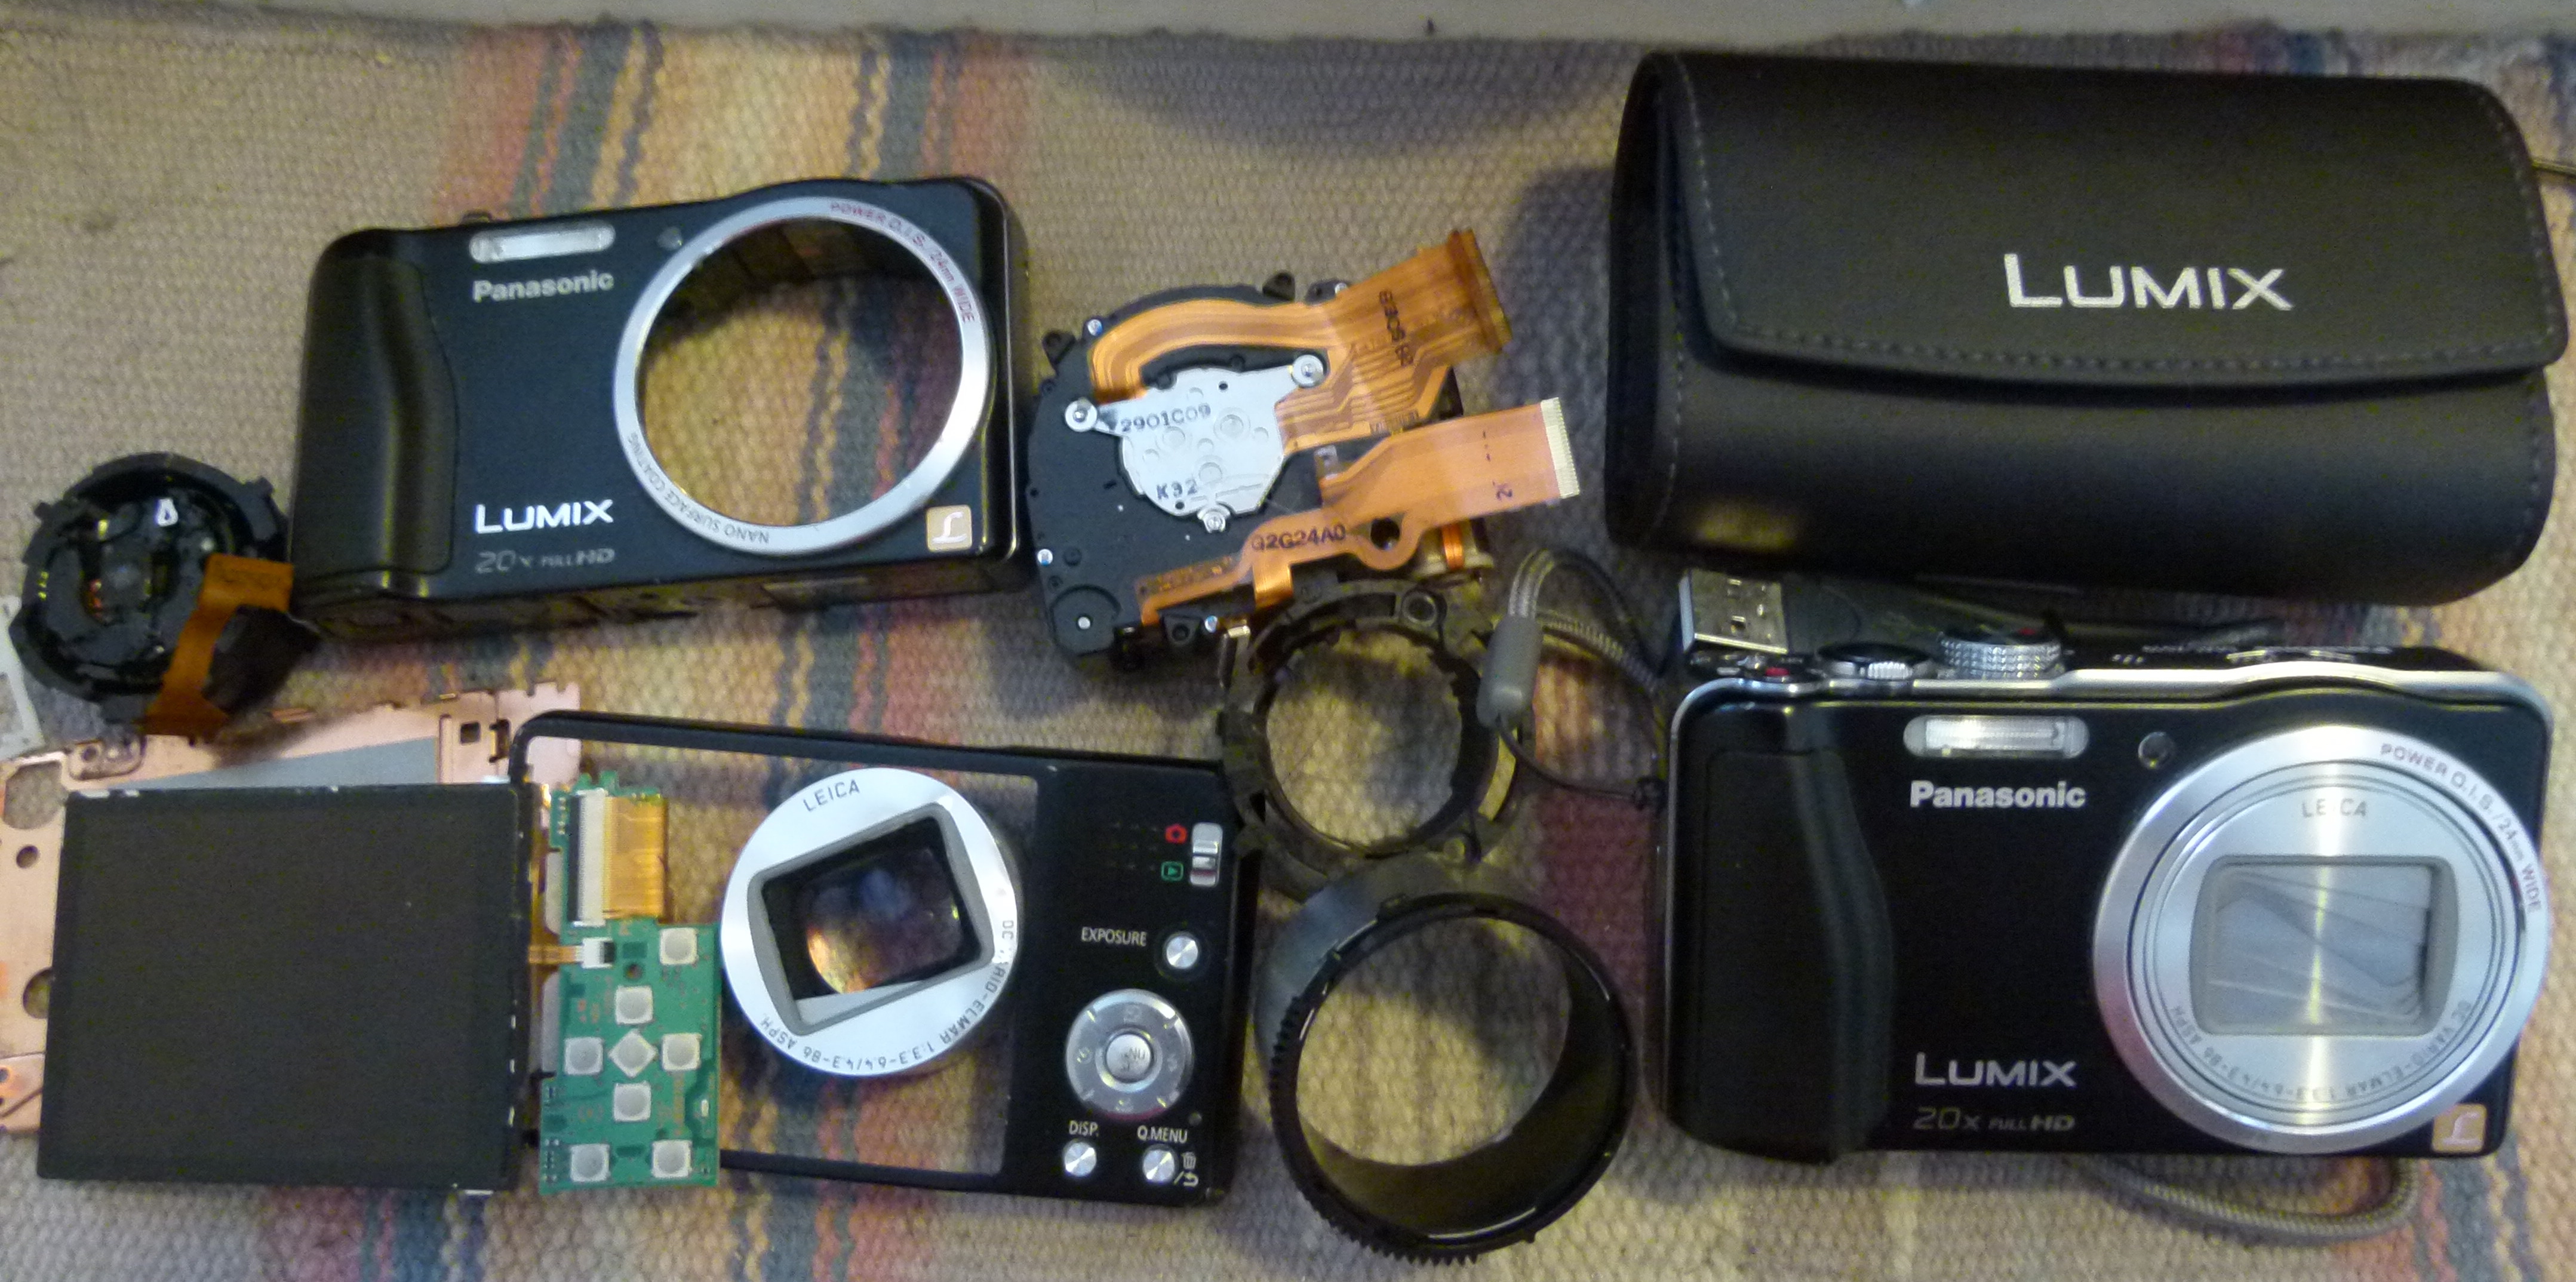
I chose not to use that fix, since I don't trust my soldering skills on such tiny wires. Instead I found another Lumix DMC-ZS19 (camera #2) which was also broken, but for other reasons than this camera. My plan was to mix together parts from the two lenses to create a working lens.
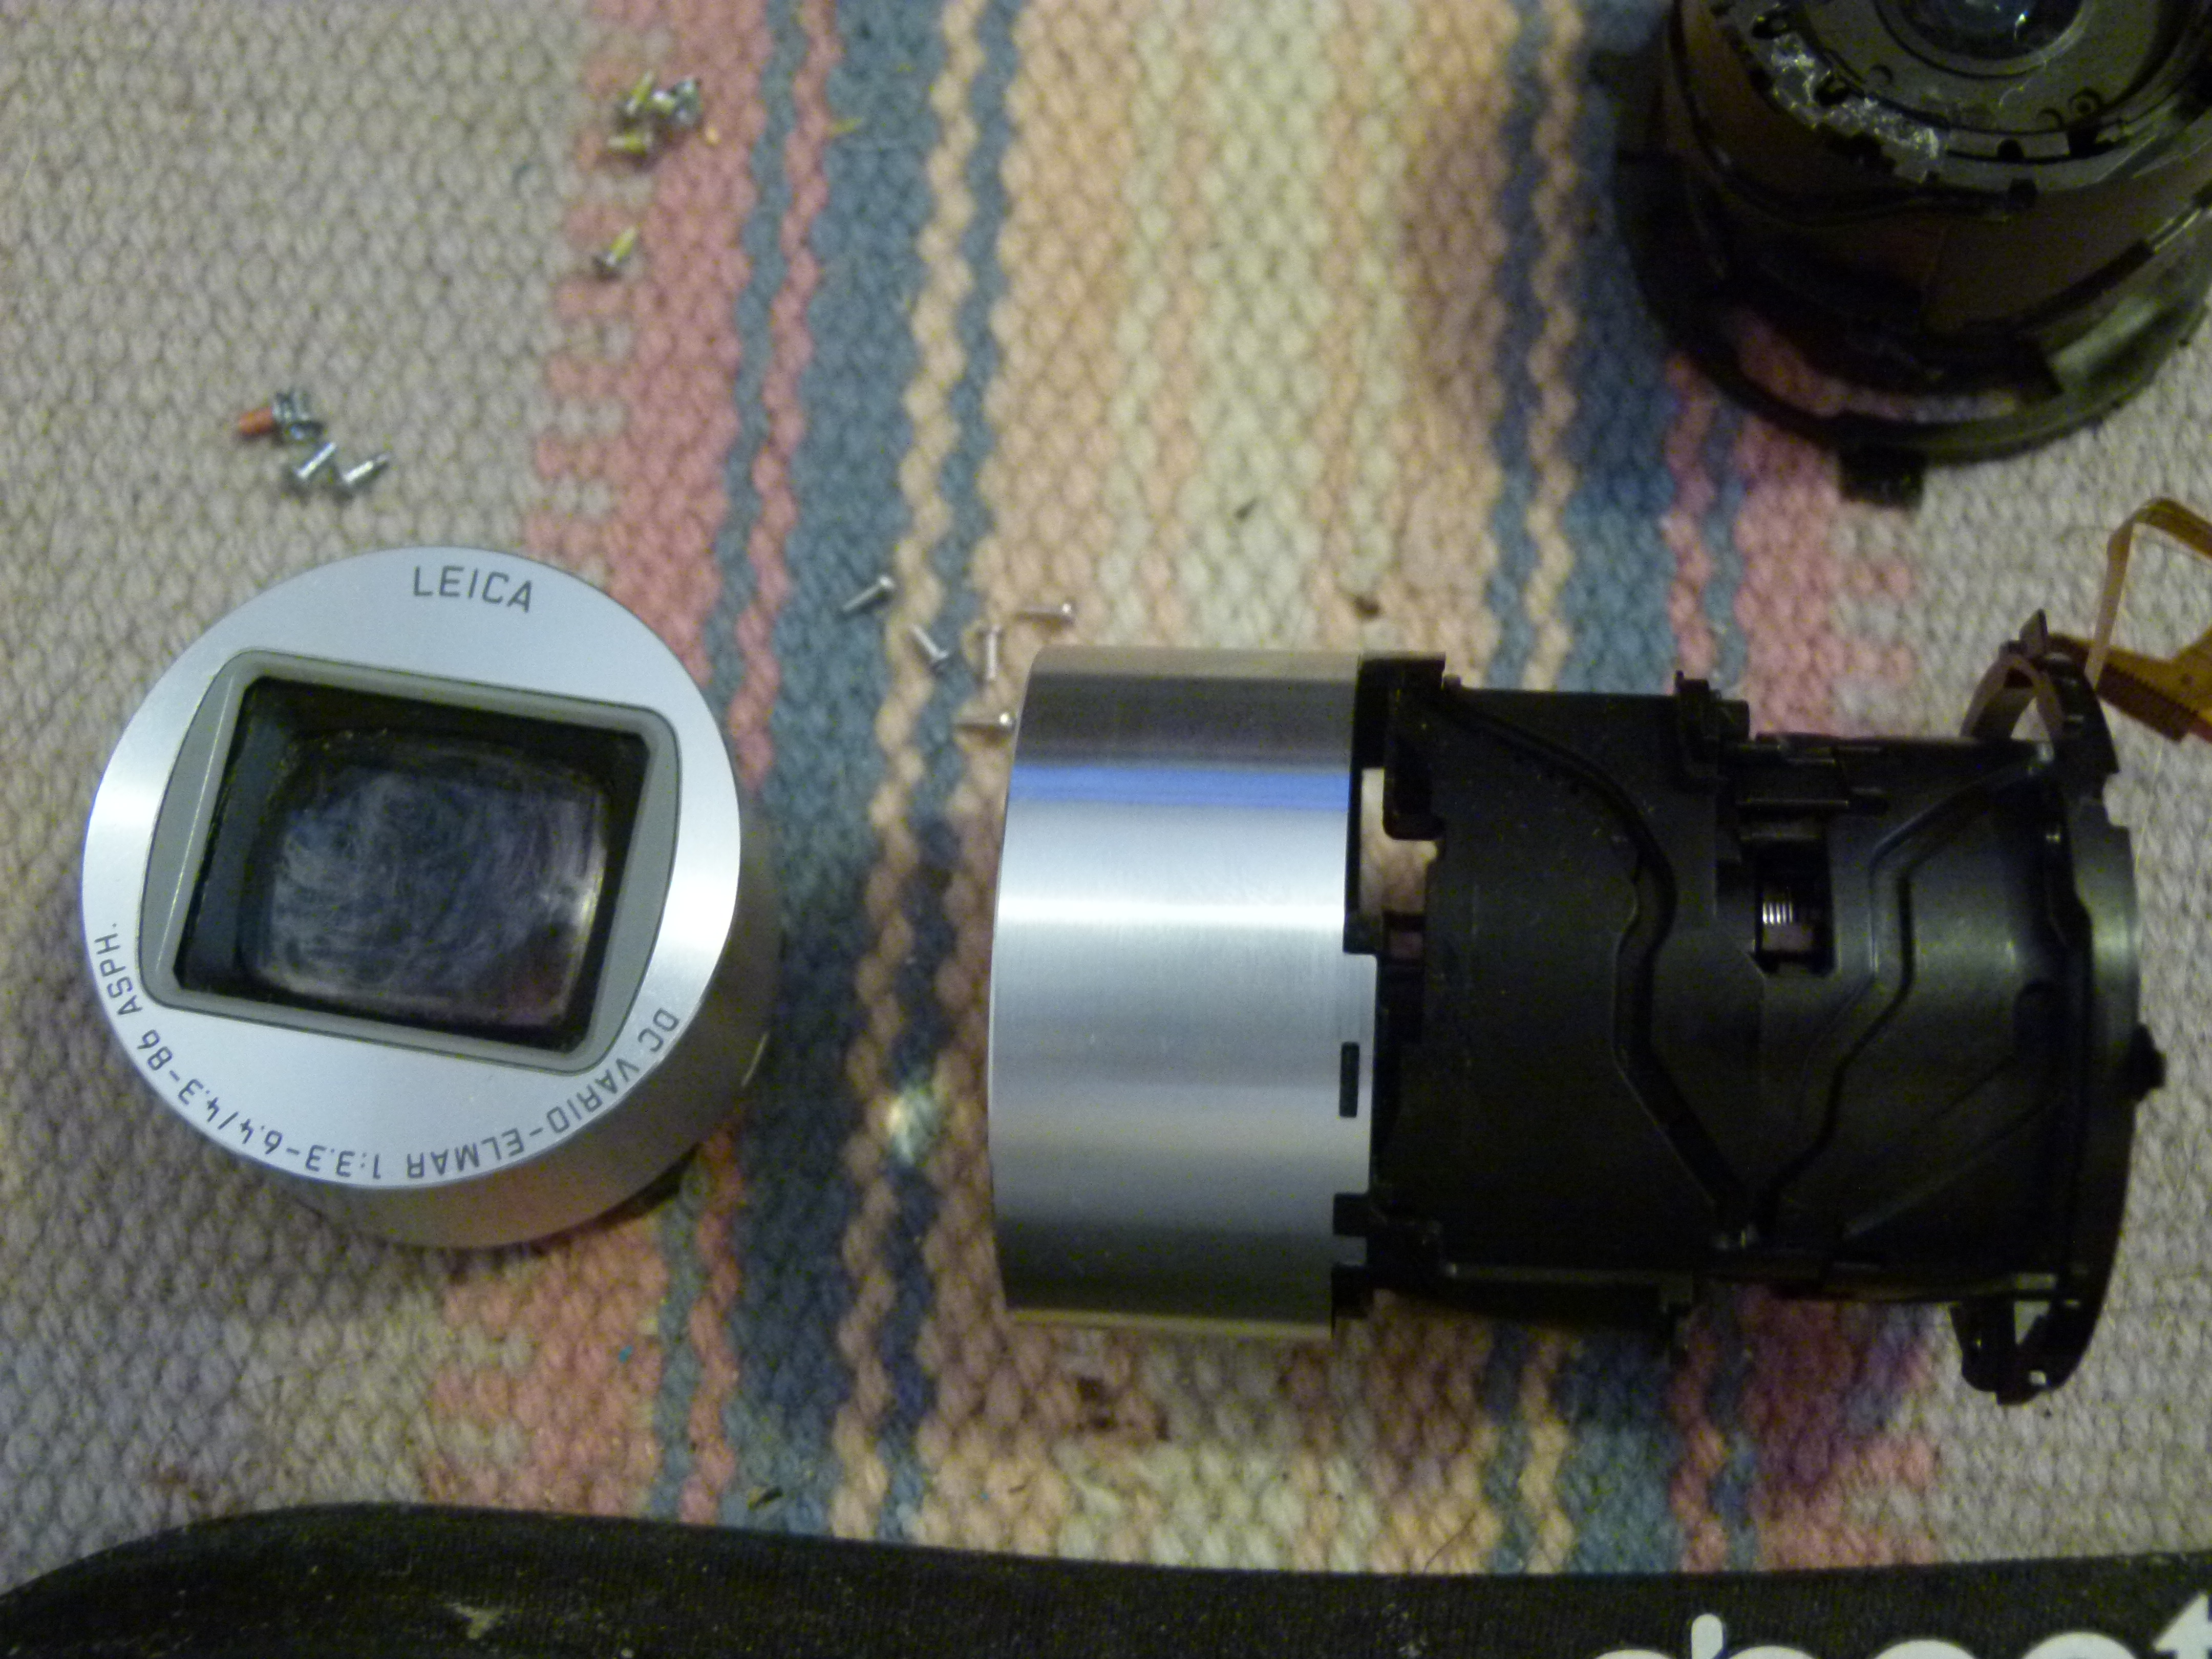
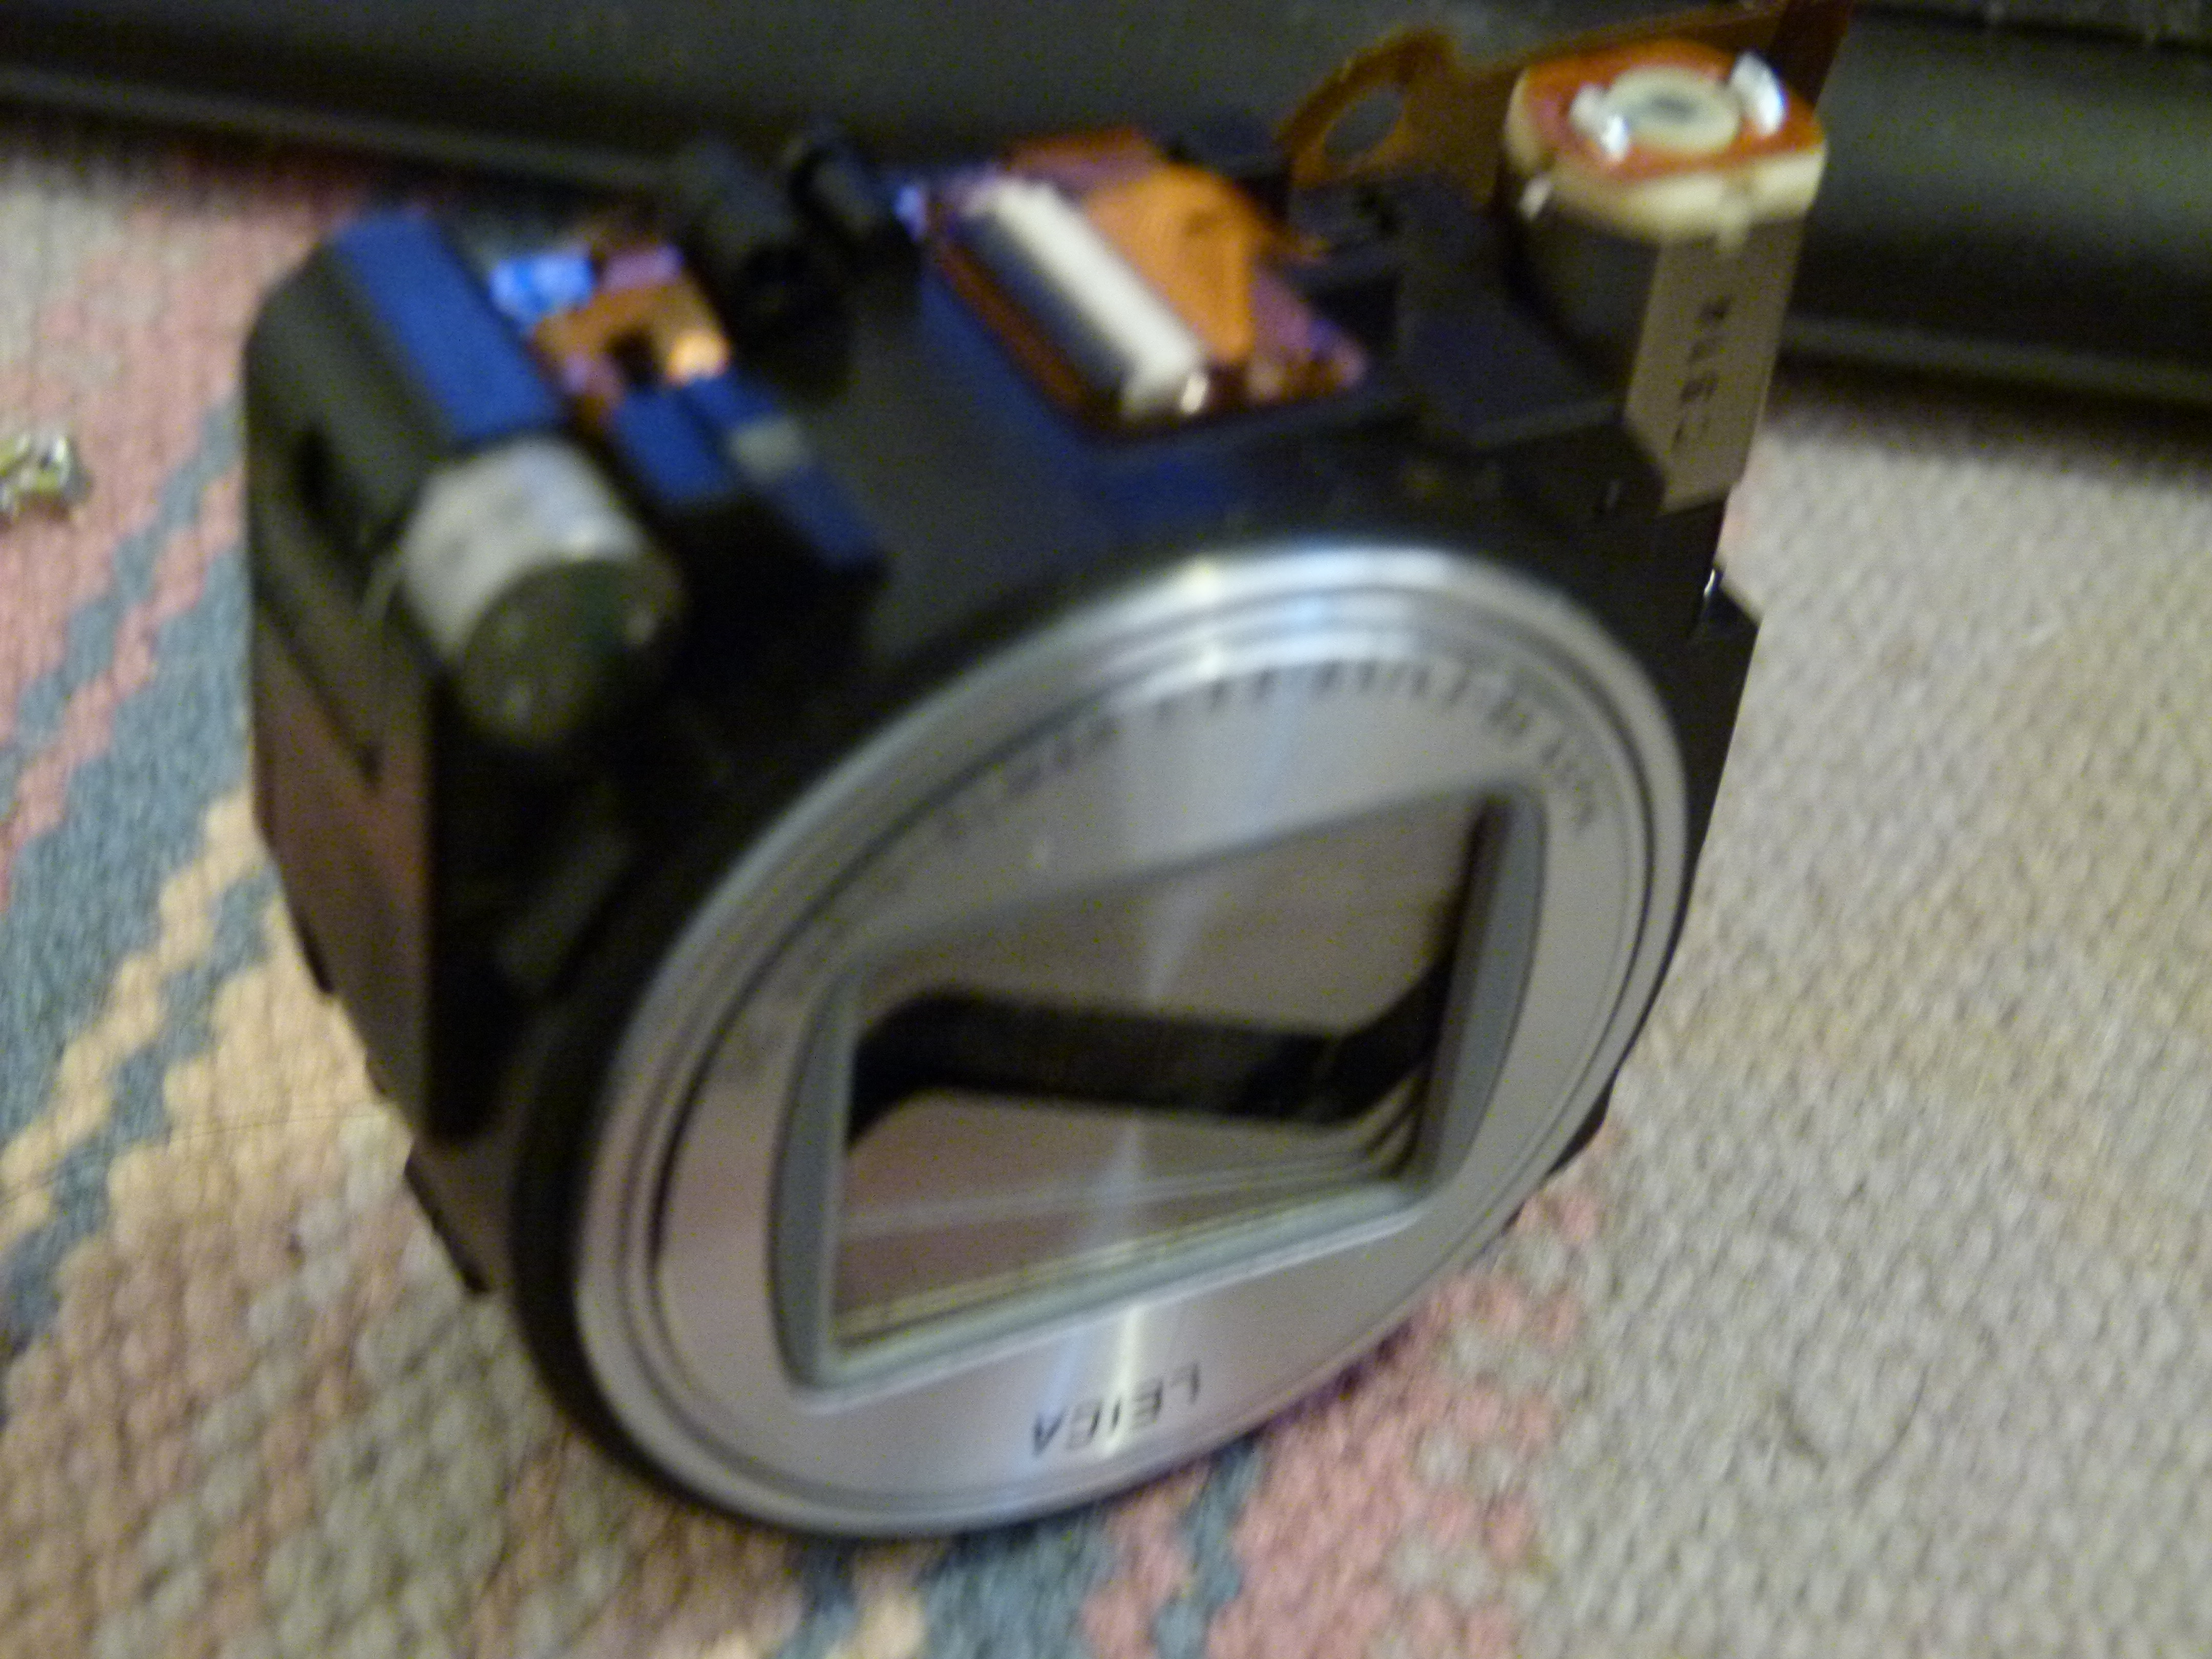
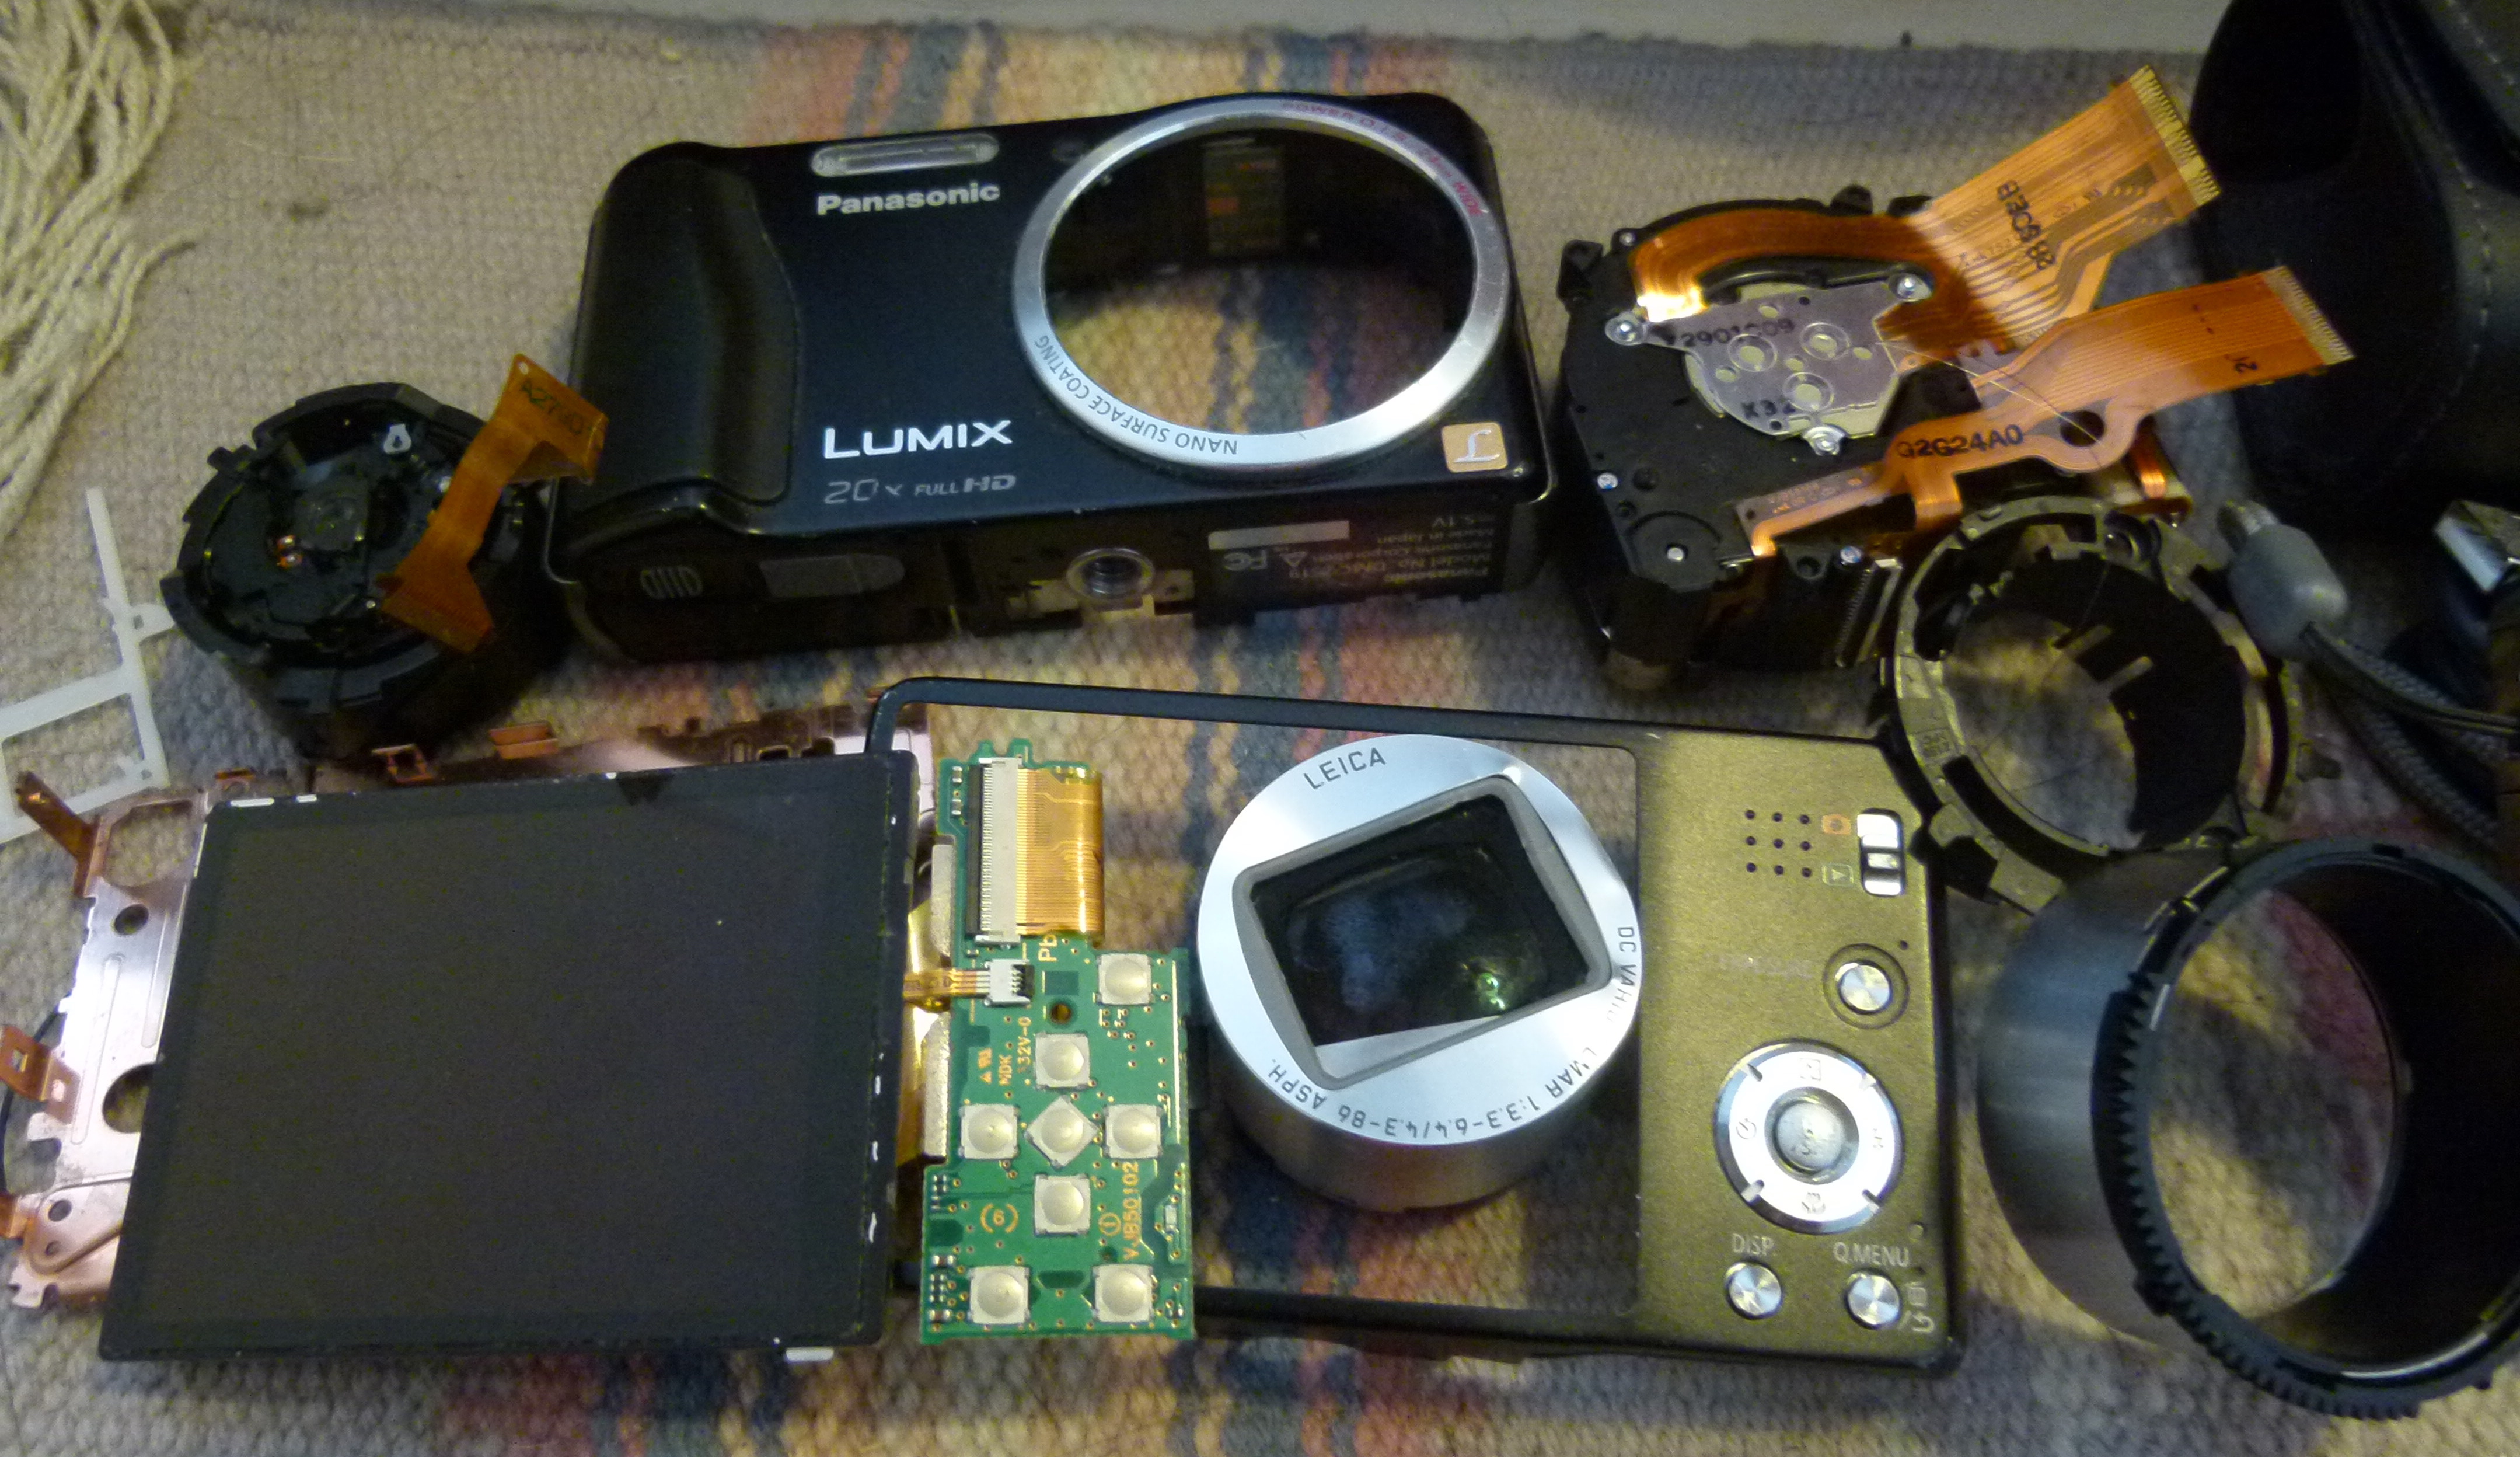
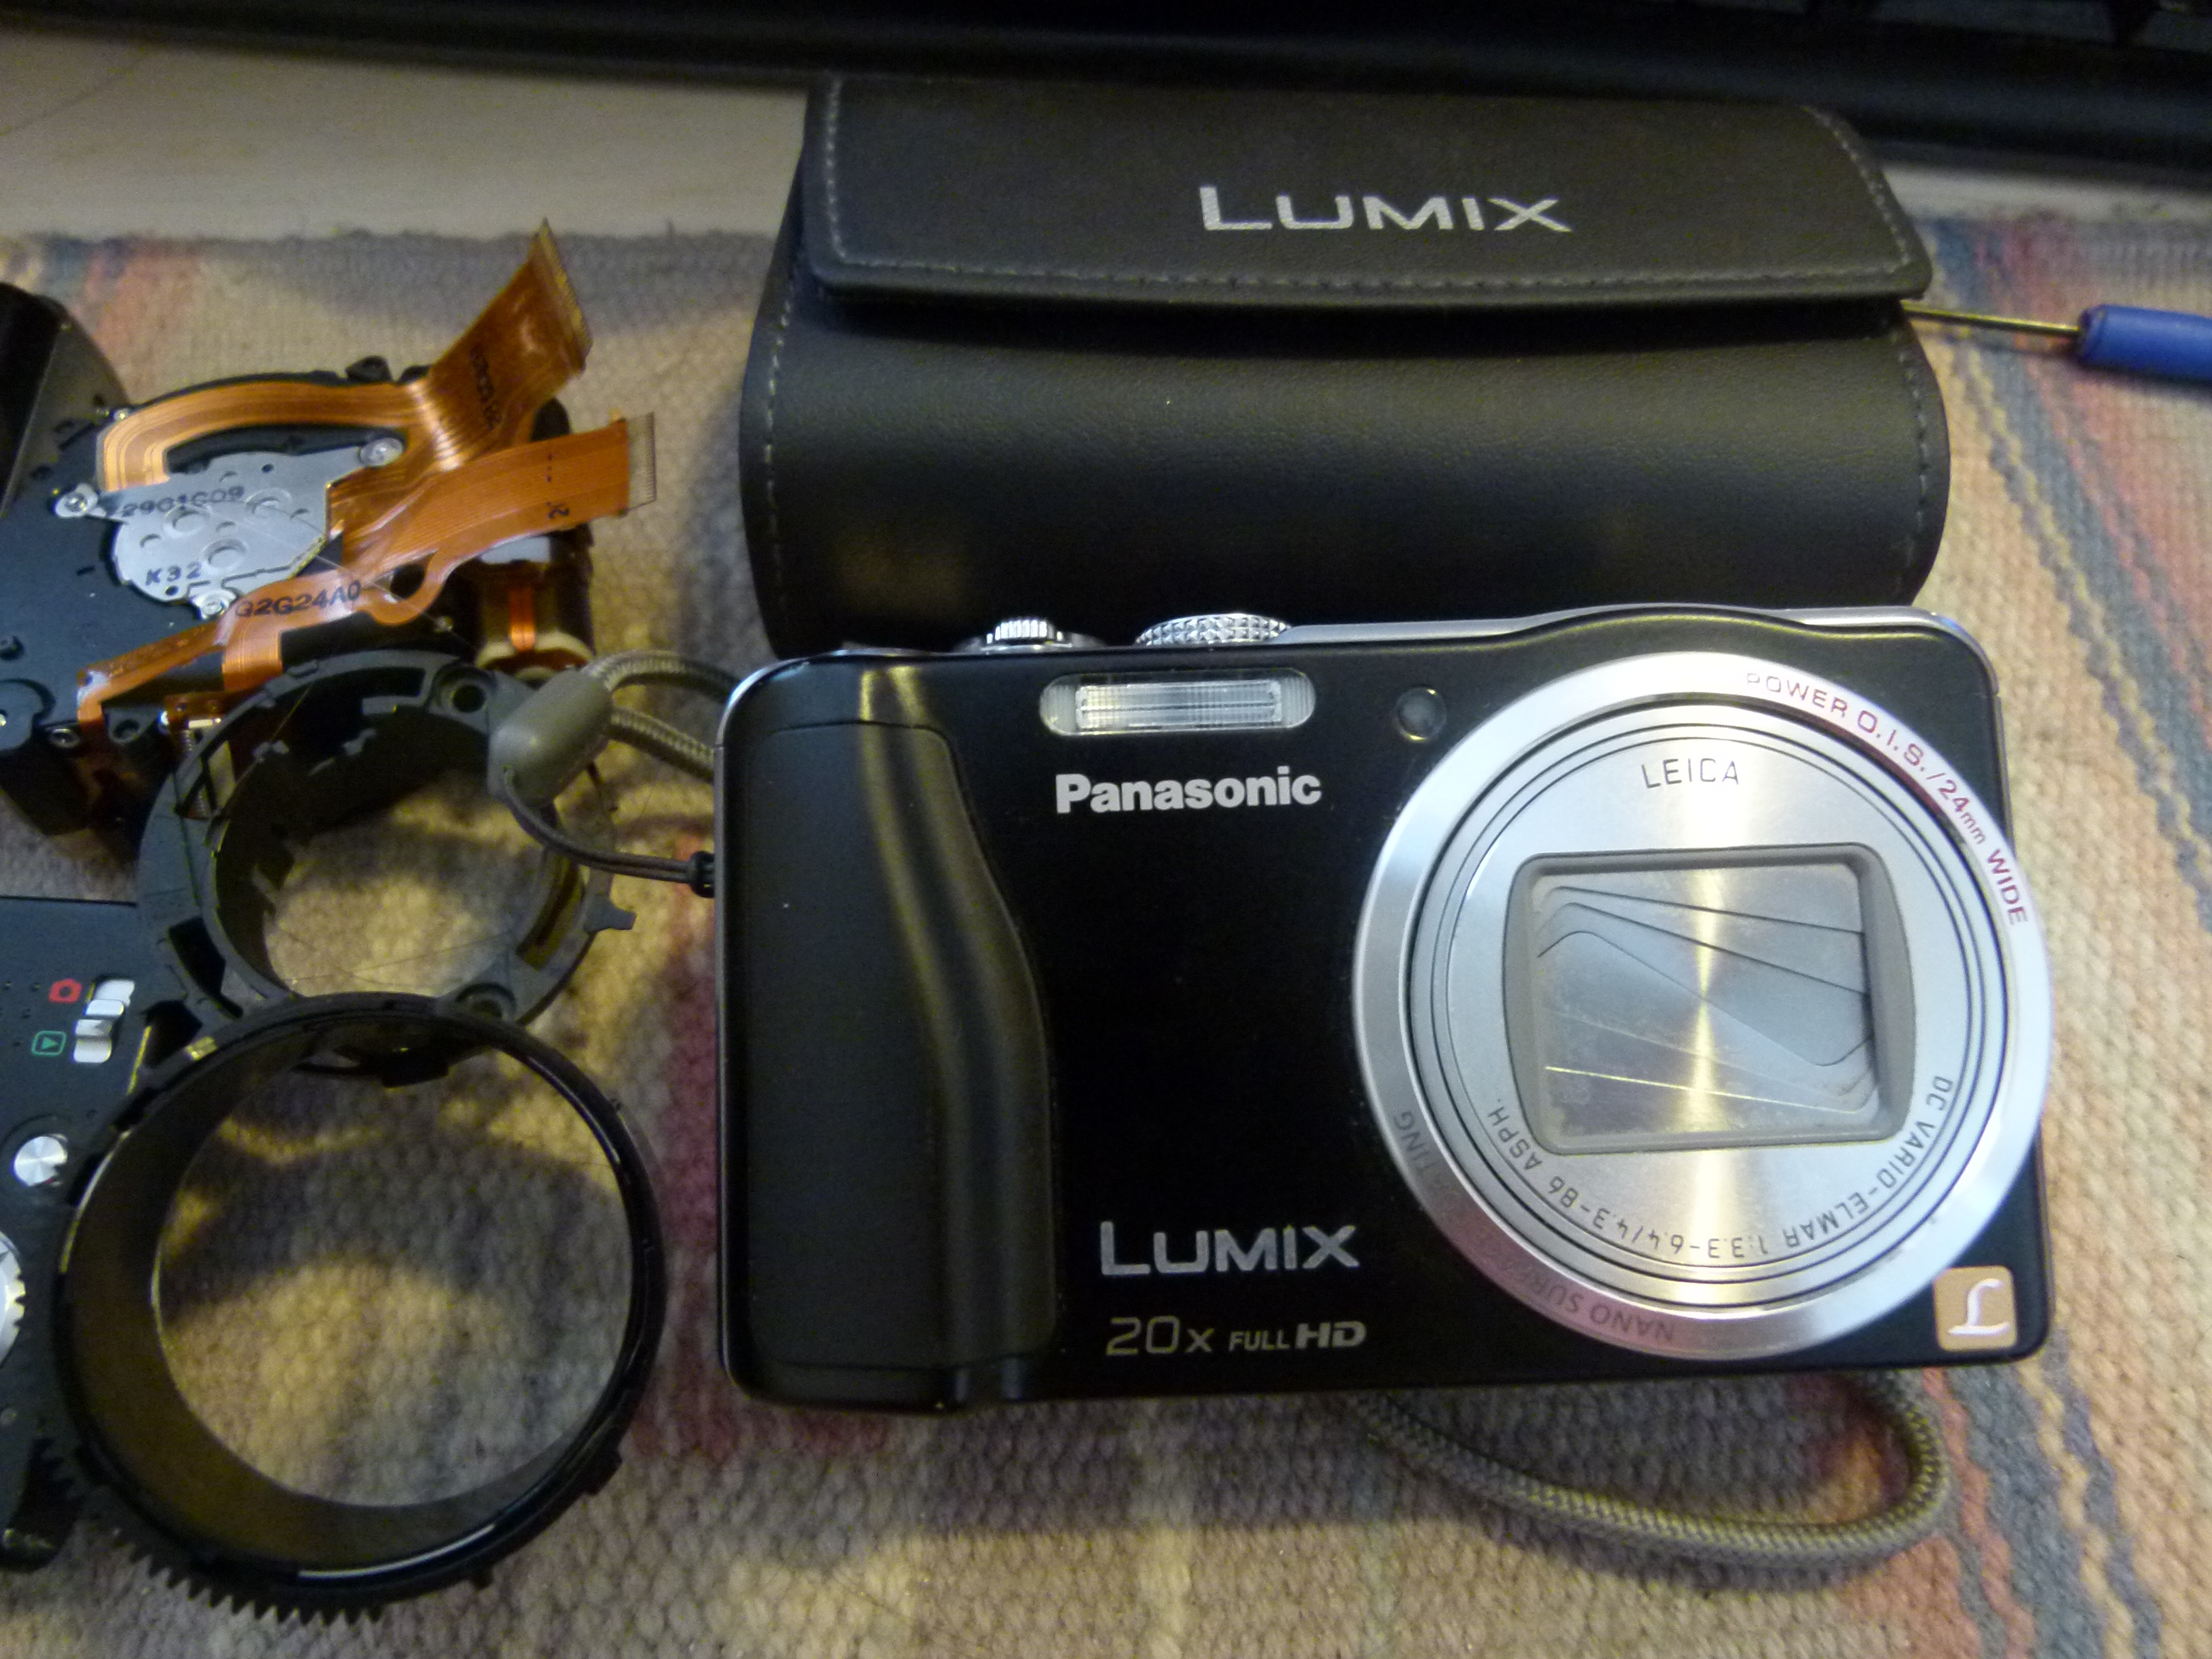
Here (again) is Camera # 1:
Here's Camera # 2:
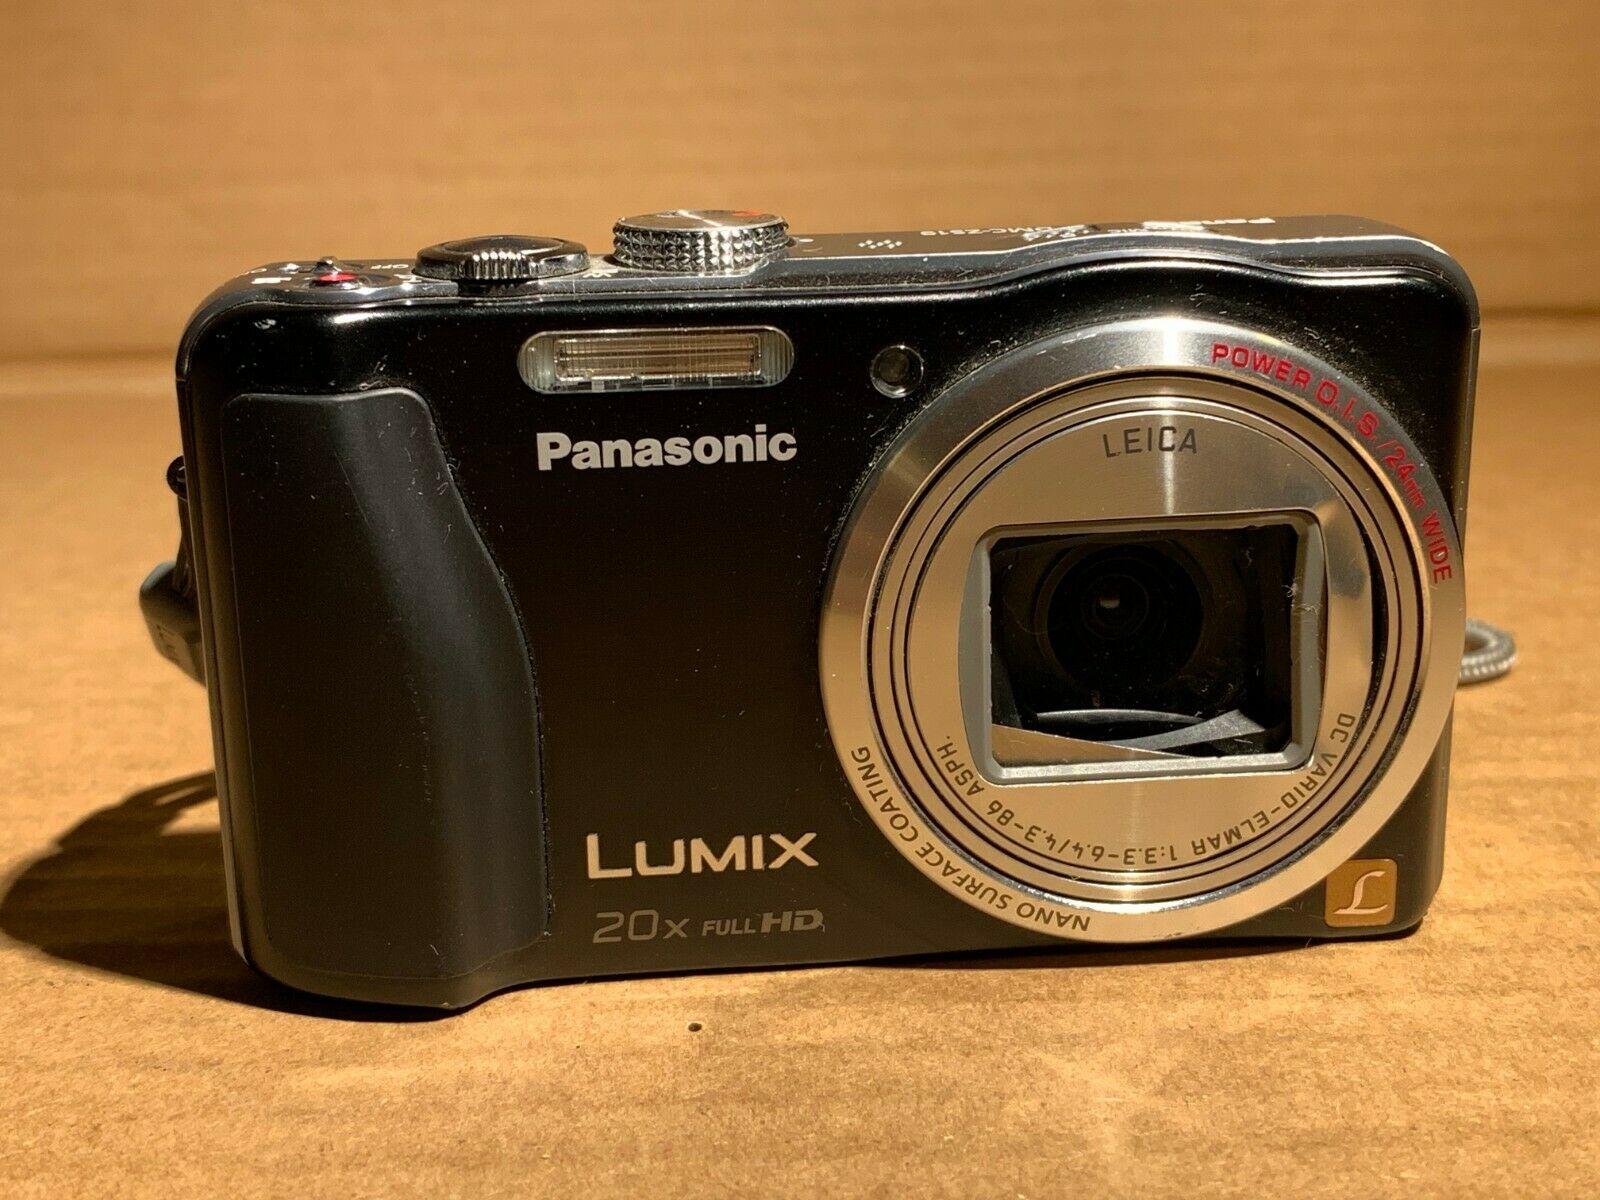
This shows us several things:
- Both cameras are in excellent shape other than lens issues.
- The lens on camera #1 has this Zoom Error and some other issue causing the lens cover to stay like this.
- The lens on camera #2 was badly mangled.
- The back on camera #2 was somewhat mangled.
- In short - camera #2 probably suffered an epic drop. Been there, done that.
A little point of economics is in order.
- Camera #1 about $15 including the original box and accessories.
- Camera #2 cost for $26 (plus shipping).
- On eBay, ZS19's go for about $100 and sometimes more.
- A complete functioning lens assembly for the ZS19 costs over $300.
Obviously a "repair" involving replacing the lens assembly is not worth the bother. But buying two broken cameras, creating from them one functioning camera, and having sellable parts left over, is very interesting economically.
The game plan
The plan of action was:
- Disassemble both cameras
- Disassemble one lens to verify success with the process - attached to this post is a video carefully showing exactly how to disassemble and reassemble the Lumix ZS19 lens assembly
- Disassemble the other lens
- Reassemble a new lens using the best parts available
For example we knew the stepper motor used to zoom the lens had to be replaced, and that the donor camera probably had a good stepper motor. Therefore we'll swap in the new stepper motor. Further the front portion of the lens on the first camera may be functional, and is certainly more functional than the lens of the donor camera.
For reference - see my earlier disassembly of Camera #1 showing how to take the ZS19 apart: Extracting lens unit from Panasonic Lumix DMC-ZS19 - partial teardown
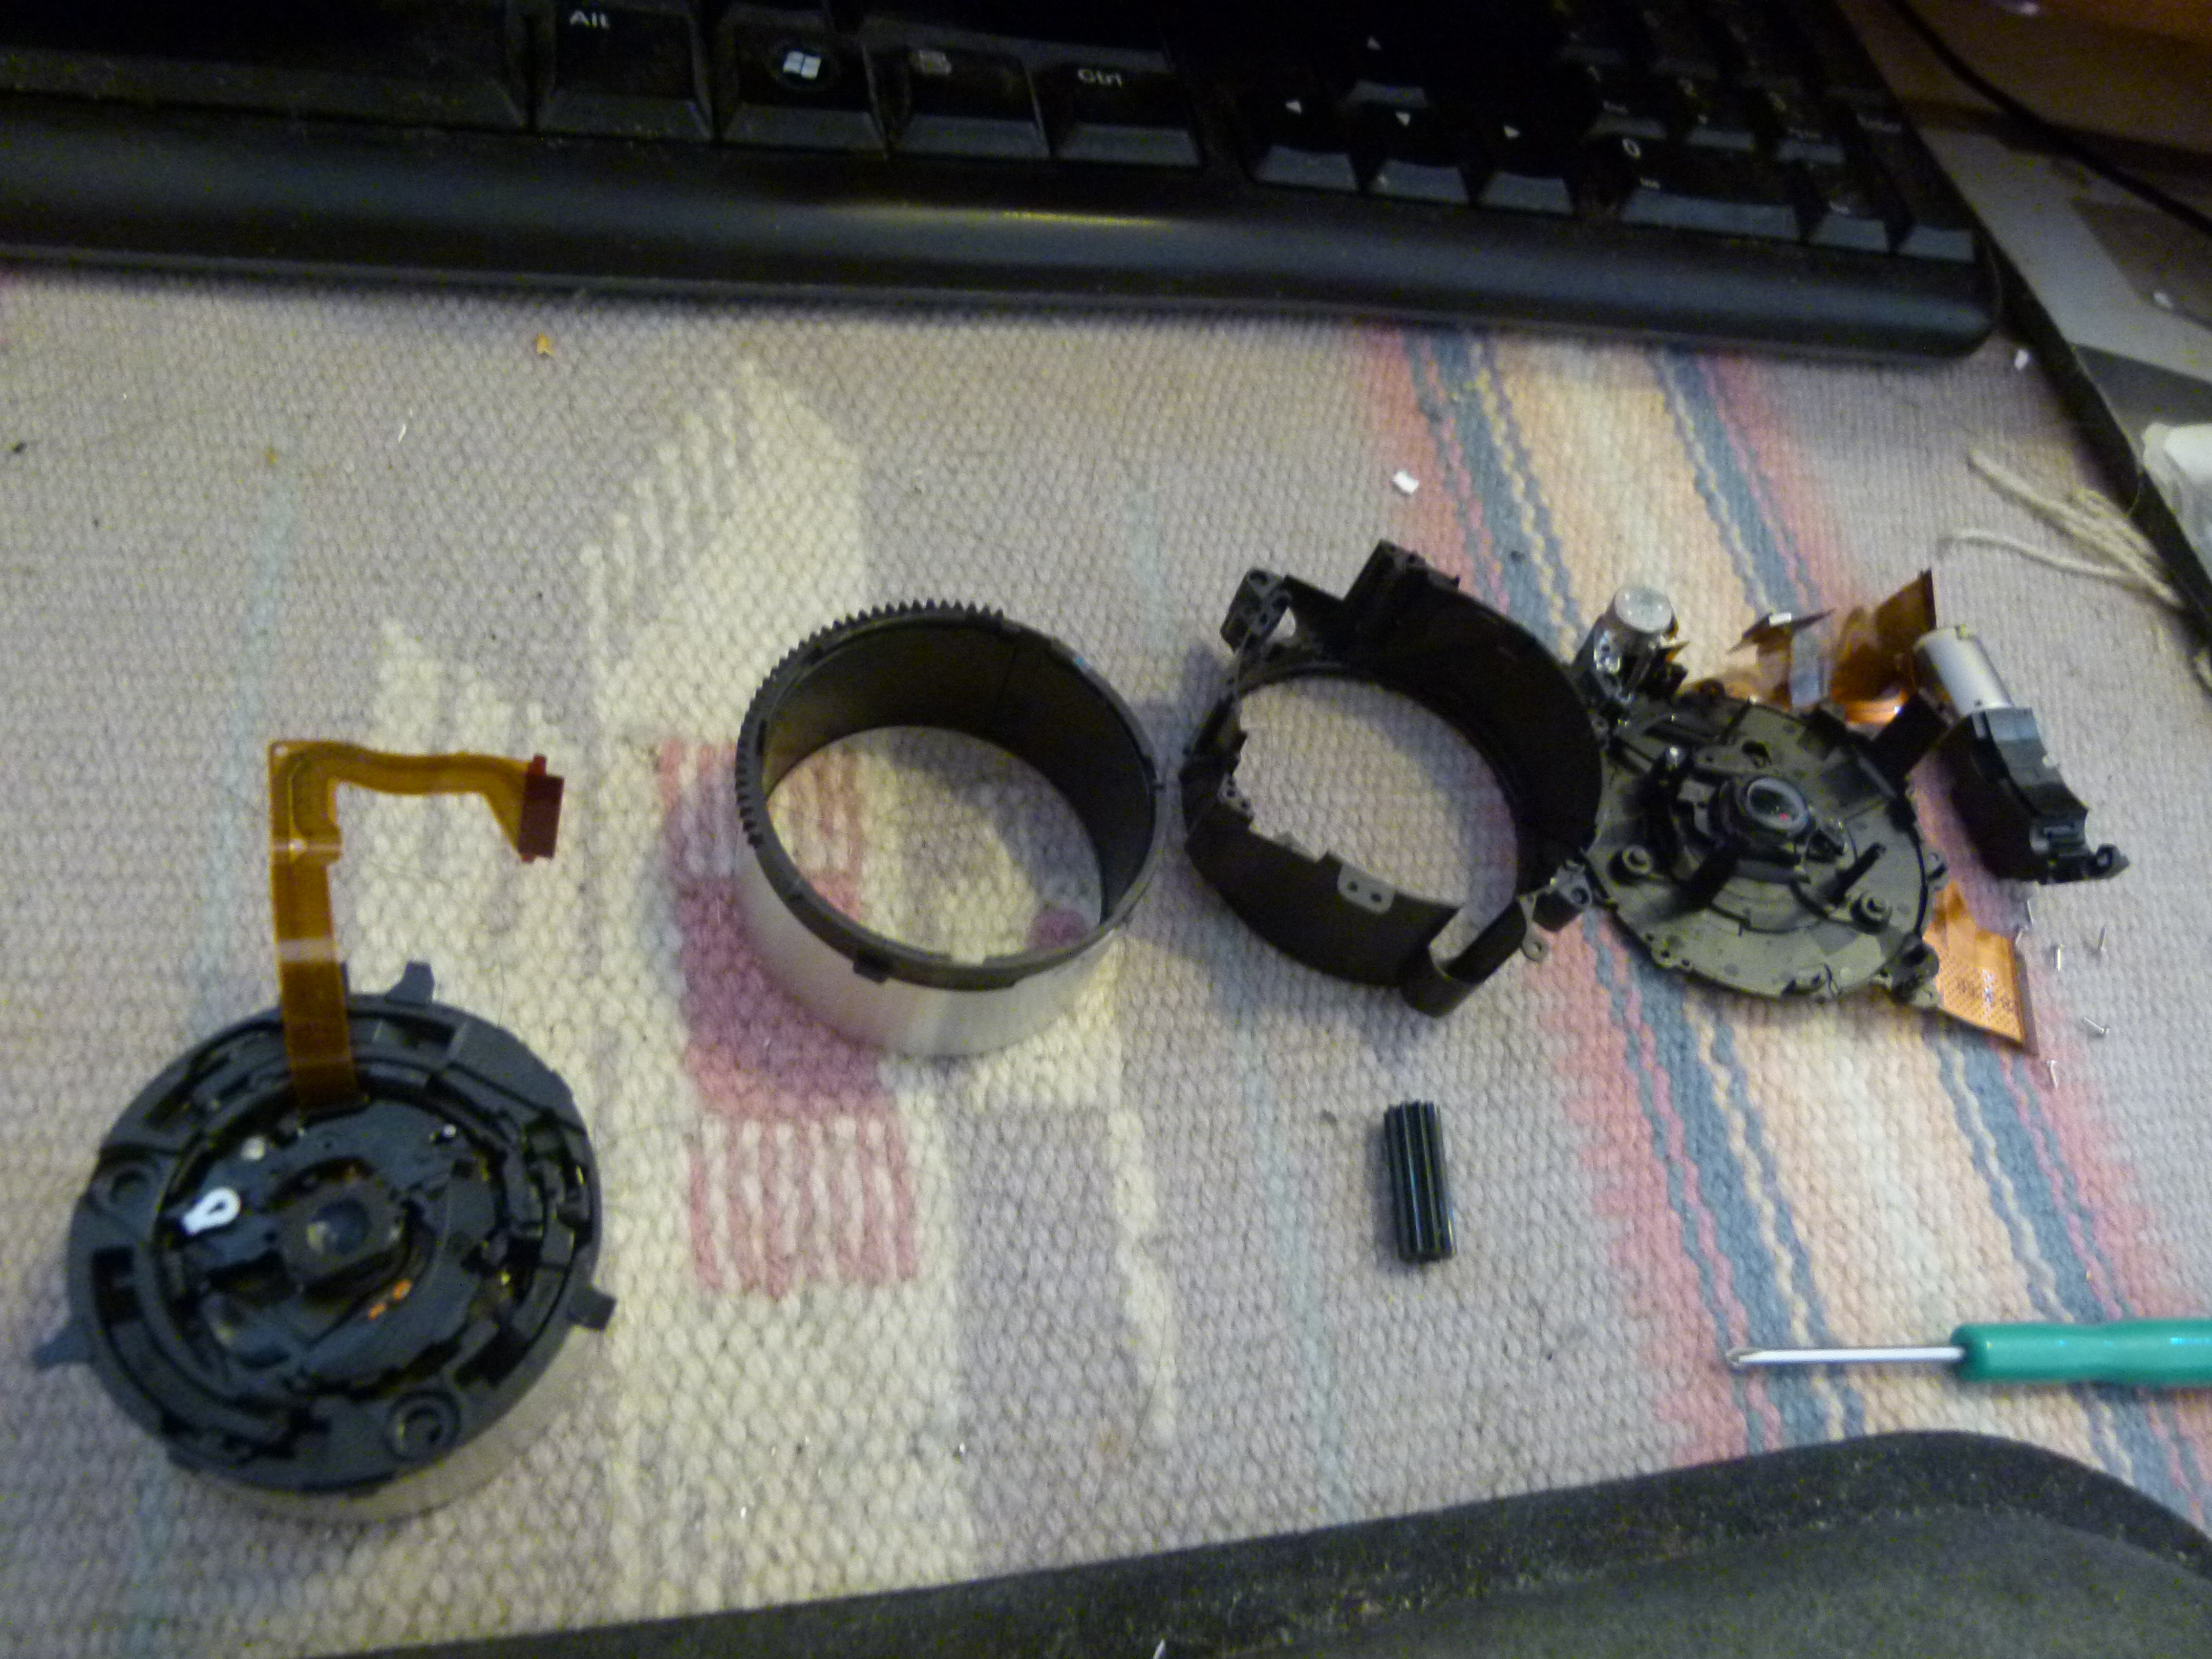
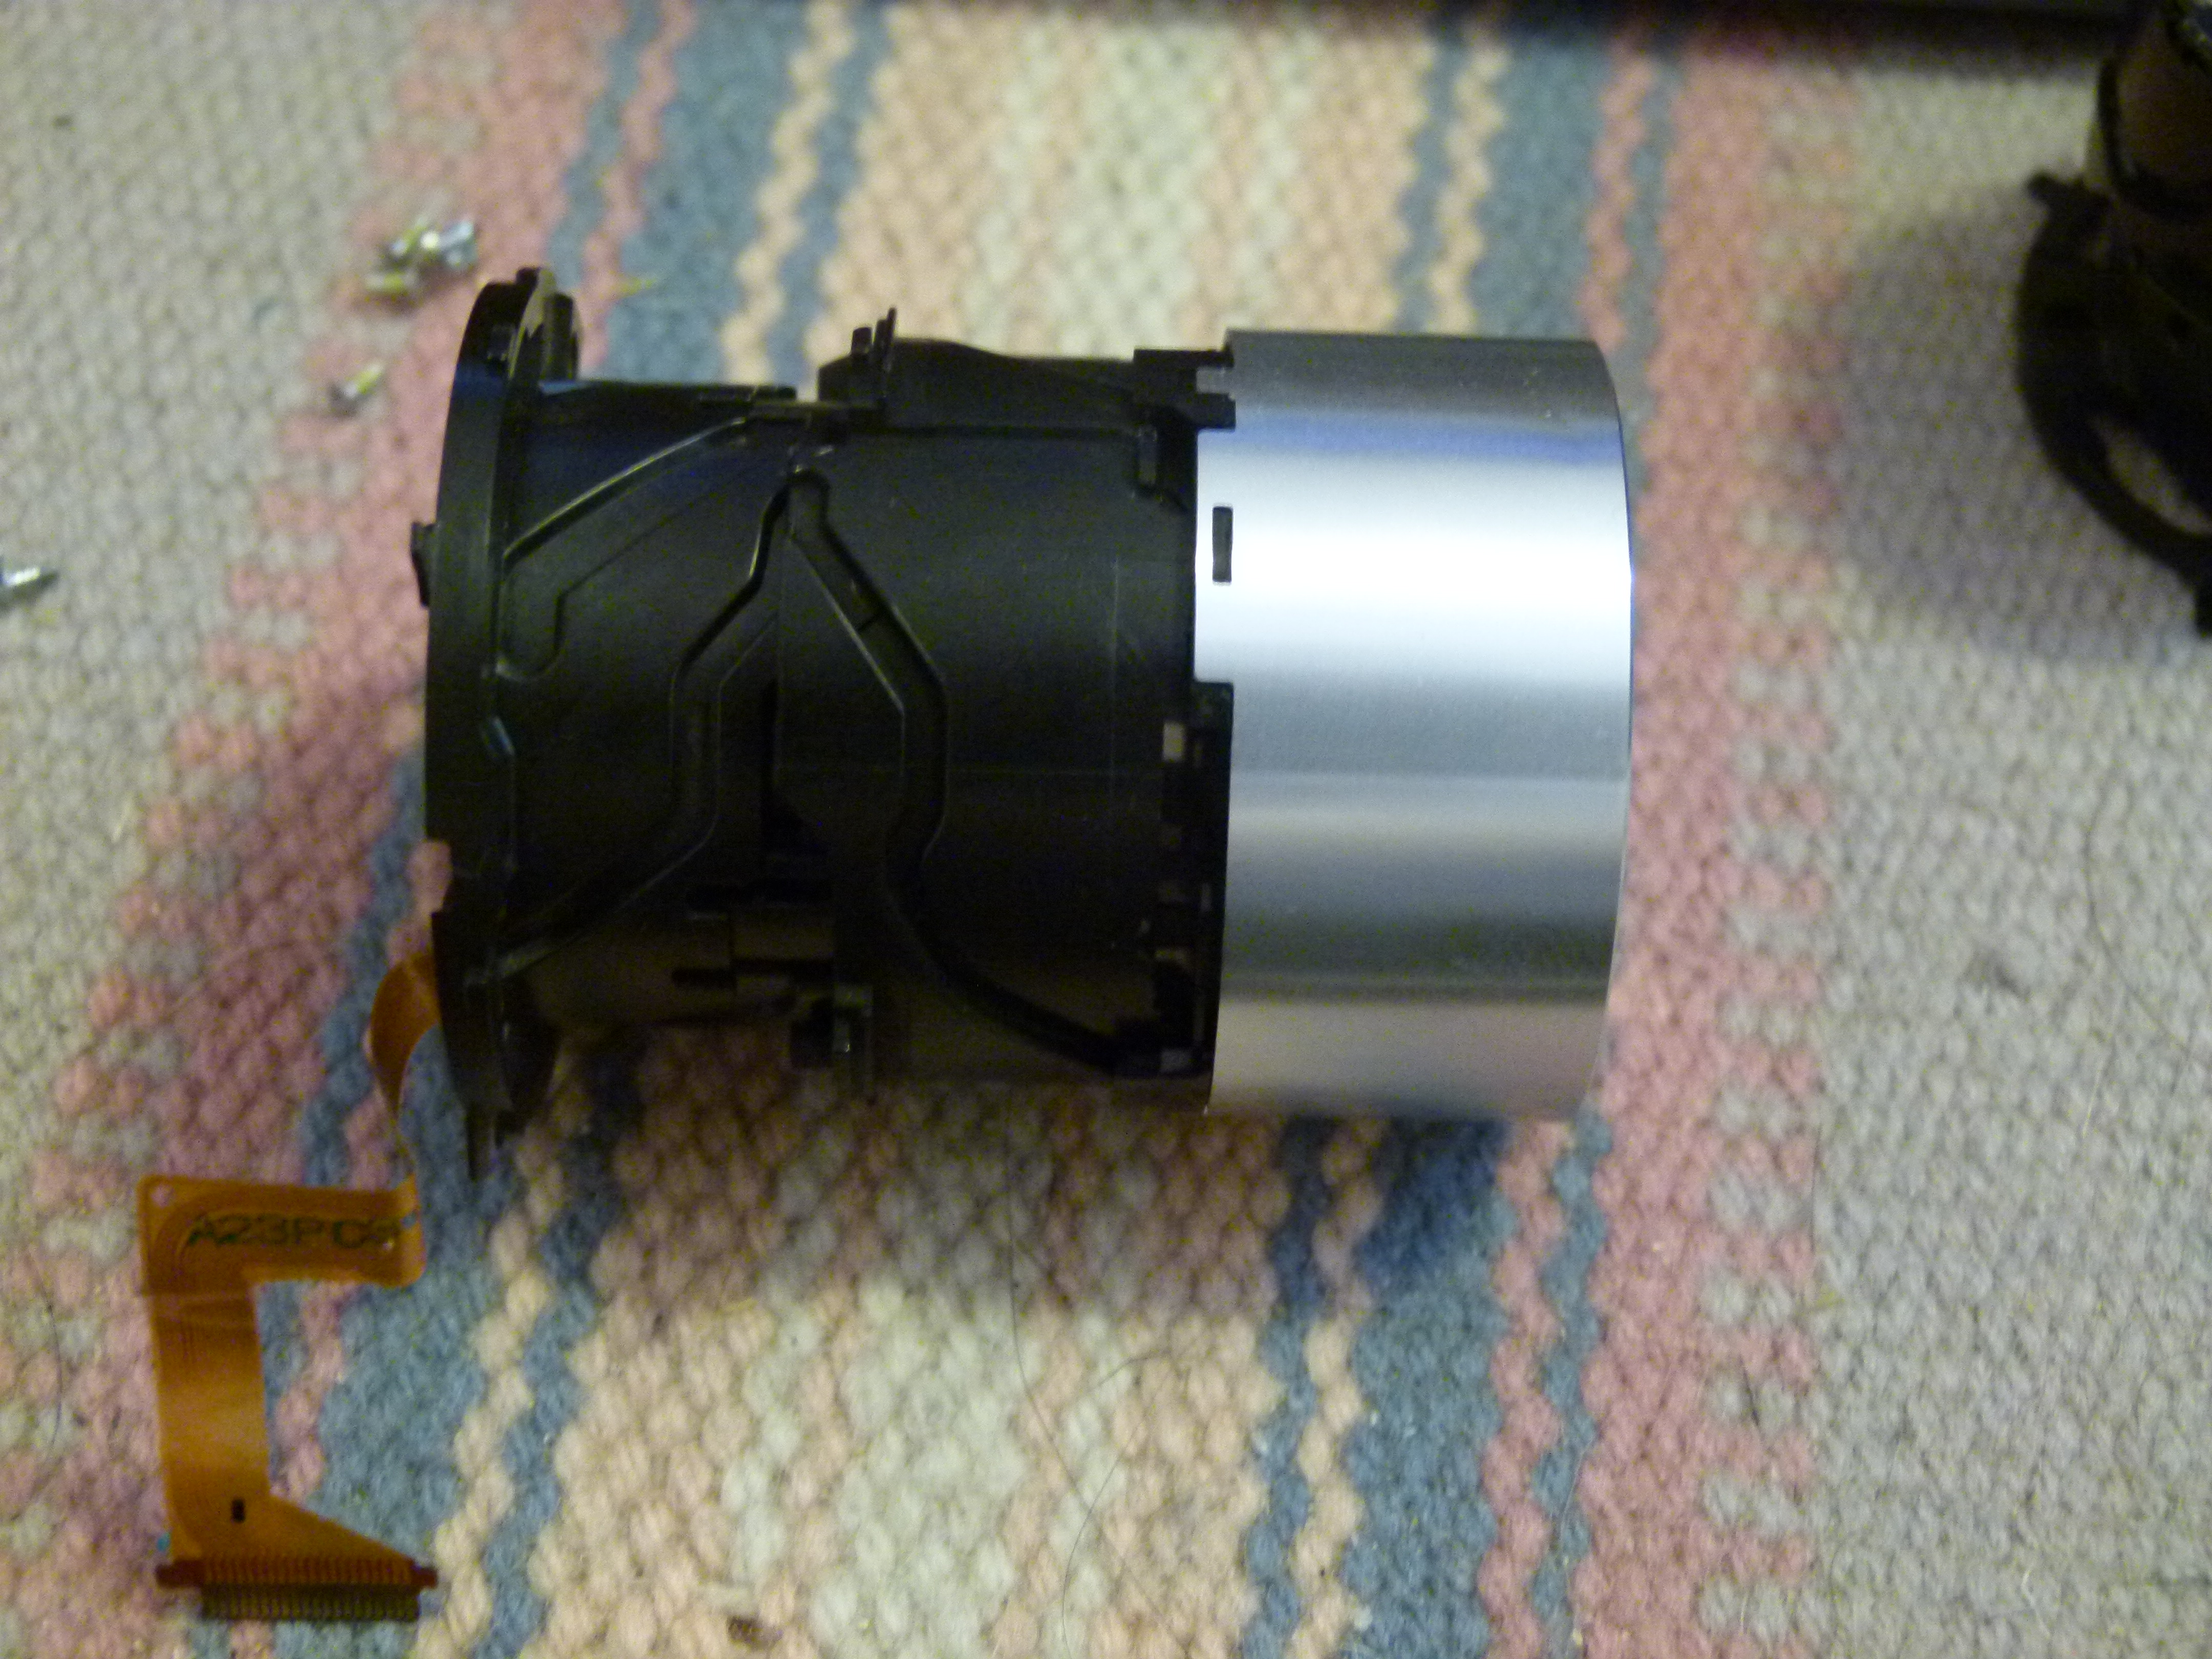
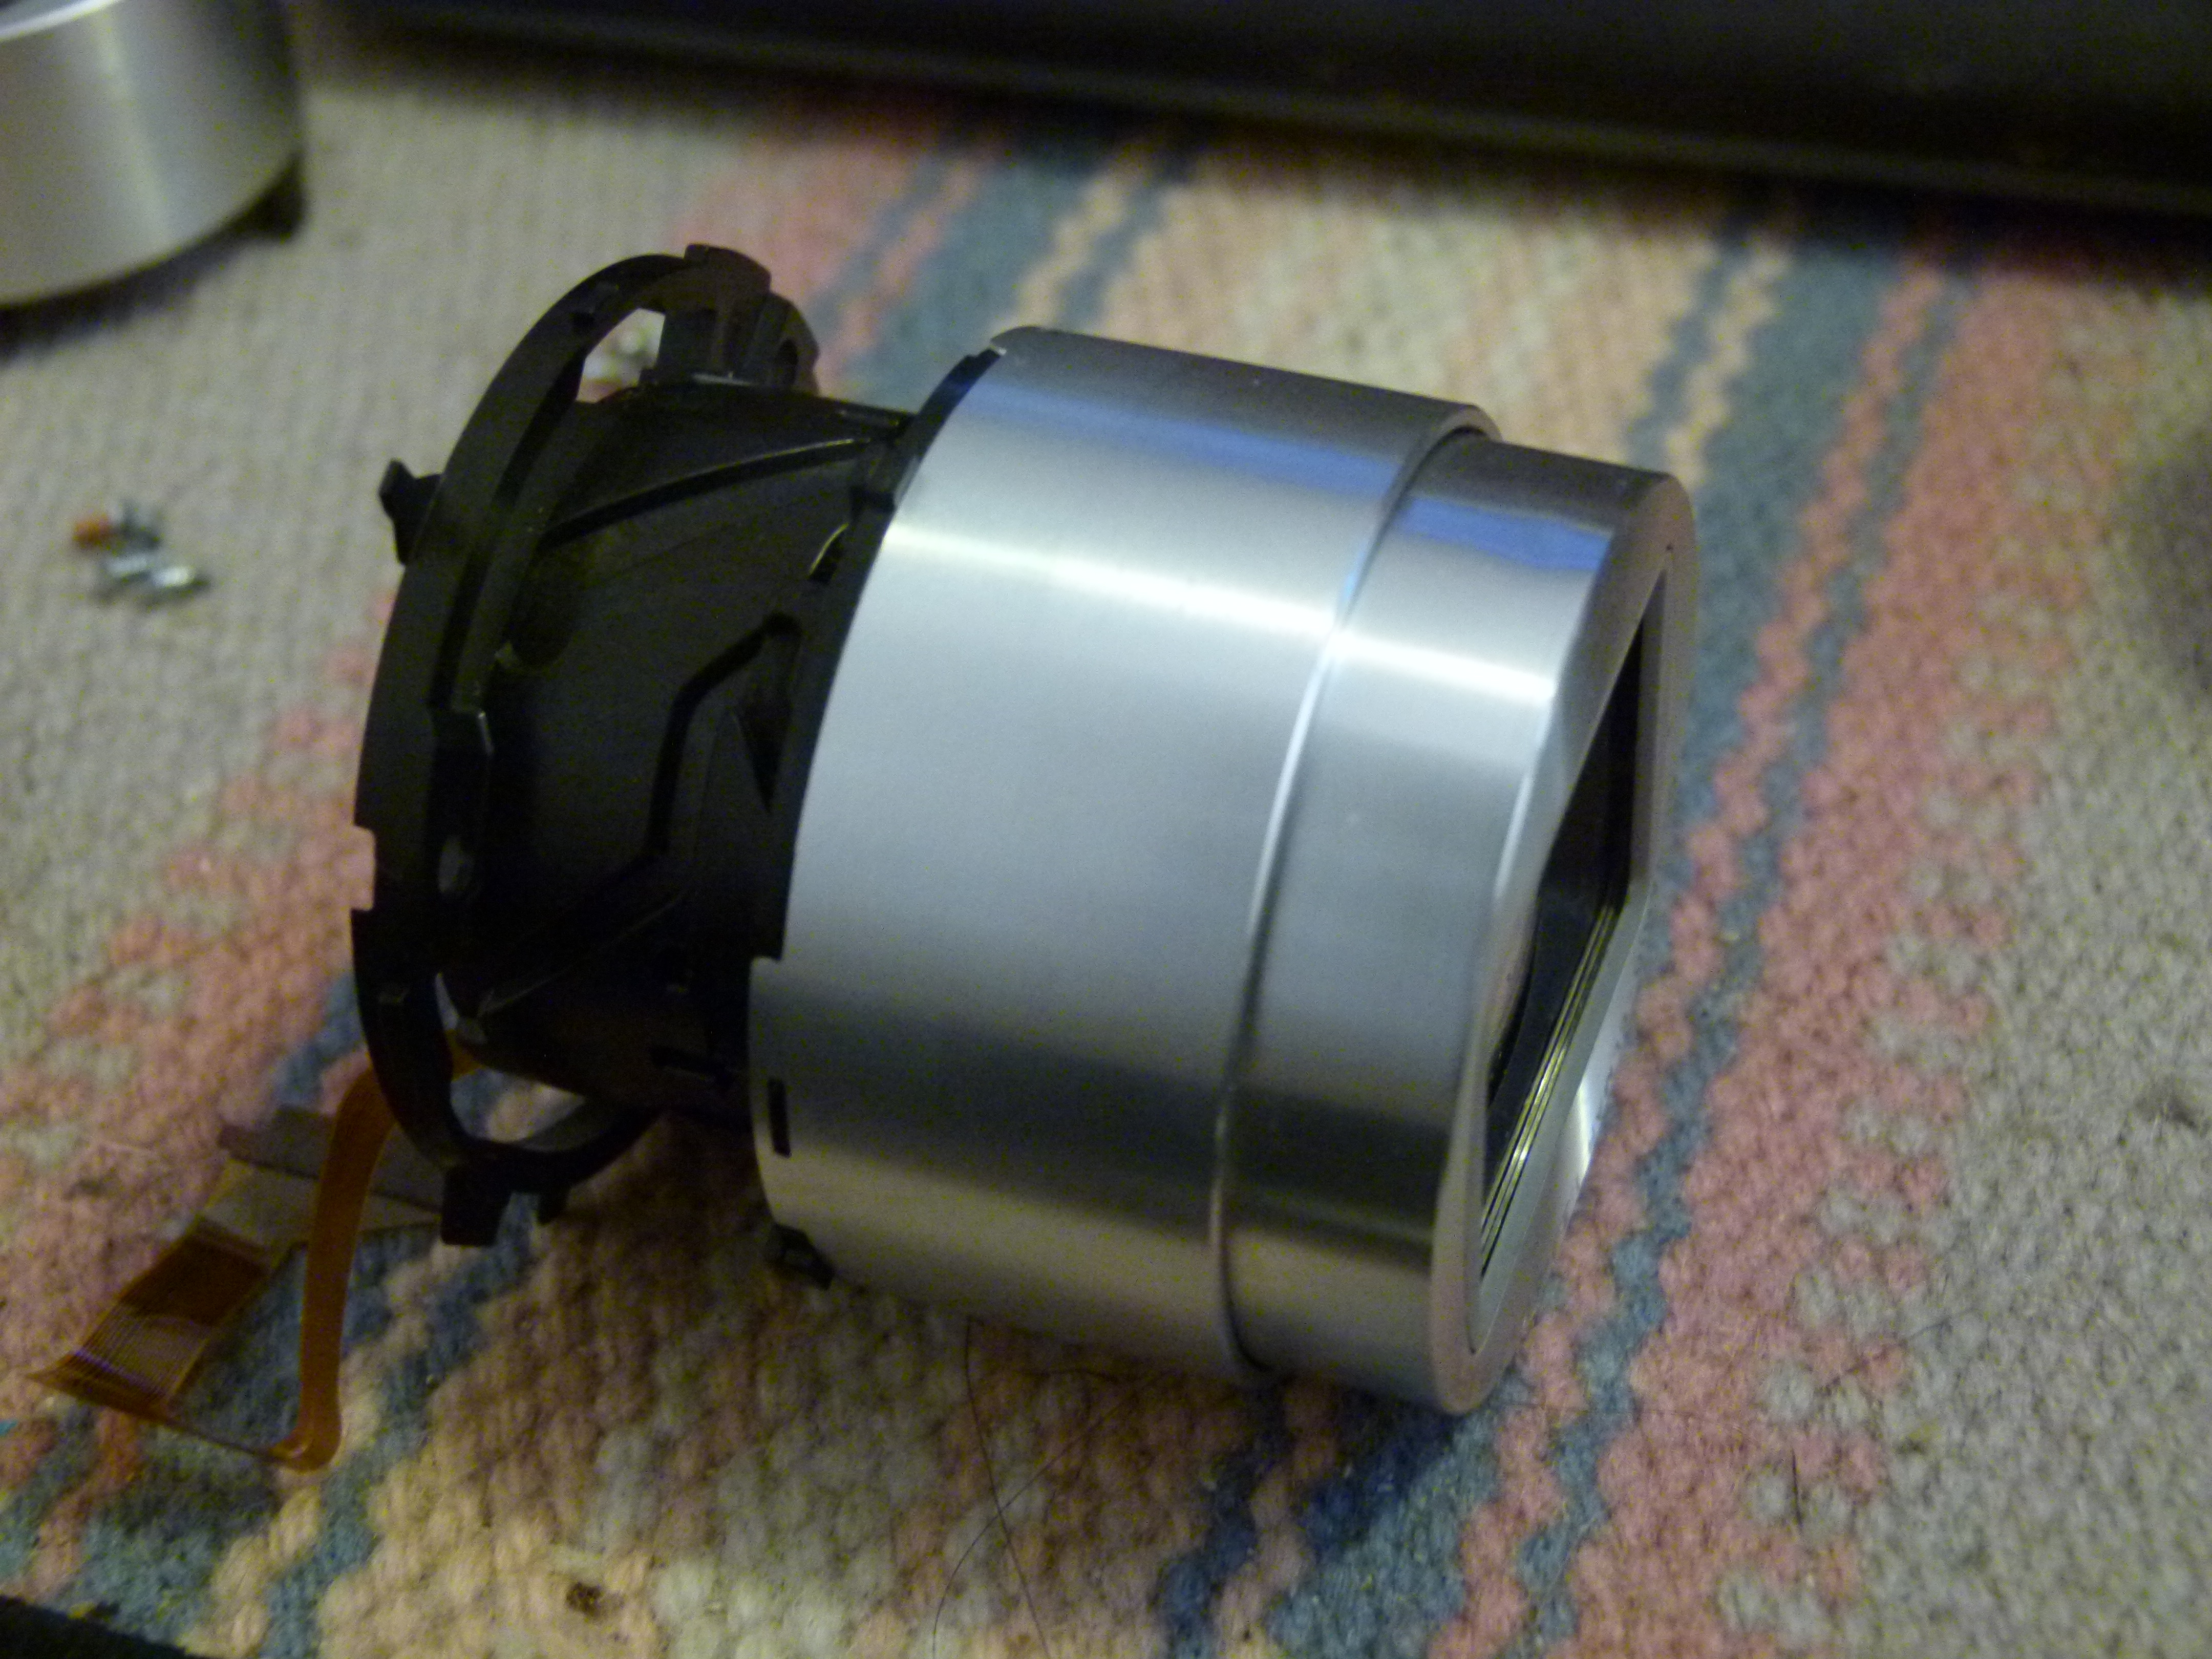
Disassembling the Lumix DMC-ZS19 Lens Assembly
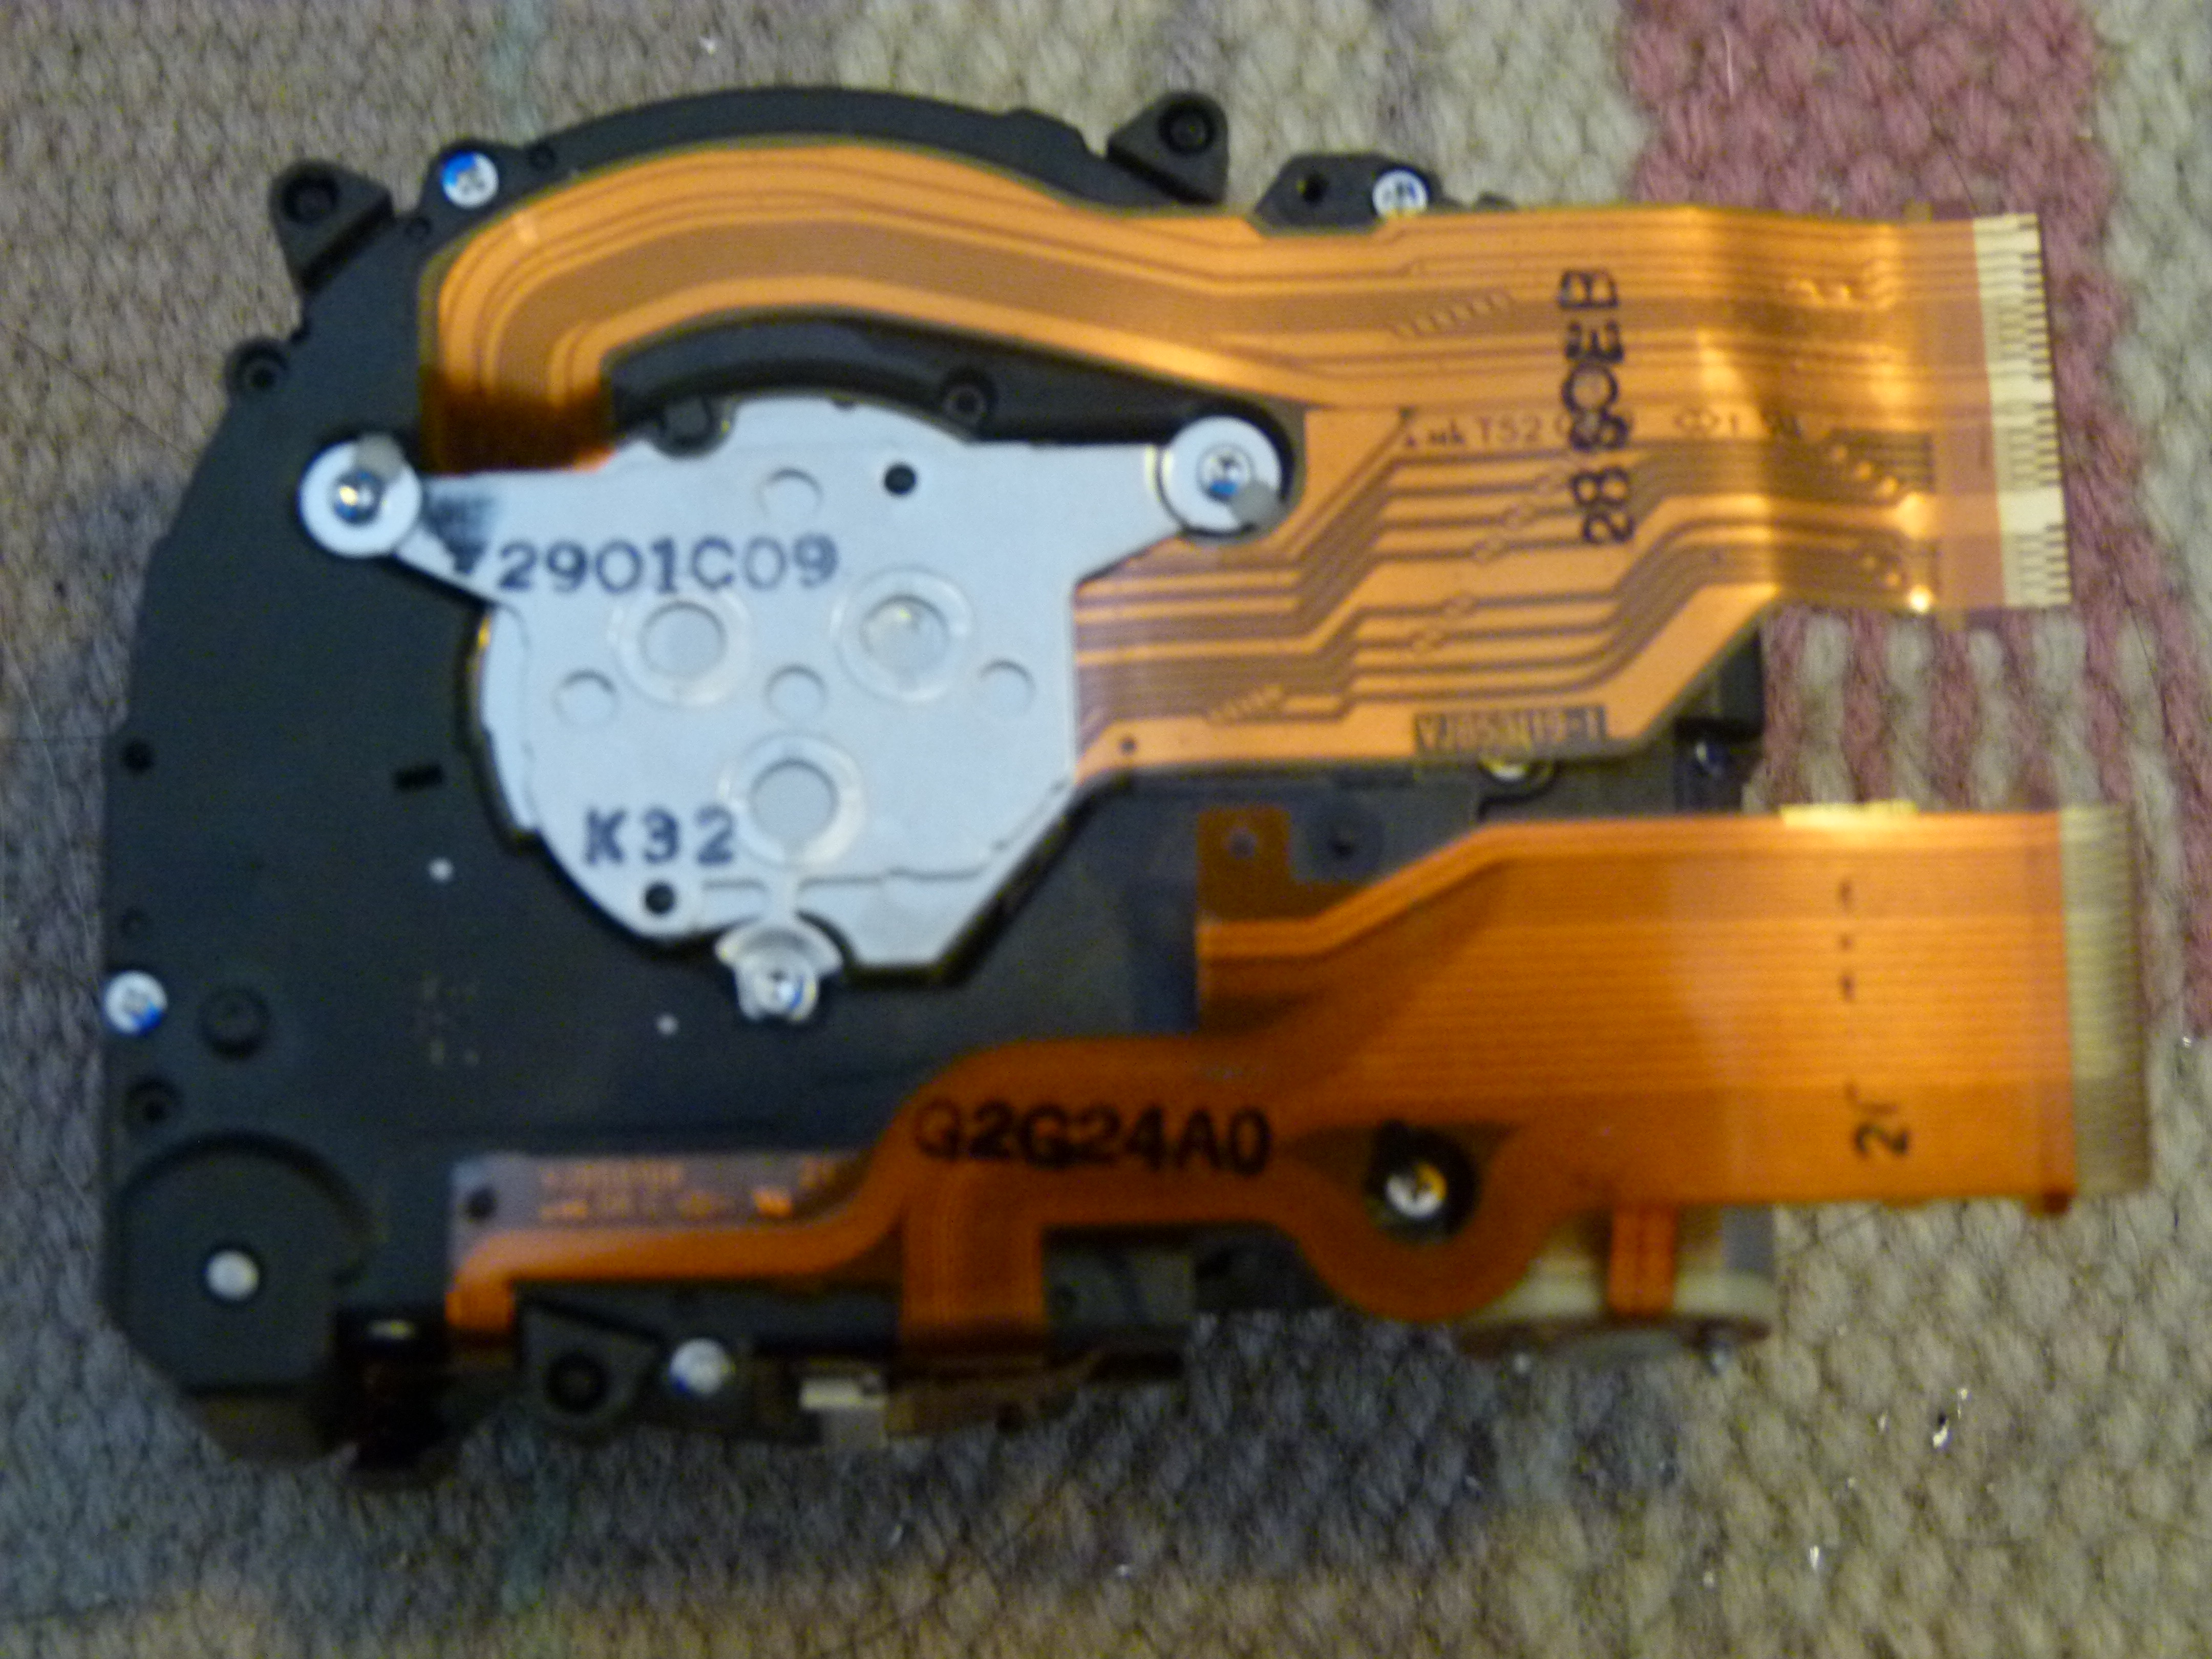
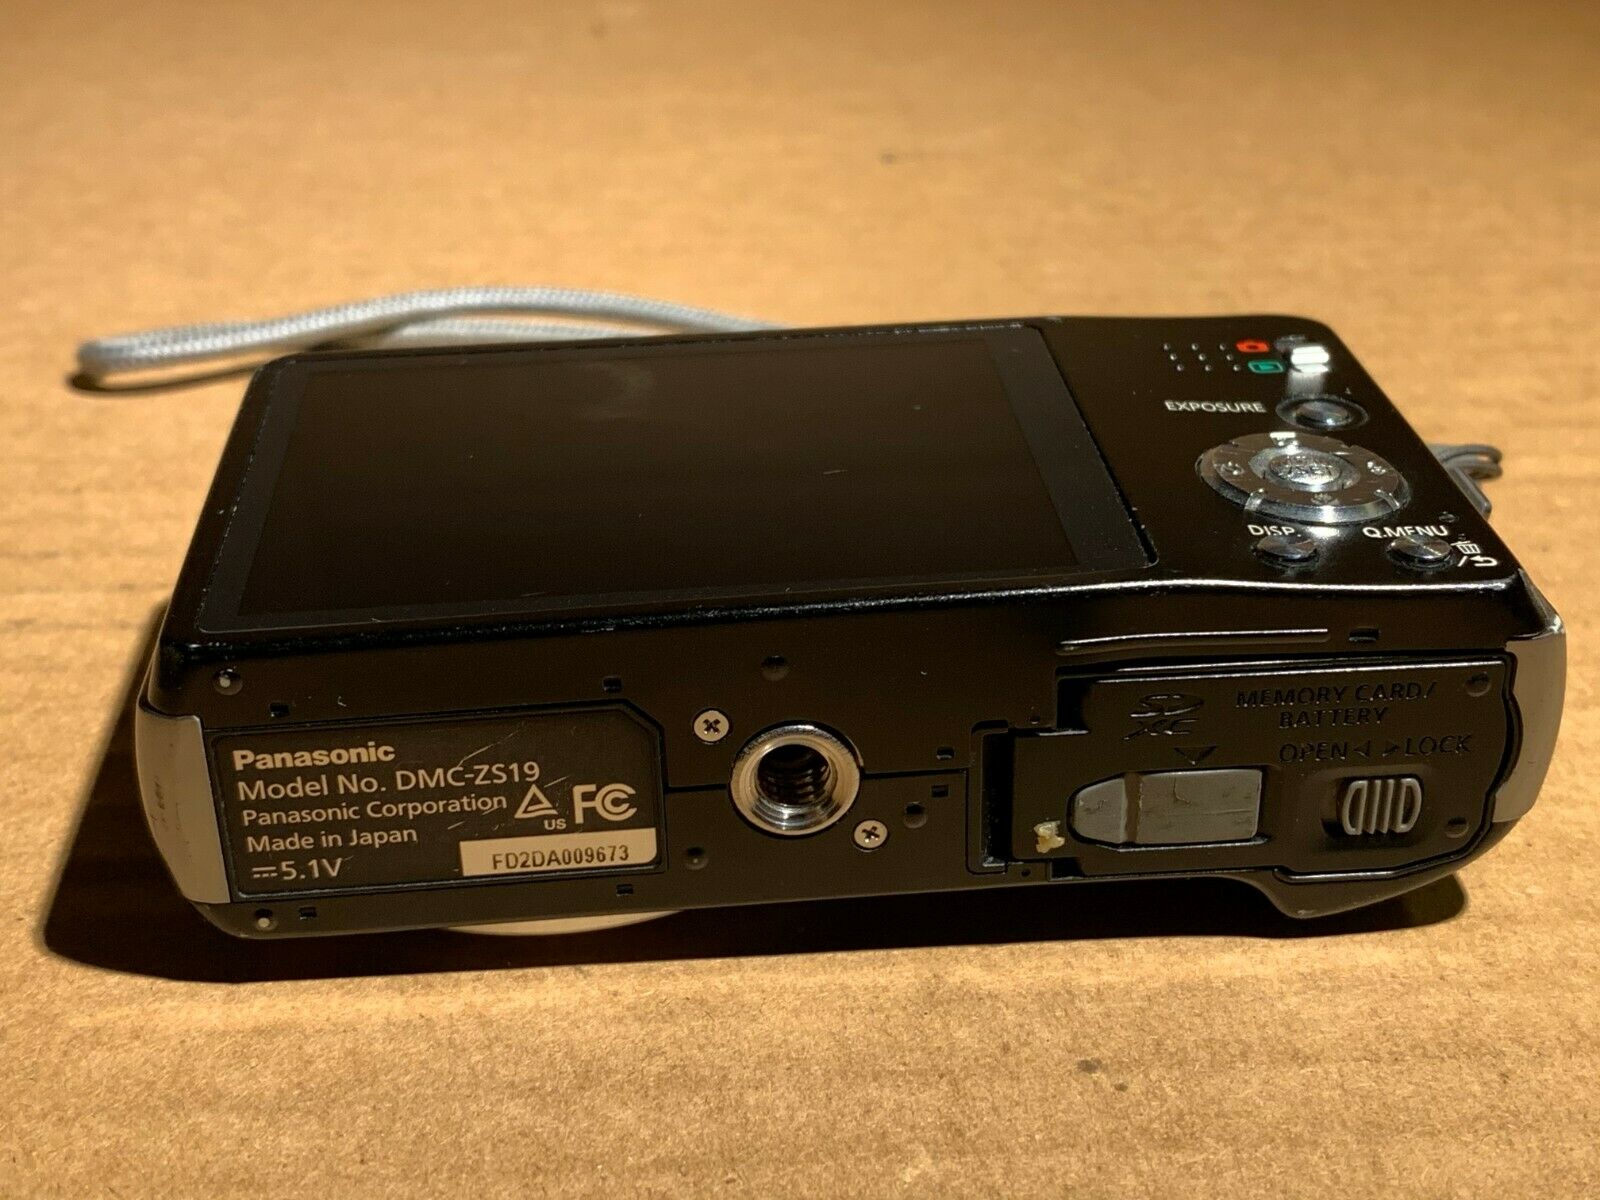
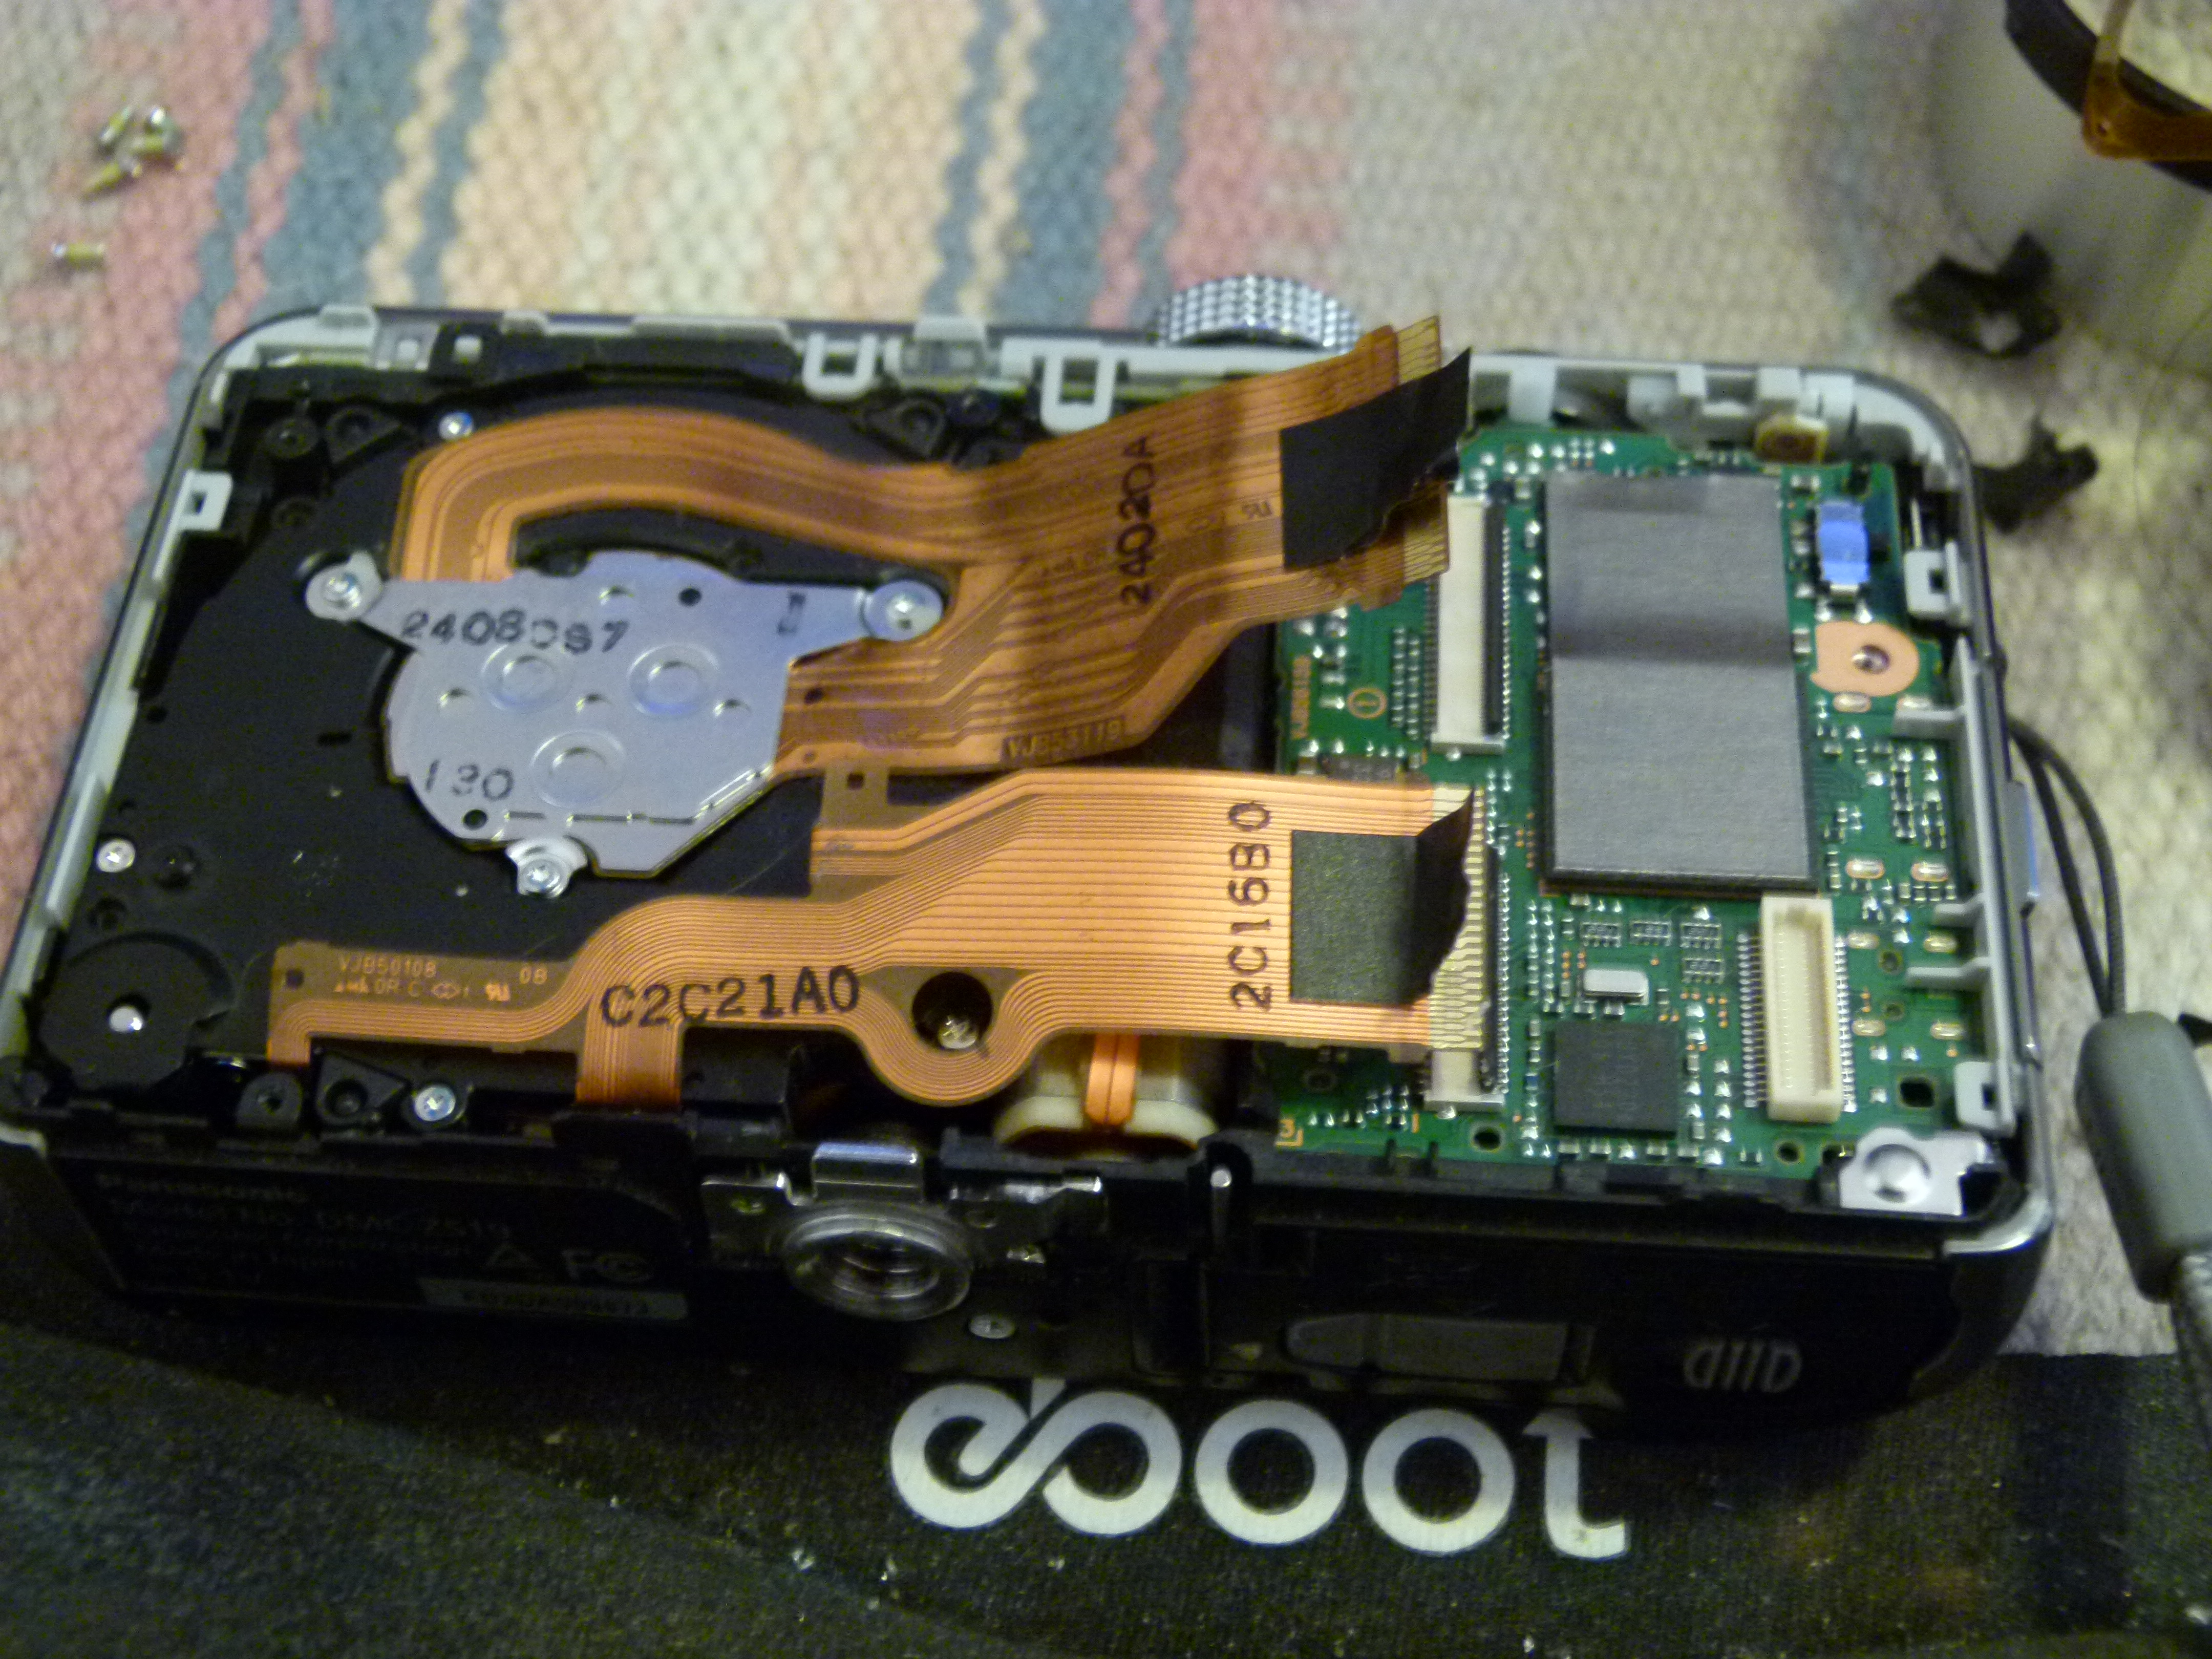
The back side of the lens assembly. There are six small screws to remove from this, two of which hold down the stepper motor. That motor is partly hidden behind the ribbon cables in this picture. The silver piece in the middle is the image sensor, which we will not touch in this project.
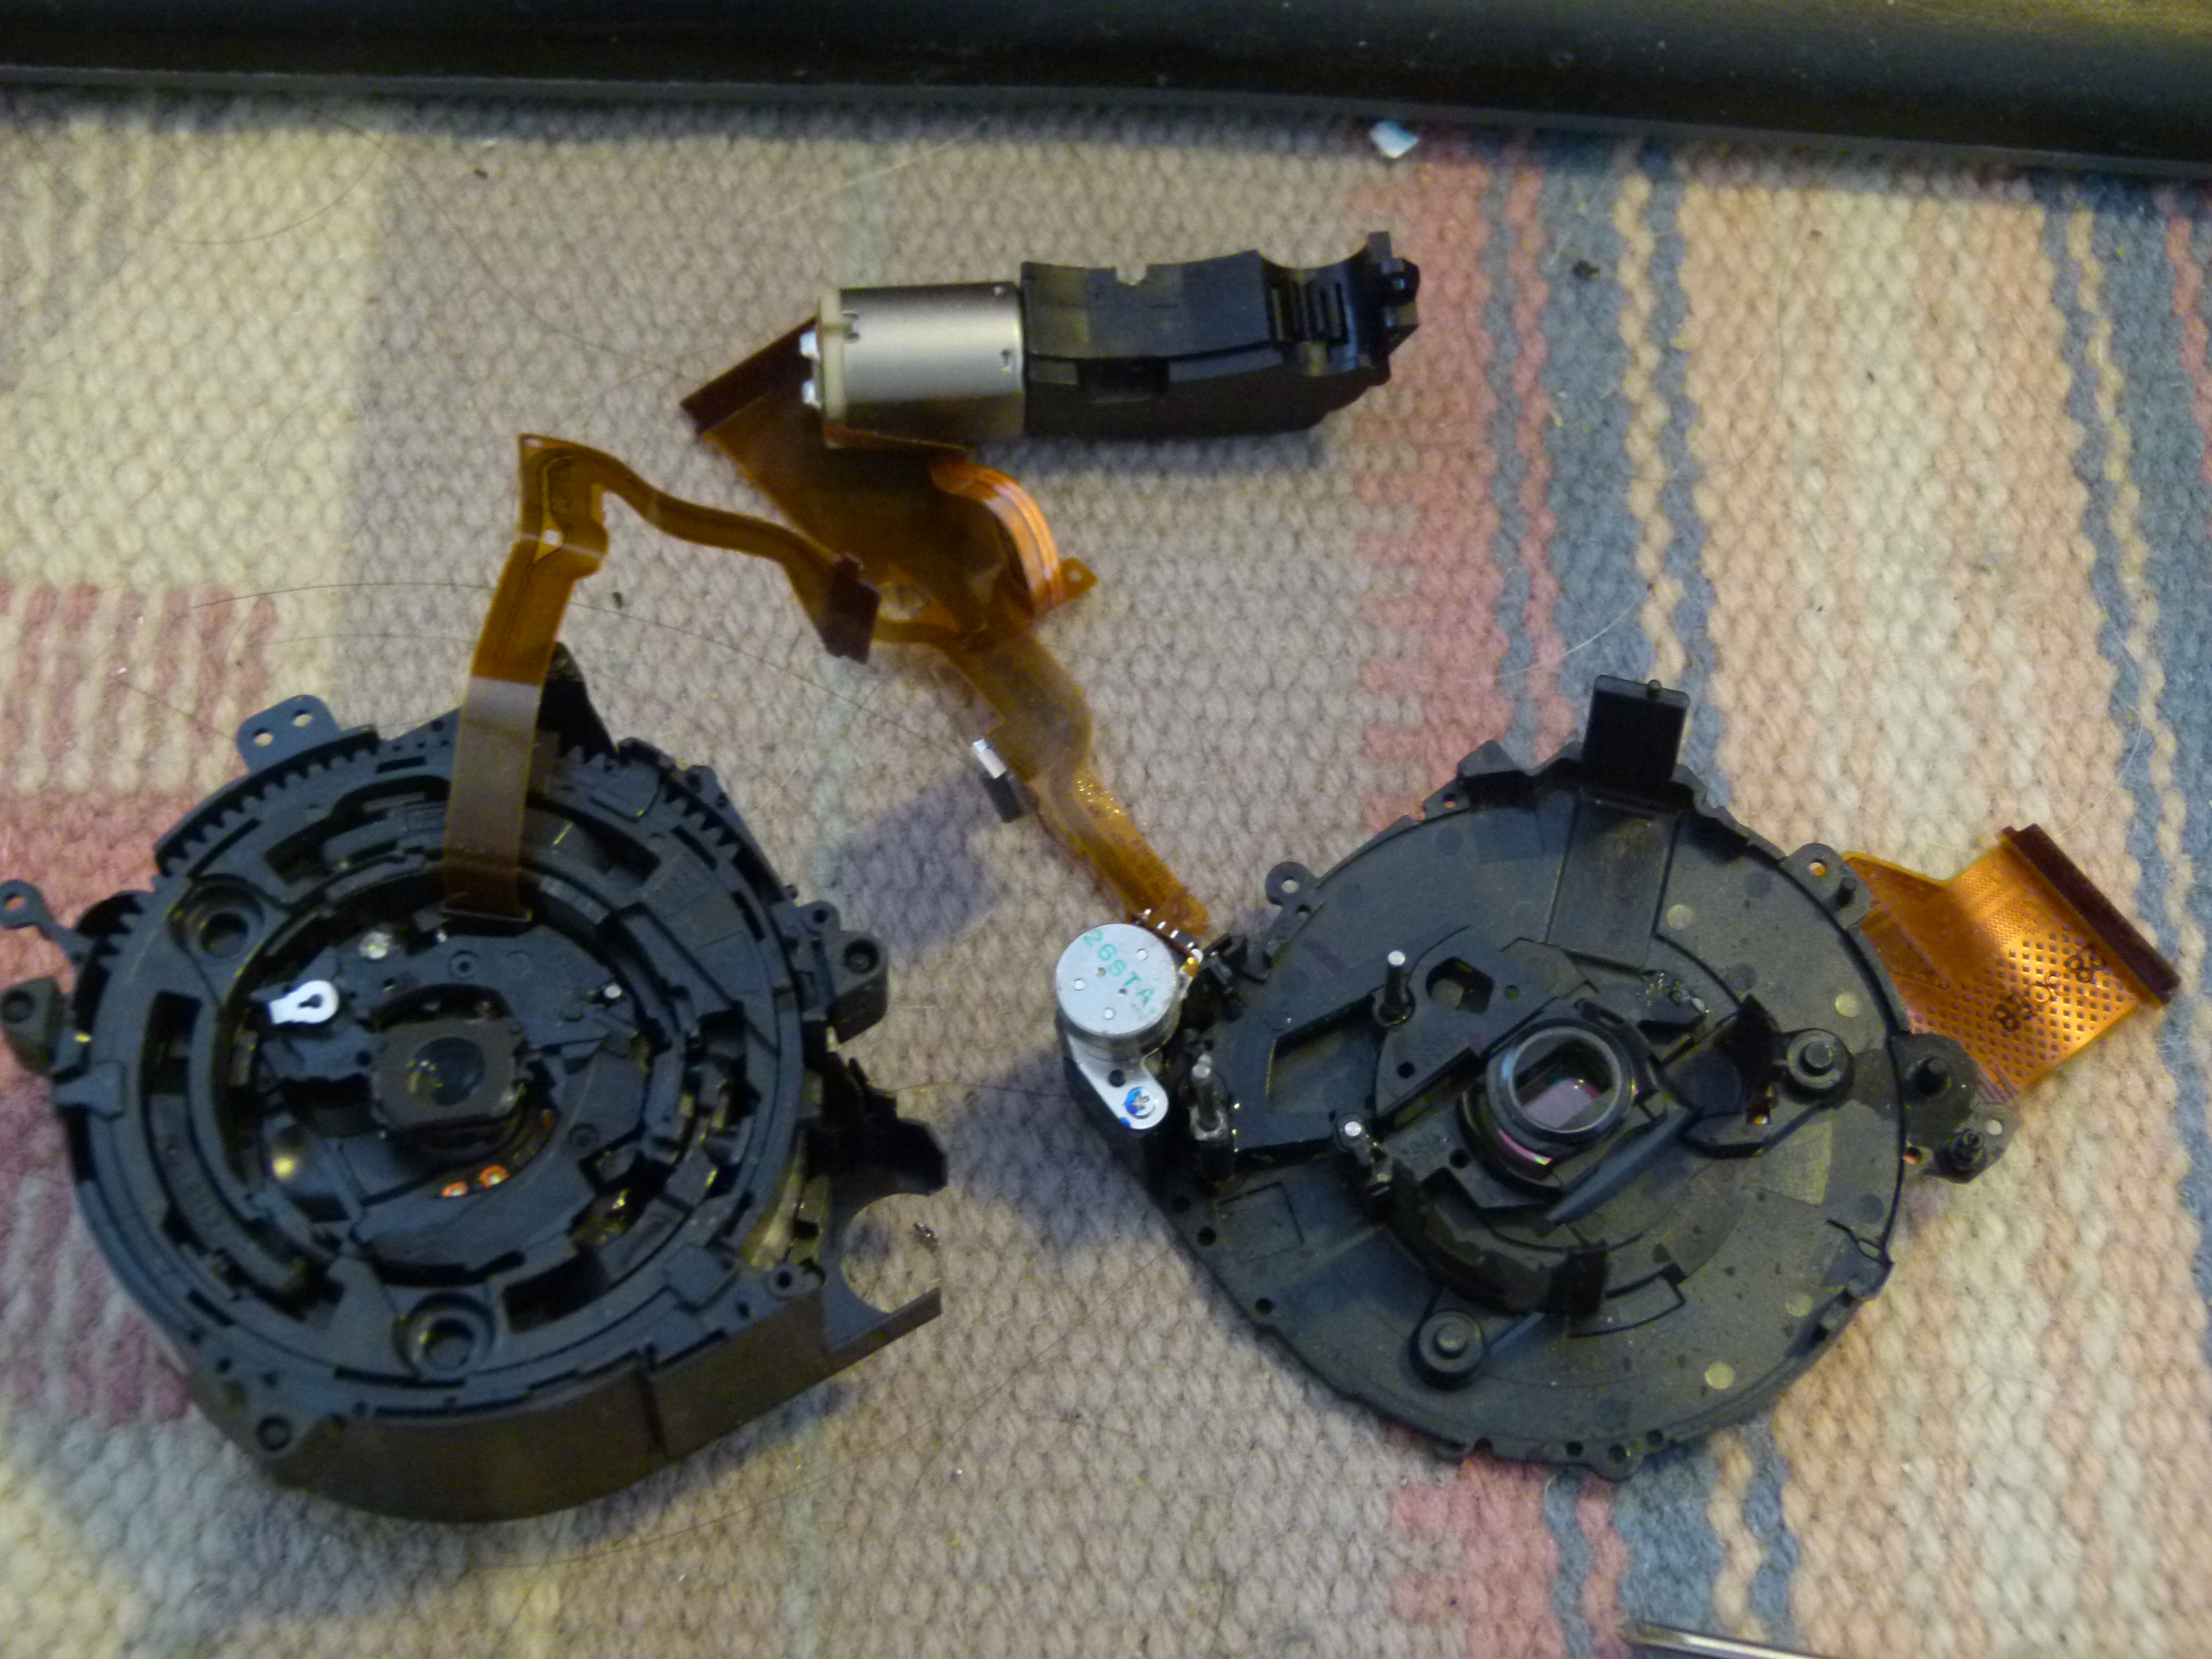
Here we see the back has been removed, and the stepper motor is at the top.
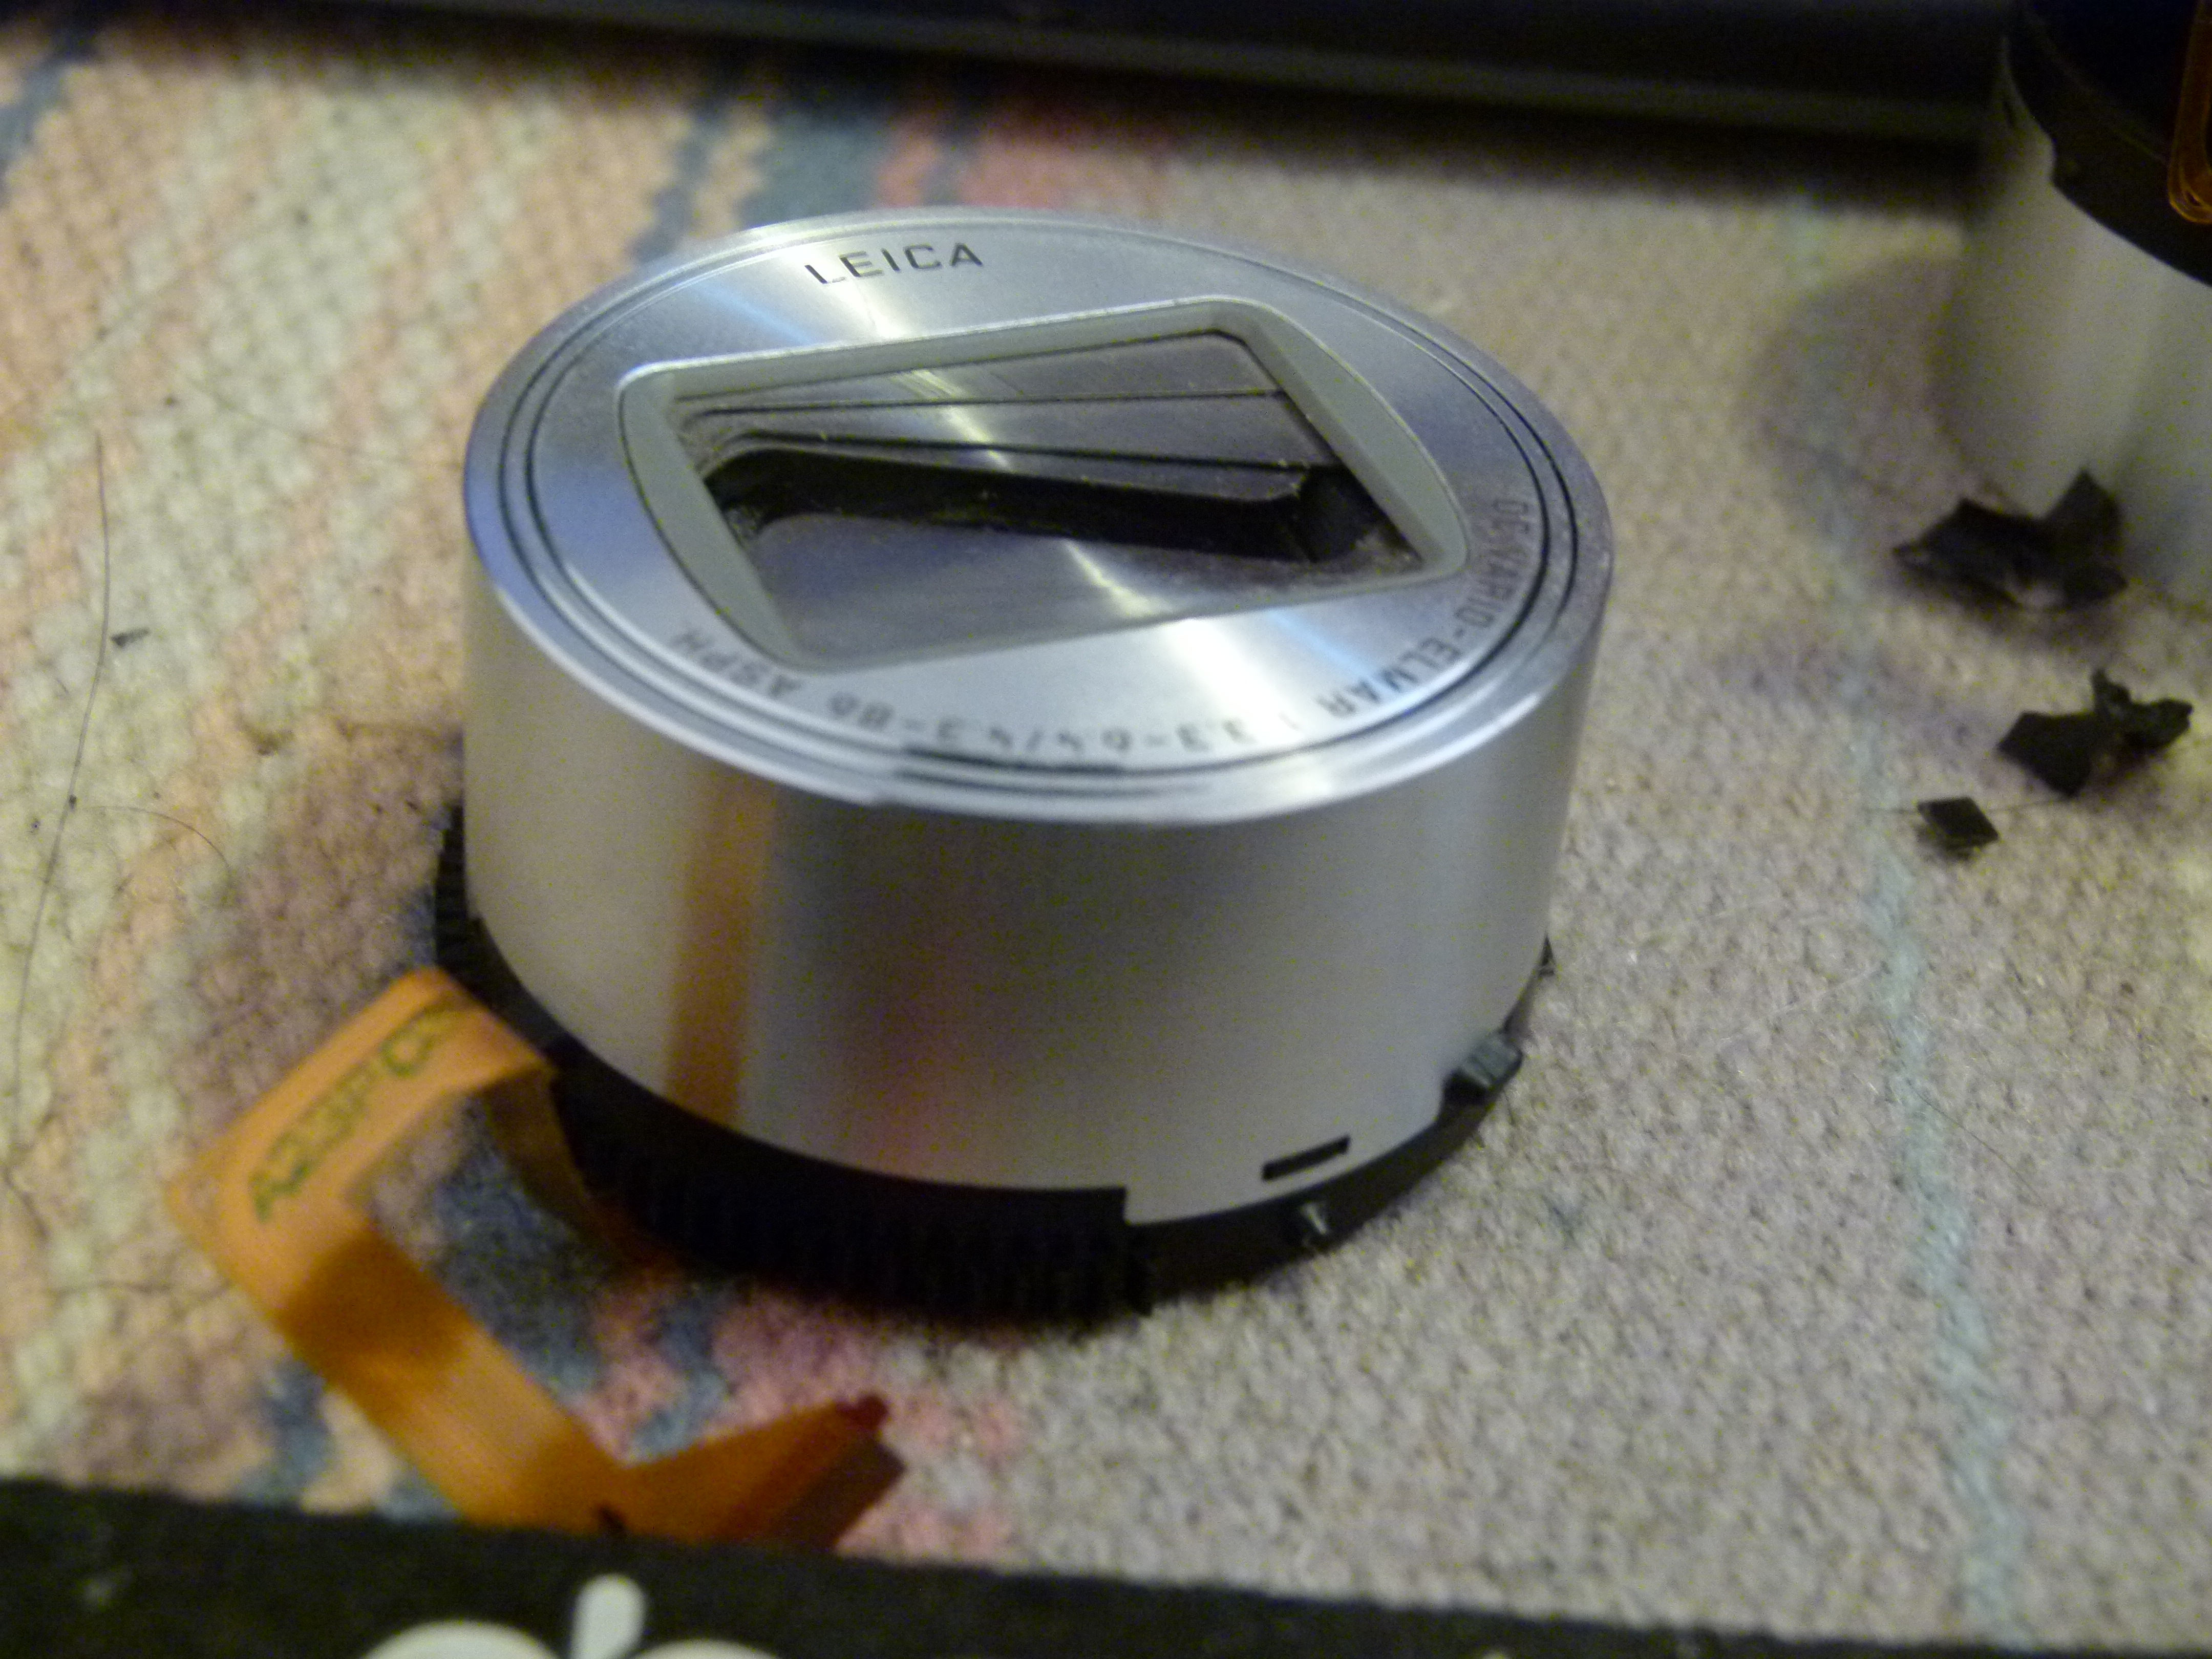
The lens itself is like a Russian Doll. There are multiple layers of tubes, with grooves cut in the side of many of them. The stepper motor drives a gear/track alongside the outermost sleeve. The grooves are what cause the lens assembly to zoom in and out, with the zooming motion being described by those grooves.
It's helpful when disassembling something as complex as this to place the parts in an orderly fashion. This will help you remember how to reassemble everything.
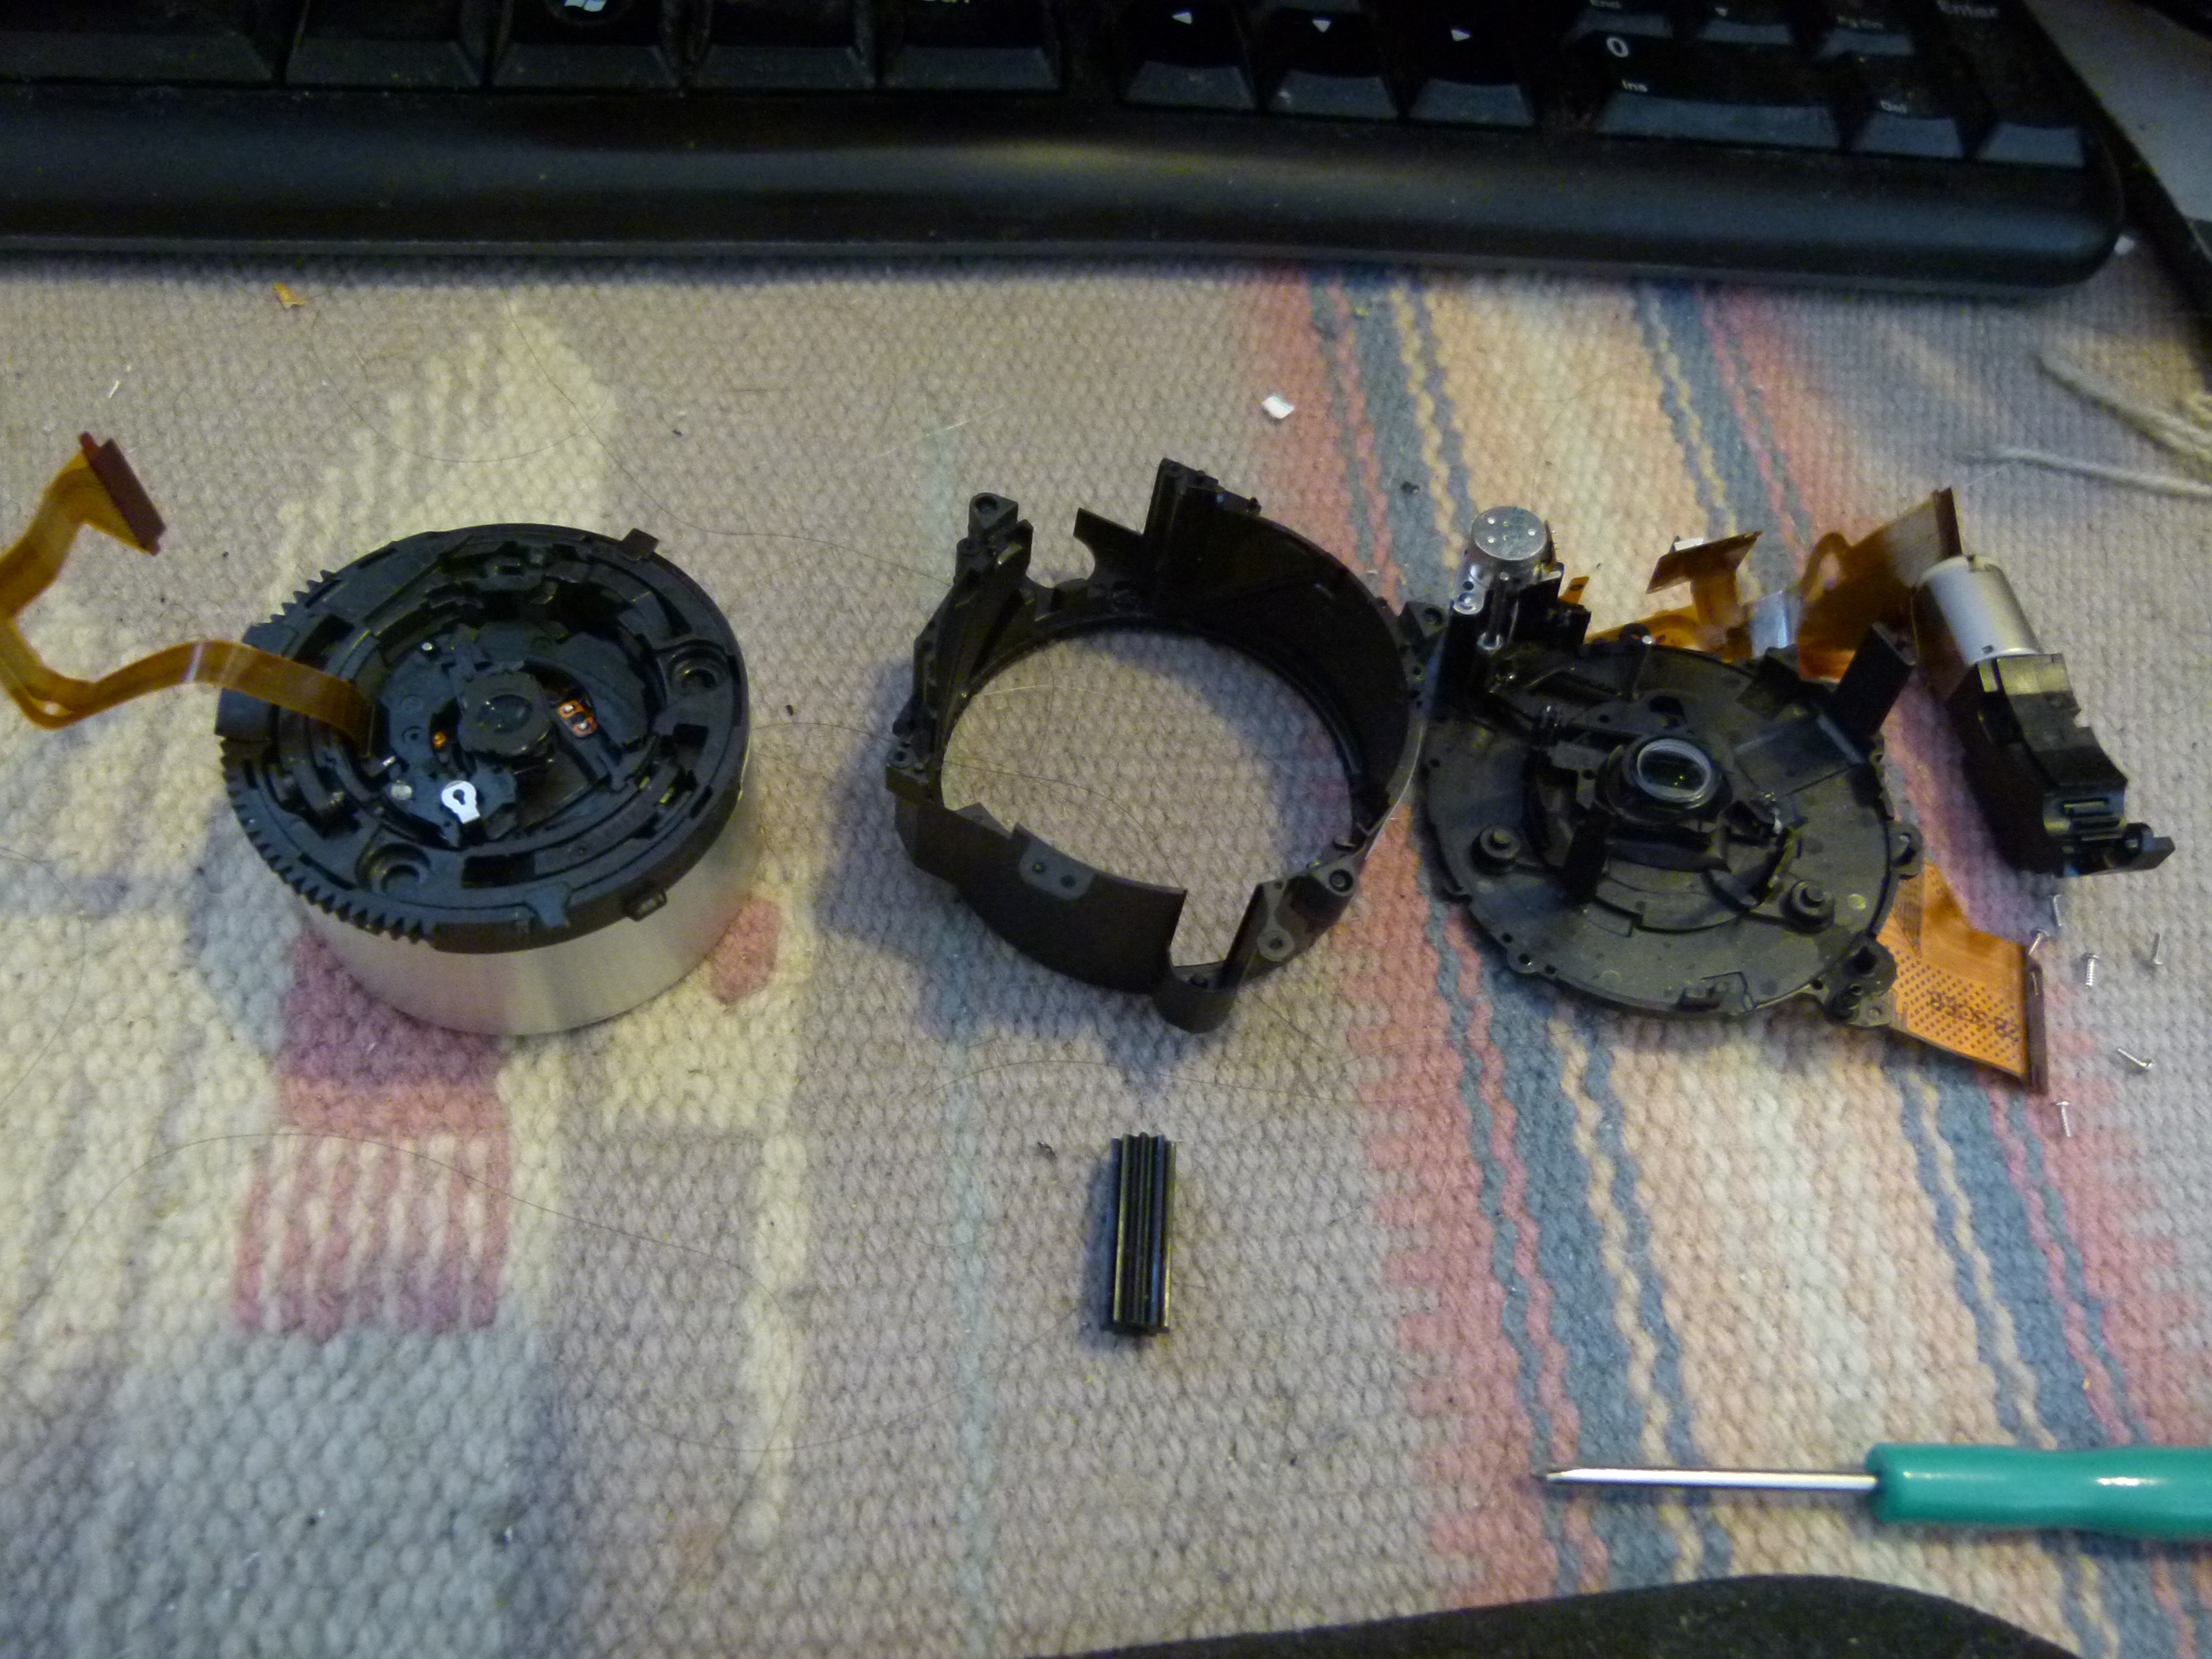
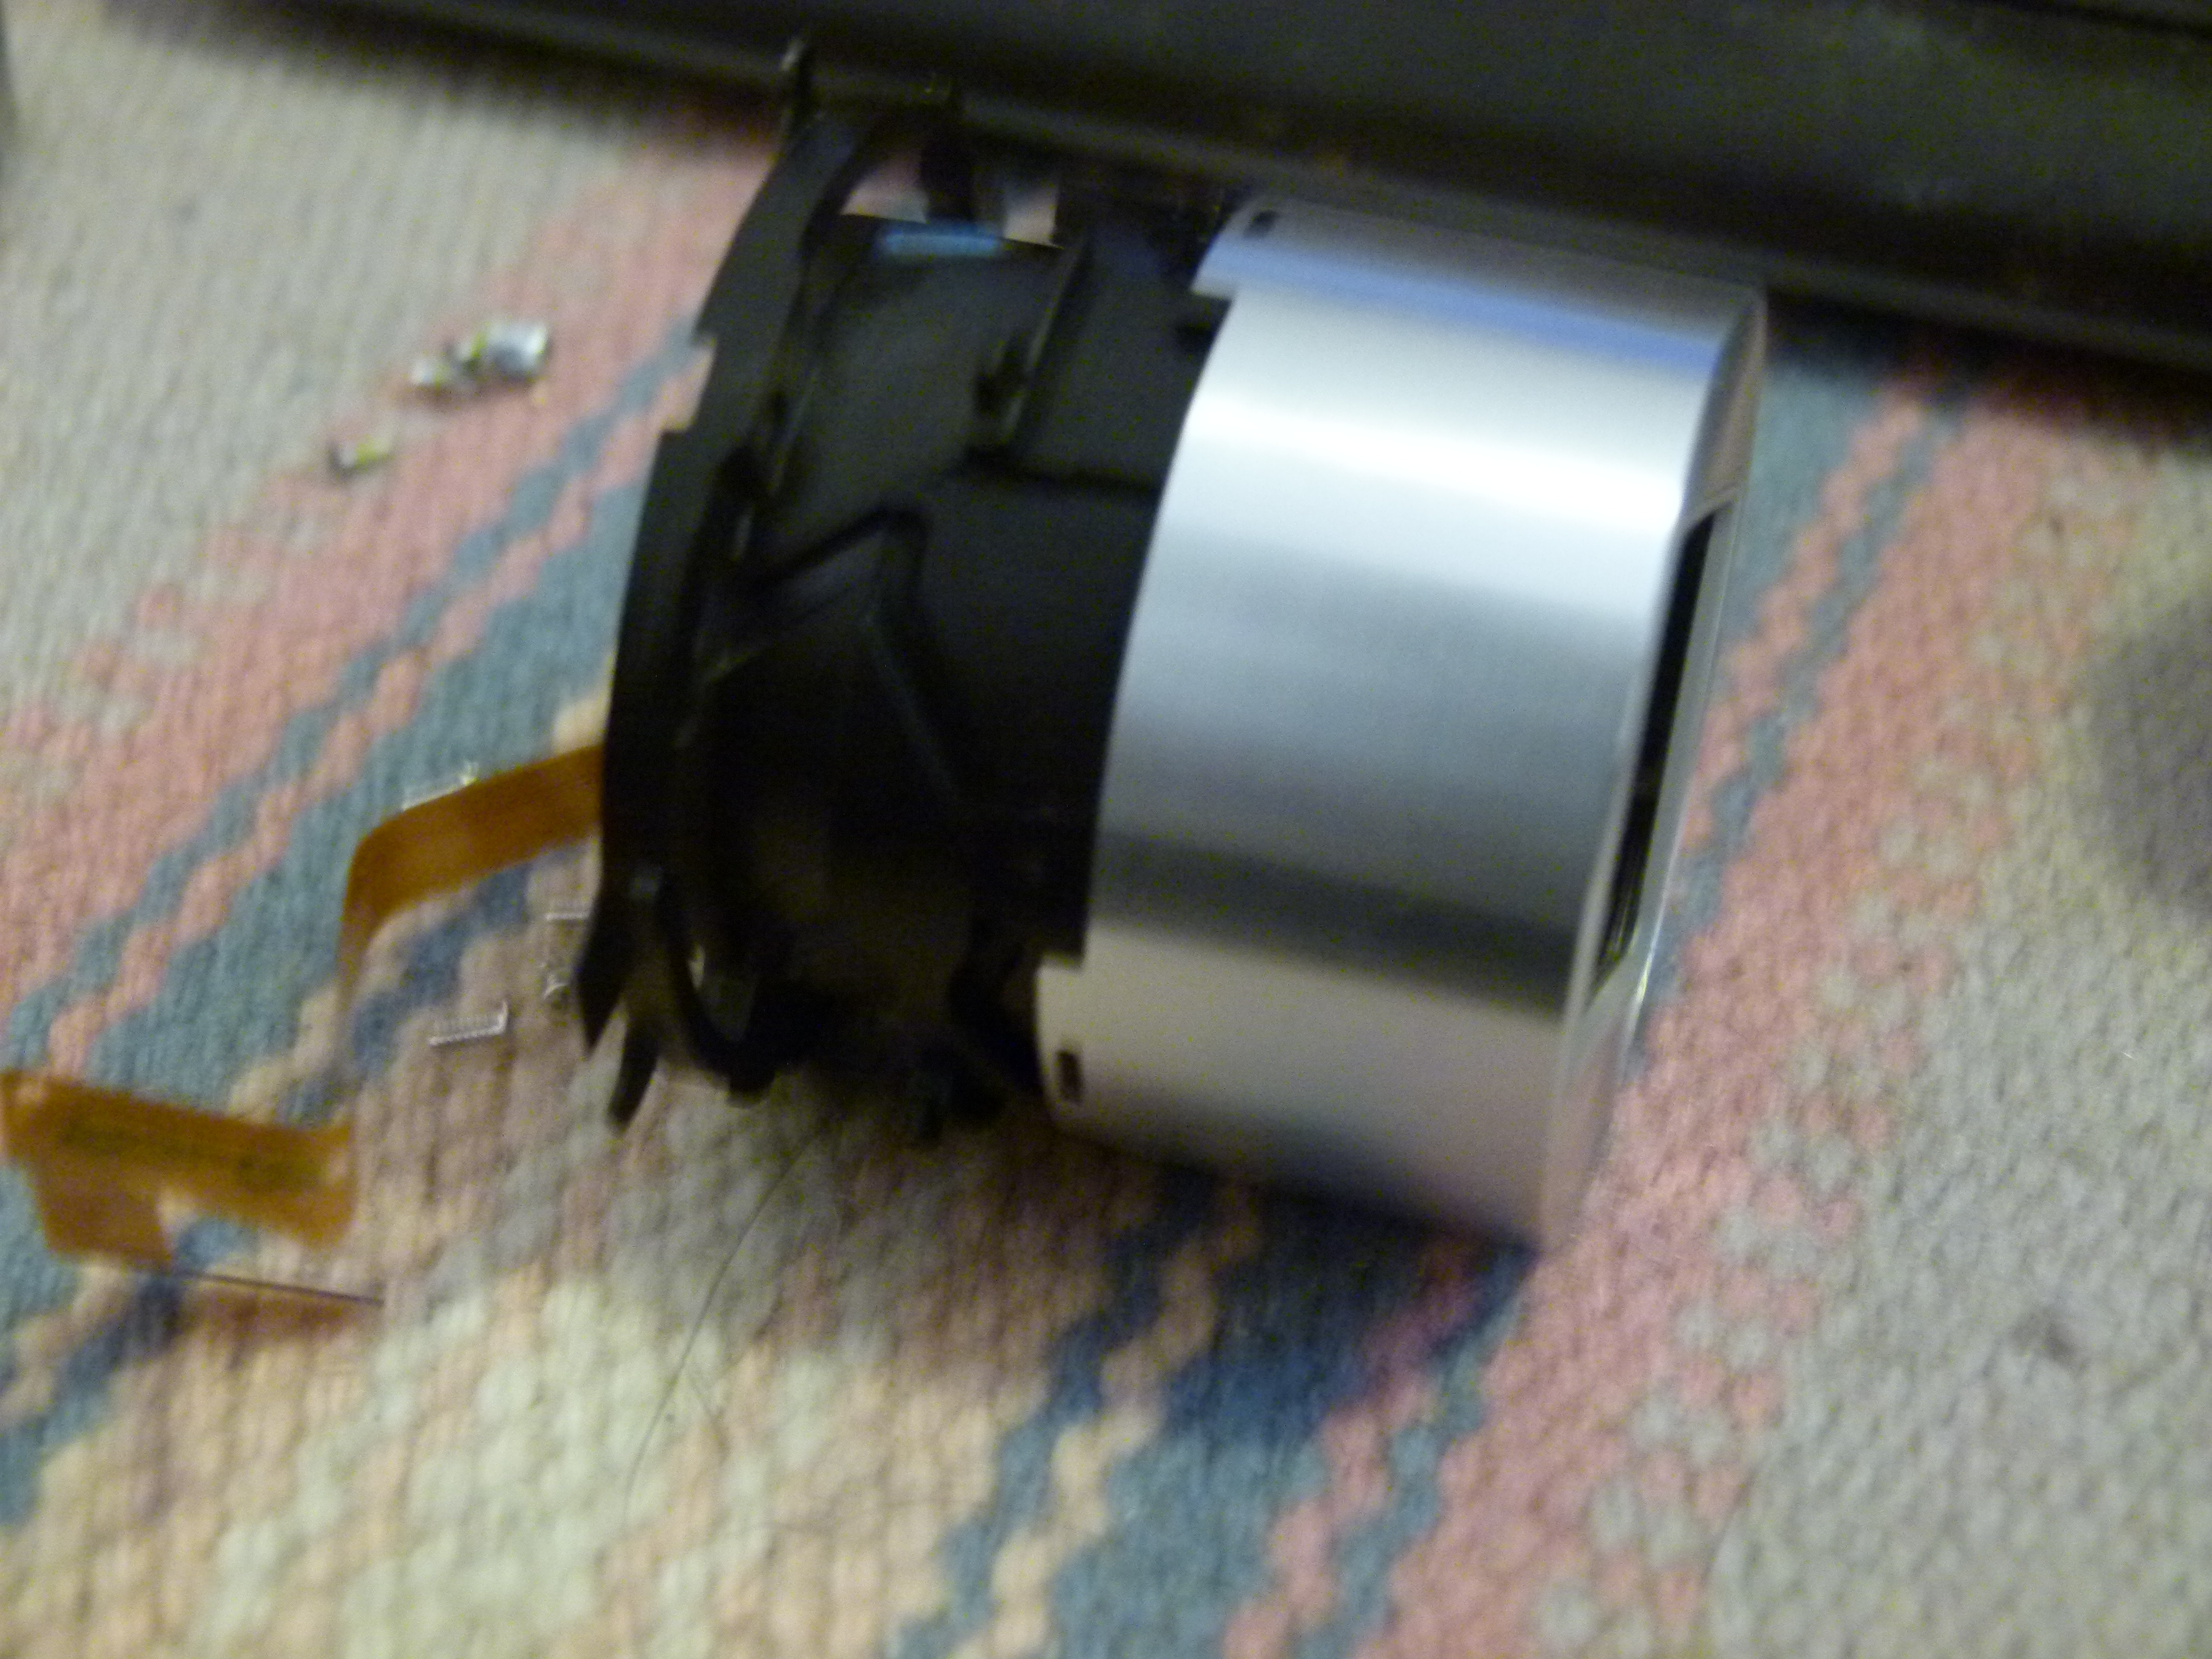
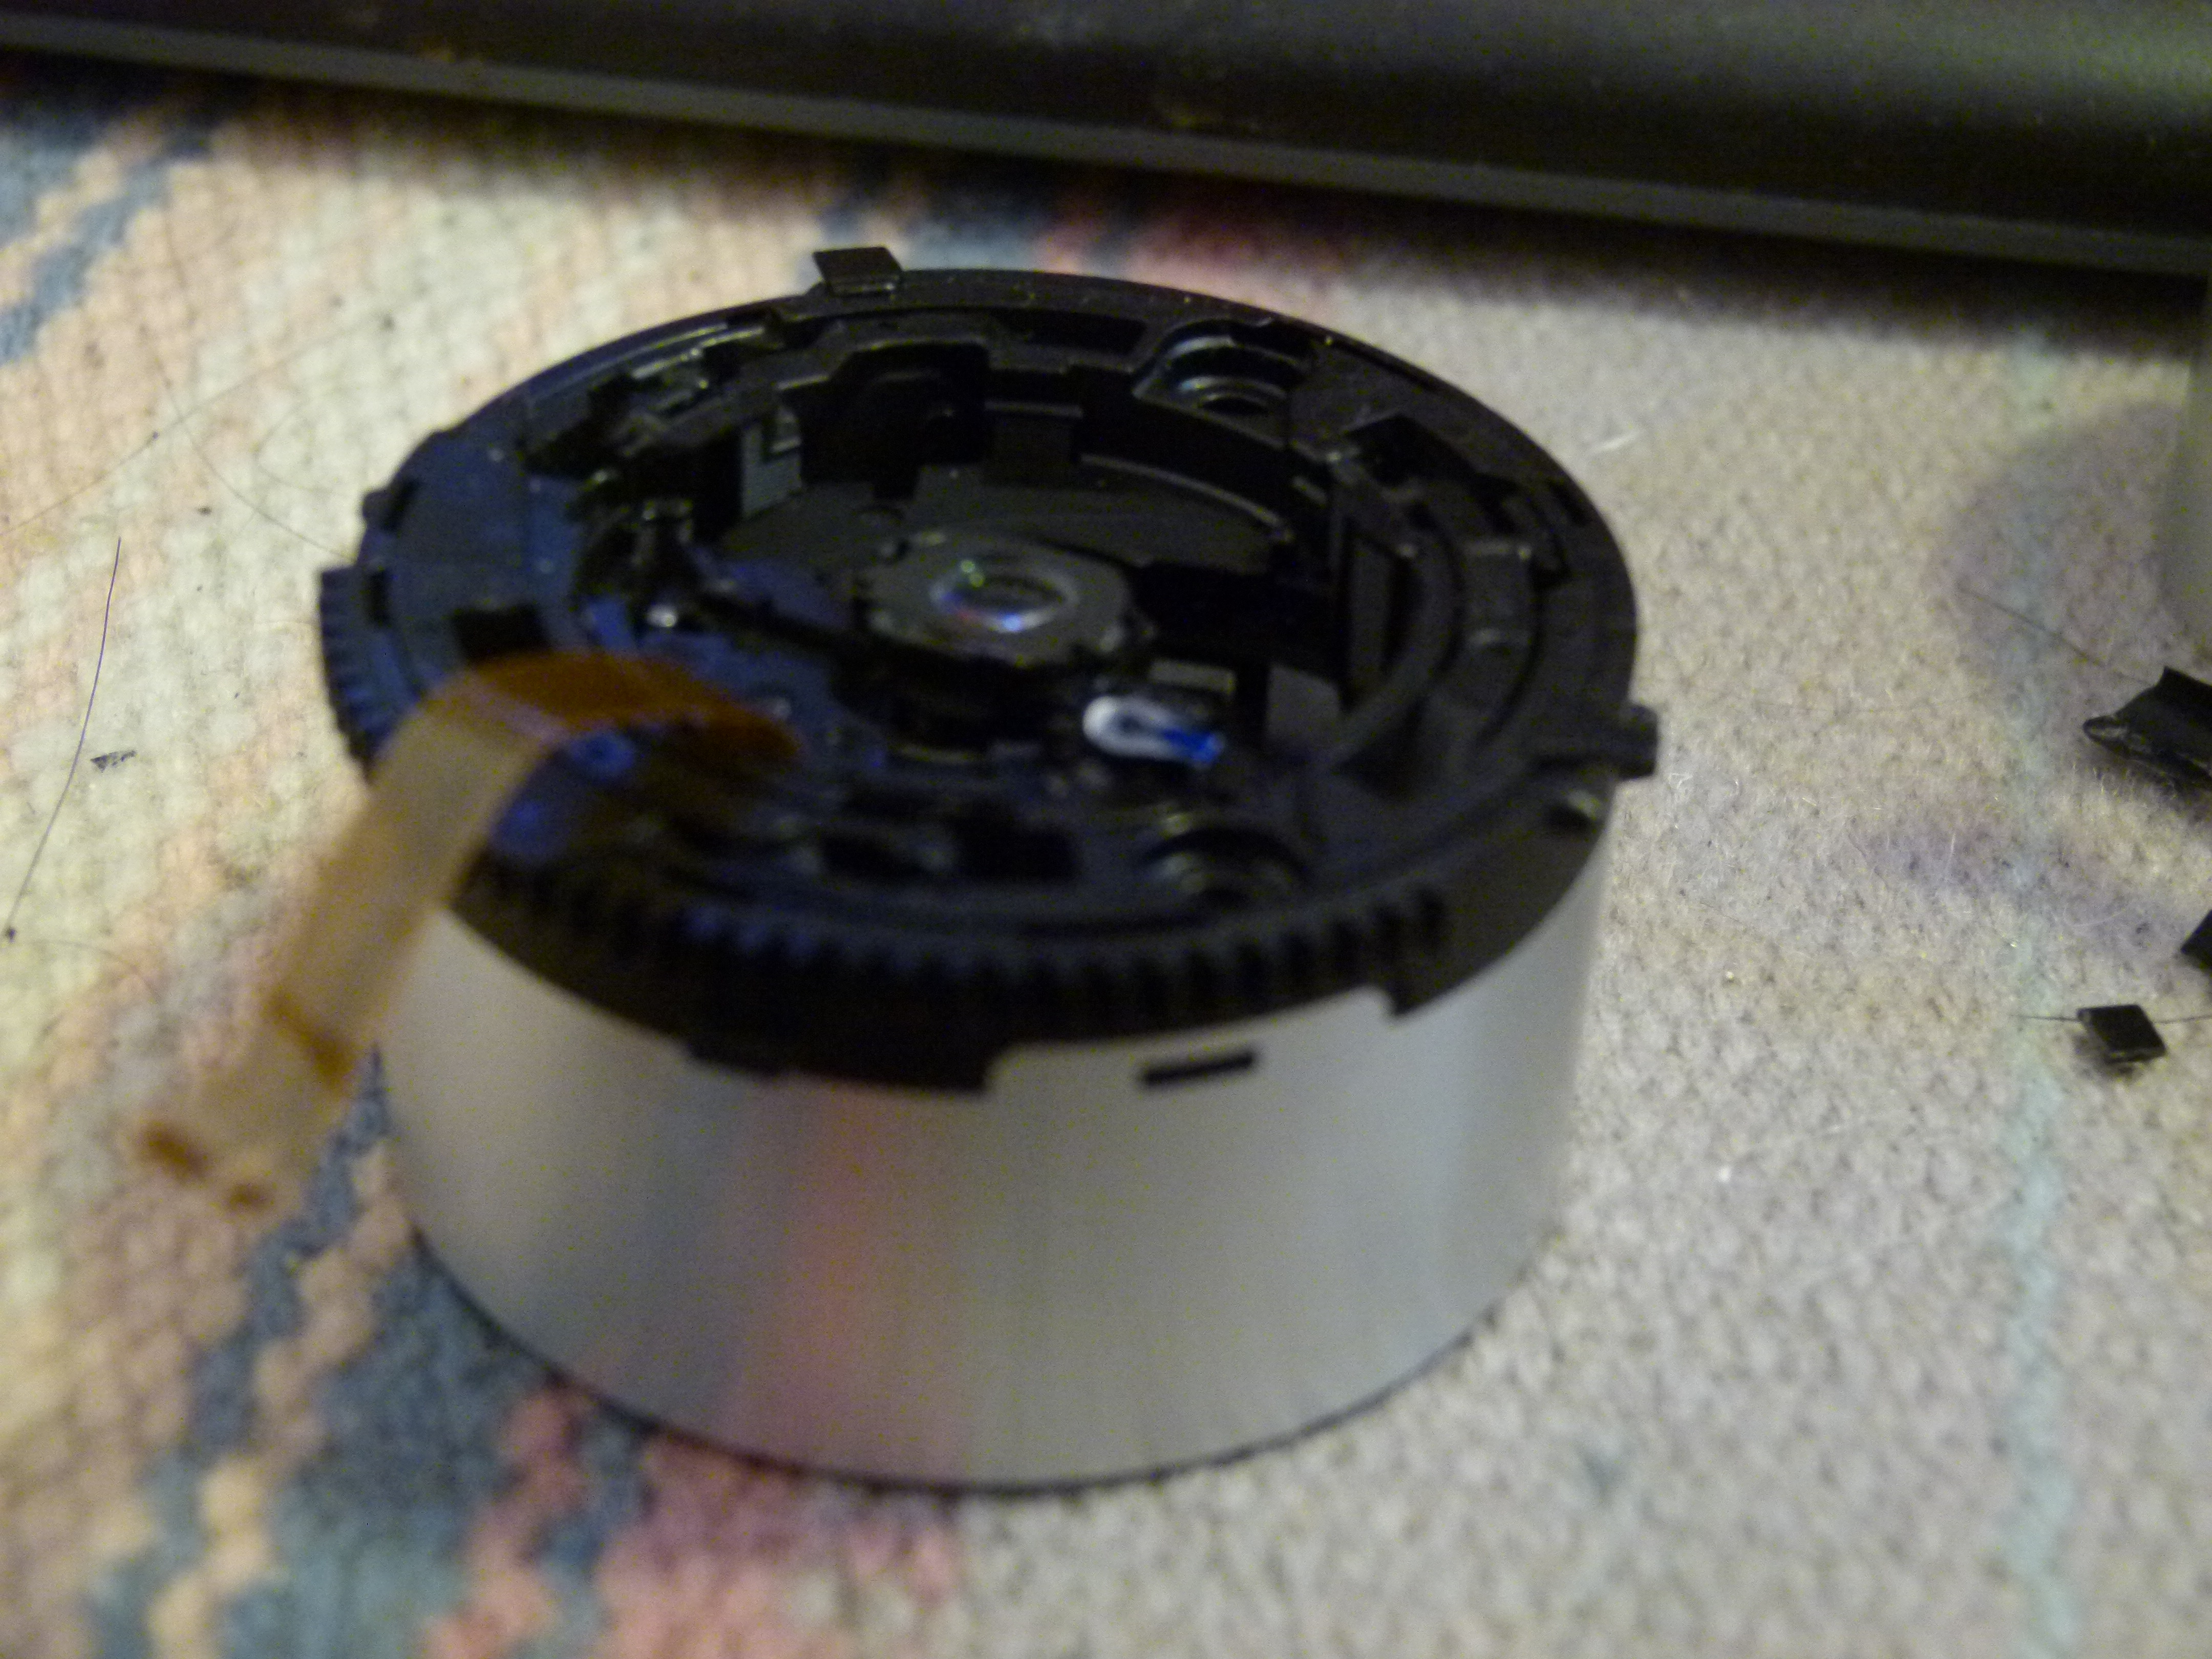
Here we've removed the outer-most sleeve. At the bottom is a gear that connects between the stepper motor and the gear/track.
This is the main lens body. The gear/track is somewhat visible here. In the middle we see the back end of the lens, including the image stabilization mechanism. That middle part "floats" and as the camera shakes this assembly is told to make compensating moves.
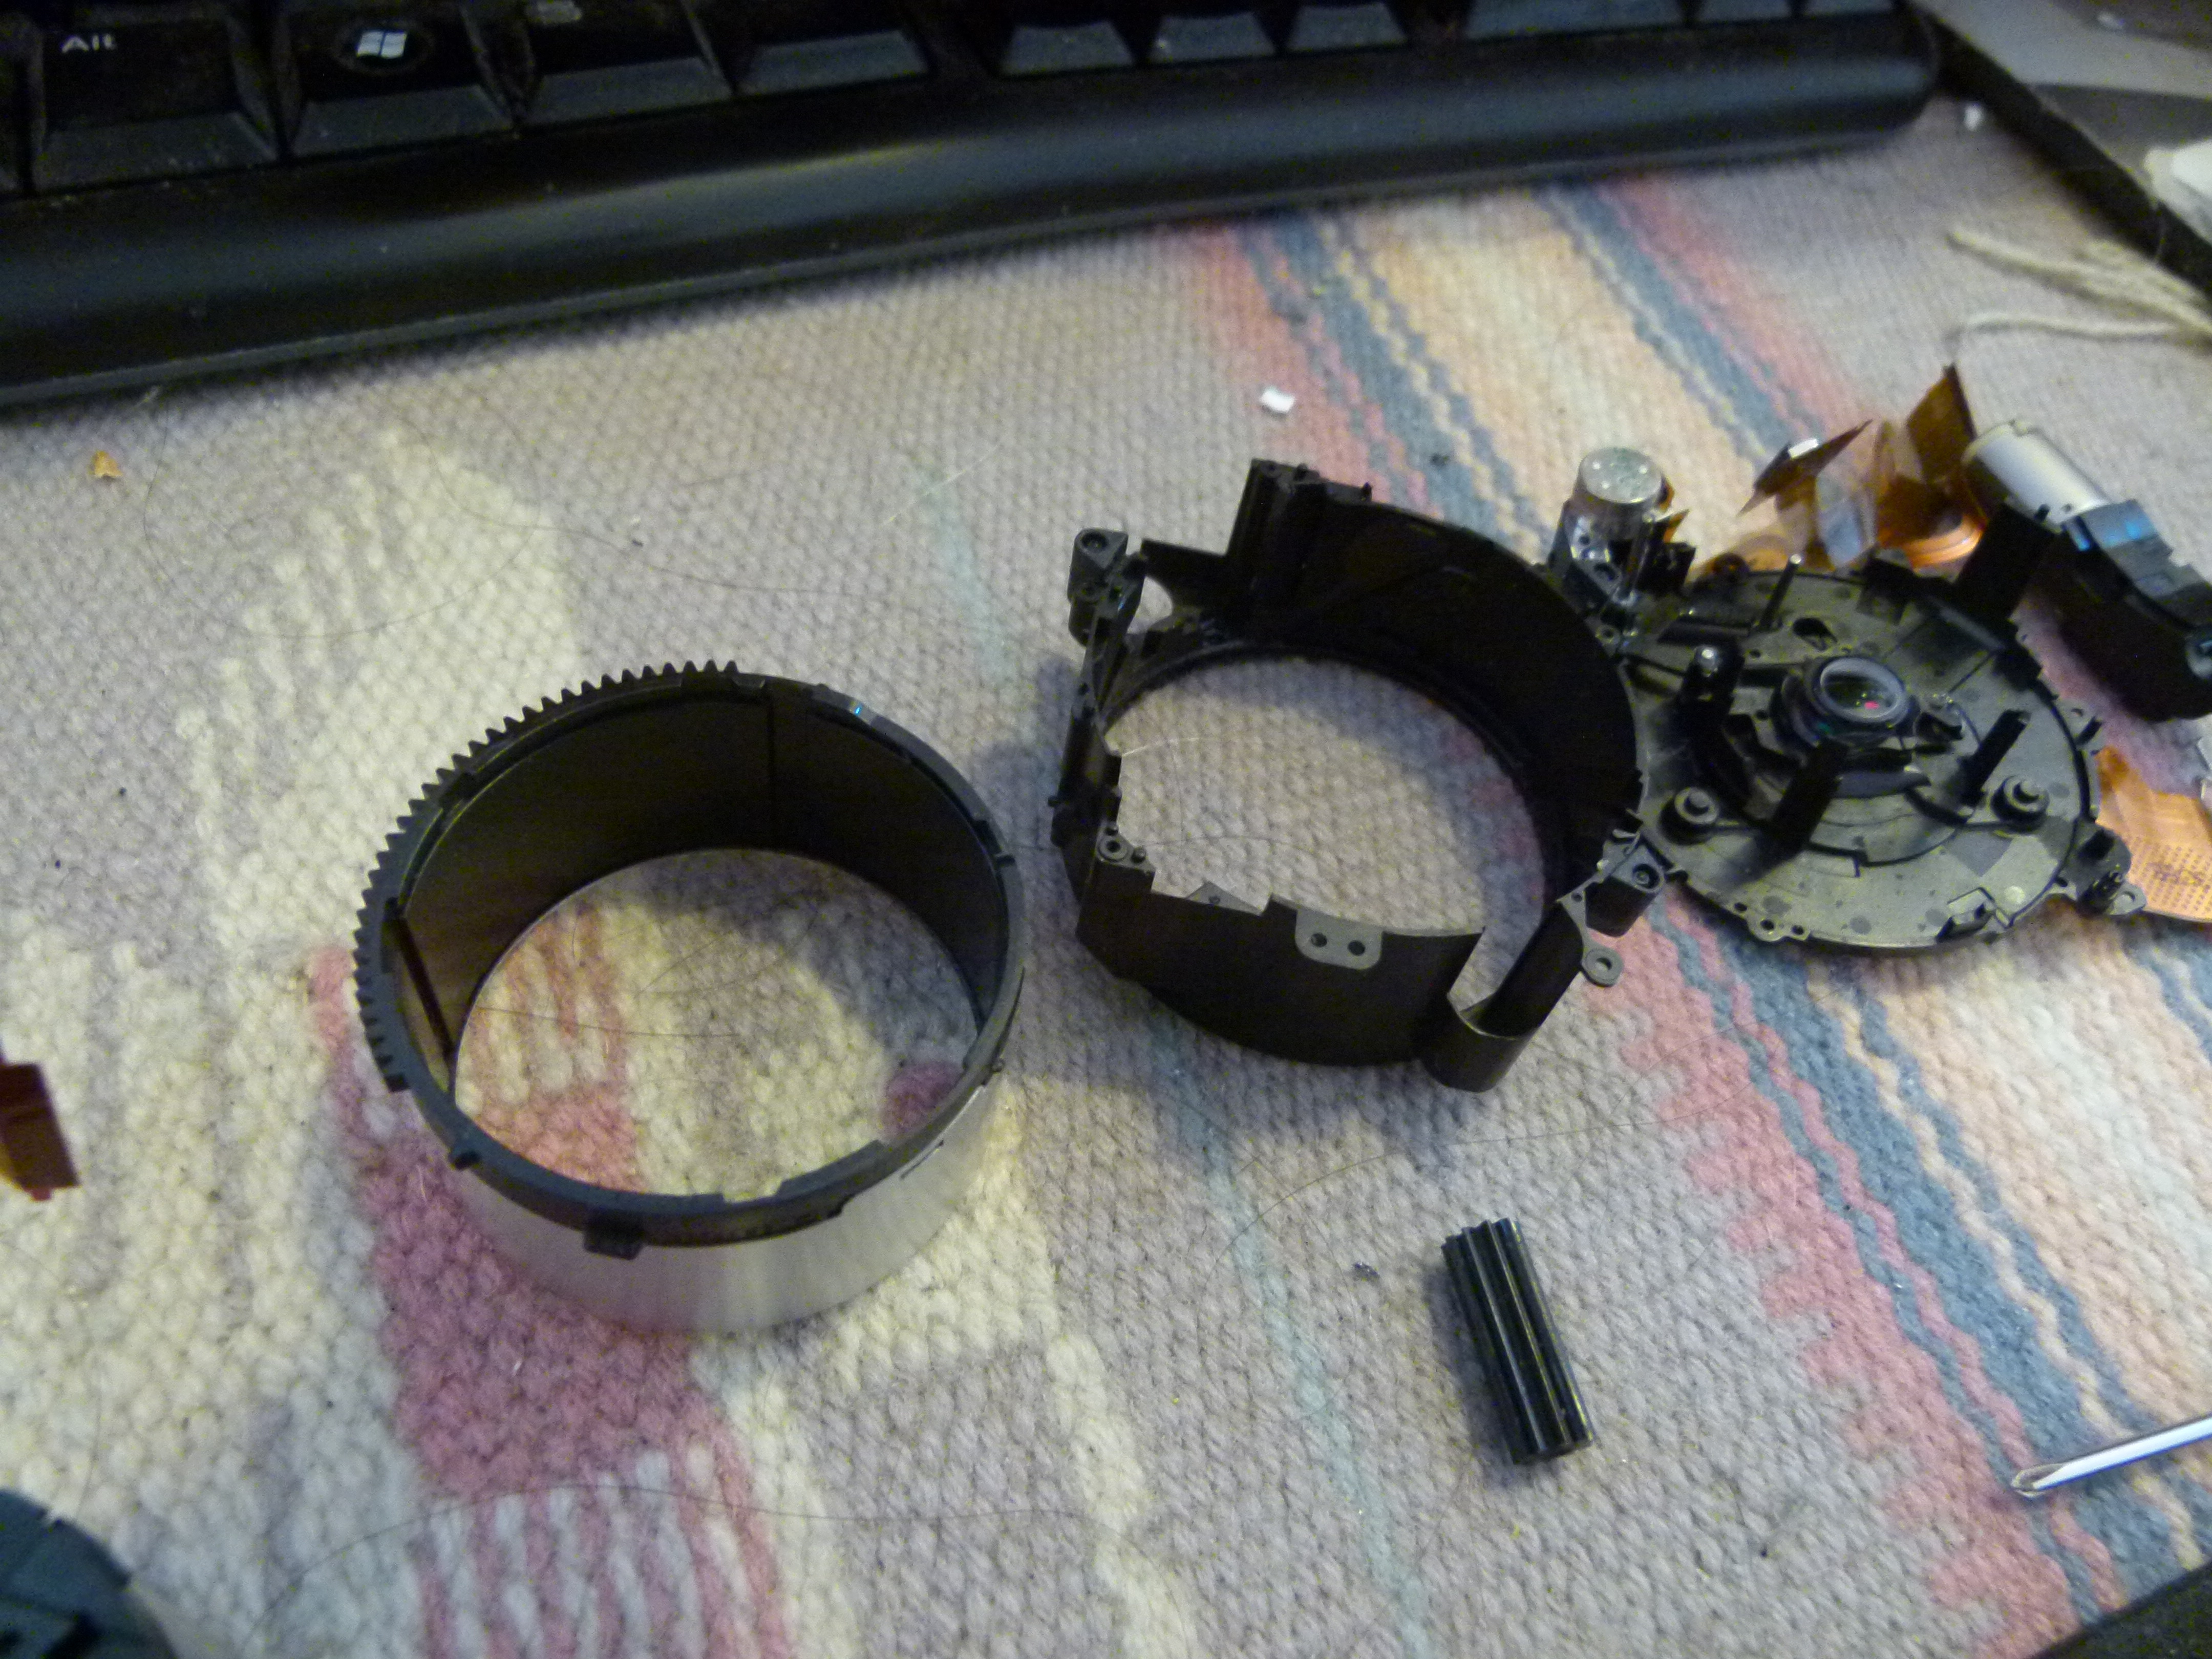
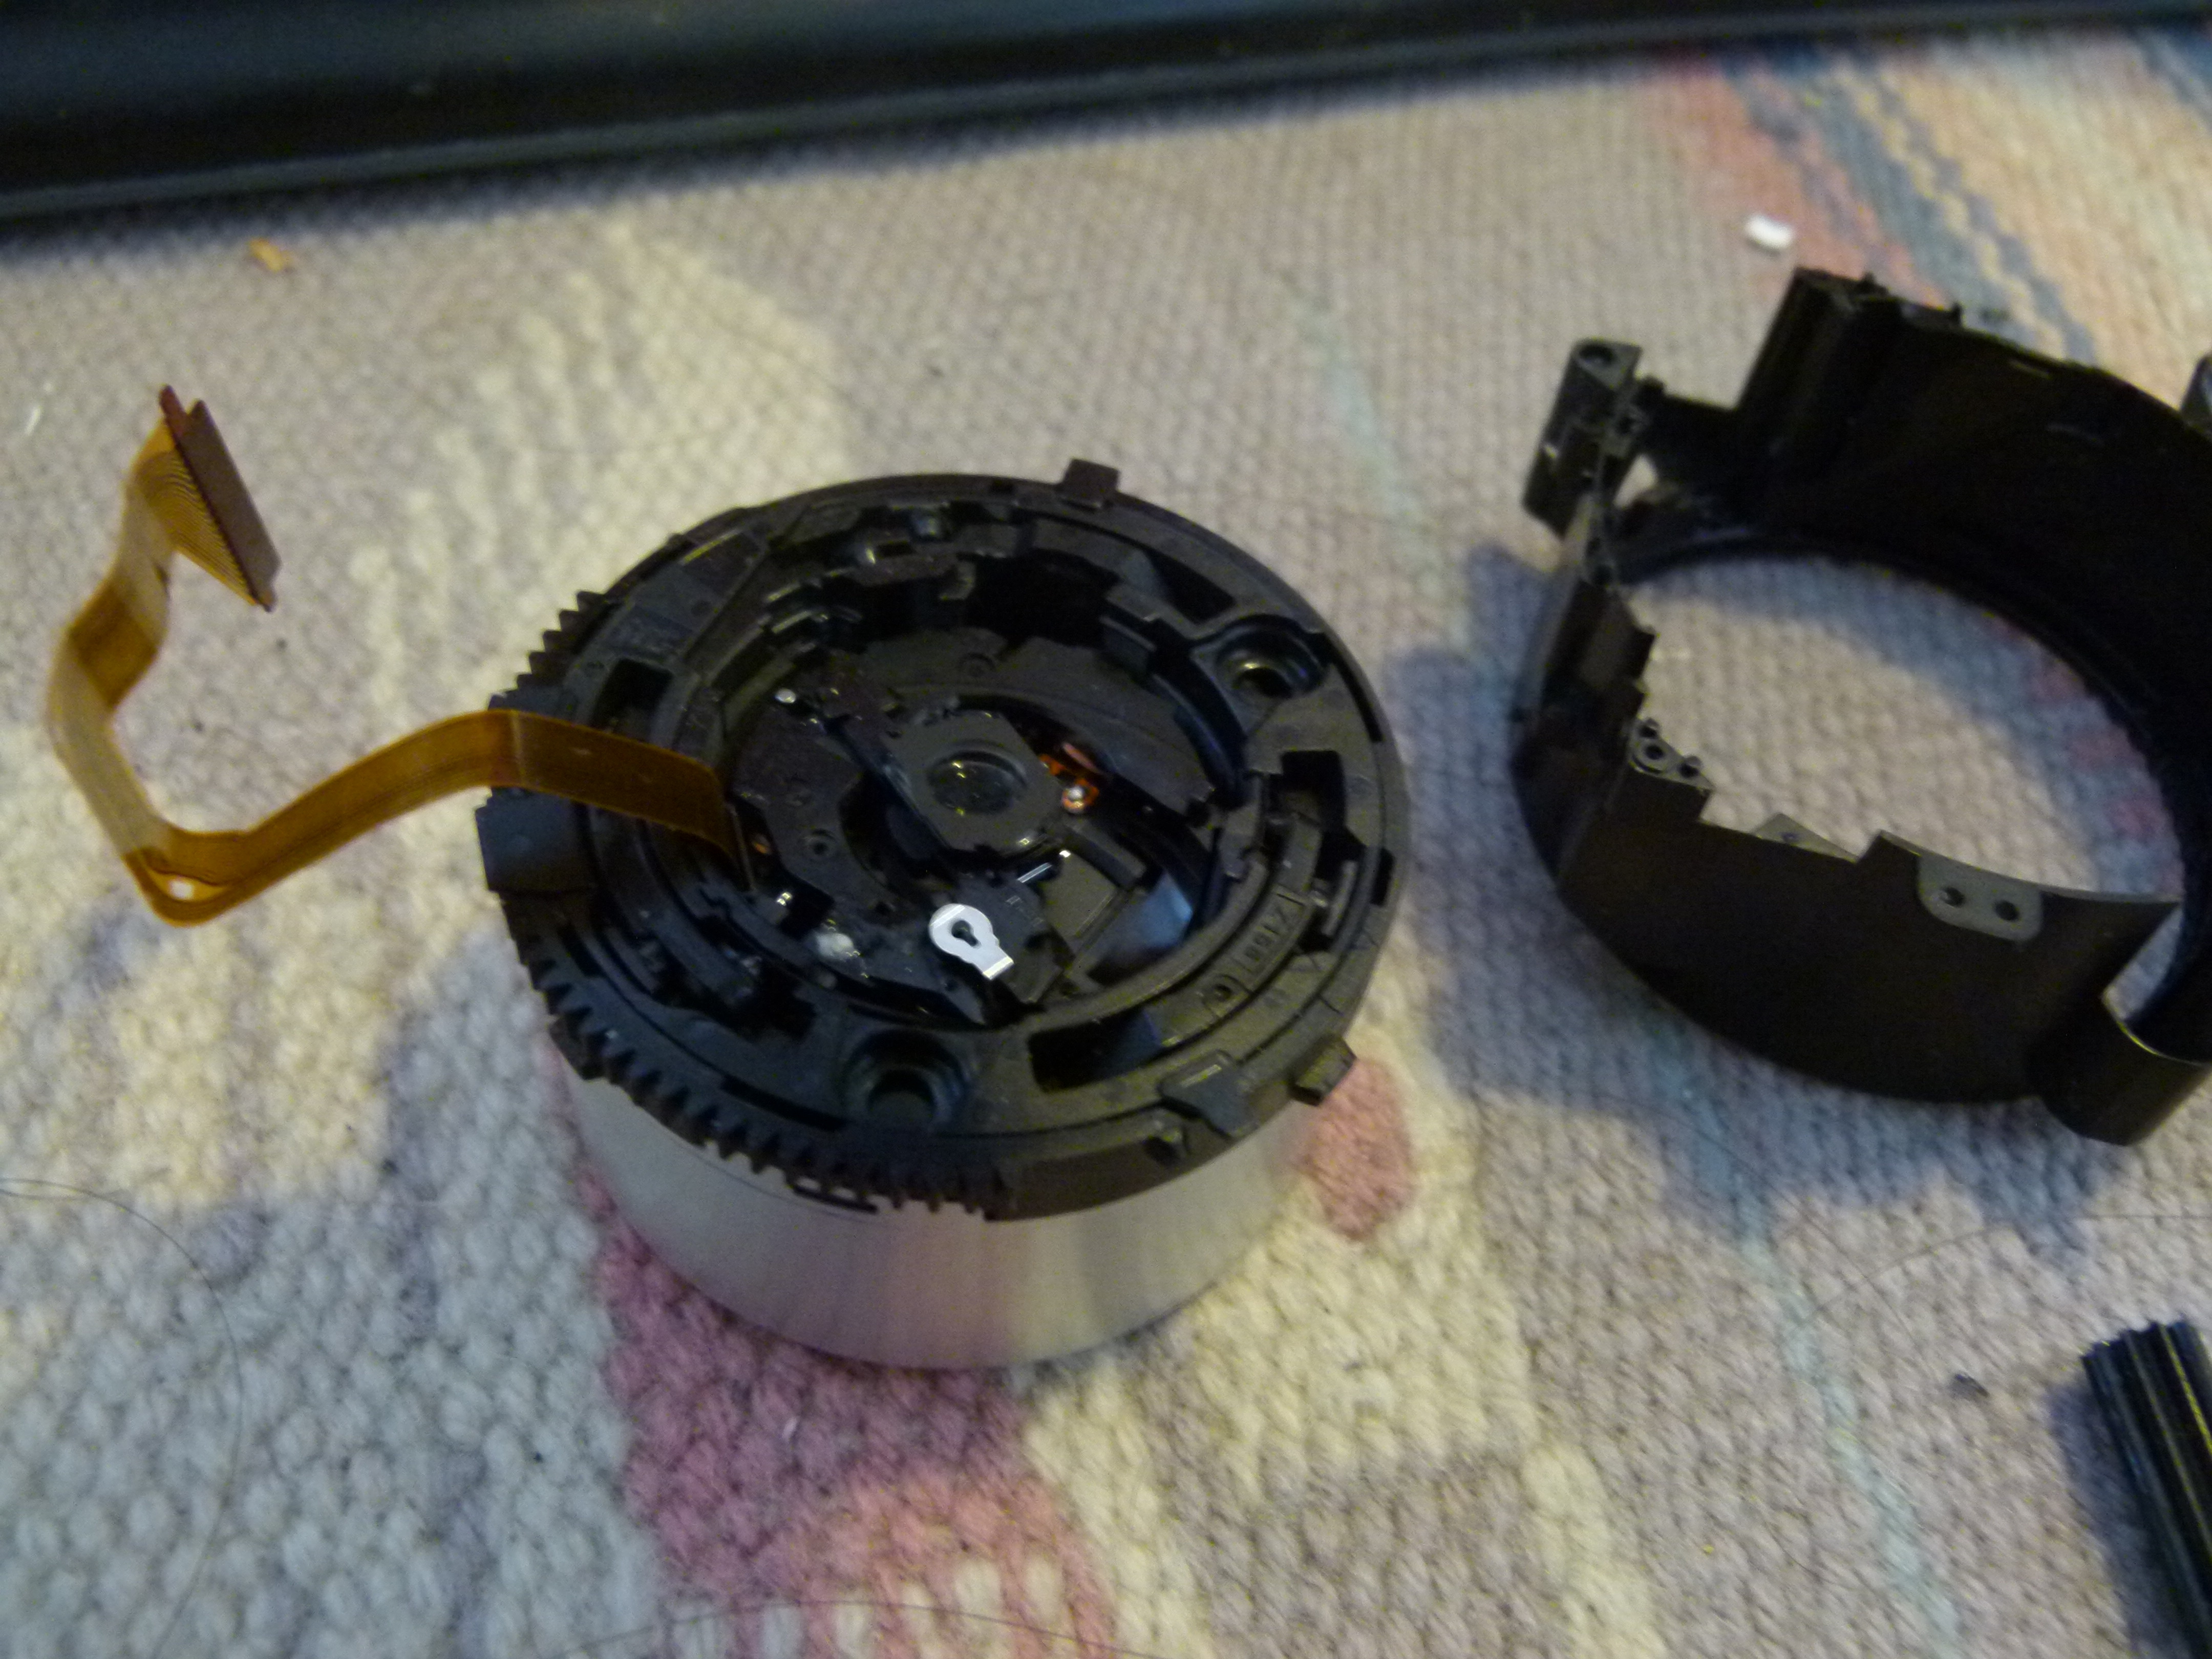
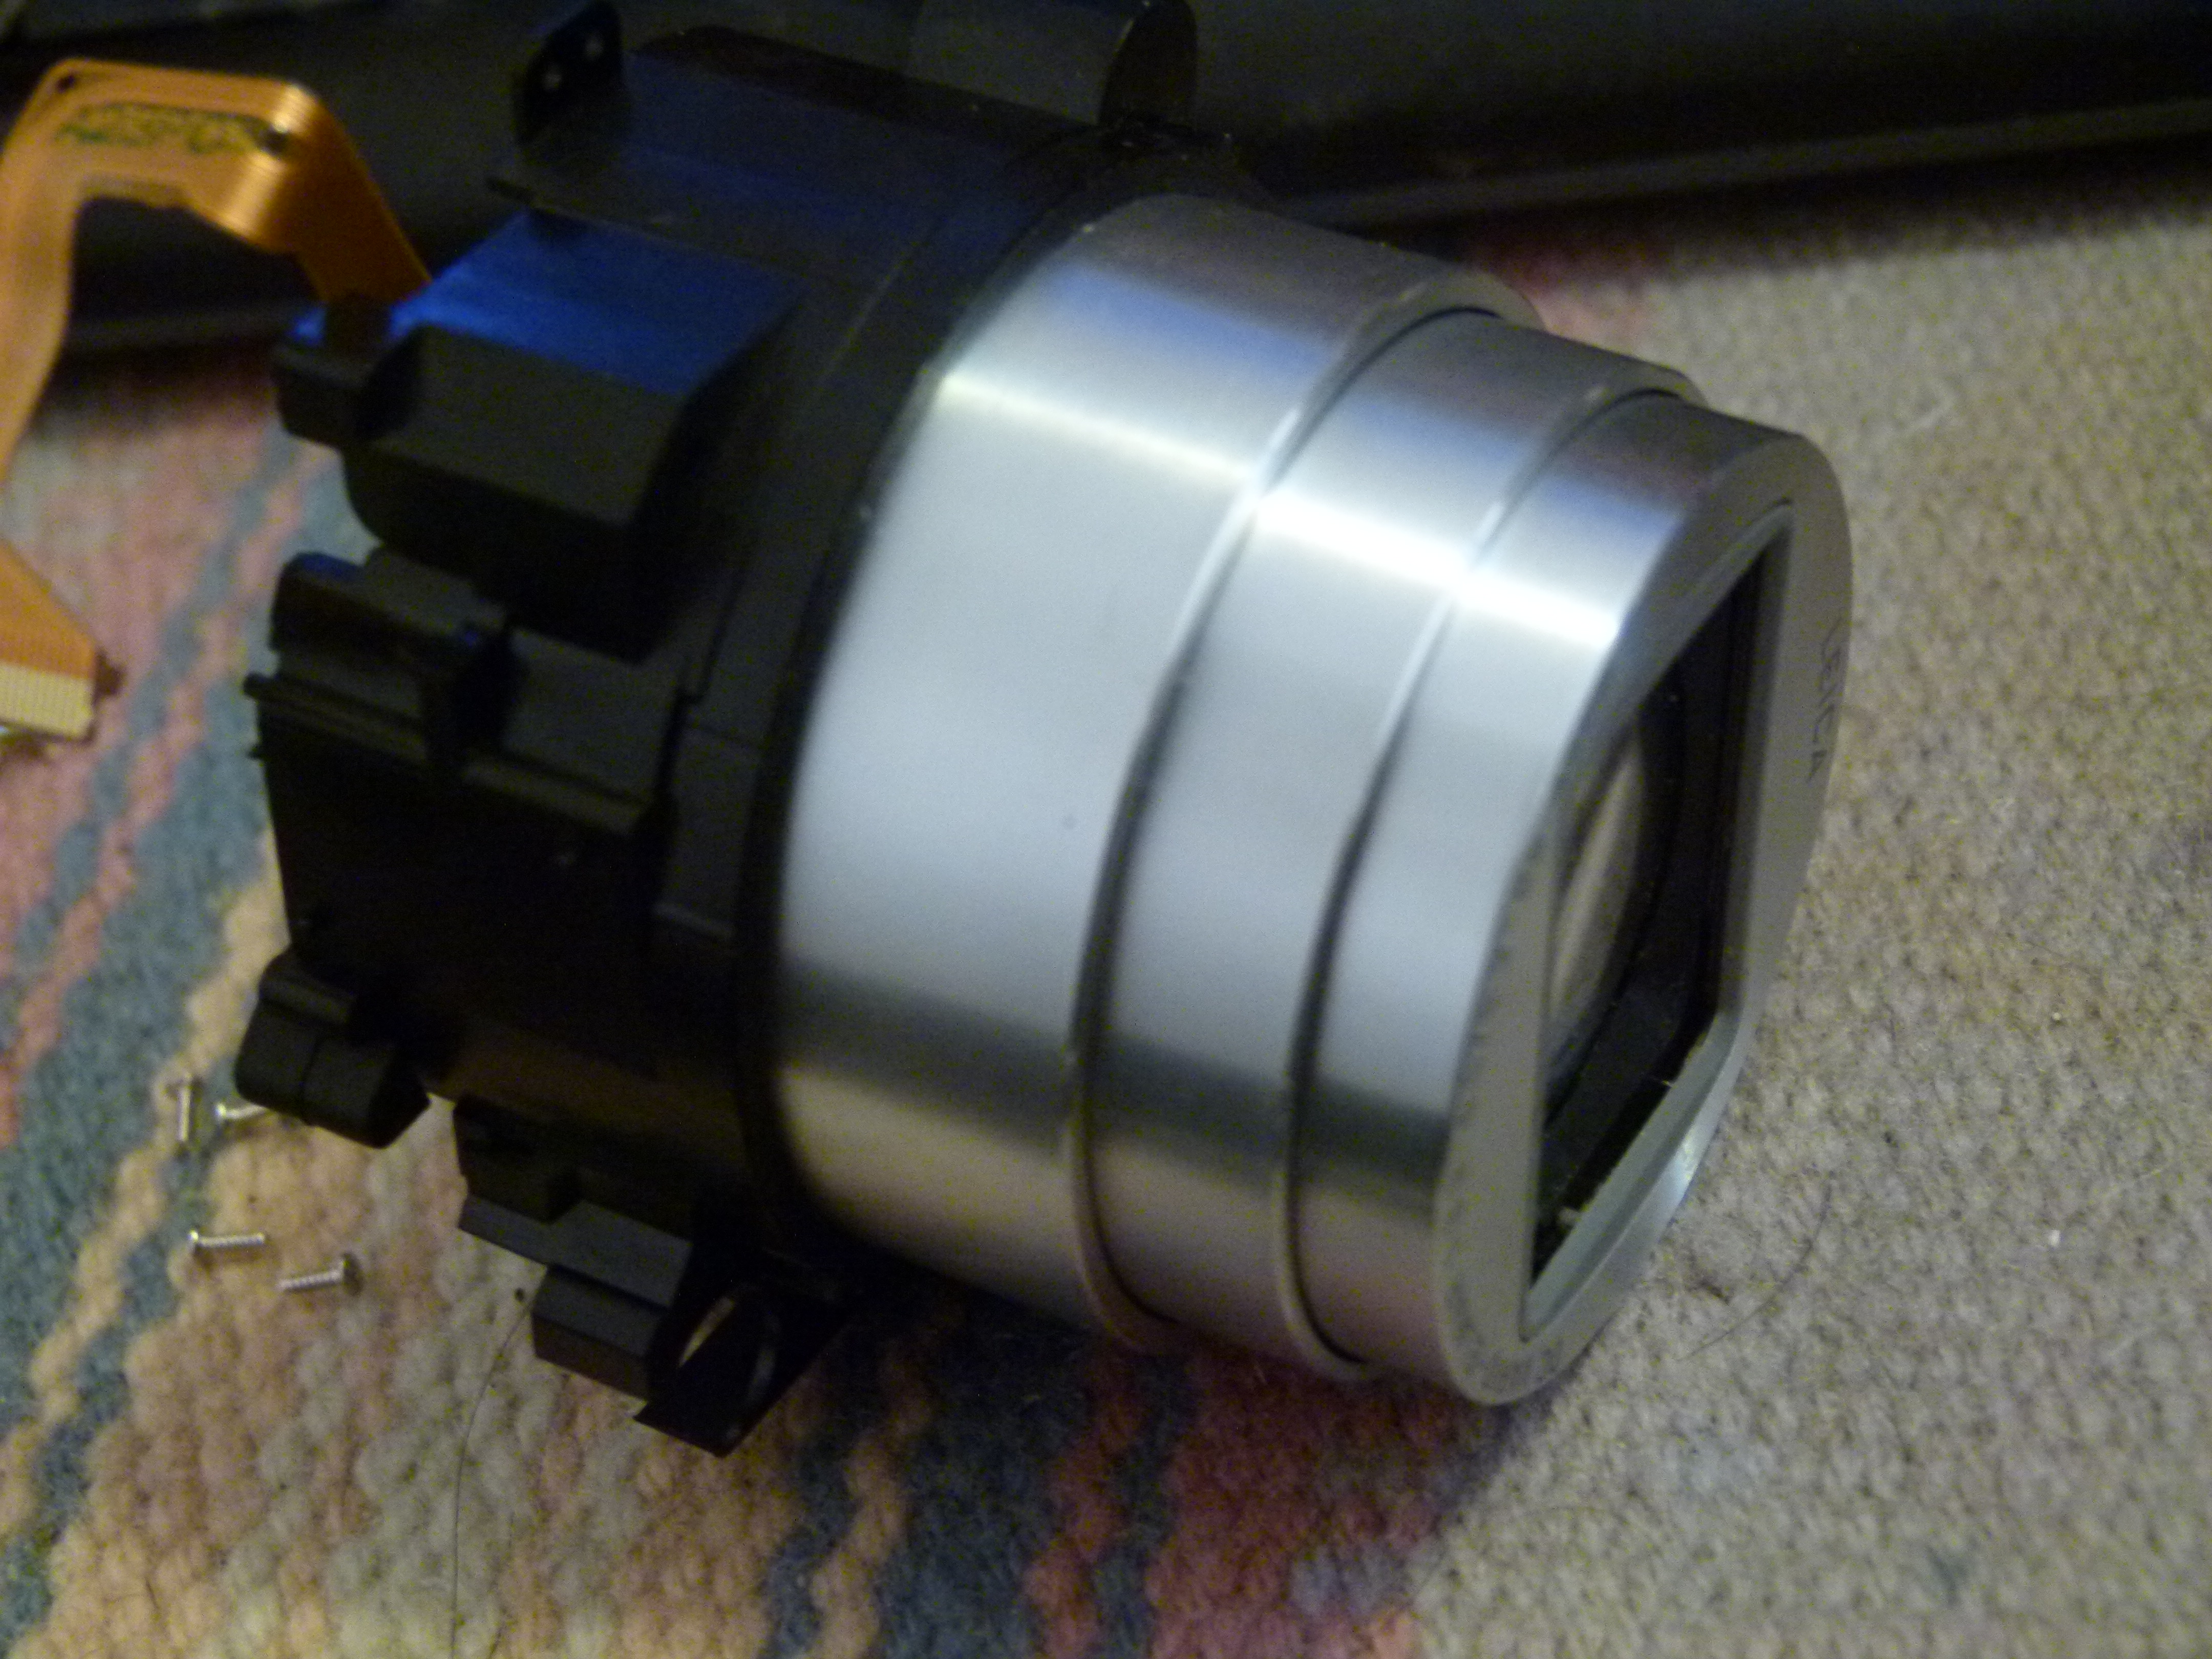
Another layer removed.
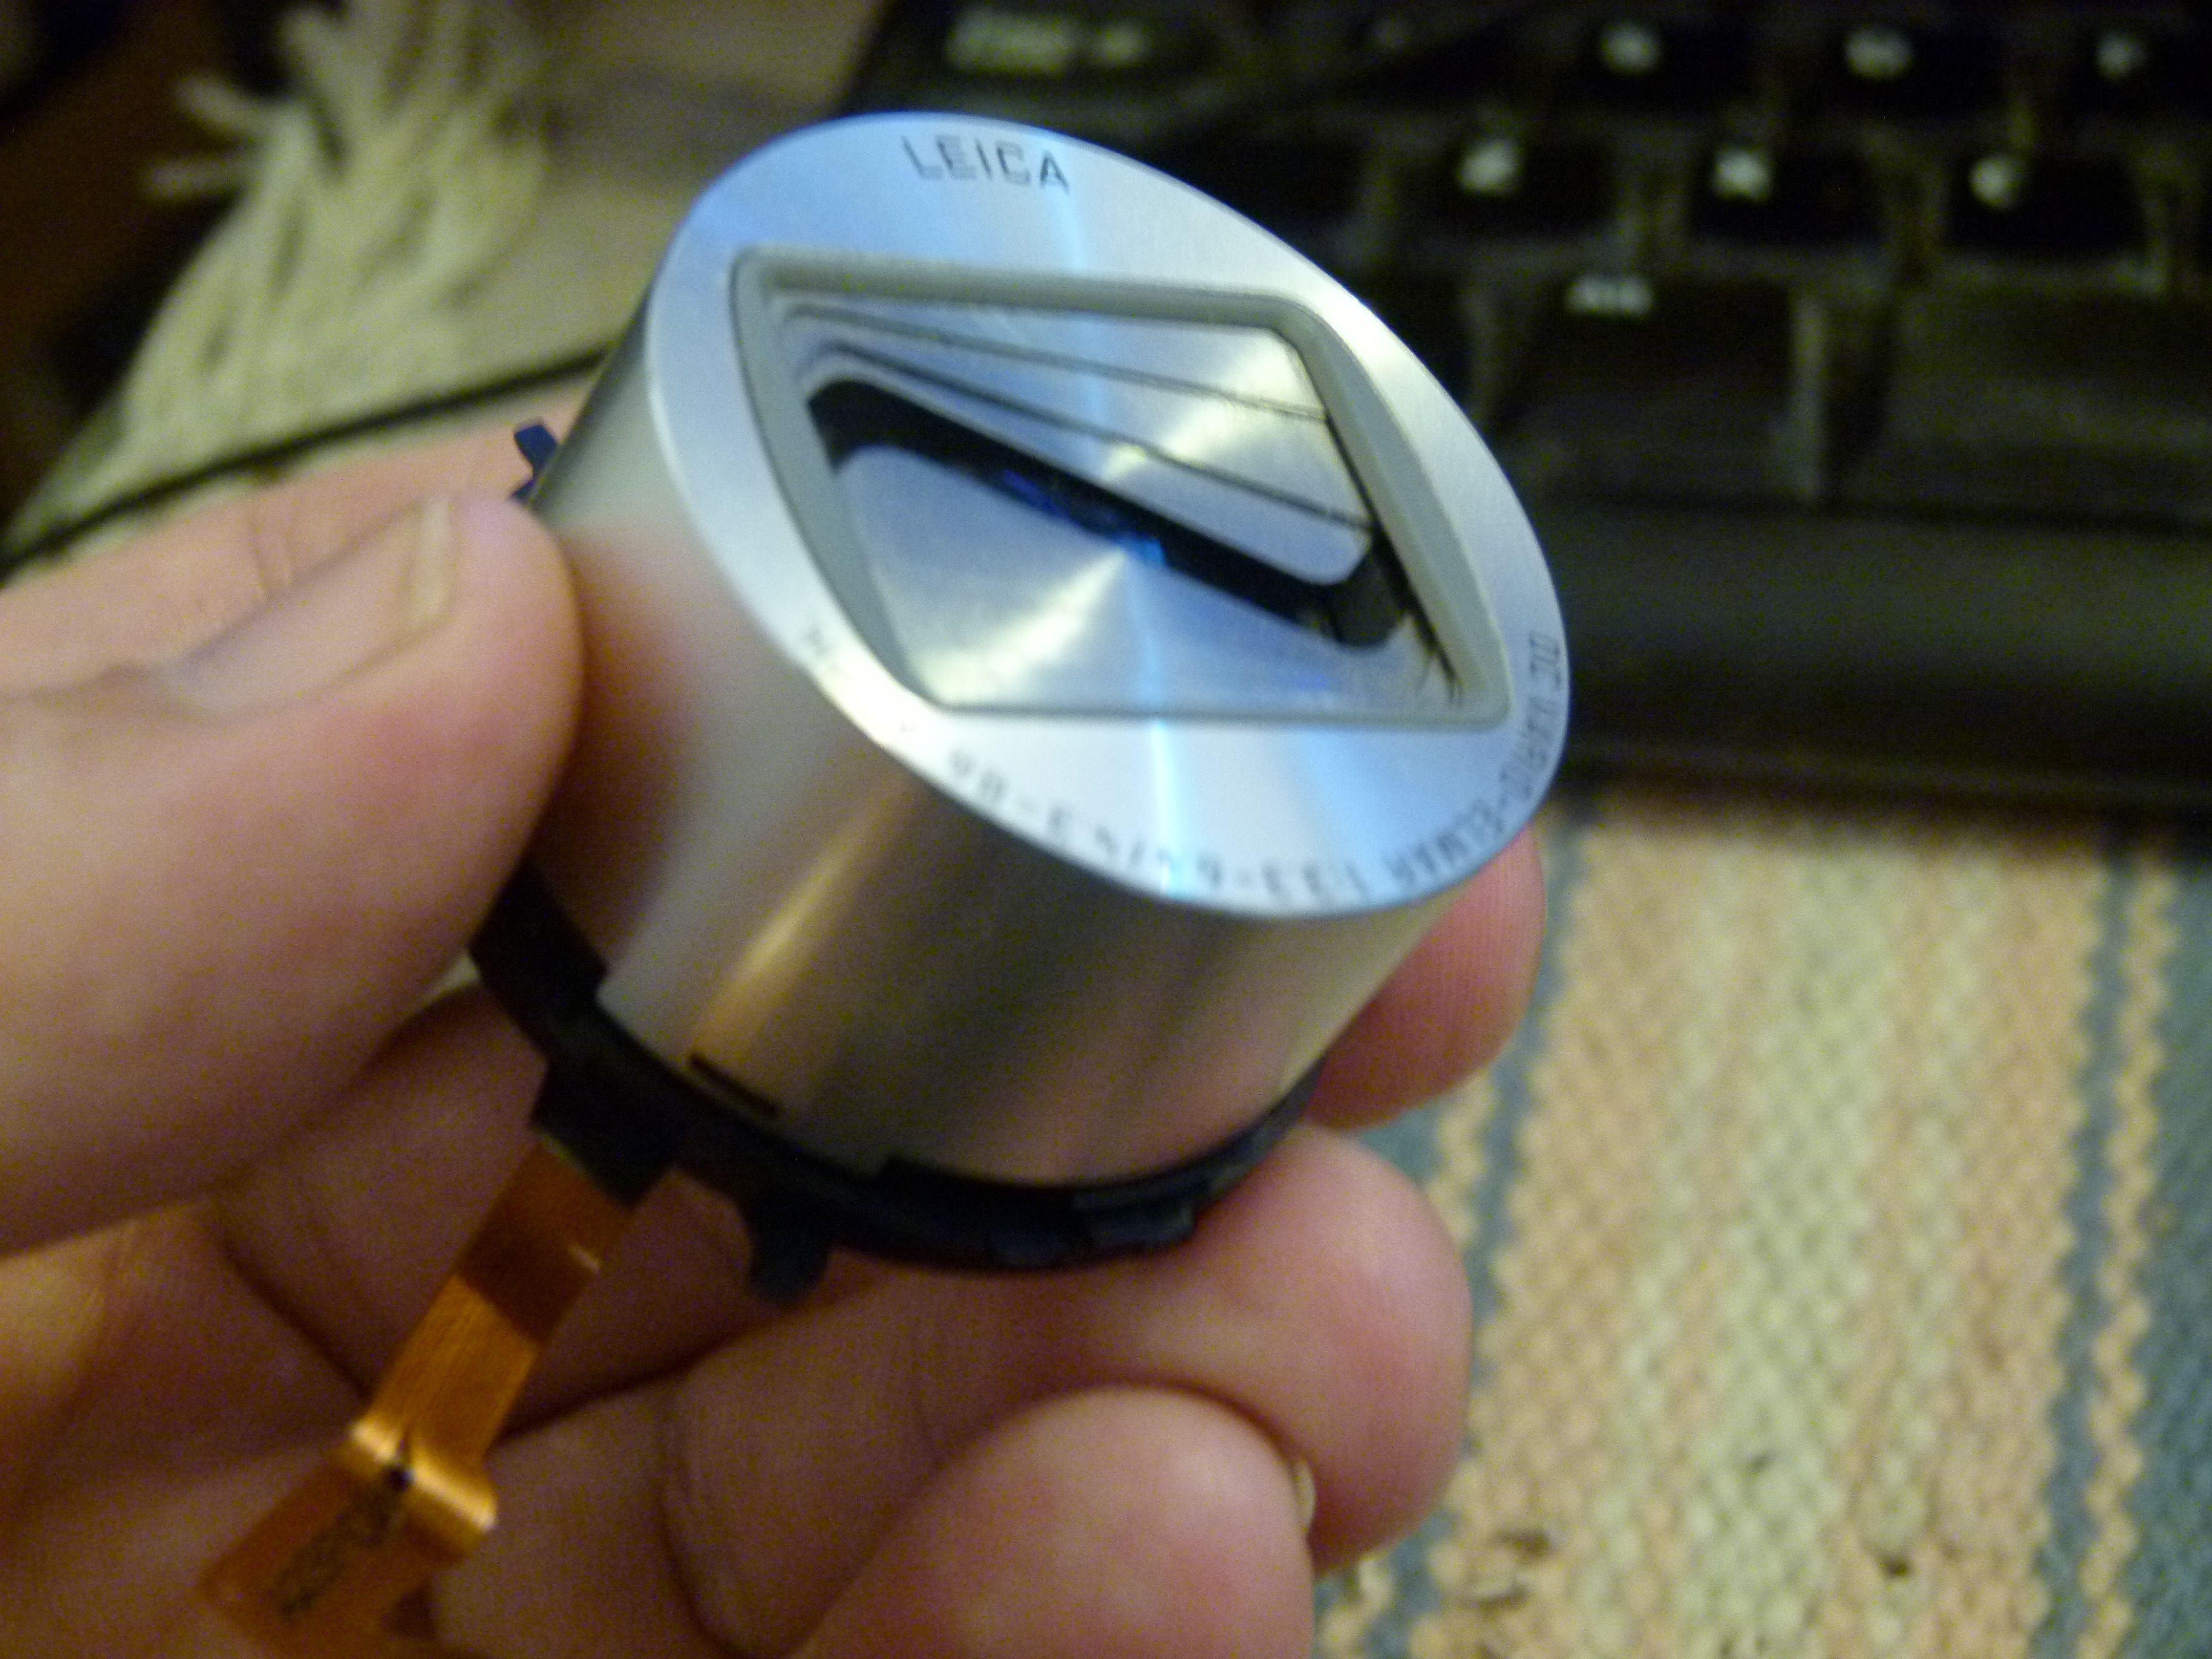
This is as far as we'll disassemble this lens. The last item (closest to the camera) is the front of the lens assembly. It has the main lens, plus the lens cover which automatically opens/closes. The next item over contains the parts of the lens that move while zooming, providing the zoom function. The rest are various sleeves that participate in the zoom function.
Remember that the plan was to use the front of the lens assembly from this lens, and to use the stepper motor from the other lens, and otherwise reassemble a lens using the best parts of the two lenses.
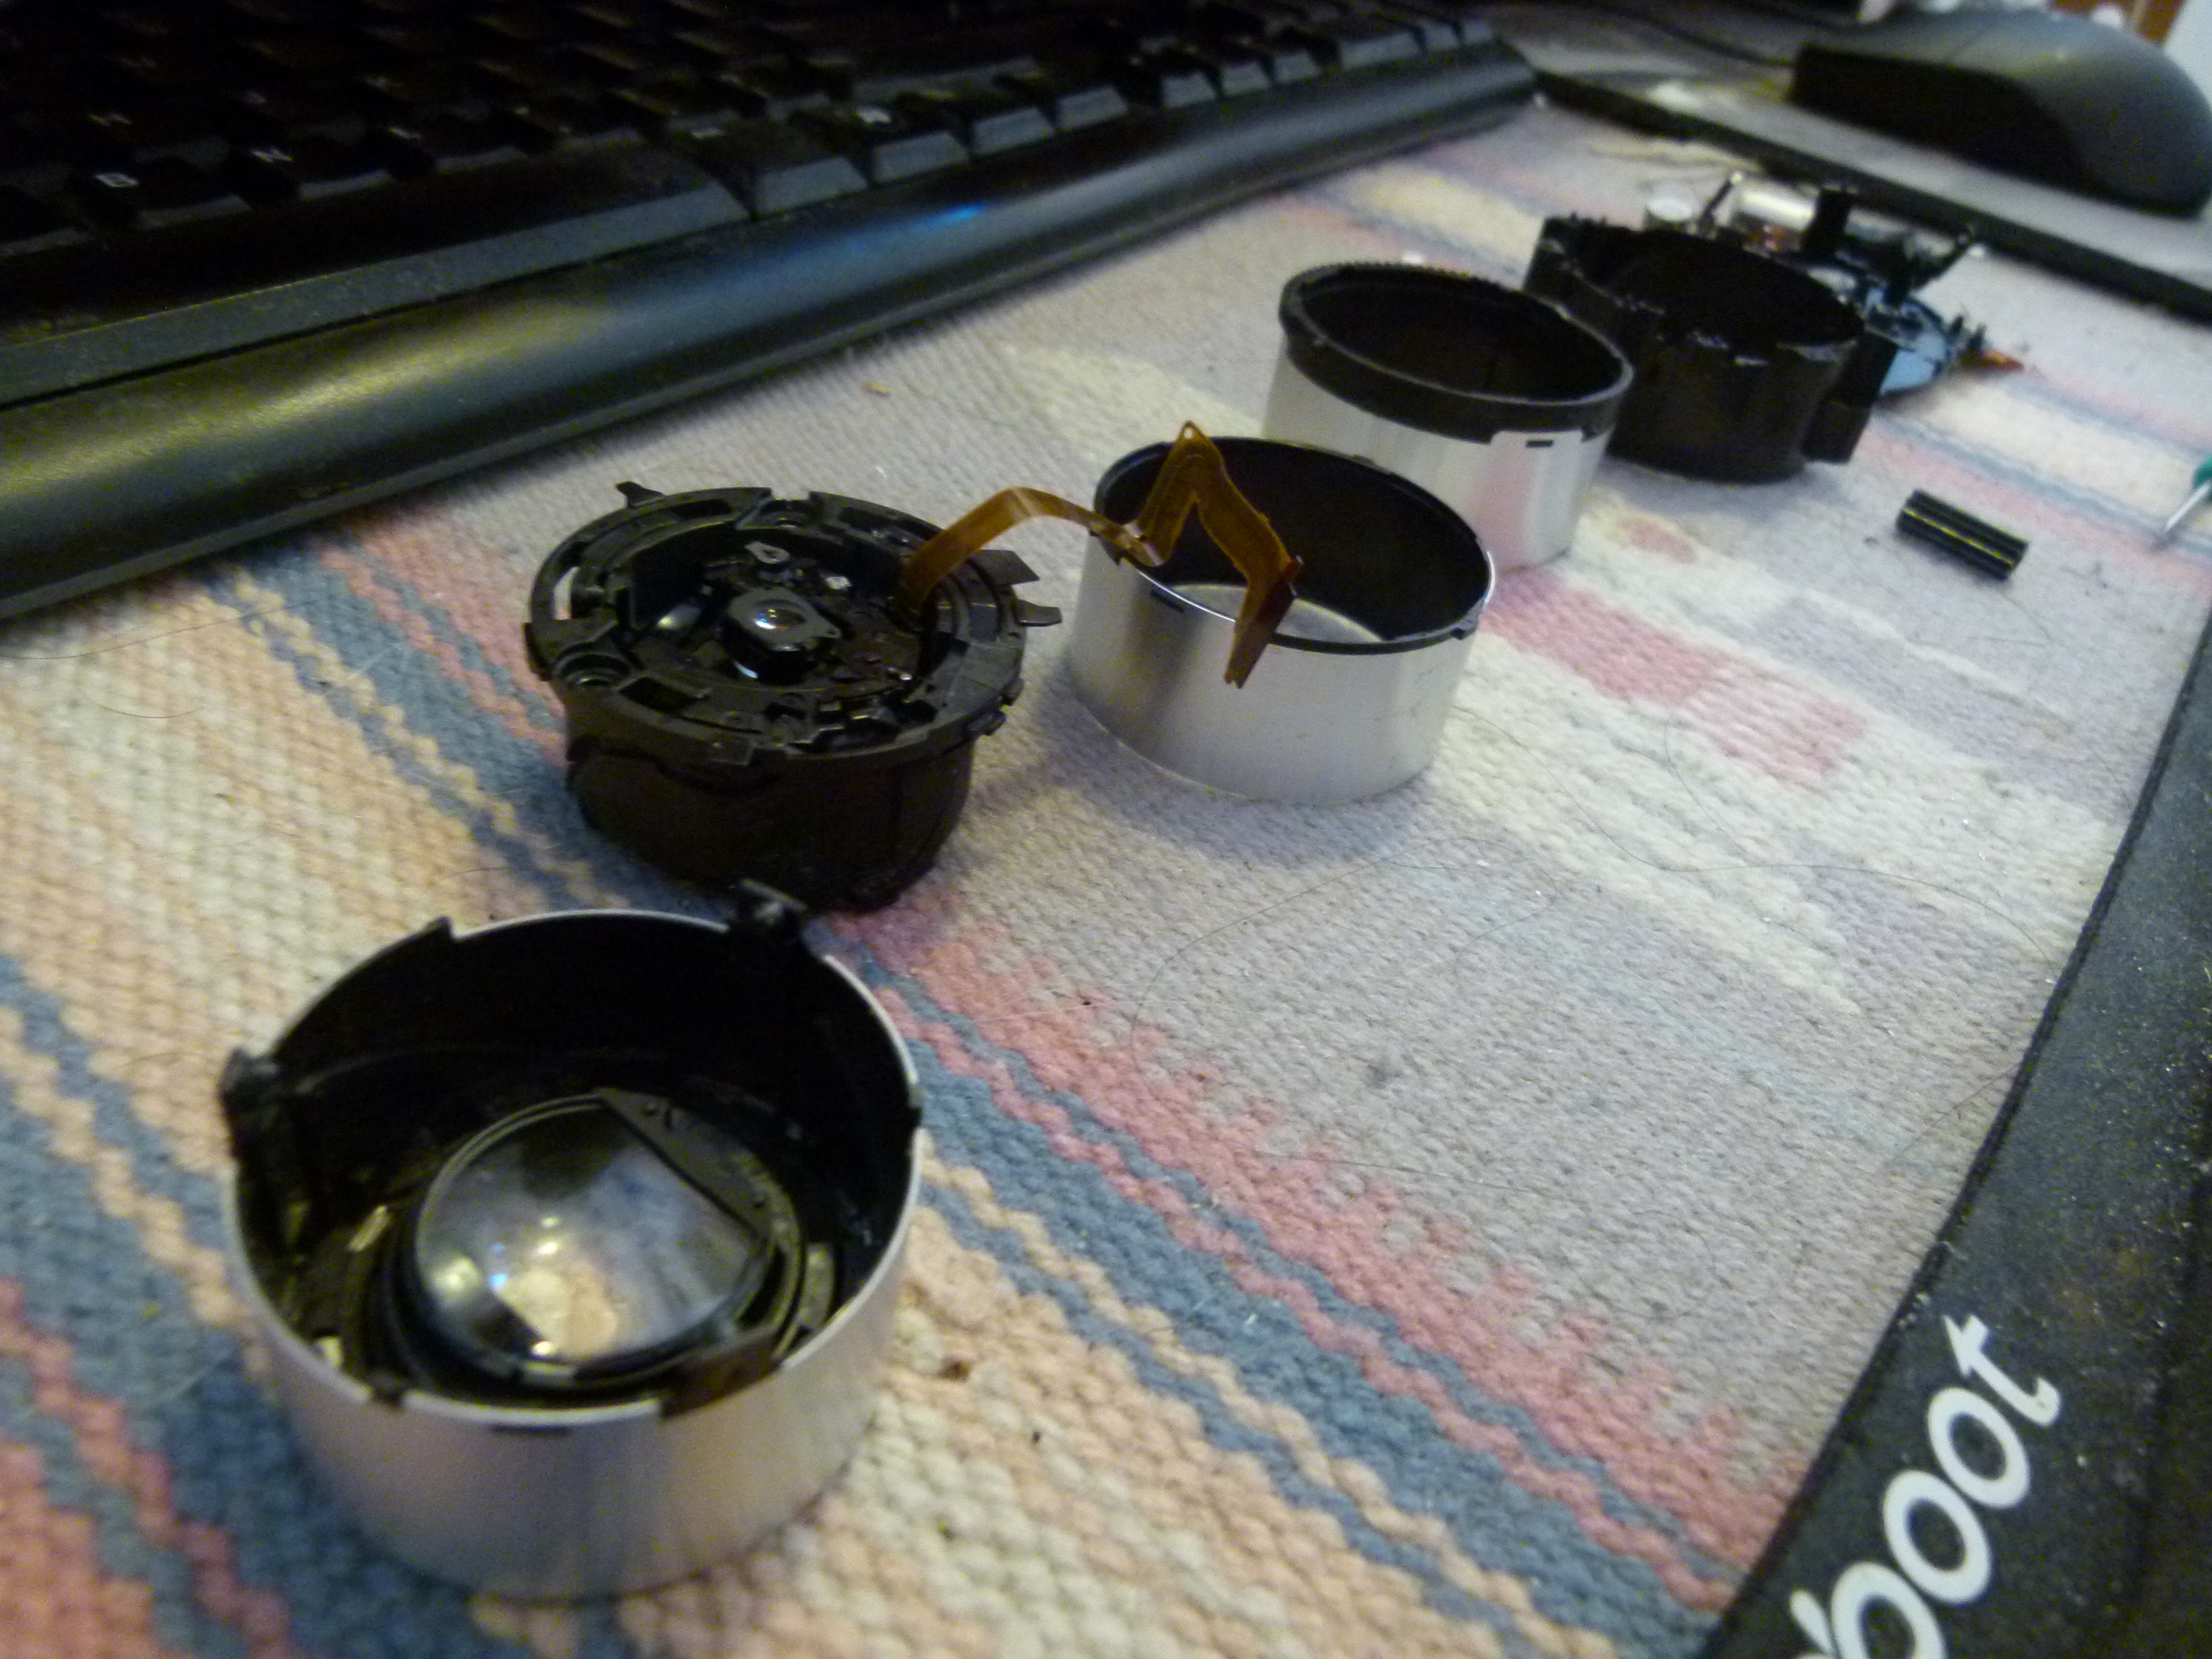
Rebuilding a better lens from merging two lenses
Off-screen I used a q-tip dipped in water to gently clean the lens. Since its lens cover was stuck open, I figured it must have gotten lots of dust.
In any case we're sizing up the task ahead of us.
Disassemble the second lens to this point.
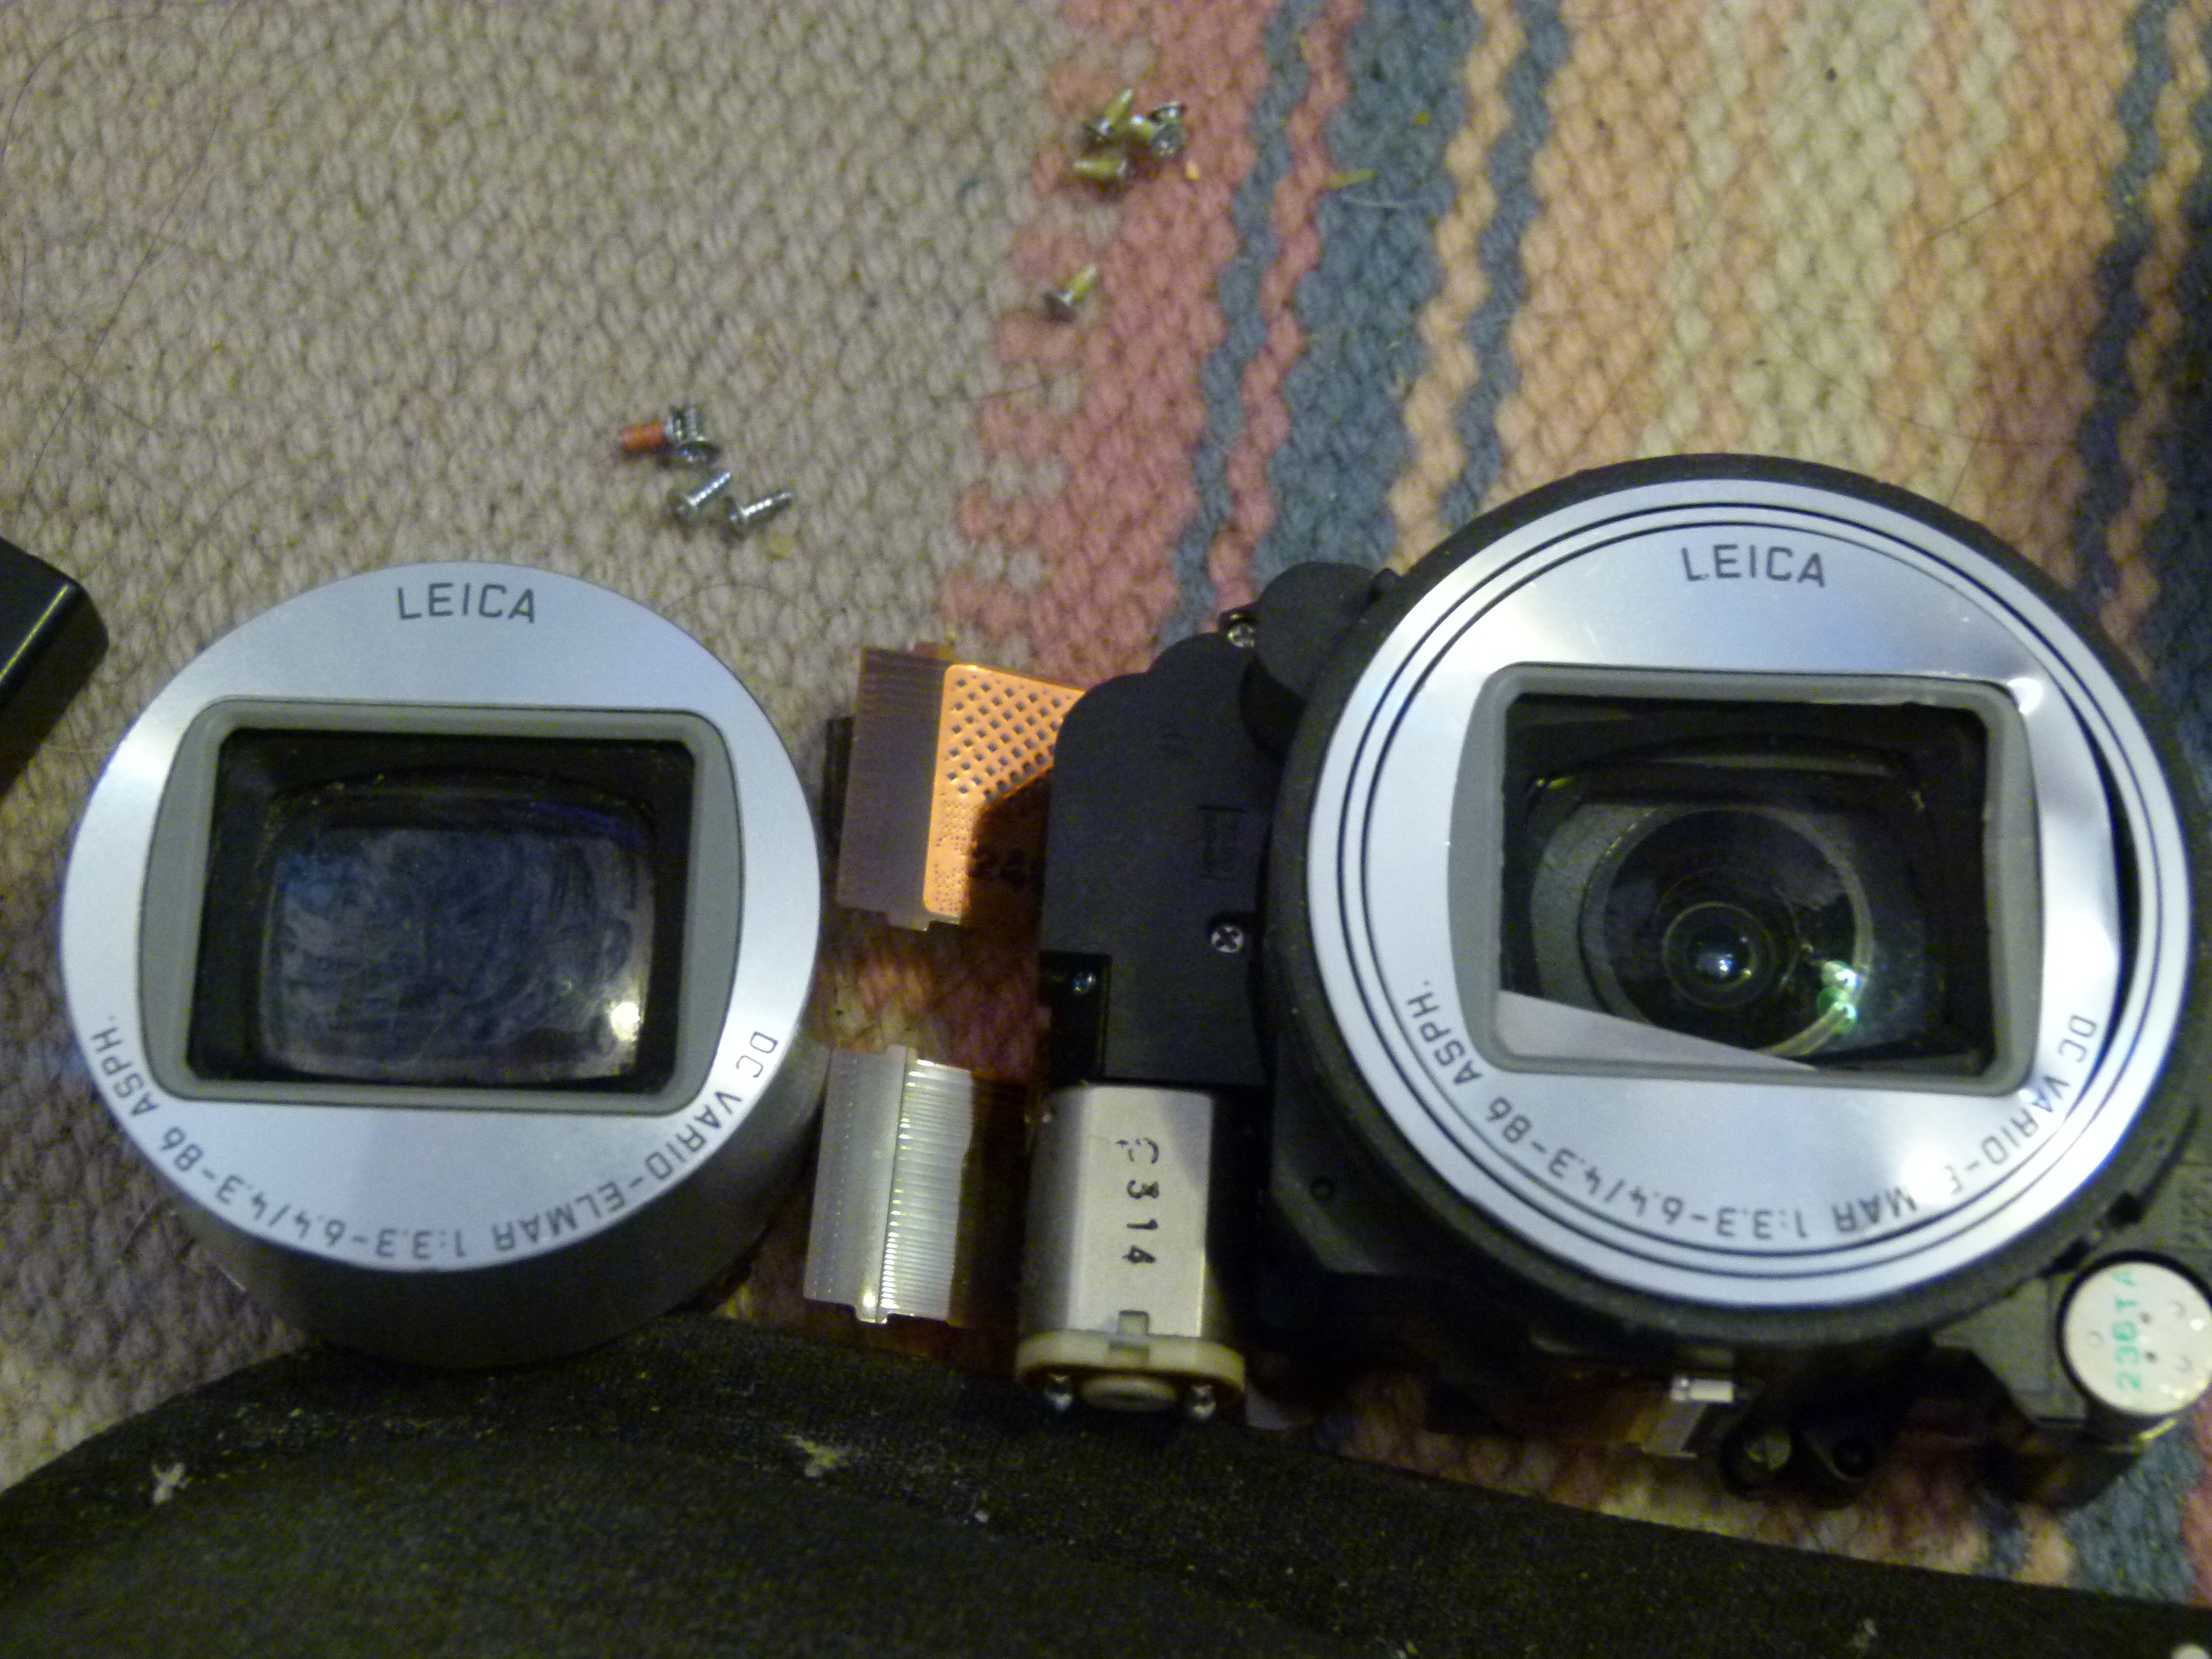
The front portion of the lens comes off very easily. HOWEVER you must be careful to leave the rest intact. In my case it came apart and I had to spend a lot of time fiddling with this assembly to get it back together correctly. It's very tedious with lots of fiddly bits, but I eventually made it through.
All through reassembling the lens you should test the lens by manually zooming it in and out. Not only will you verify that you're doing it right - it gives your mind a moment of play as a reward for making it this far.
For this lens it was important to verify the lens cover can close completely. It was possible the lens cover was broken and couldn't close completely. Fortunately that wasn't the case.
Layer by layer we put the lens back together. We test at each layer to make sure it's functioning as we go.
Some of these layers were very fiddly to get back together. Be patient.
As the attached video shows, there are "alignment marks" to guide you along the way. It's hard to find these marks, but they're all there so look closely.
There were several steps here. The ribbon cable had to be threaded correctly, the gear reinstalled, the back put on and screwed down, the stepper motor reattached, and the cables reattached.
Put the lens back into the camera. Reattach the ribbon cables.
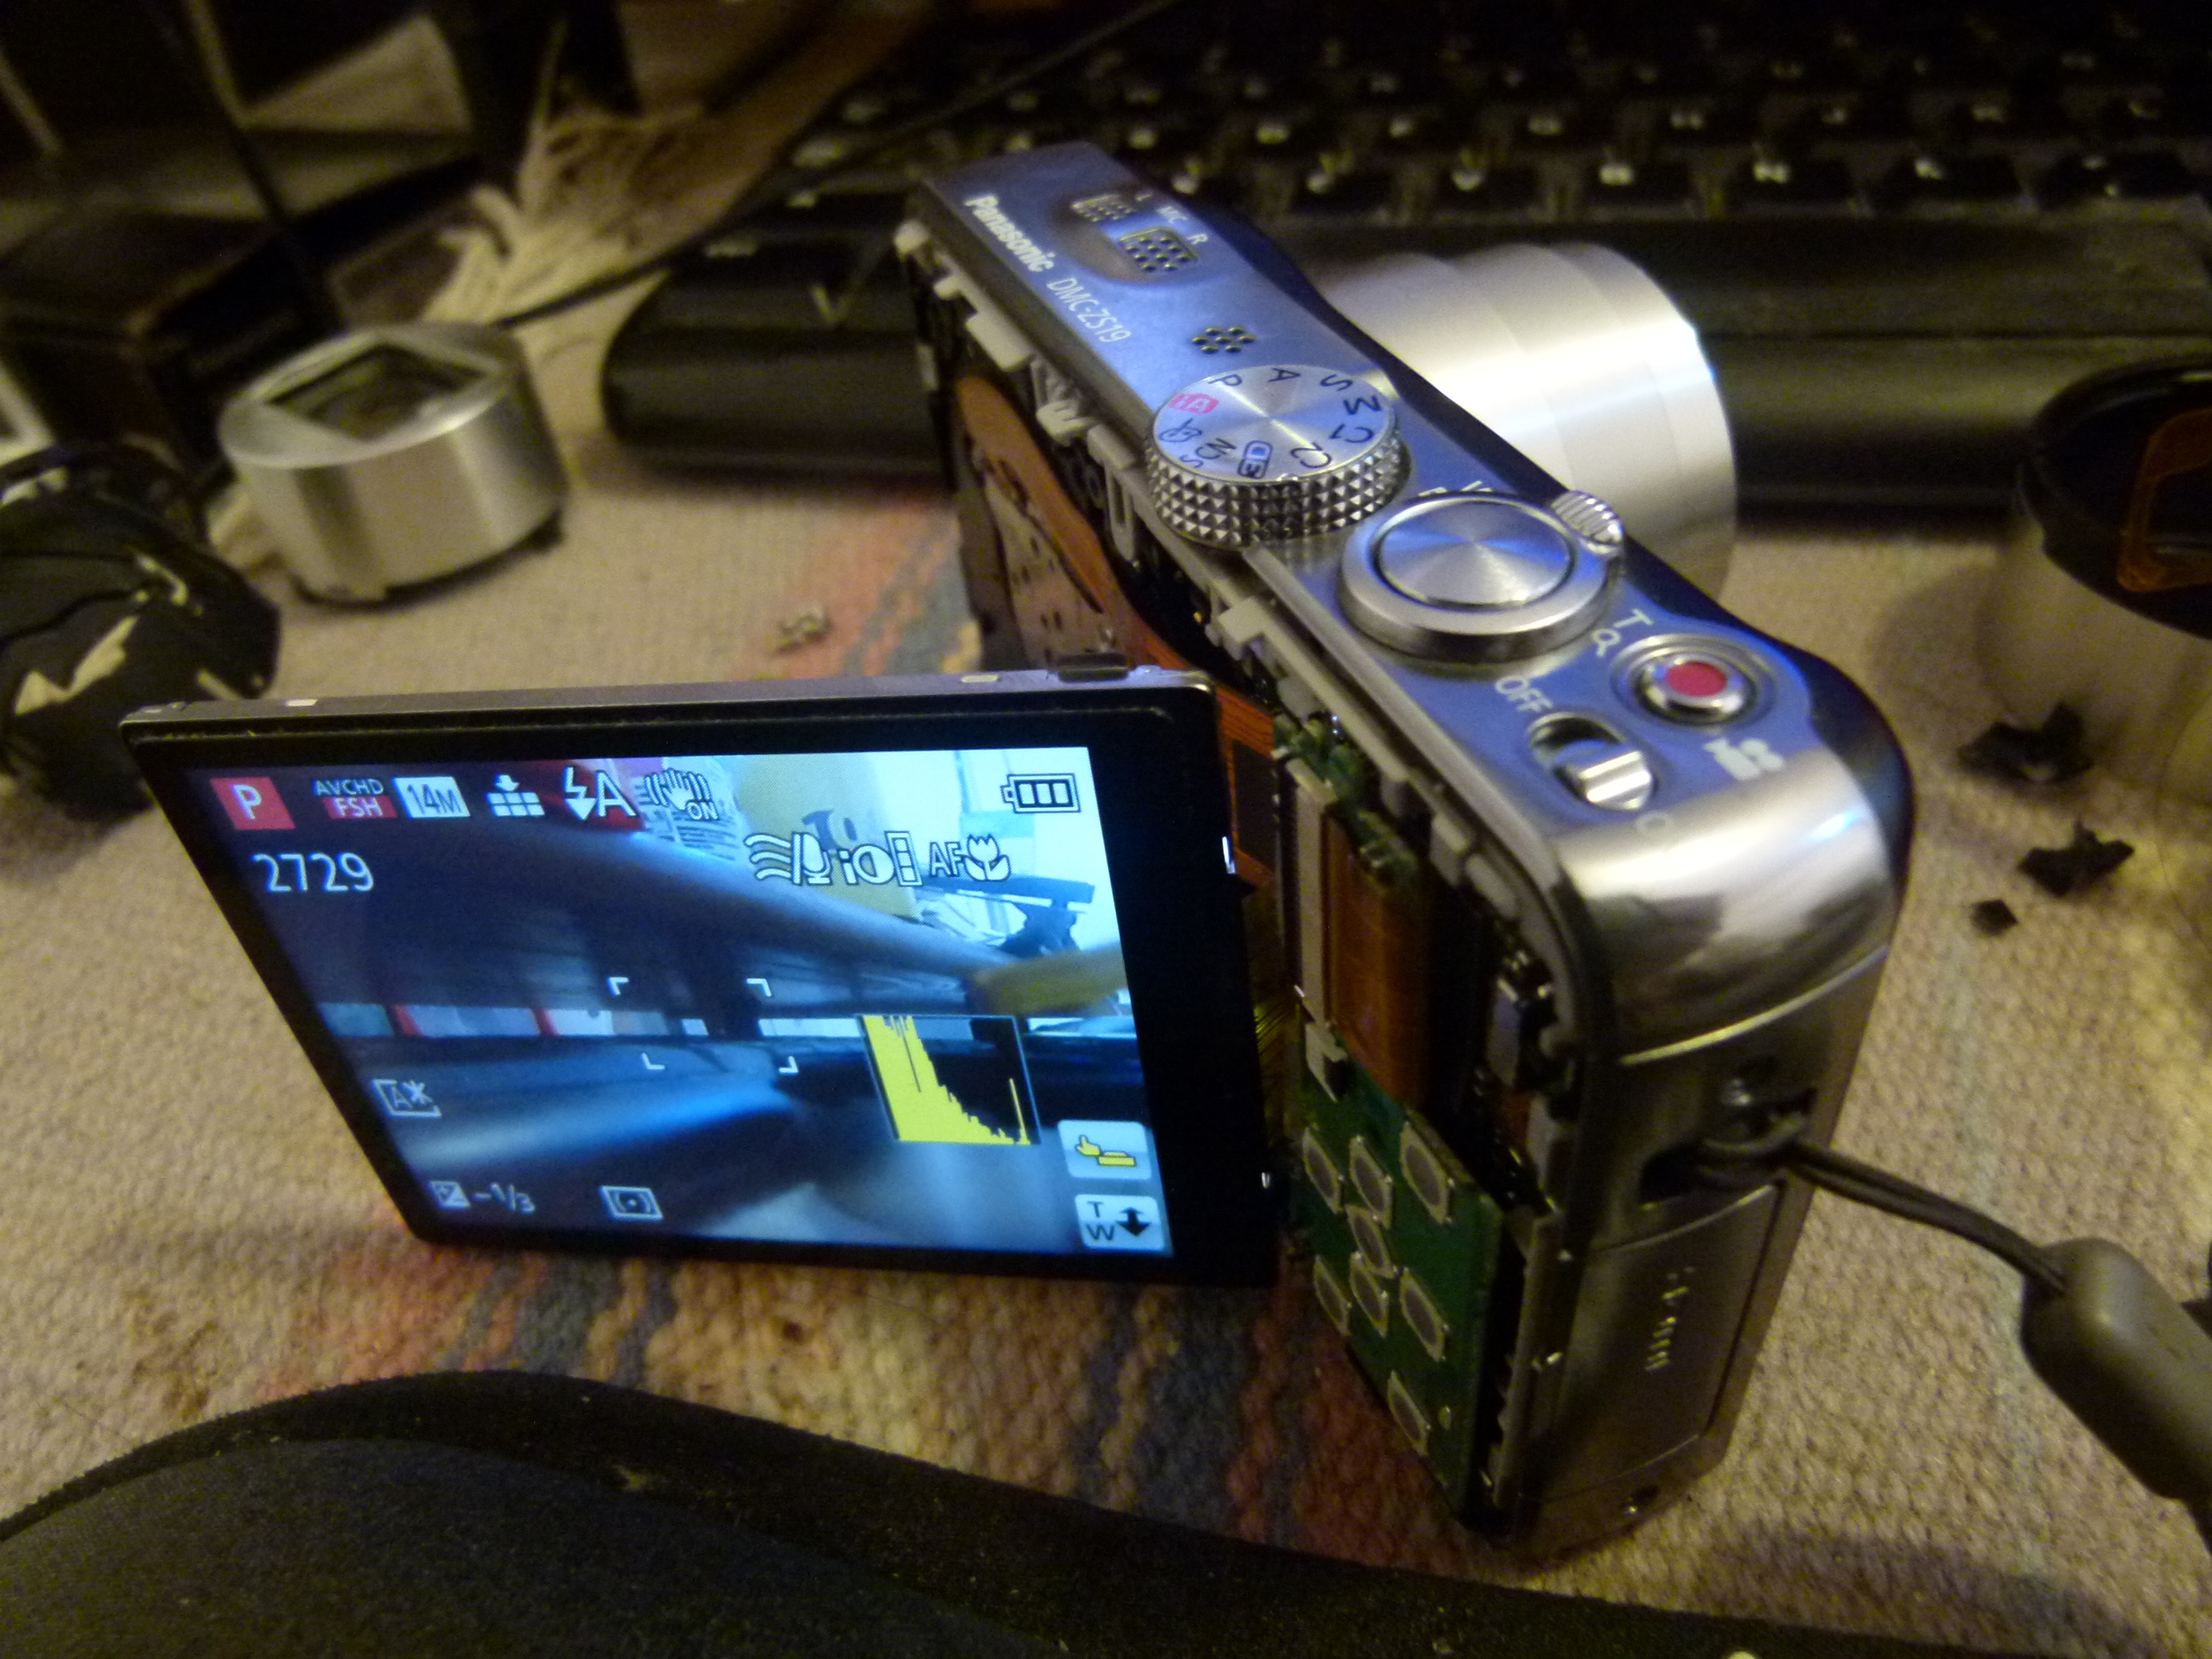
After all that work we want to see a success. It's possible to put in the battery pack, and attach the LCD display as shown, and test that the camera works. Notice the lens zoomed out, and the LCD does not show any error. Whew.
From here - there is a plastic bracket to replace - the brass shield to reinstall - the LCD display to reattach for real - and to reinstall the back.
At that point the camera is fully functioning and you should put it through its paces to see. One thing to check carefully is picture quality. It's possible to mess up the lens by misaligning something.
Panasonic Lumix ZS19 & ZS20 Lens Disassembly and Reassembly
Fix the "SYSTEM ERROR (ZOOM)" error on a Panasonic Lumix ZS19, ZS20, TZ27, TZ30


