David Herron
Tags: Panasonic Lumix Cameras »»»» Digital Camera Repair »»»»
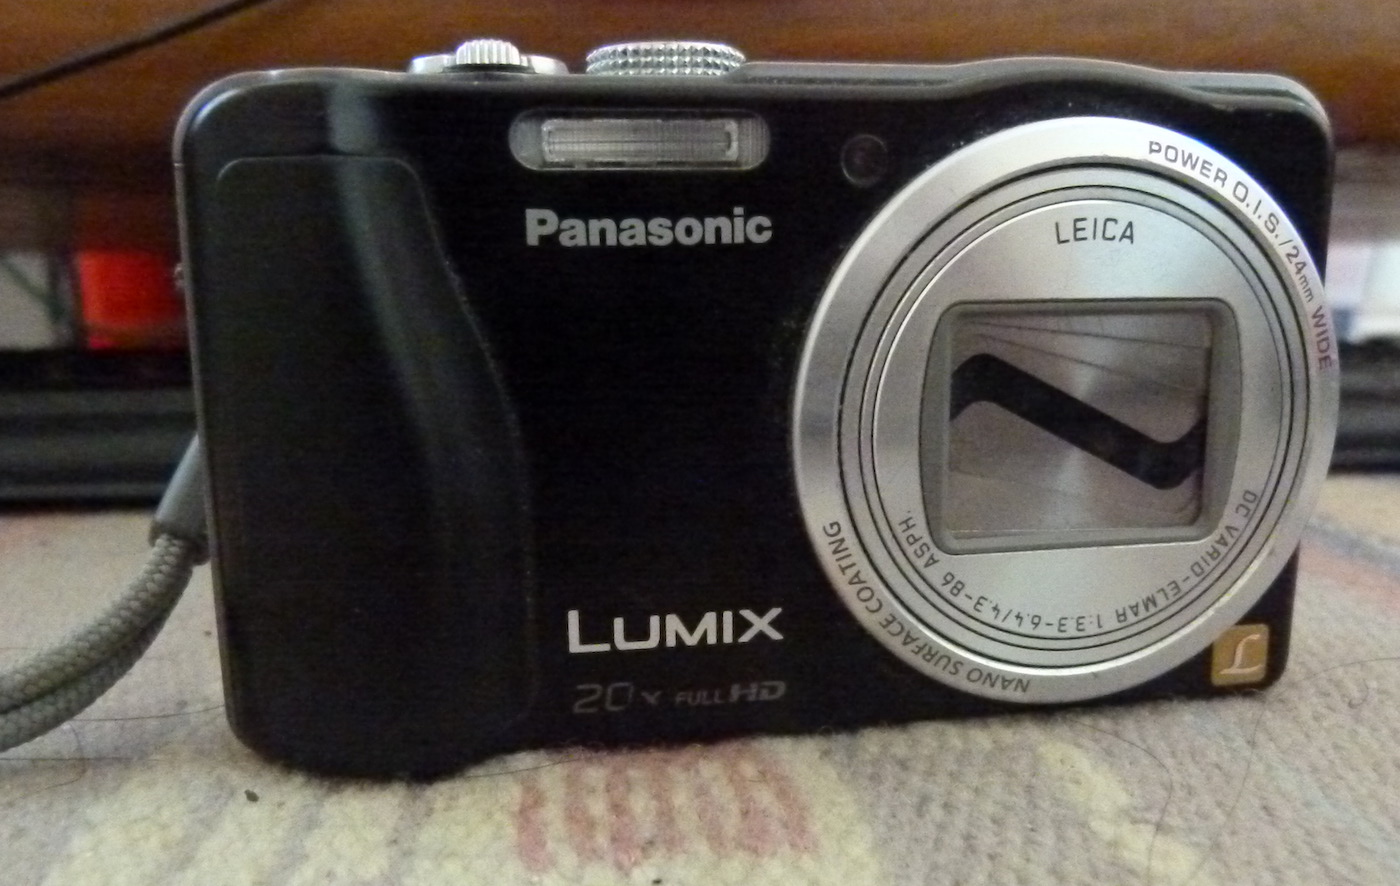
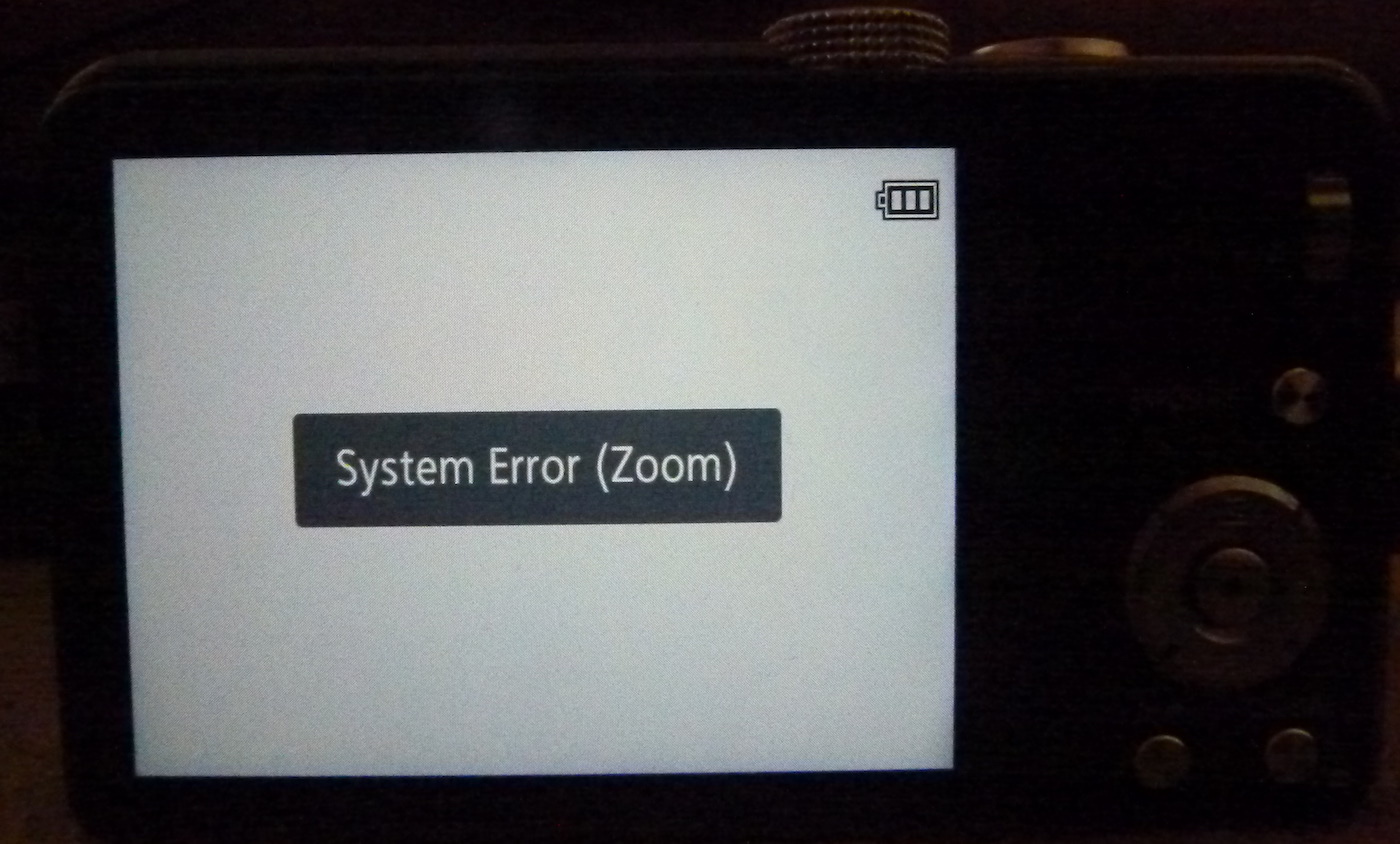
Panasonic Lumix point-and-shoot cameras have a frequent failure where the display shows System Error (Zoom), and the Lumix ZS19 shown here has that problem as well as a lens cover that doesn't work correctly. Thinking it might be possible to repair the lens, I set about doing this teardown. What I'll do in this article is show the teardown of the Lumix ZS19, the feasibility of converting it to be an infrared camera (full spectrum anyway), and at the end is a video showing how to repair a common failure mode of the ZS19 lens assembly. Everything shown here also applies to the Panasonic Lumix DMC-ZS20, DMC-TZ27 and DMC-TZ30.
According to the video attached at the bottom, a build-up of dust inside the lens unit causes a variety of problems. At the extreme end of the scale Lumix camera's show the error message System Error (Zoon), and the lens unit doesn't even try to extend. That's the behavior on this camera. The proposed fix is to extricate the lens unit and perform some repairs.
It just so happens that this process is also what one does to perform convert this kind of camera for infrared photography. Inside the camera is a filter that blocks infrared light from reaching the image sensor. Simply remove that filter and the camera instantly becomes a "full spectrum" camera. Insert a filter that blocks everything but infrared light, and it becomes an infrared camera. To learn more see DIY Convert Lumix DMC-ZS3 for infrared or full spectrum photography
In this article I did not take the lens apart or attempt further repair. After some thinking on the issues, I bought a second ZS19 and merged parts of the two cameras to make one working camera. That process is described in: Complete fix for System Error Zoom on Panasonic Lumix cameras (DMC-ZS19)
The basic plan from this point is to open up the camera, extract the lens unit, and try to repair it.

There are six screws. All require a Philips #000 screwdriver. Be careful removing the screws since some might be in there extra strong, and you don't want to strip out the screw-head accidentally.

Working gently it's fairly easy to remove the back. Just find a crack around the edge, using a thumbnail or a plastic pry-tool, go all the way around and lift the back up. Be gentle, and you'll be able to free it up easily.
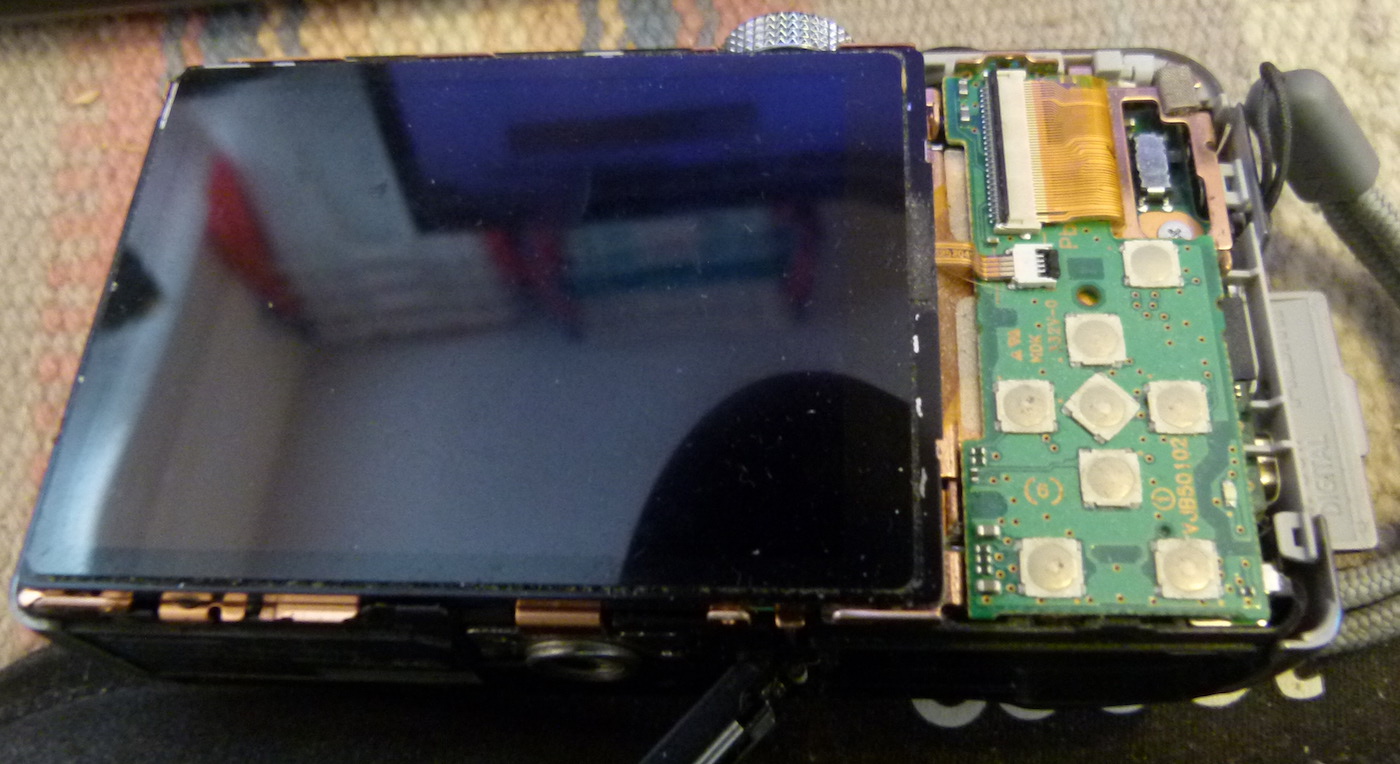
You'll now see this. To the left is the LCD display, to the right is the board for the rear-panel buttons.
The next step is to remove the display. Fortunately this is fairly easy but not intuitive.
The display and the board you see to the right are connected by ribbon cables. The board itself is connected to the main logic board by a simple pop-on connector. It's very easy to pop this board off that connector, then pry up the LCD display (GENTLY).
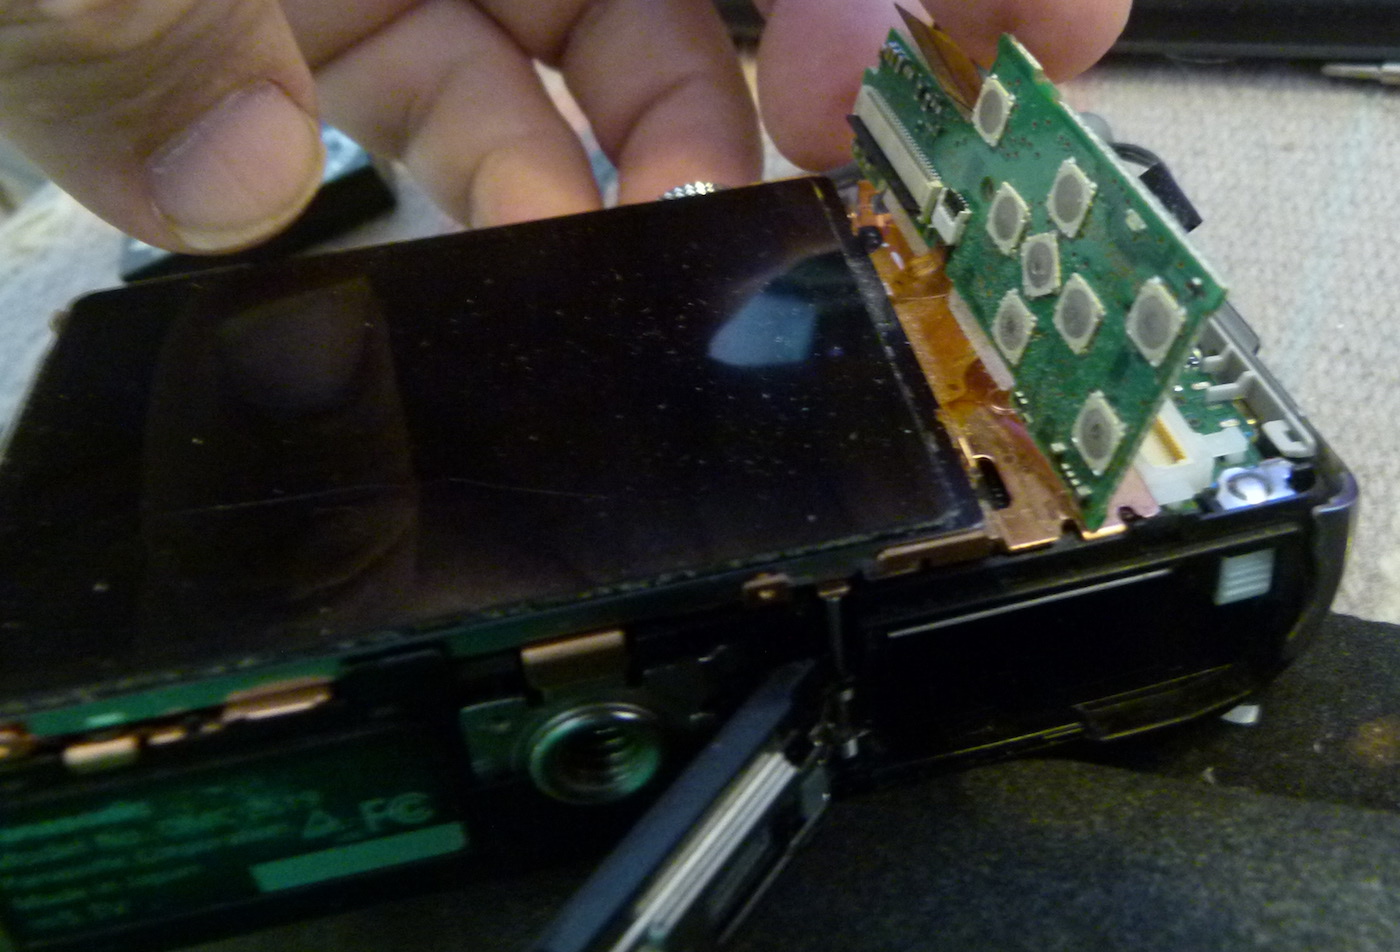
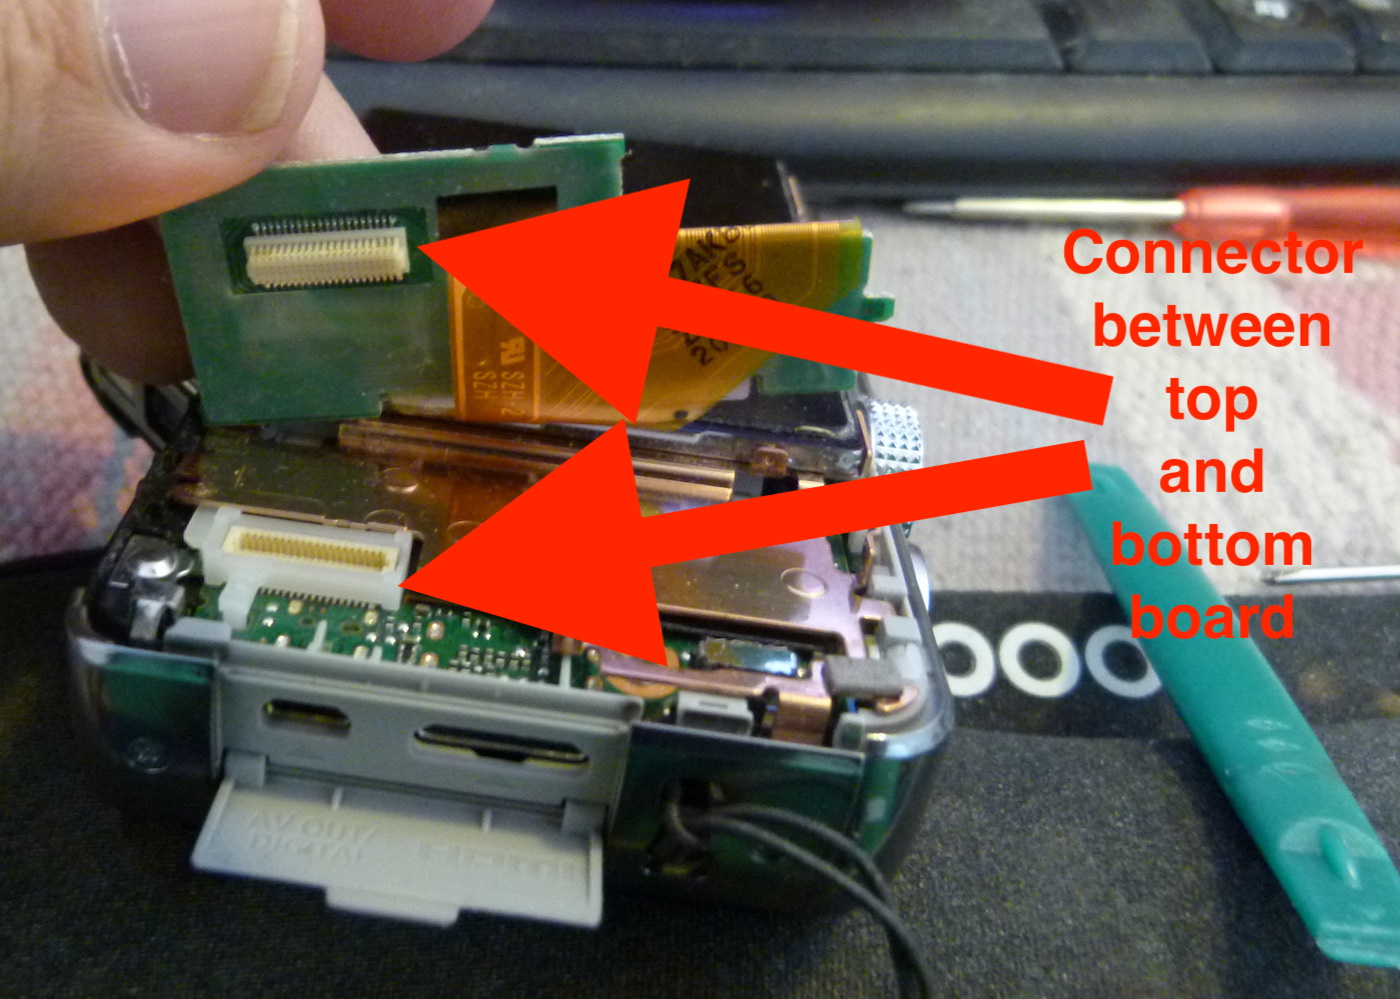
The button board just flips up. There is a hidden connector between the two boards, as shown here. You simply lift the top board up, and this connector will disconnect, and the top board lifts up easily. It's not necessary to disconnect the LCD display from this board.

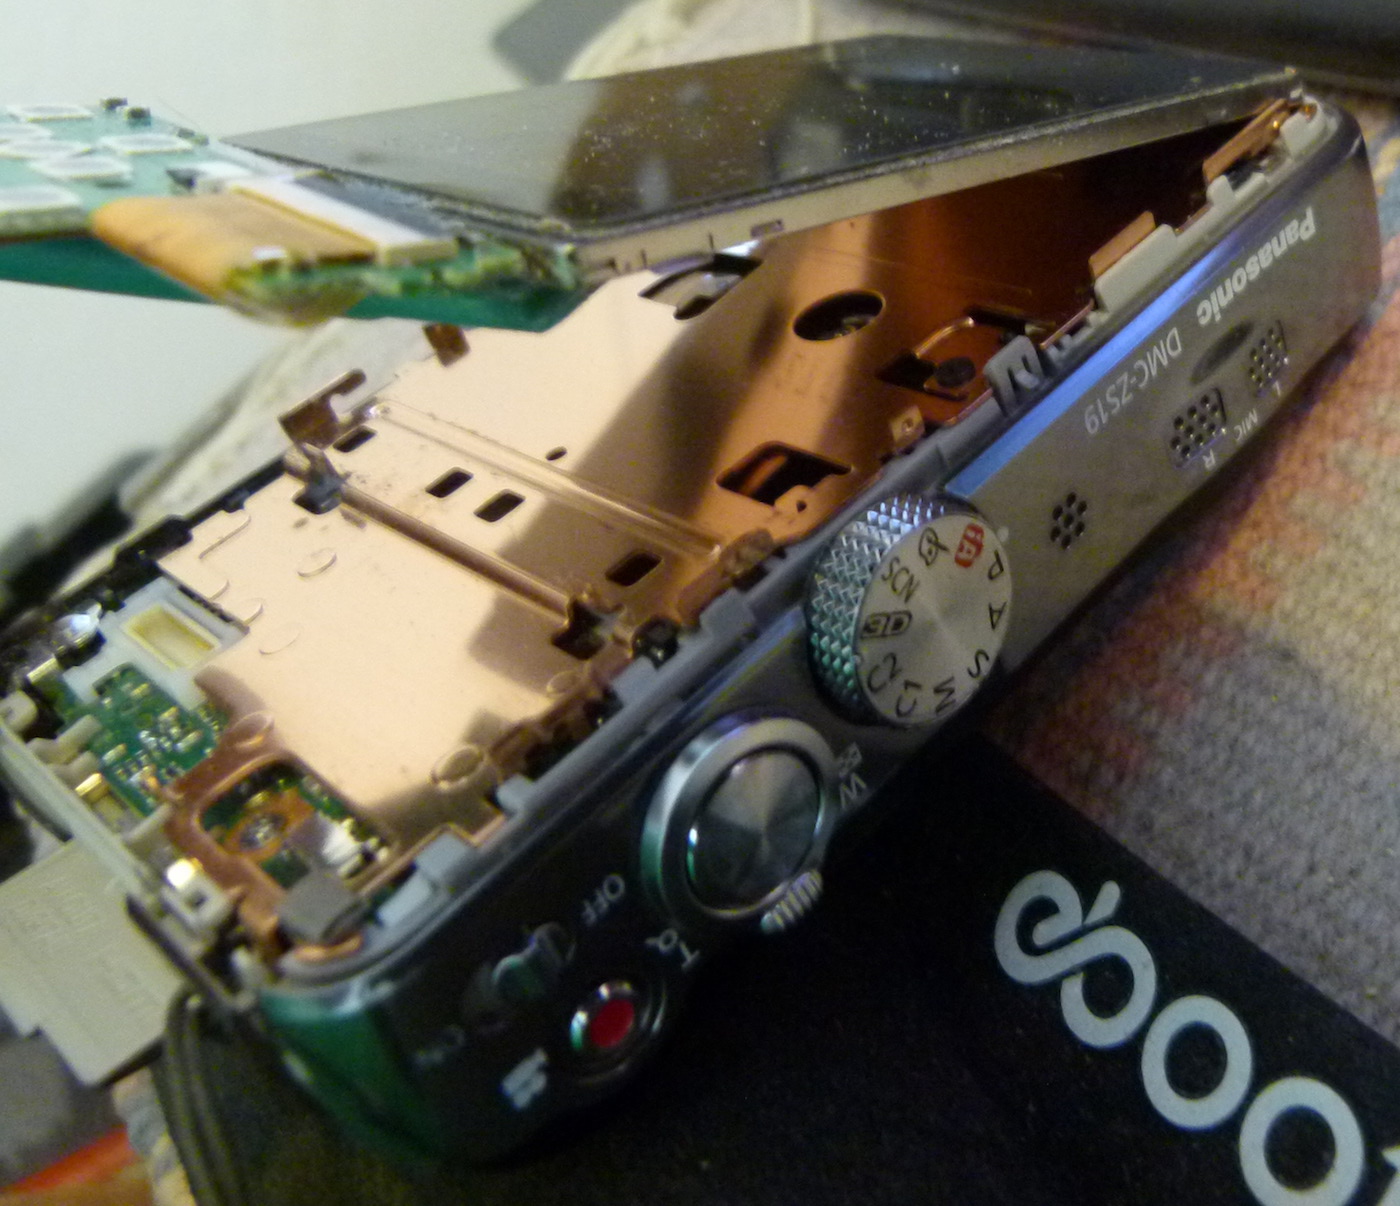
The LCD display panel lifts up fairly easy. Start in one corner and gently lift it up. You'll find it necessary to unclip the edge of the display from the camera body in a couple places. It should remove easily at this point, but there is another clip at the far end of the display to un-do.
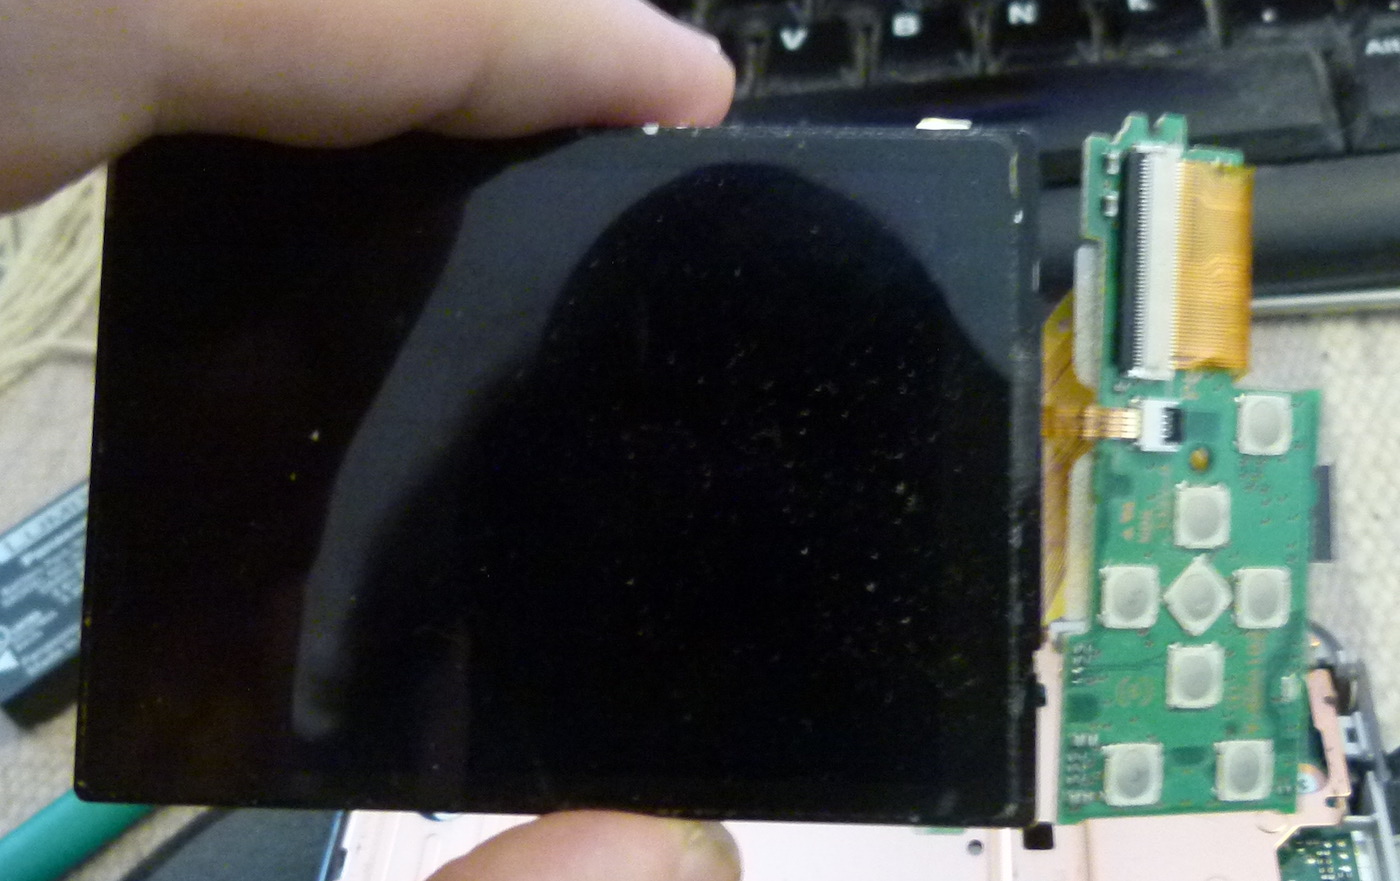
The LCD display looks like this, in case you're interested. However for this project just set it aside.
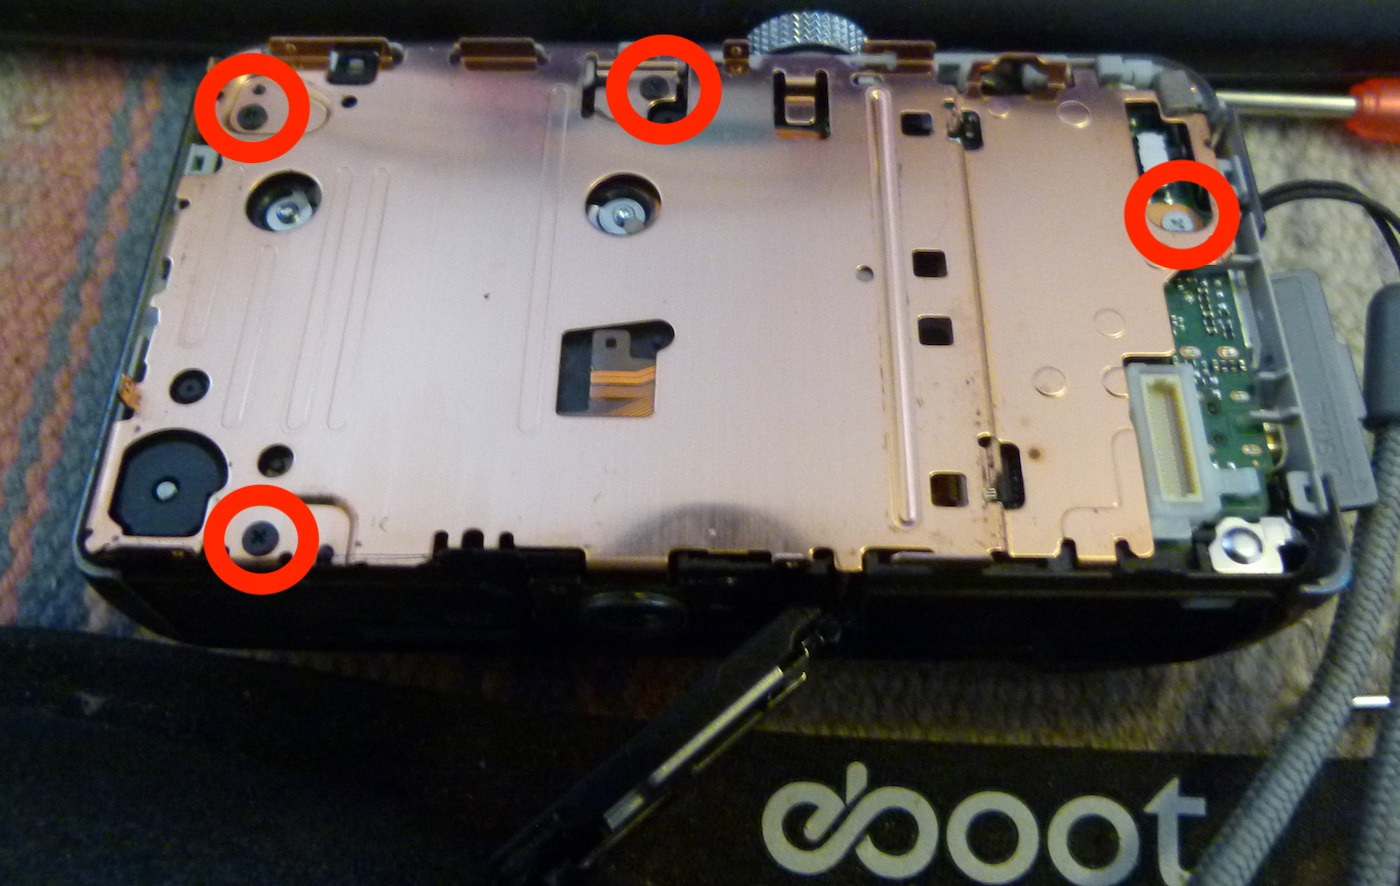
We have a barrier to remove, that is apparently made of brass. It is held down by four screws as indicated by the red circles. Be careful with these - on my camera there was thread lock compound on the screws making them harder to remove.
After removing the screws, the barrier easily lifts up.
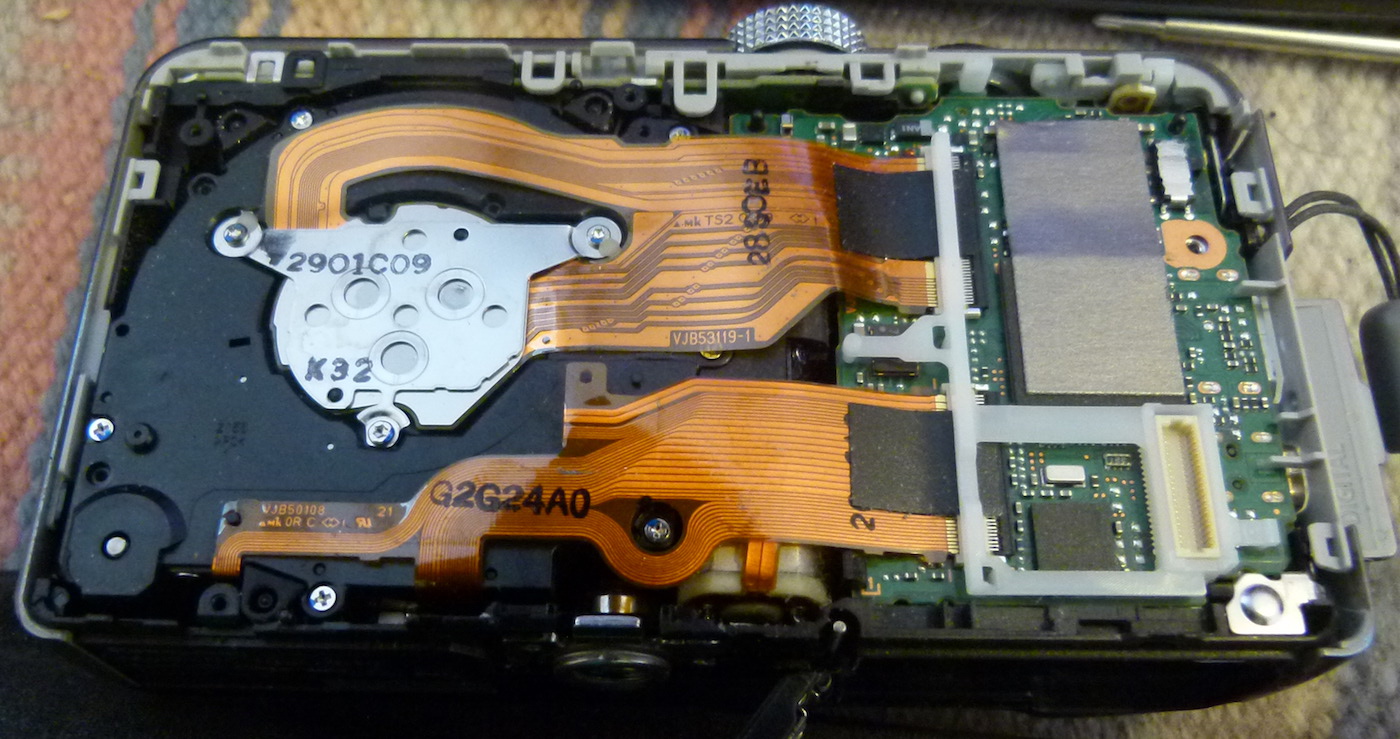
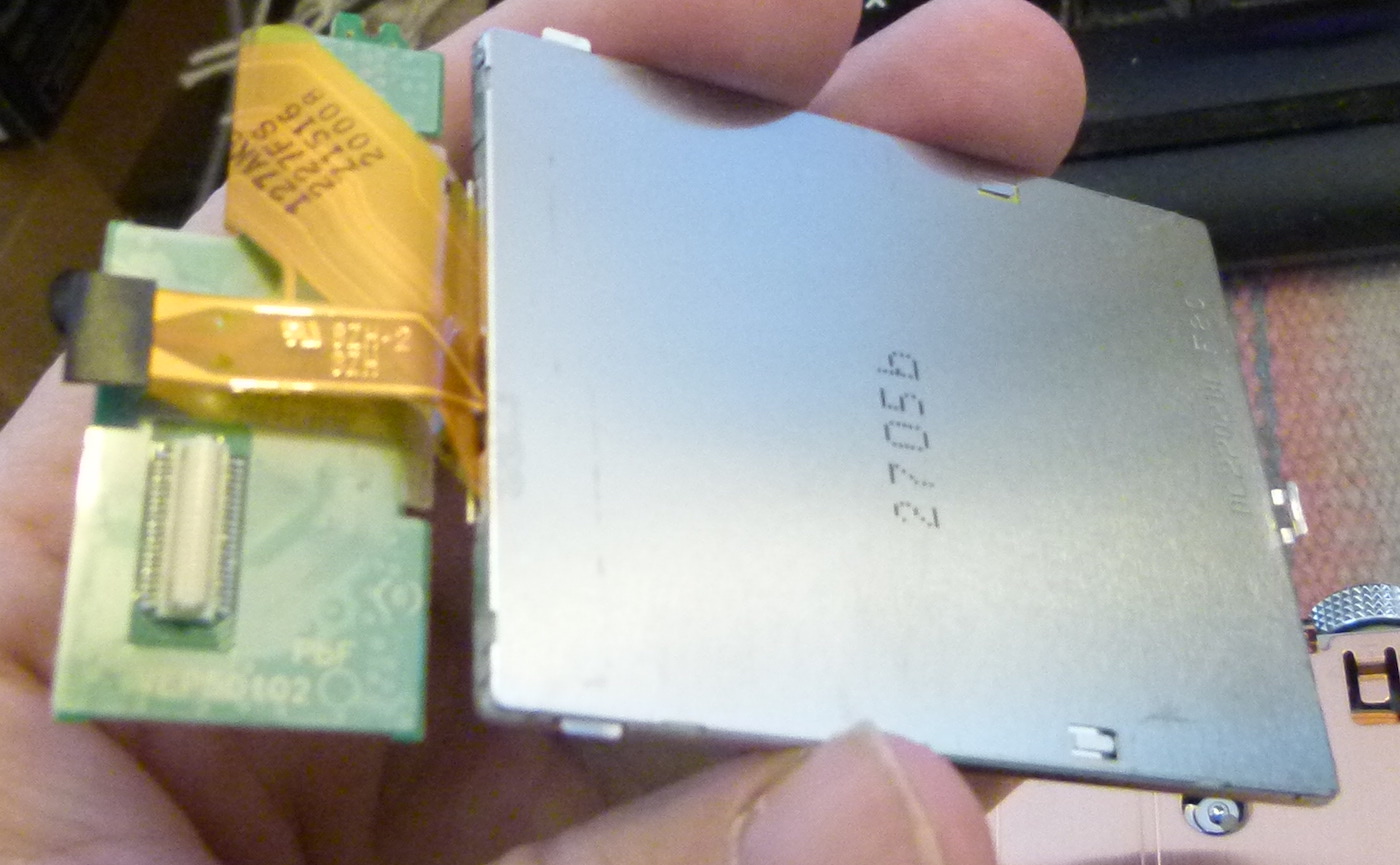
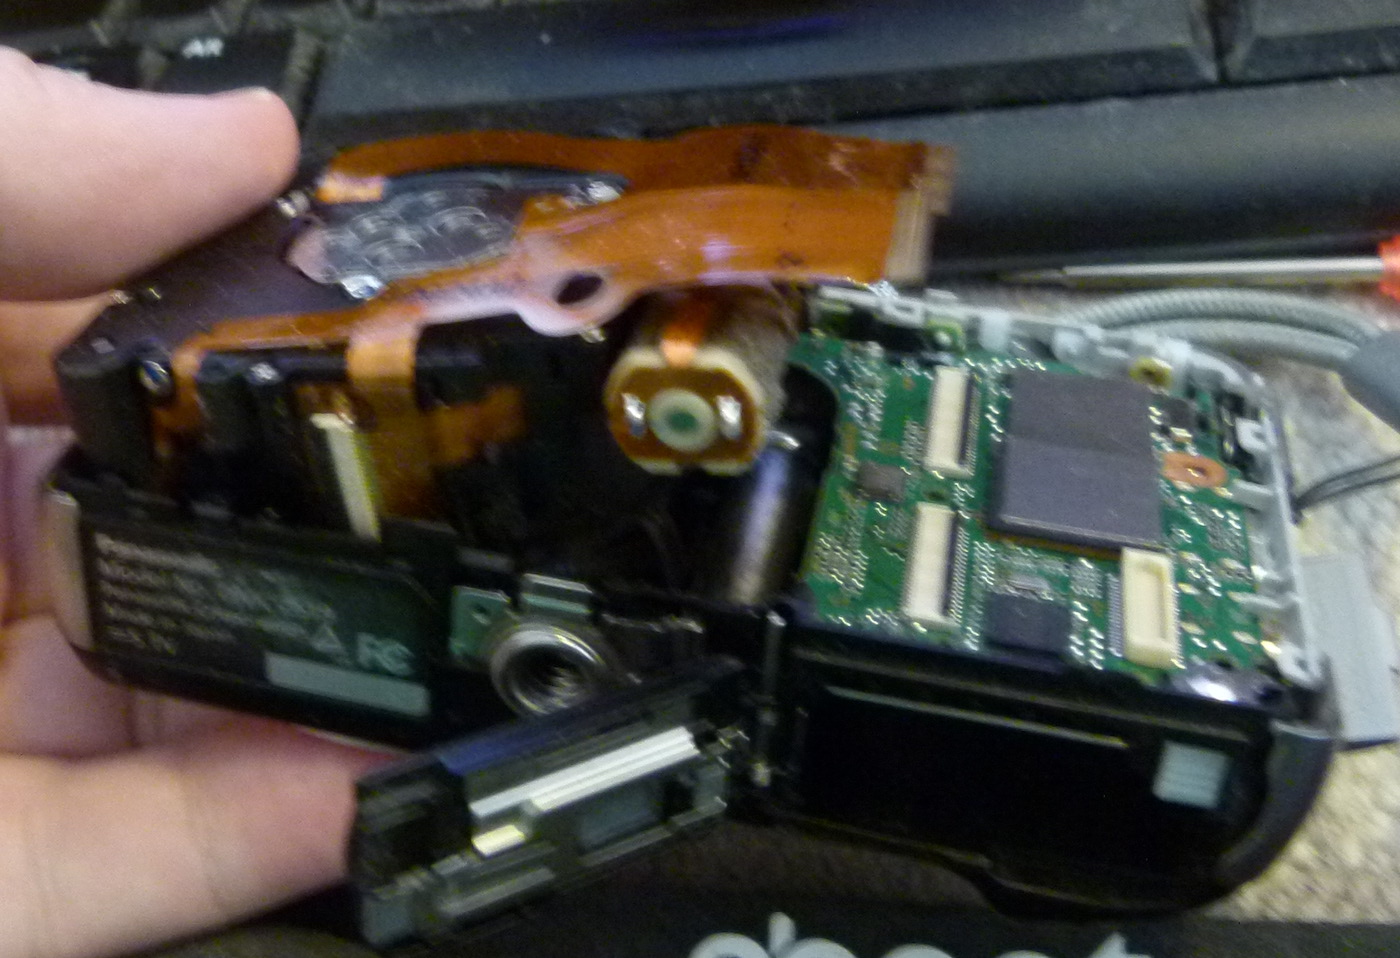
We're almost there. The lens unit is on the left, and the main logic board is to the right. The ribbon cables connect the two.
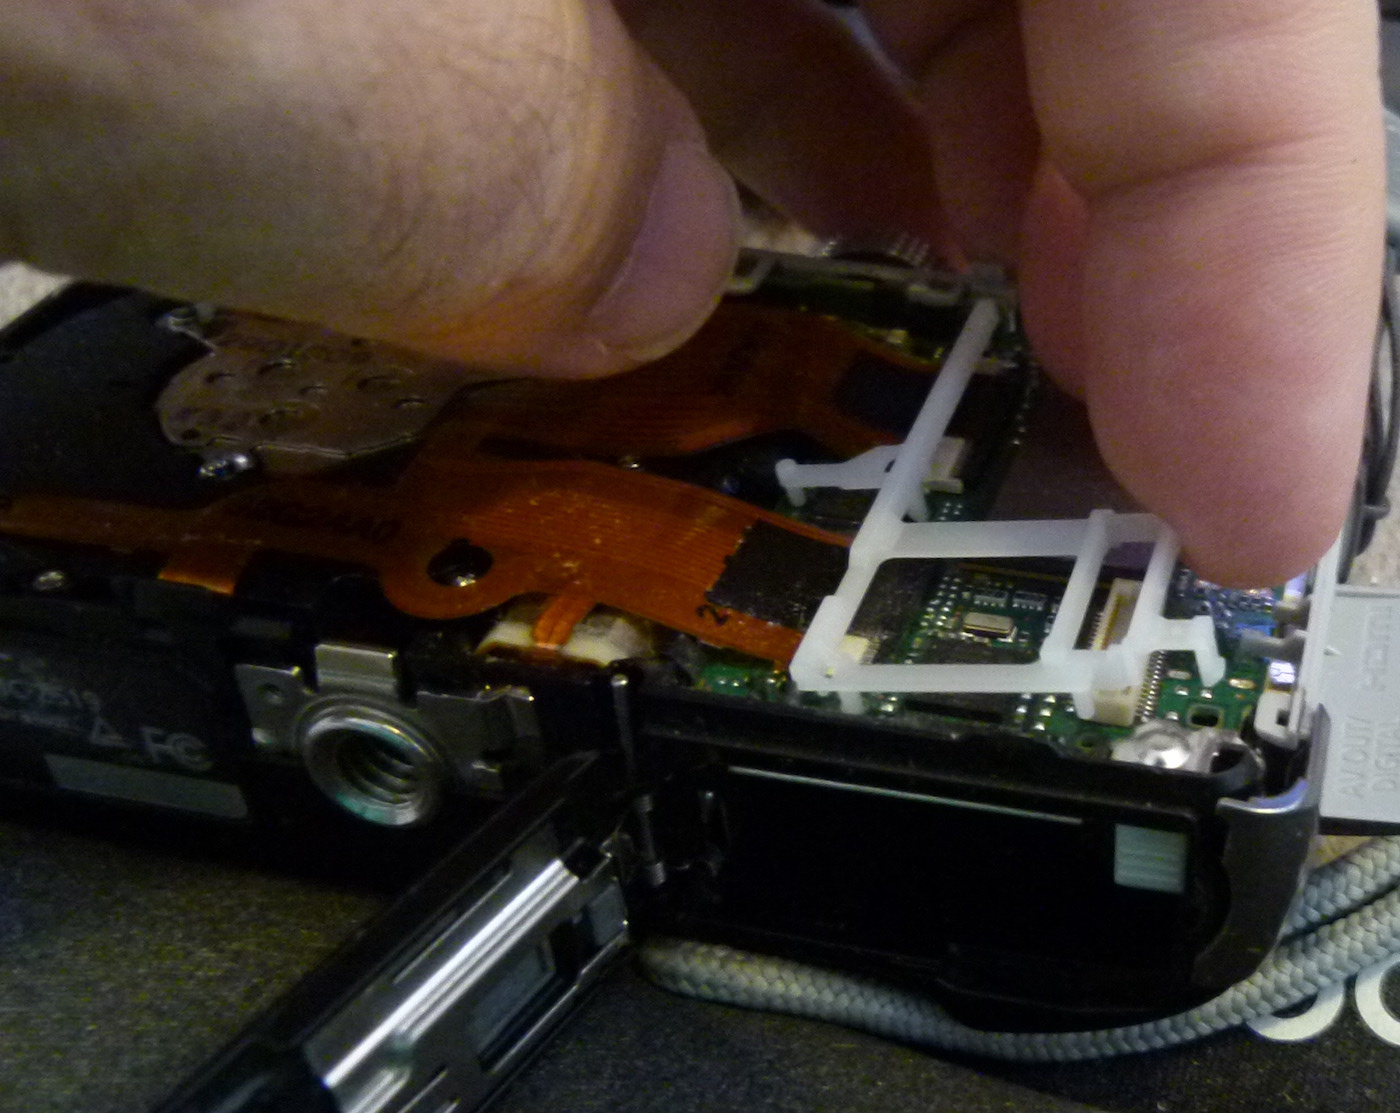
To disconnect the ribbon cables we must remove this plastic standoff. It just lifts out, no problem.
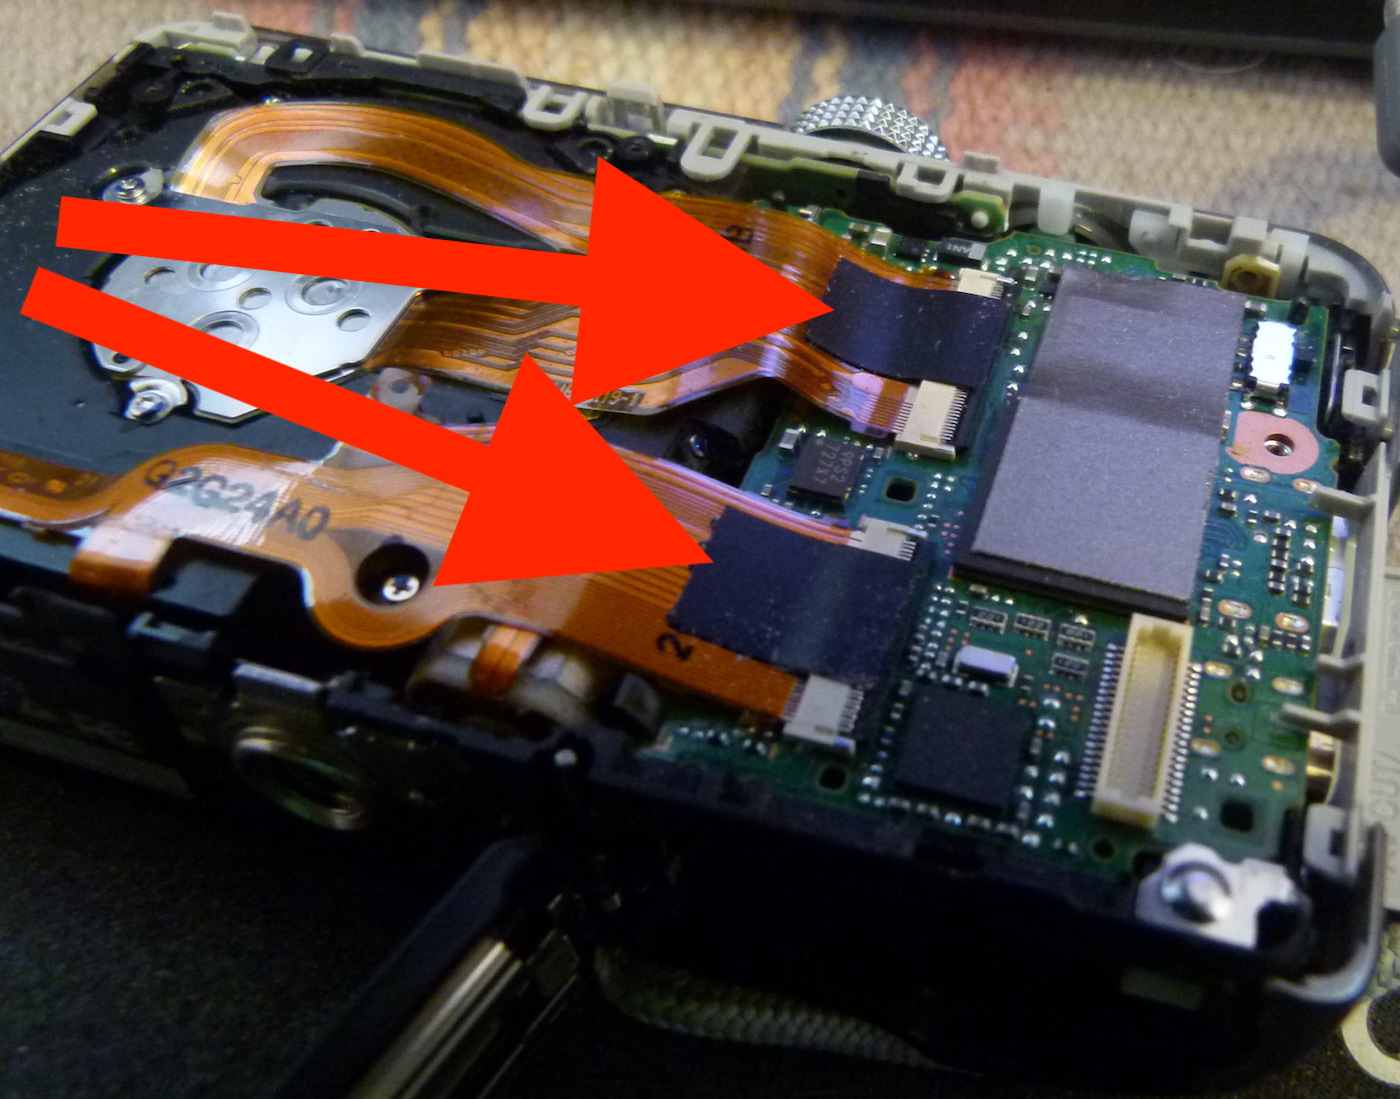
Remove the ribbon cables for the lens unit. In my camera there were two pieces of tape holding the cables in place. The tape simply peels up.
You'll see a black lever - use a fingernail to lift the lever. Afterward you can simply slide the cables out.
NOTE If you want to convert the camera to be a full spectrum, or infrared, camera you do not need to remove these cables. Instead you should stop at this point and examine the plate holding the image sensor in place.
FOR INFRARED CONVERSION To see what to do regarding converting the camera to full spectrum refer to DIY Convert Lumix DMC-ZS3 for infrared or full spectrum photography -- The idea is to unscrew the image sensor, remove a filter underneath the image sensor, then screw the image sensor back in place, and finally to reassemble the camera.
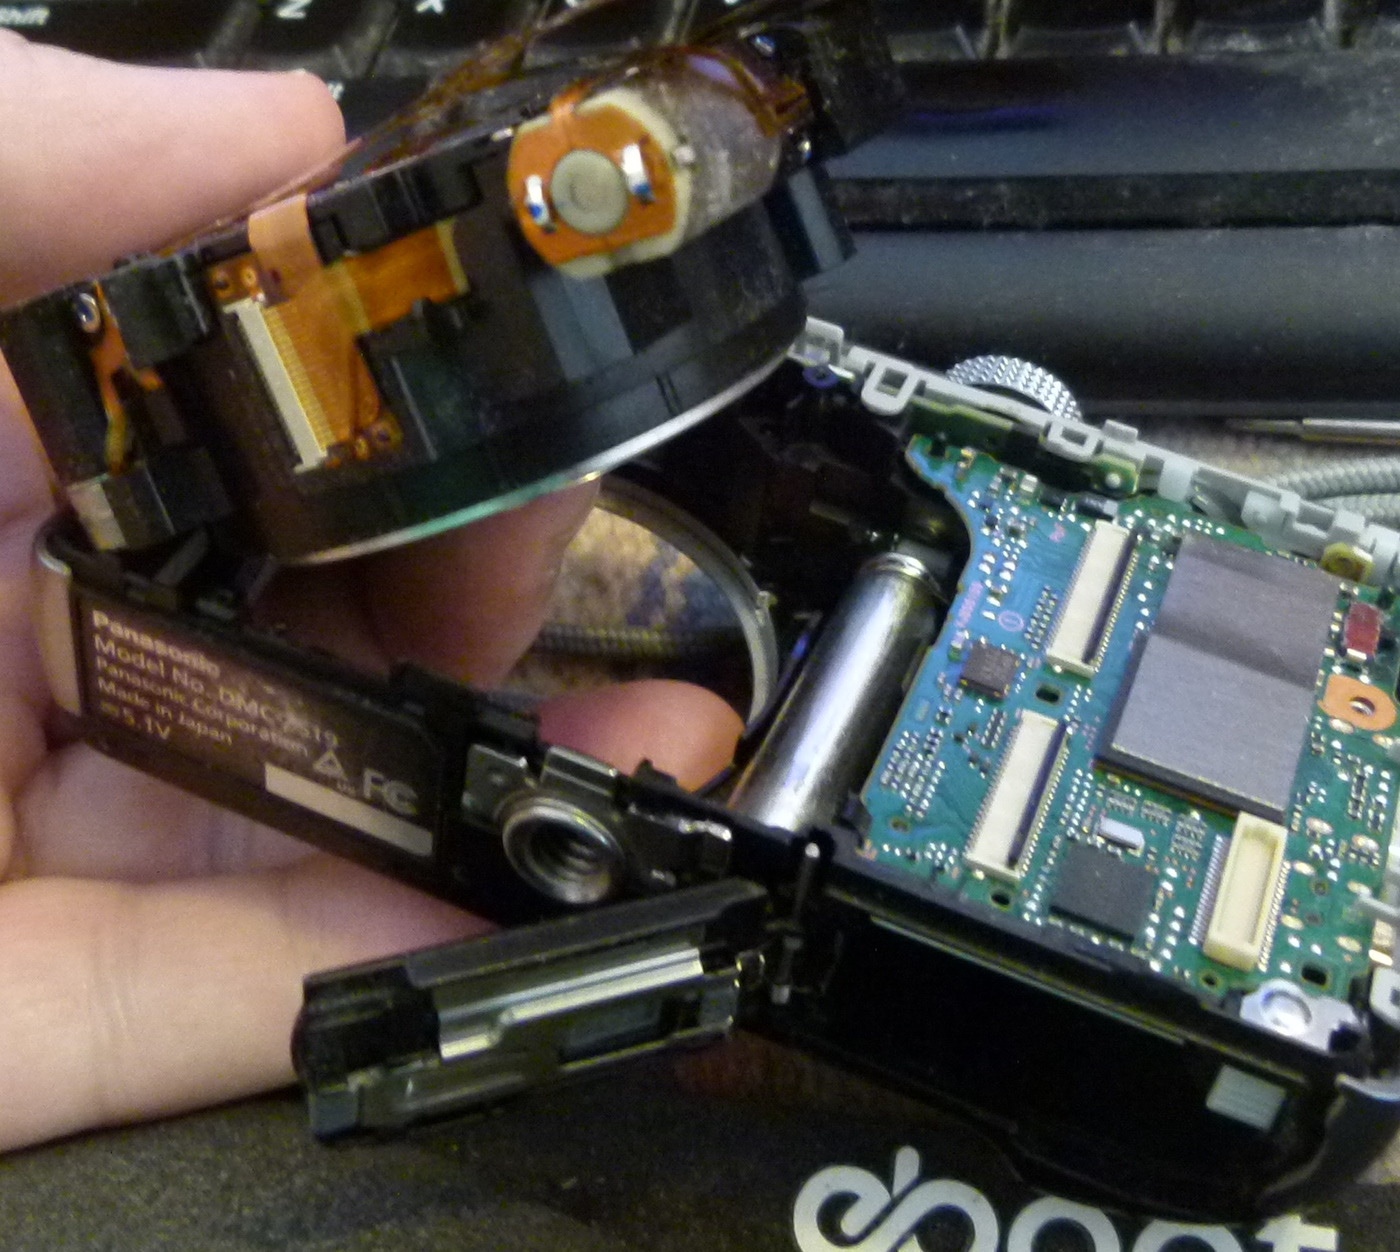
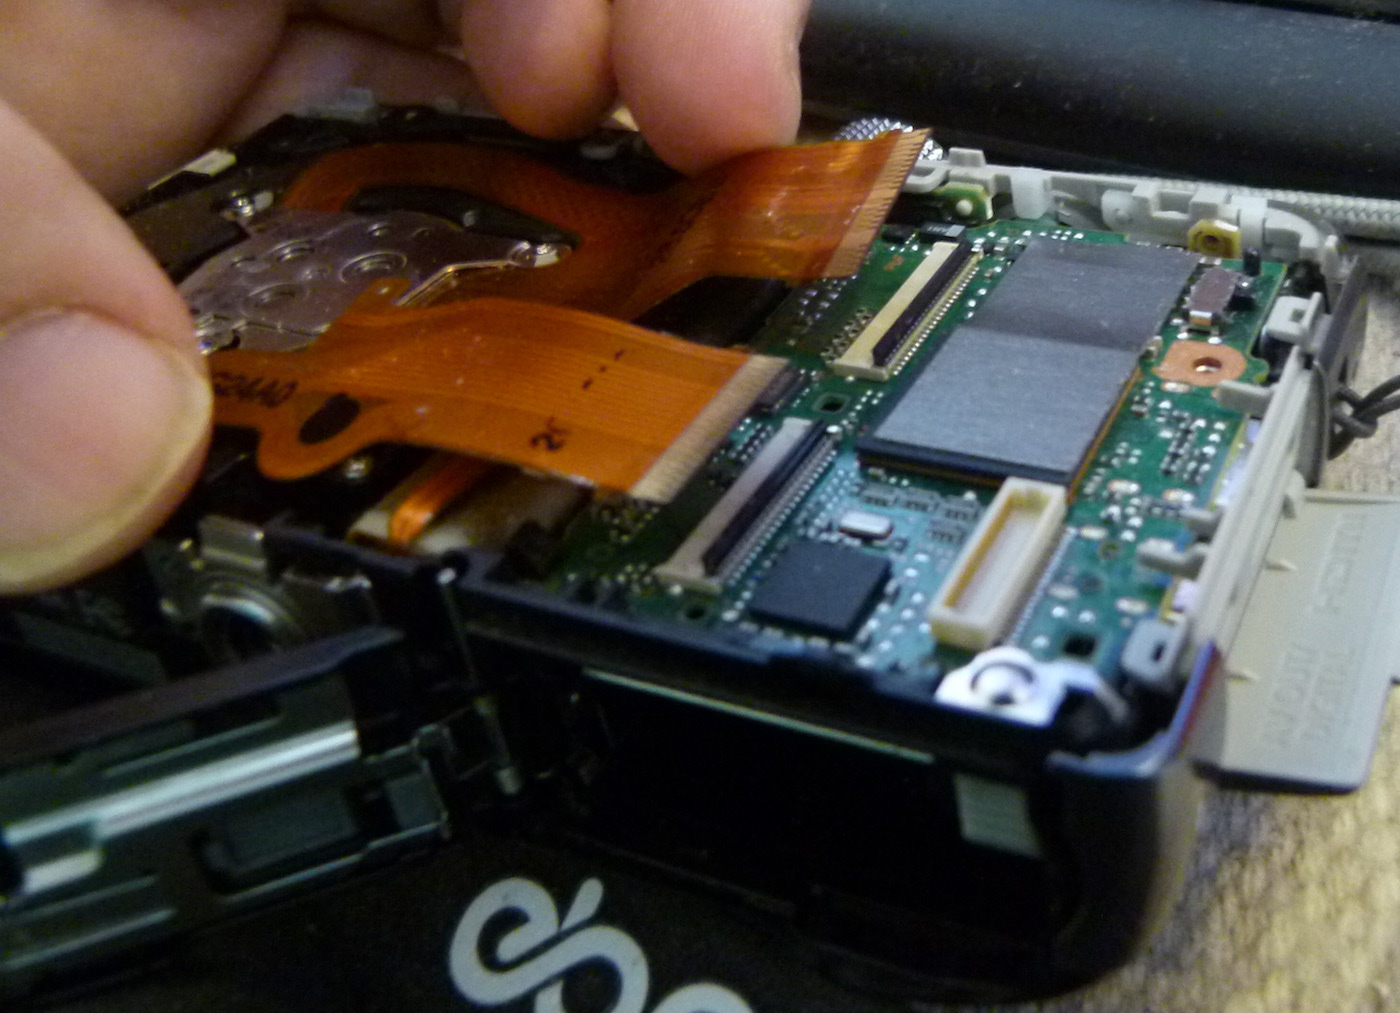
At this point the lens unit simply lifts out. Simply push the lens from the front and it will lift straight up.
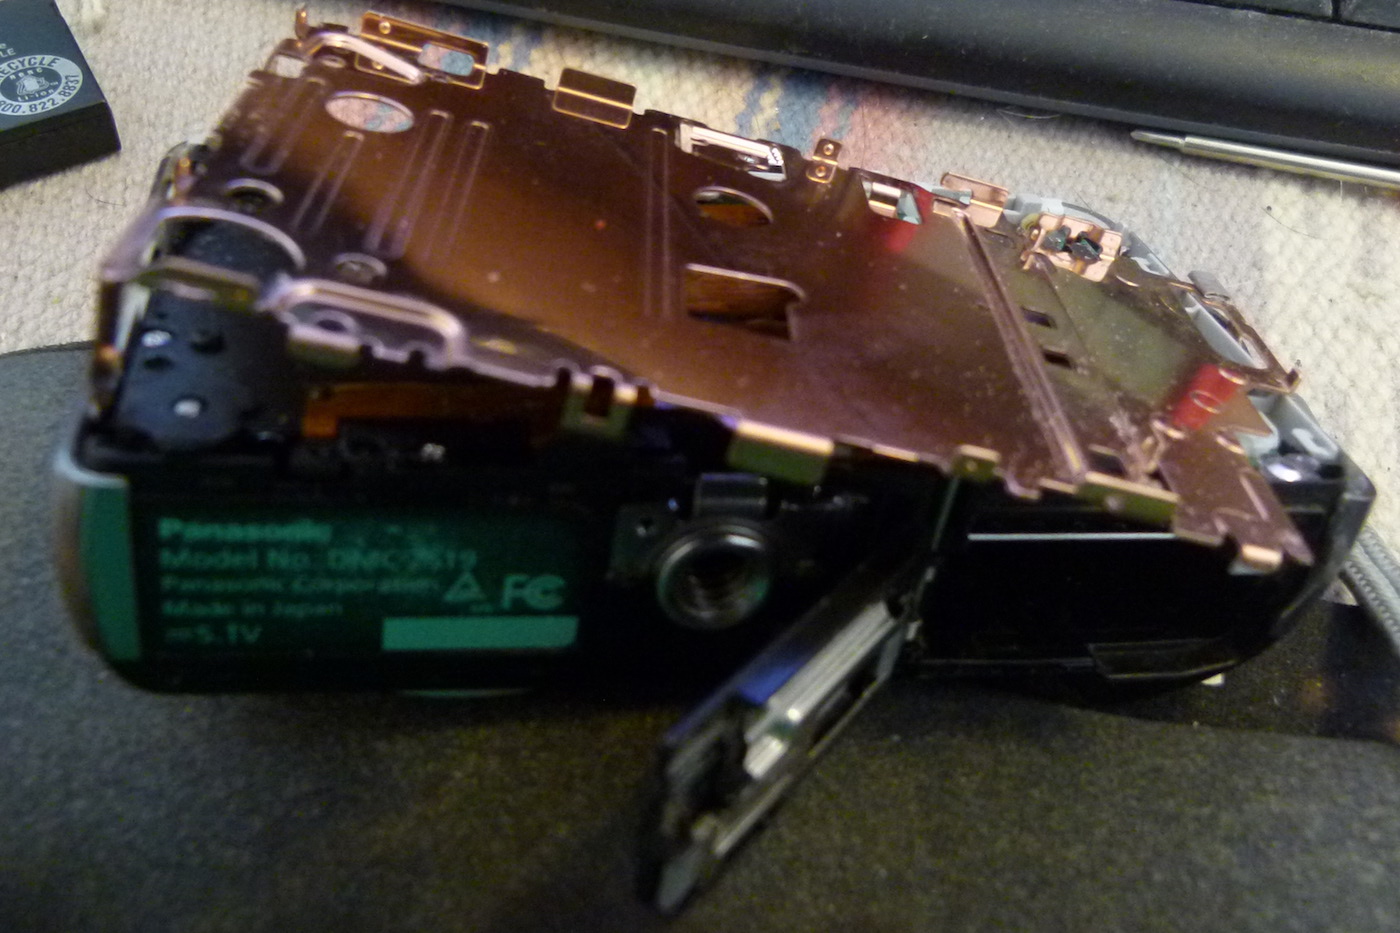
The camera looks like this with the lens unit removed.
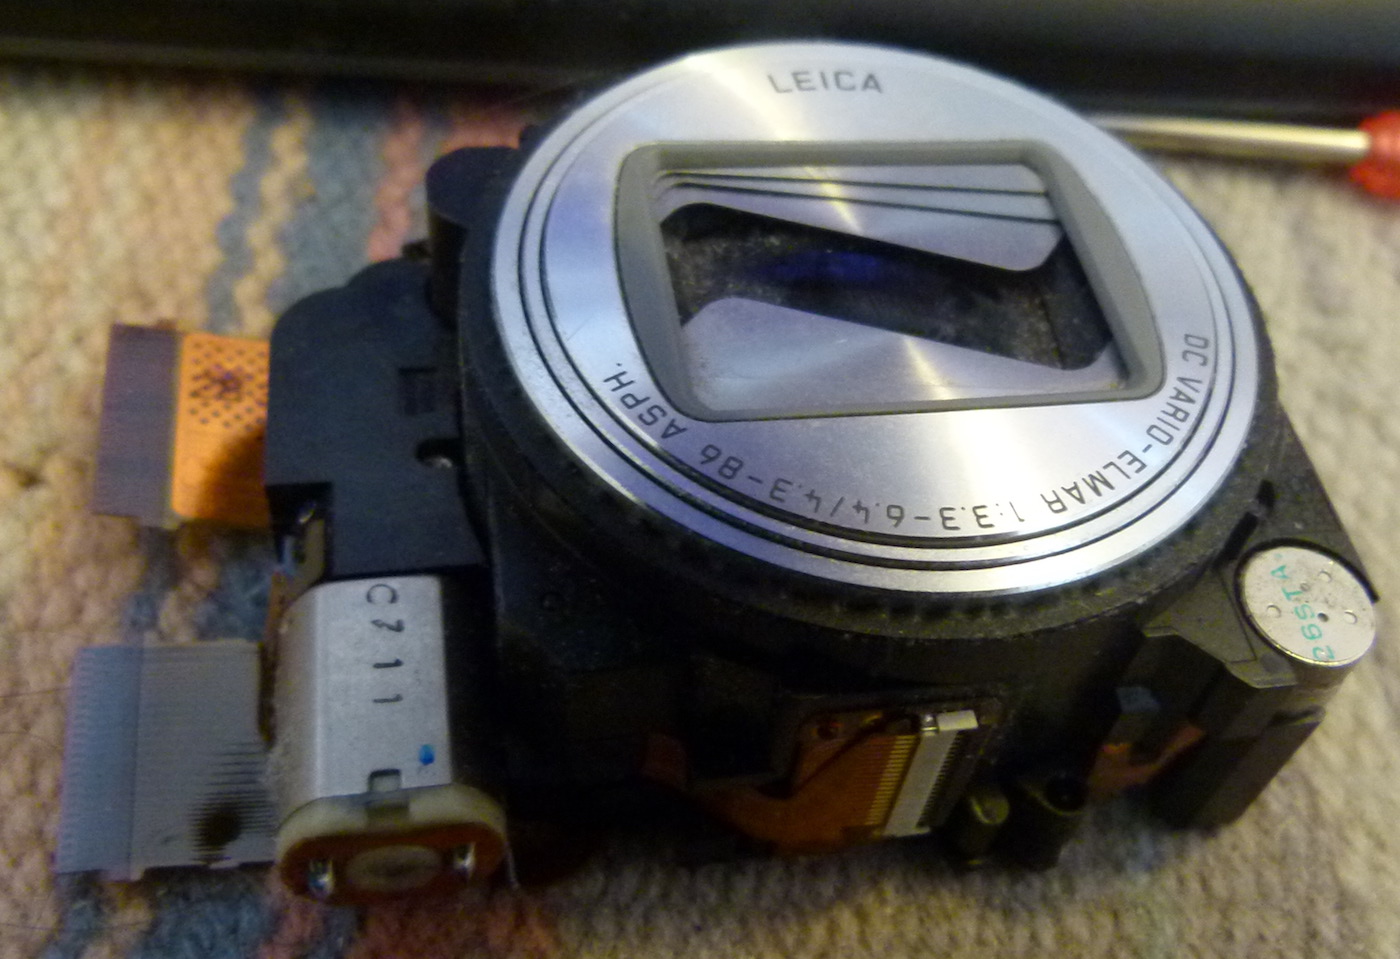
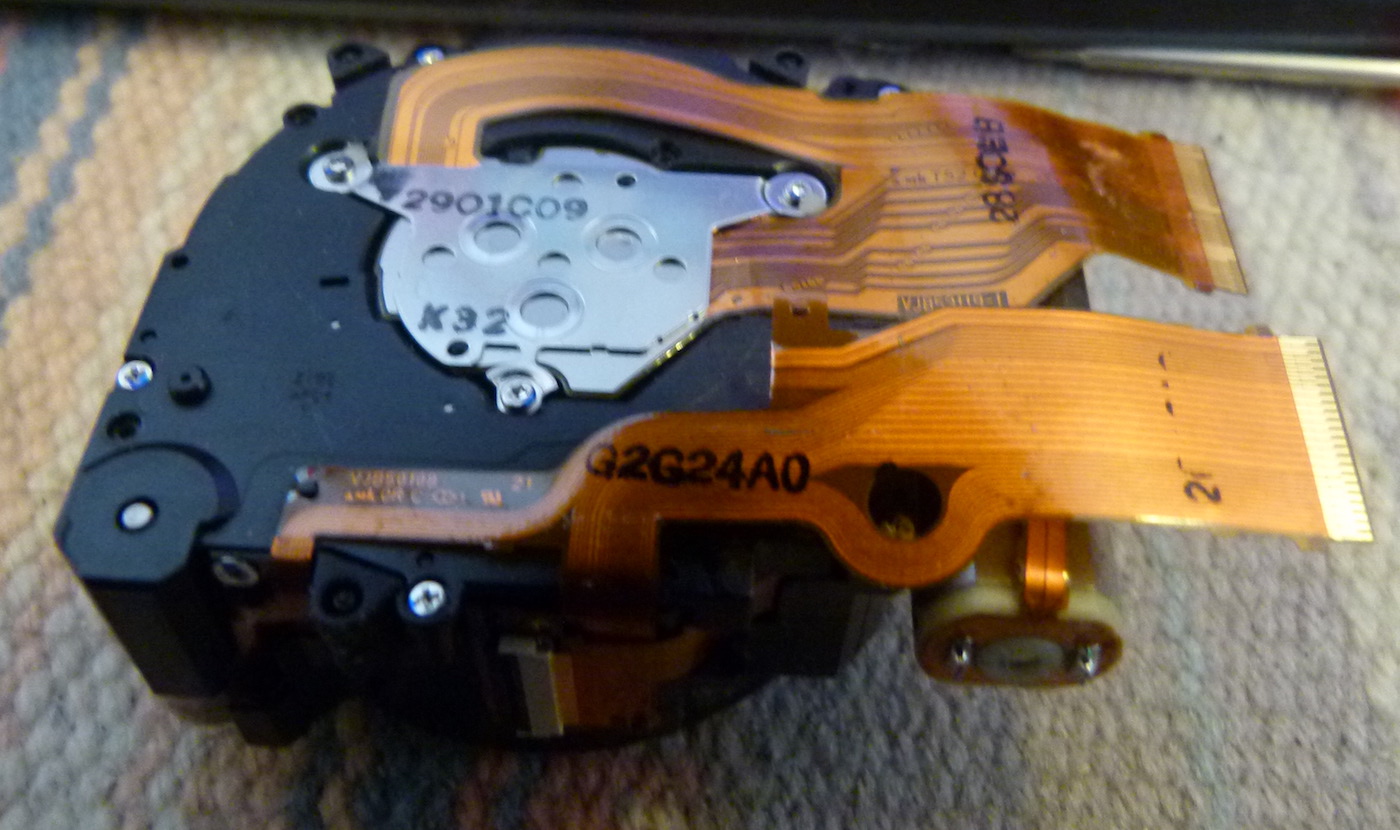
And here we are looking at the lens unit.
The silvery "can" on the side is the servo motor. When the lens zooms in and out, it uses this servo motor to do the zoom function.
The YouTube video embedded below goes into the theory behind the System Error (Zoom) problem, and how to fix it.
Basically - dust buildup inside the lens impedes its function. Eventually, with enough dust, the lens will cease to zoom.
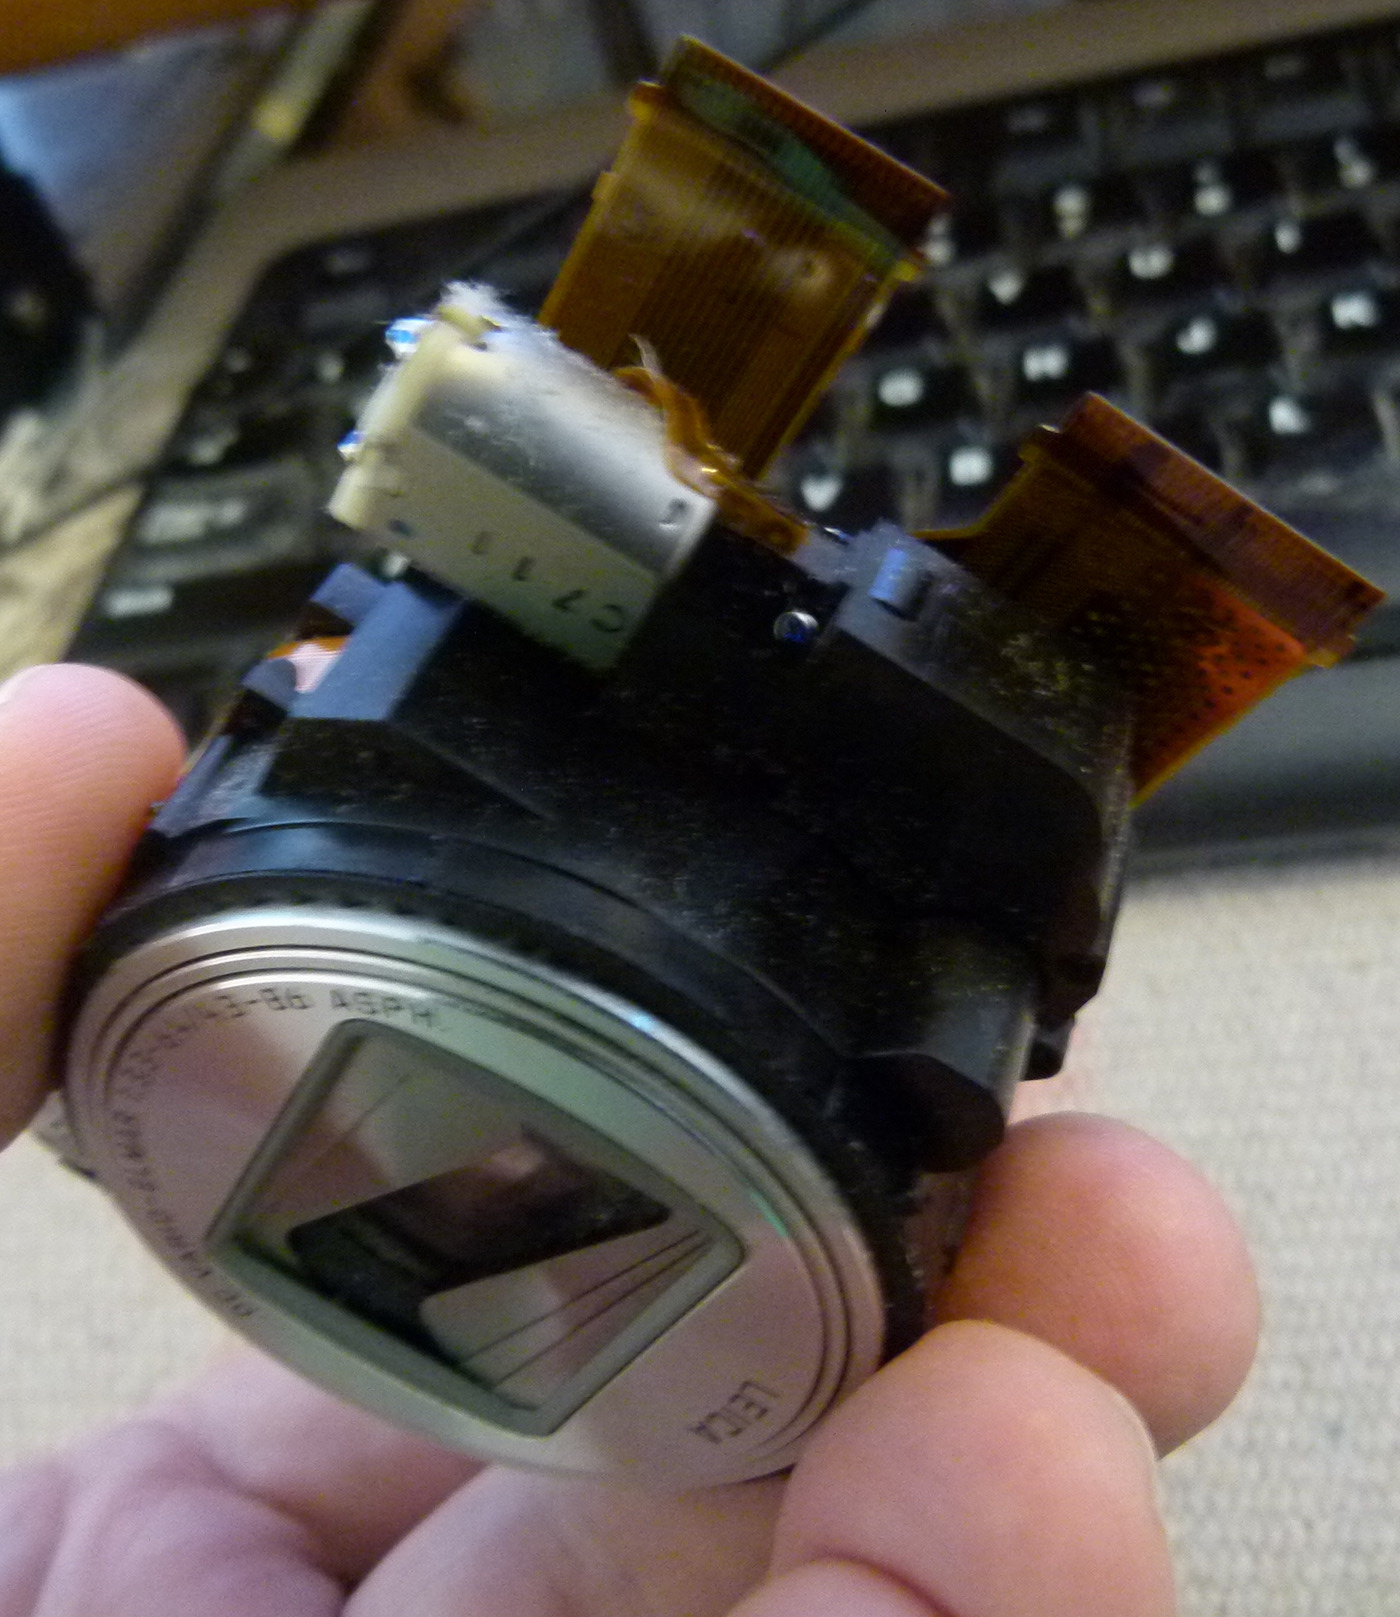
The servo motor is connected through traces on the ribbon cable. You can follow the traces on the cable going to the servo motor, and see where they emerge on the ribbon cable.
When the lens sufficiently fills with dust that it no longer zooms in and out, the current draw on the servo motor rises enough to cause the trace in the ribbon cable to burn out. The cable acts as a fuse at that point, and the increased current draw pops the fuse (so to speak).
The fix proposed in the video is to run a jumper wire from the servo motor to another location on the ribbon cable.
Obviously this lens also requires a good cleaning. You can see dust on the lens surface, and obviously stuff got inside the lens unit.
Fix the "SYSTEM ERROR (ZOOM)" error on a Panasonic Lumix ZS19, ZS20, TZ27, TZ30


