David Herron
Tags: Apple »»»» Apple Airport »»»»
The Apple Airport Time Capsule product line is an excellent and sleek way to keep Mac's backed up, and they can also function as a very nice NAS. This article shows a teardown of the A1254 first generation Time Capsule. Since the A1302, A1355 and A1409 use the same design, the teardown is appropriate for them as well. It should also apply to the Apple Airport Express models like the A1408 that have a similar design.
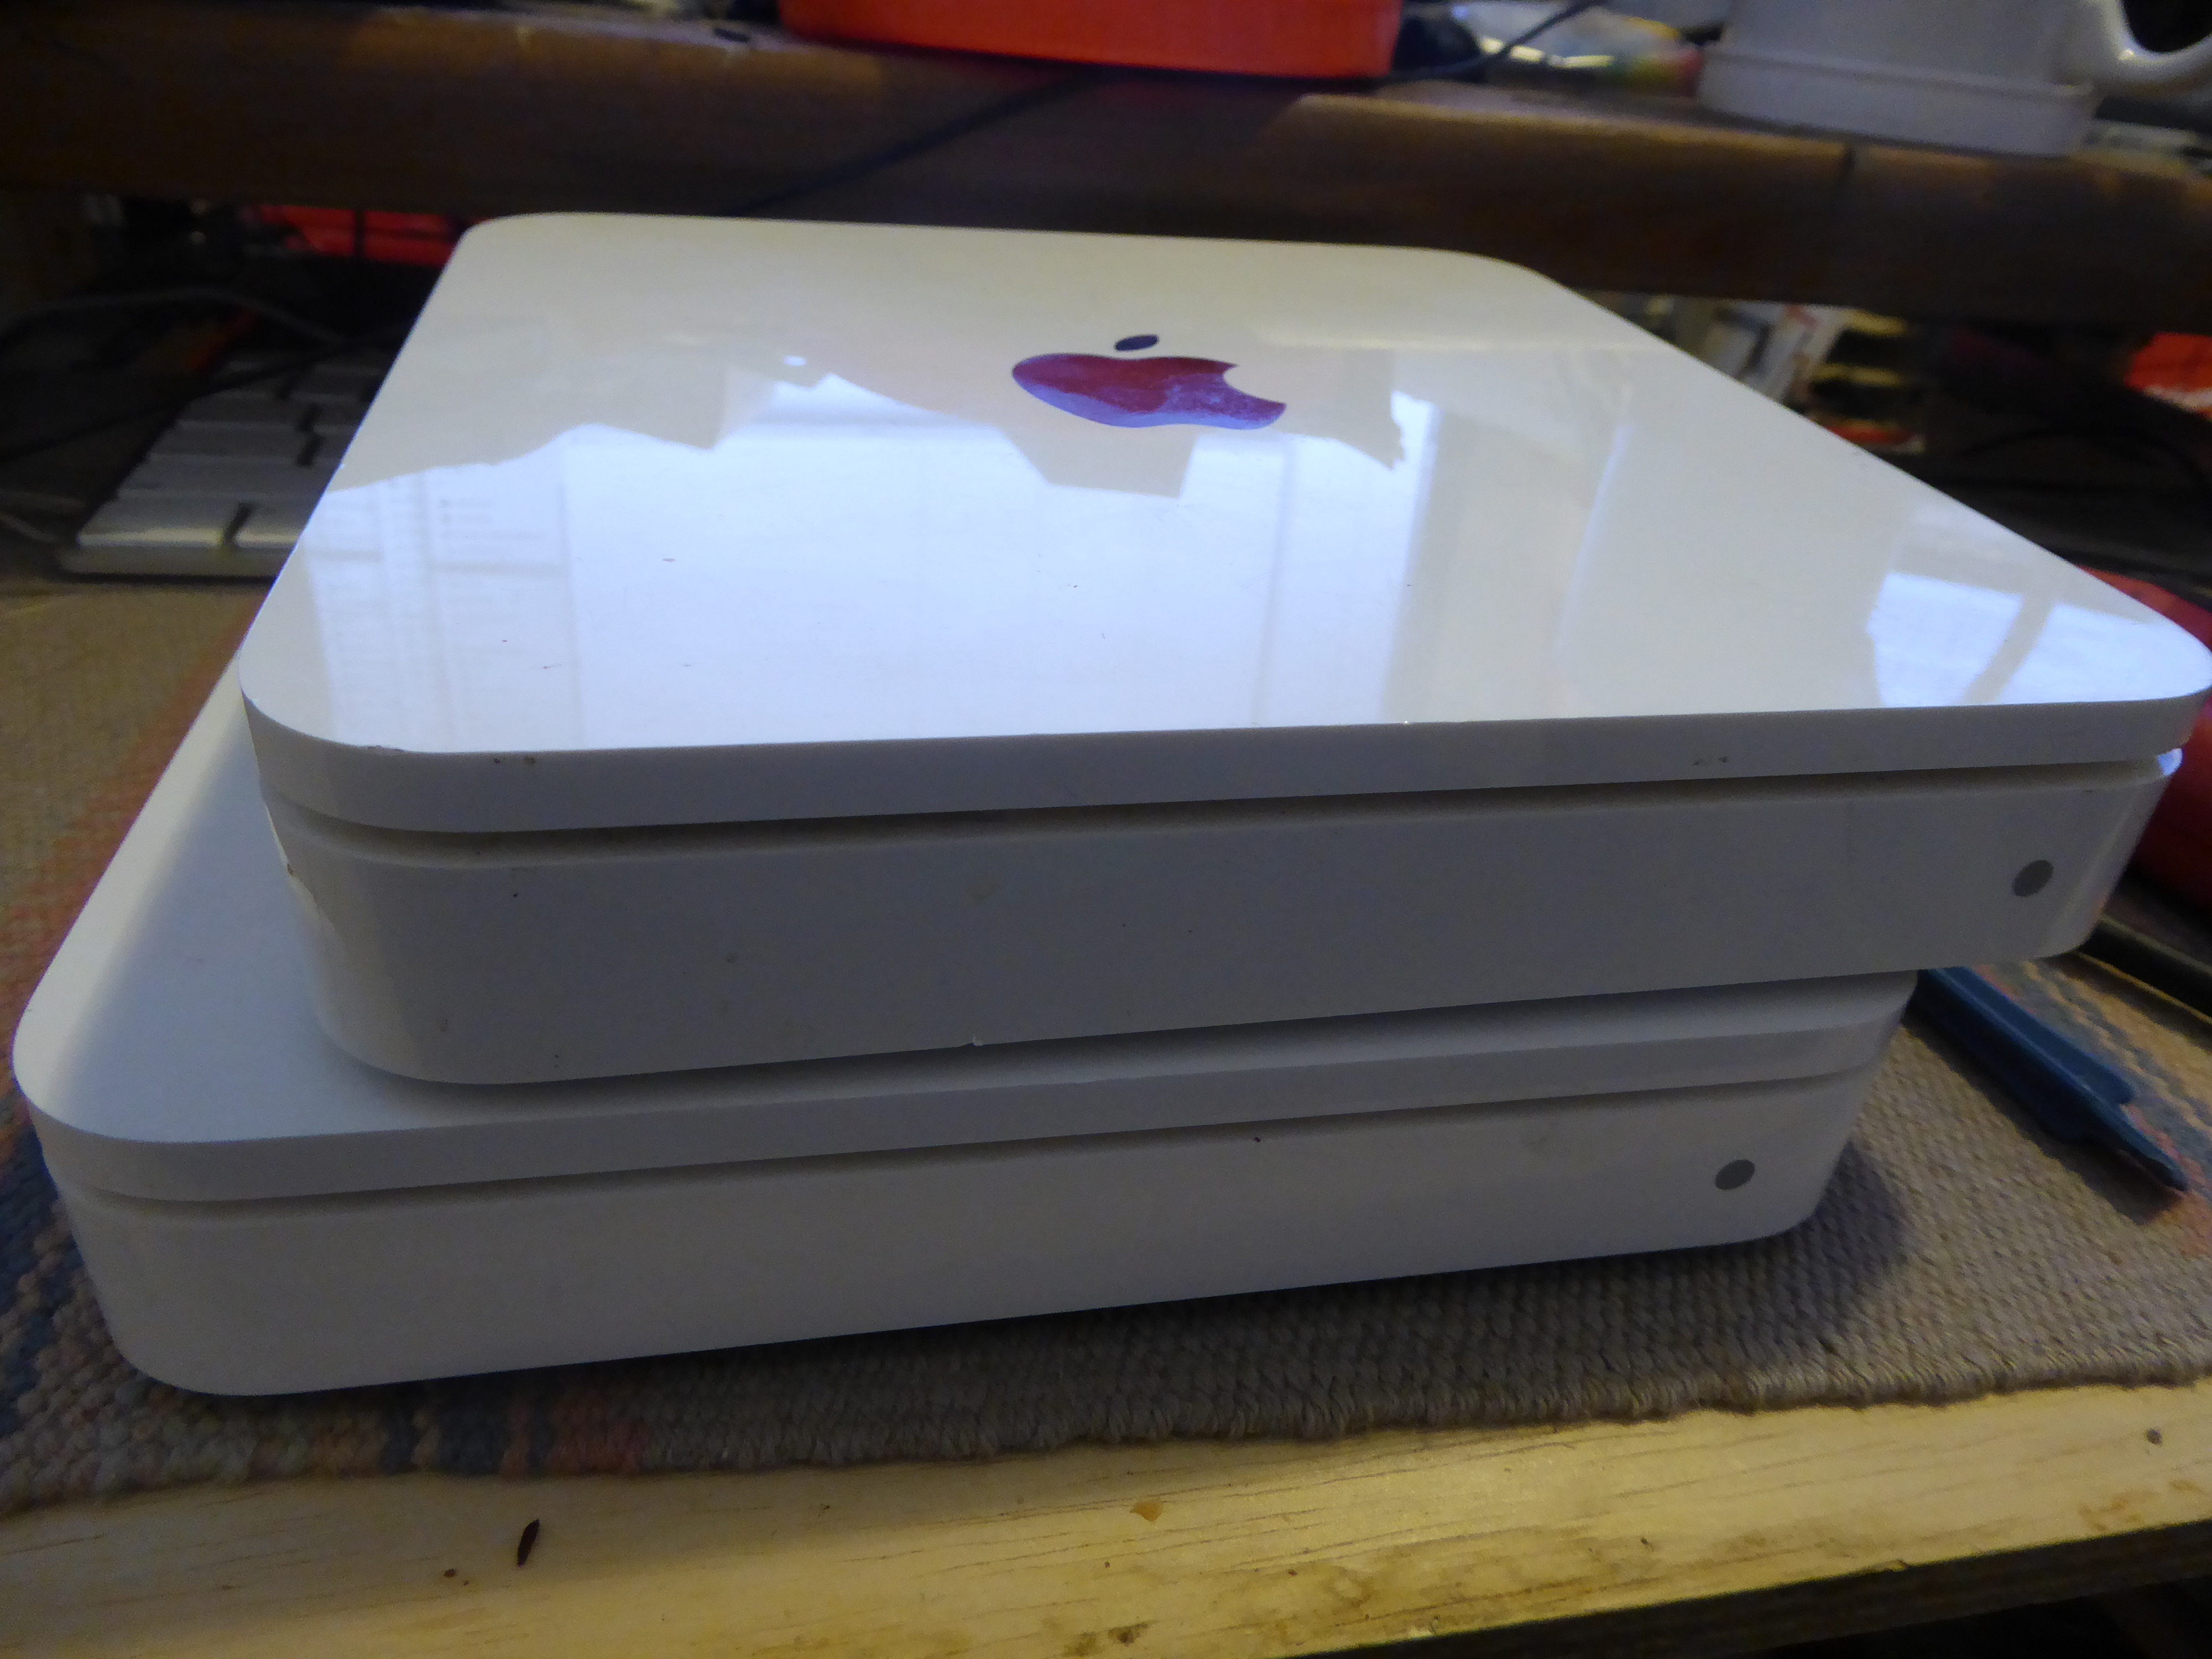
The design of this product is a plastic box that has no visible seams, no screws holding it together, etc. In other words, a typical sleek Apple design that looks like a solid object that we're not supposed to open.
Which of course means that's what we must do is open this up to see what's inside.
We start with opening it by flipping the unit over:
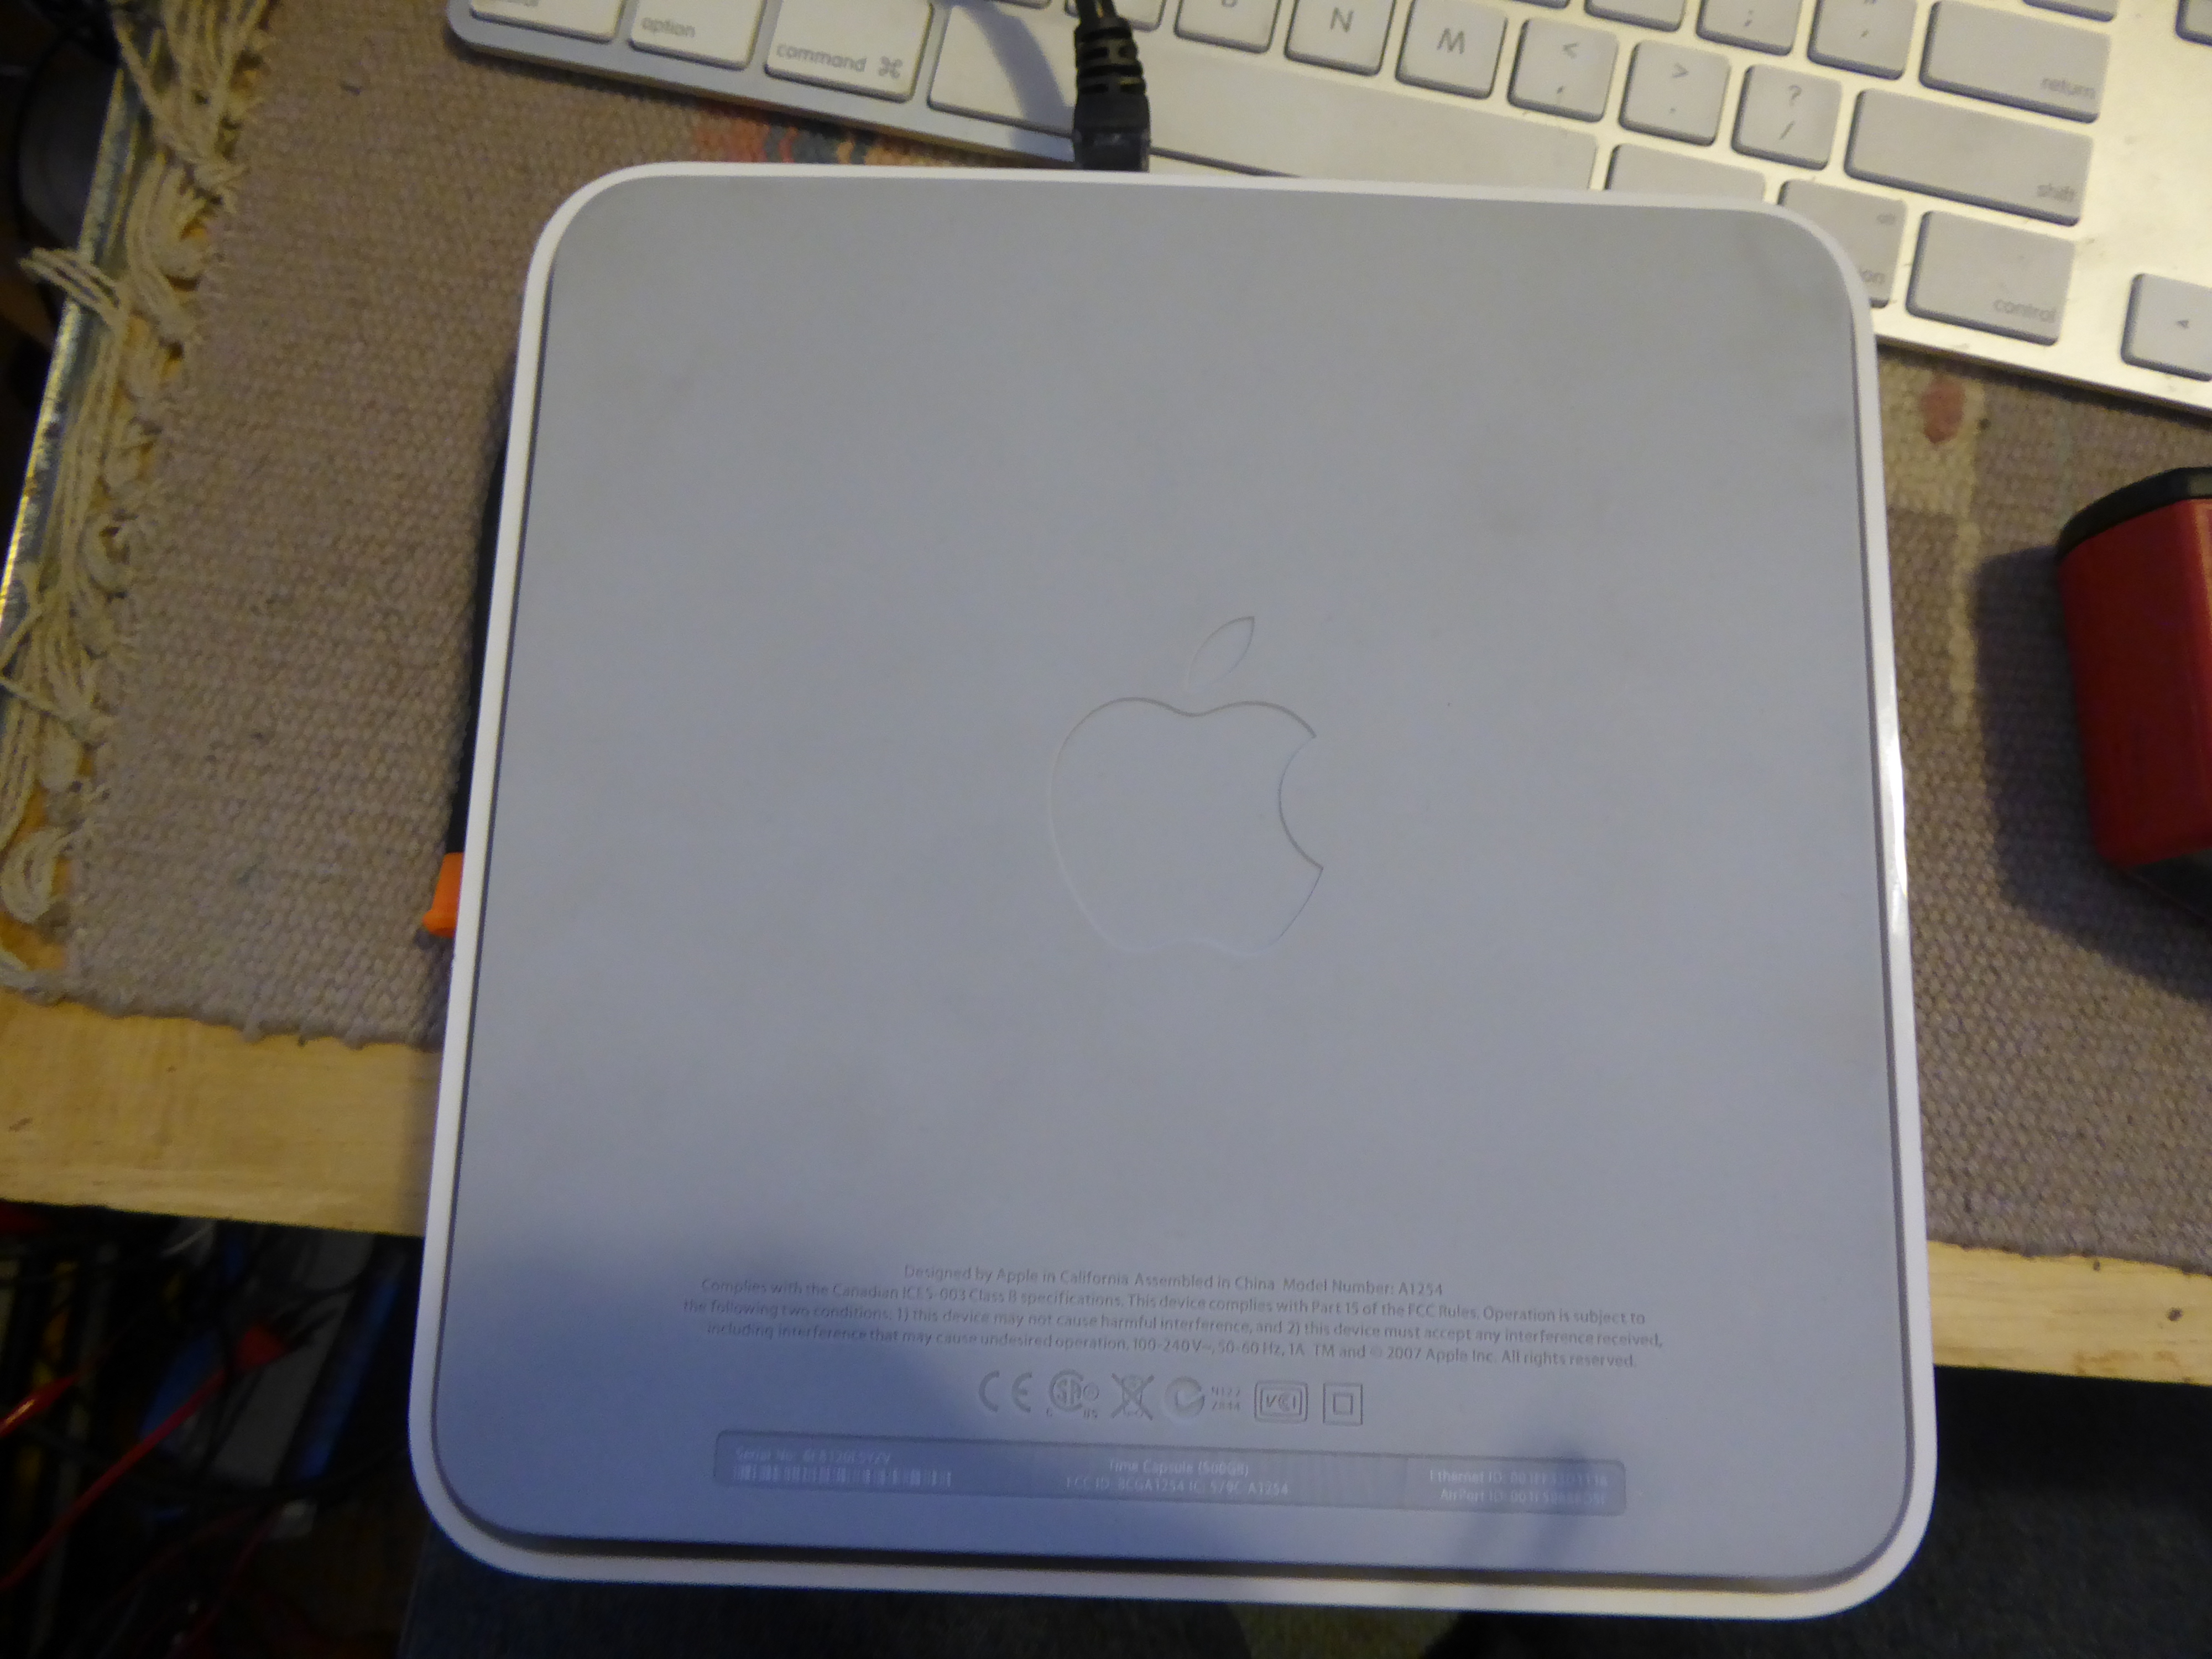
The grey part is a thick rubber mat that's held on by glue. We have to remove the mat, and that'll reveal a bunch of screws.
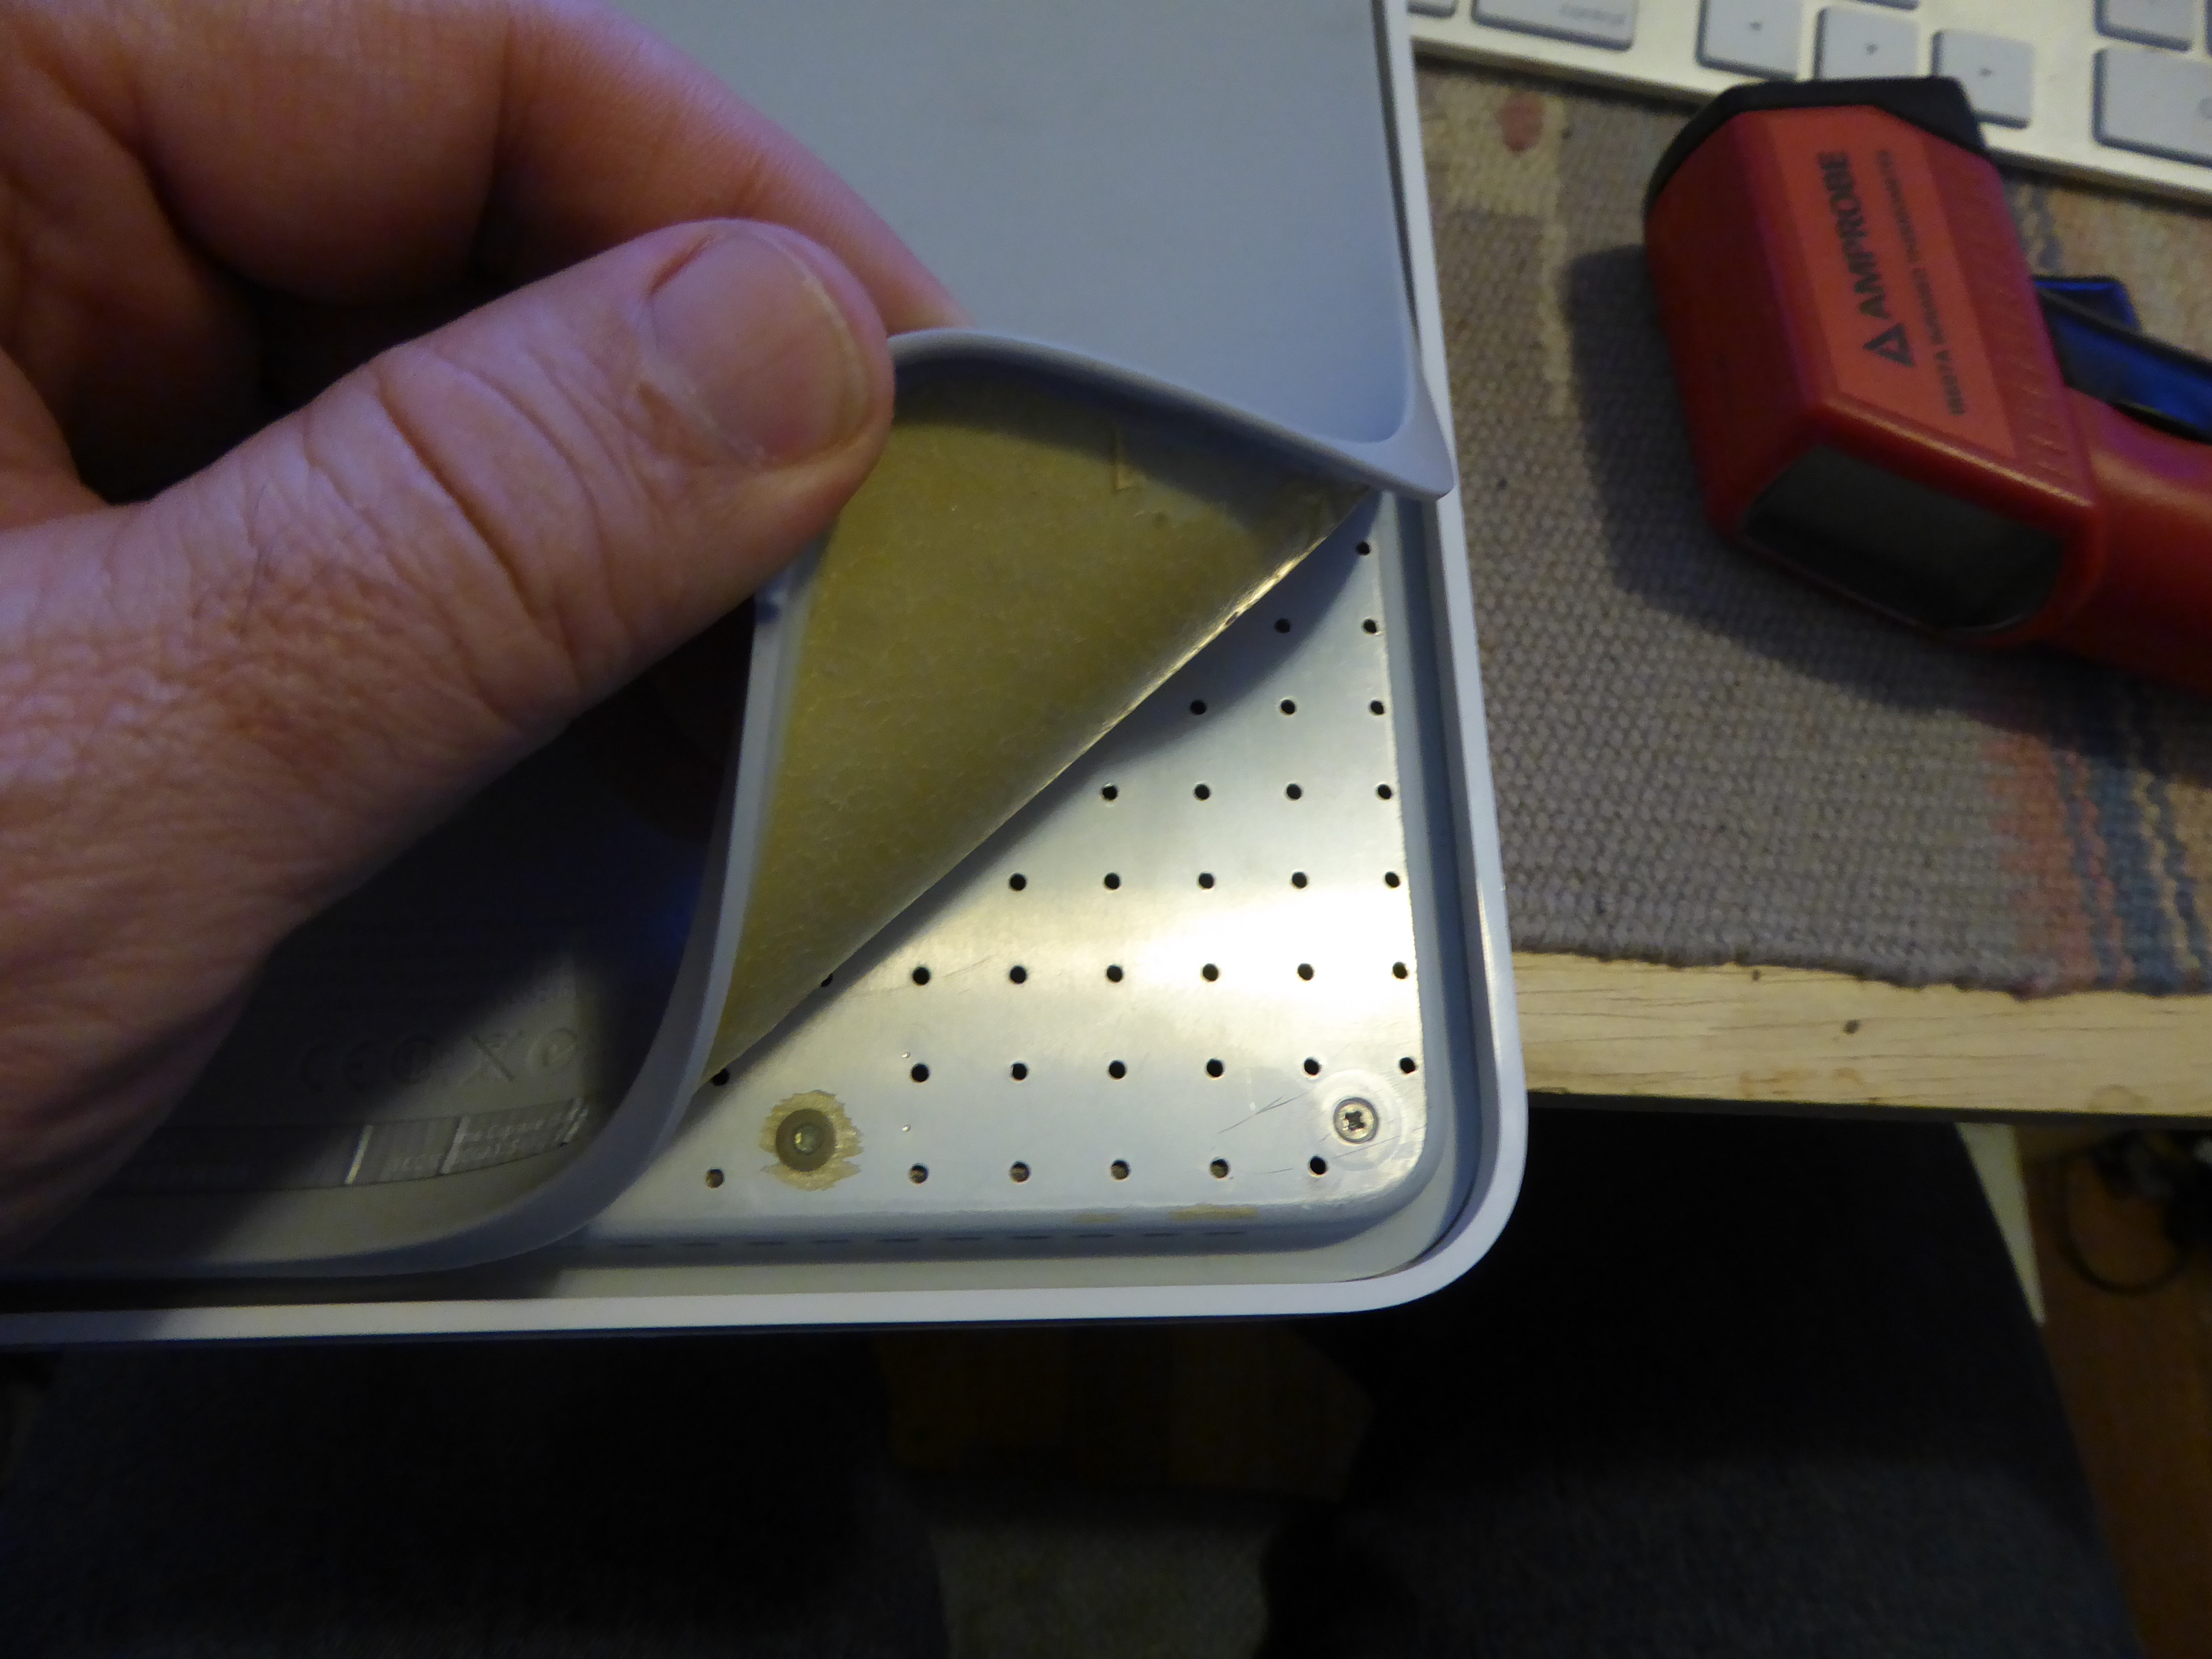
We can possibly peel the bottom off, but I've seen a YouTube video where someone ripped part of the mat doing so. It's best to heat up the bottom first to soften the glue. While it's possible to heat the glue with a heat gun, I found the most effective way to heat the glue was to leave the unit turned on for an hour or so.
At that point it was easy to peel off the bottom. Simply start with one corner - I used a plastic spudger to lift up the corner, then work my way around. Keeping in mind that it is possible to tear this thing, I worked carefully. The glue holds it on fairly strongly, but it was fairly easy to remove.
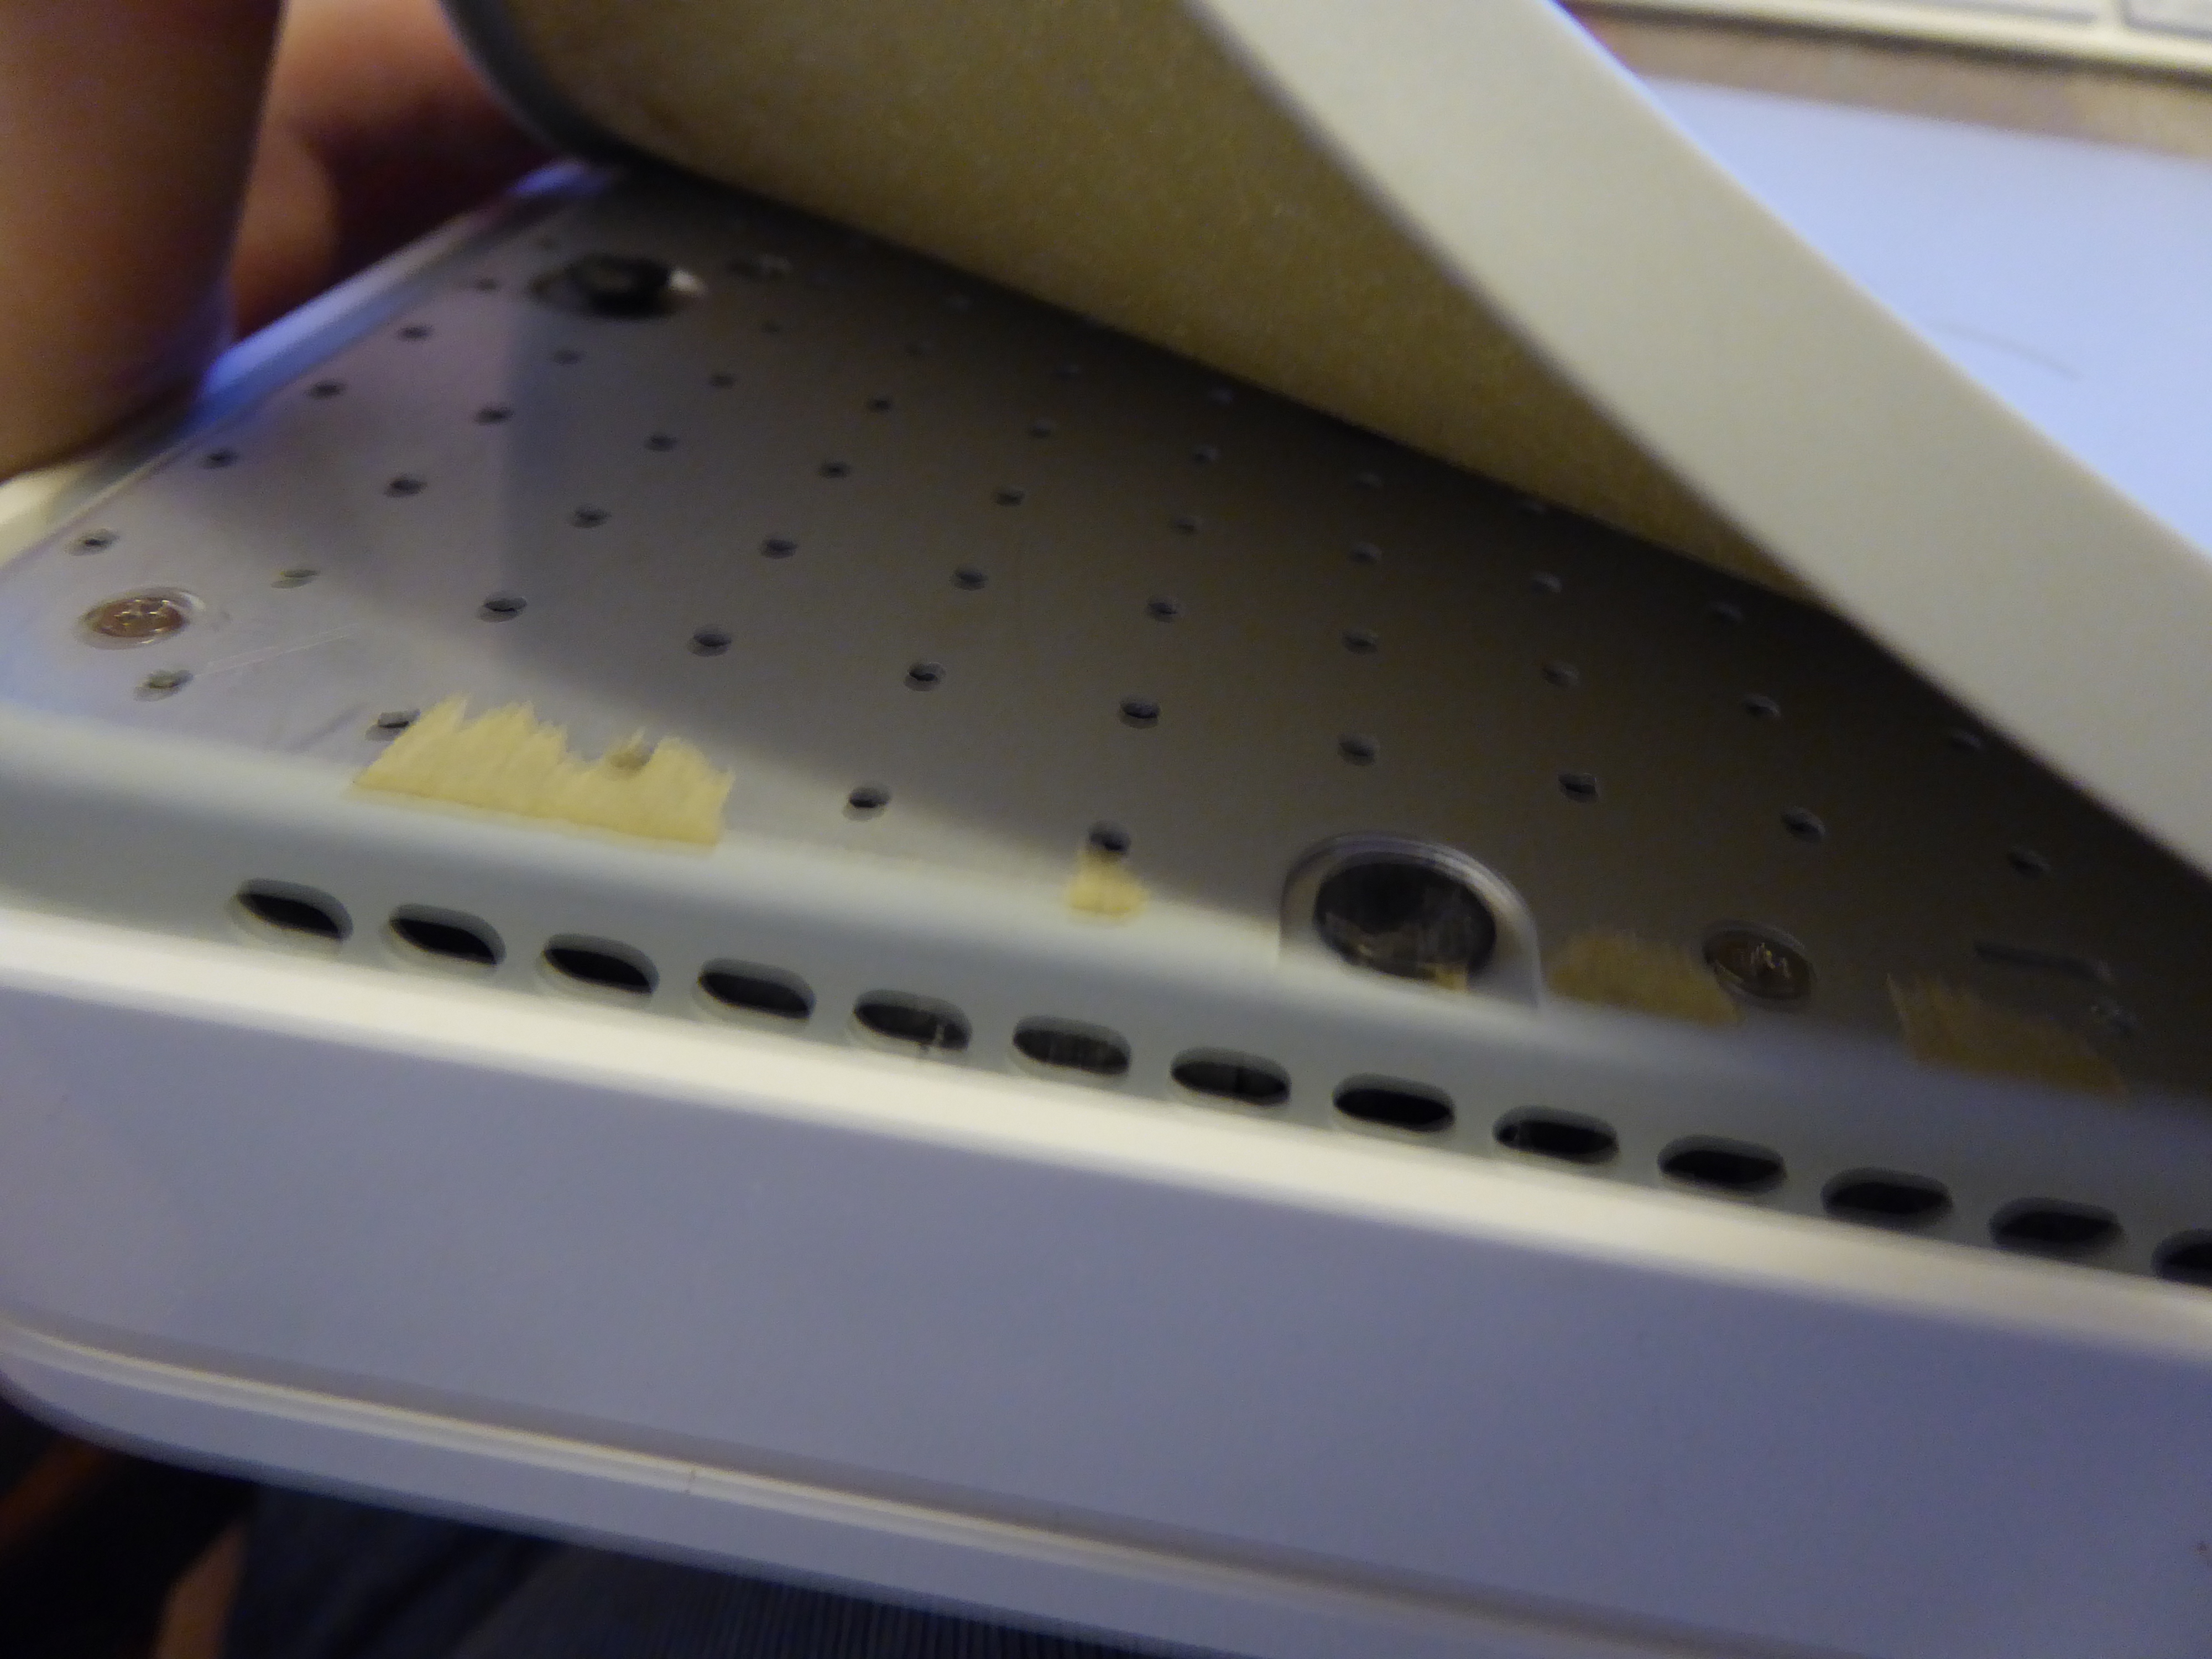
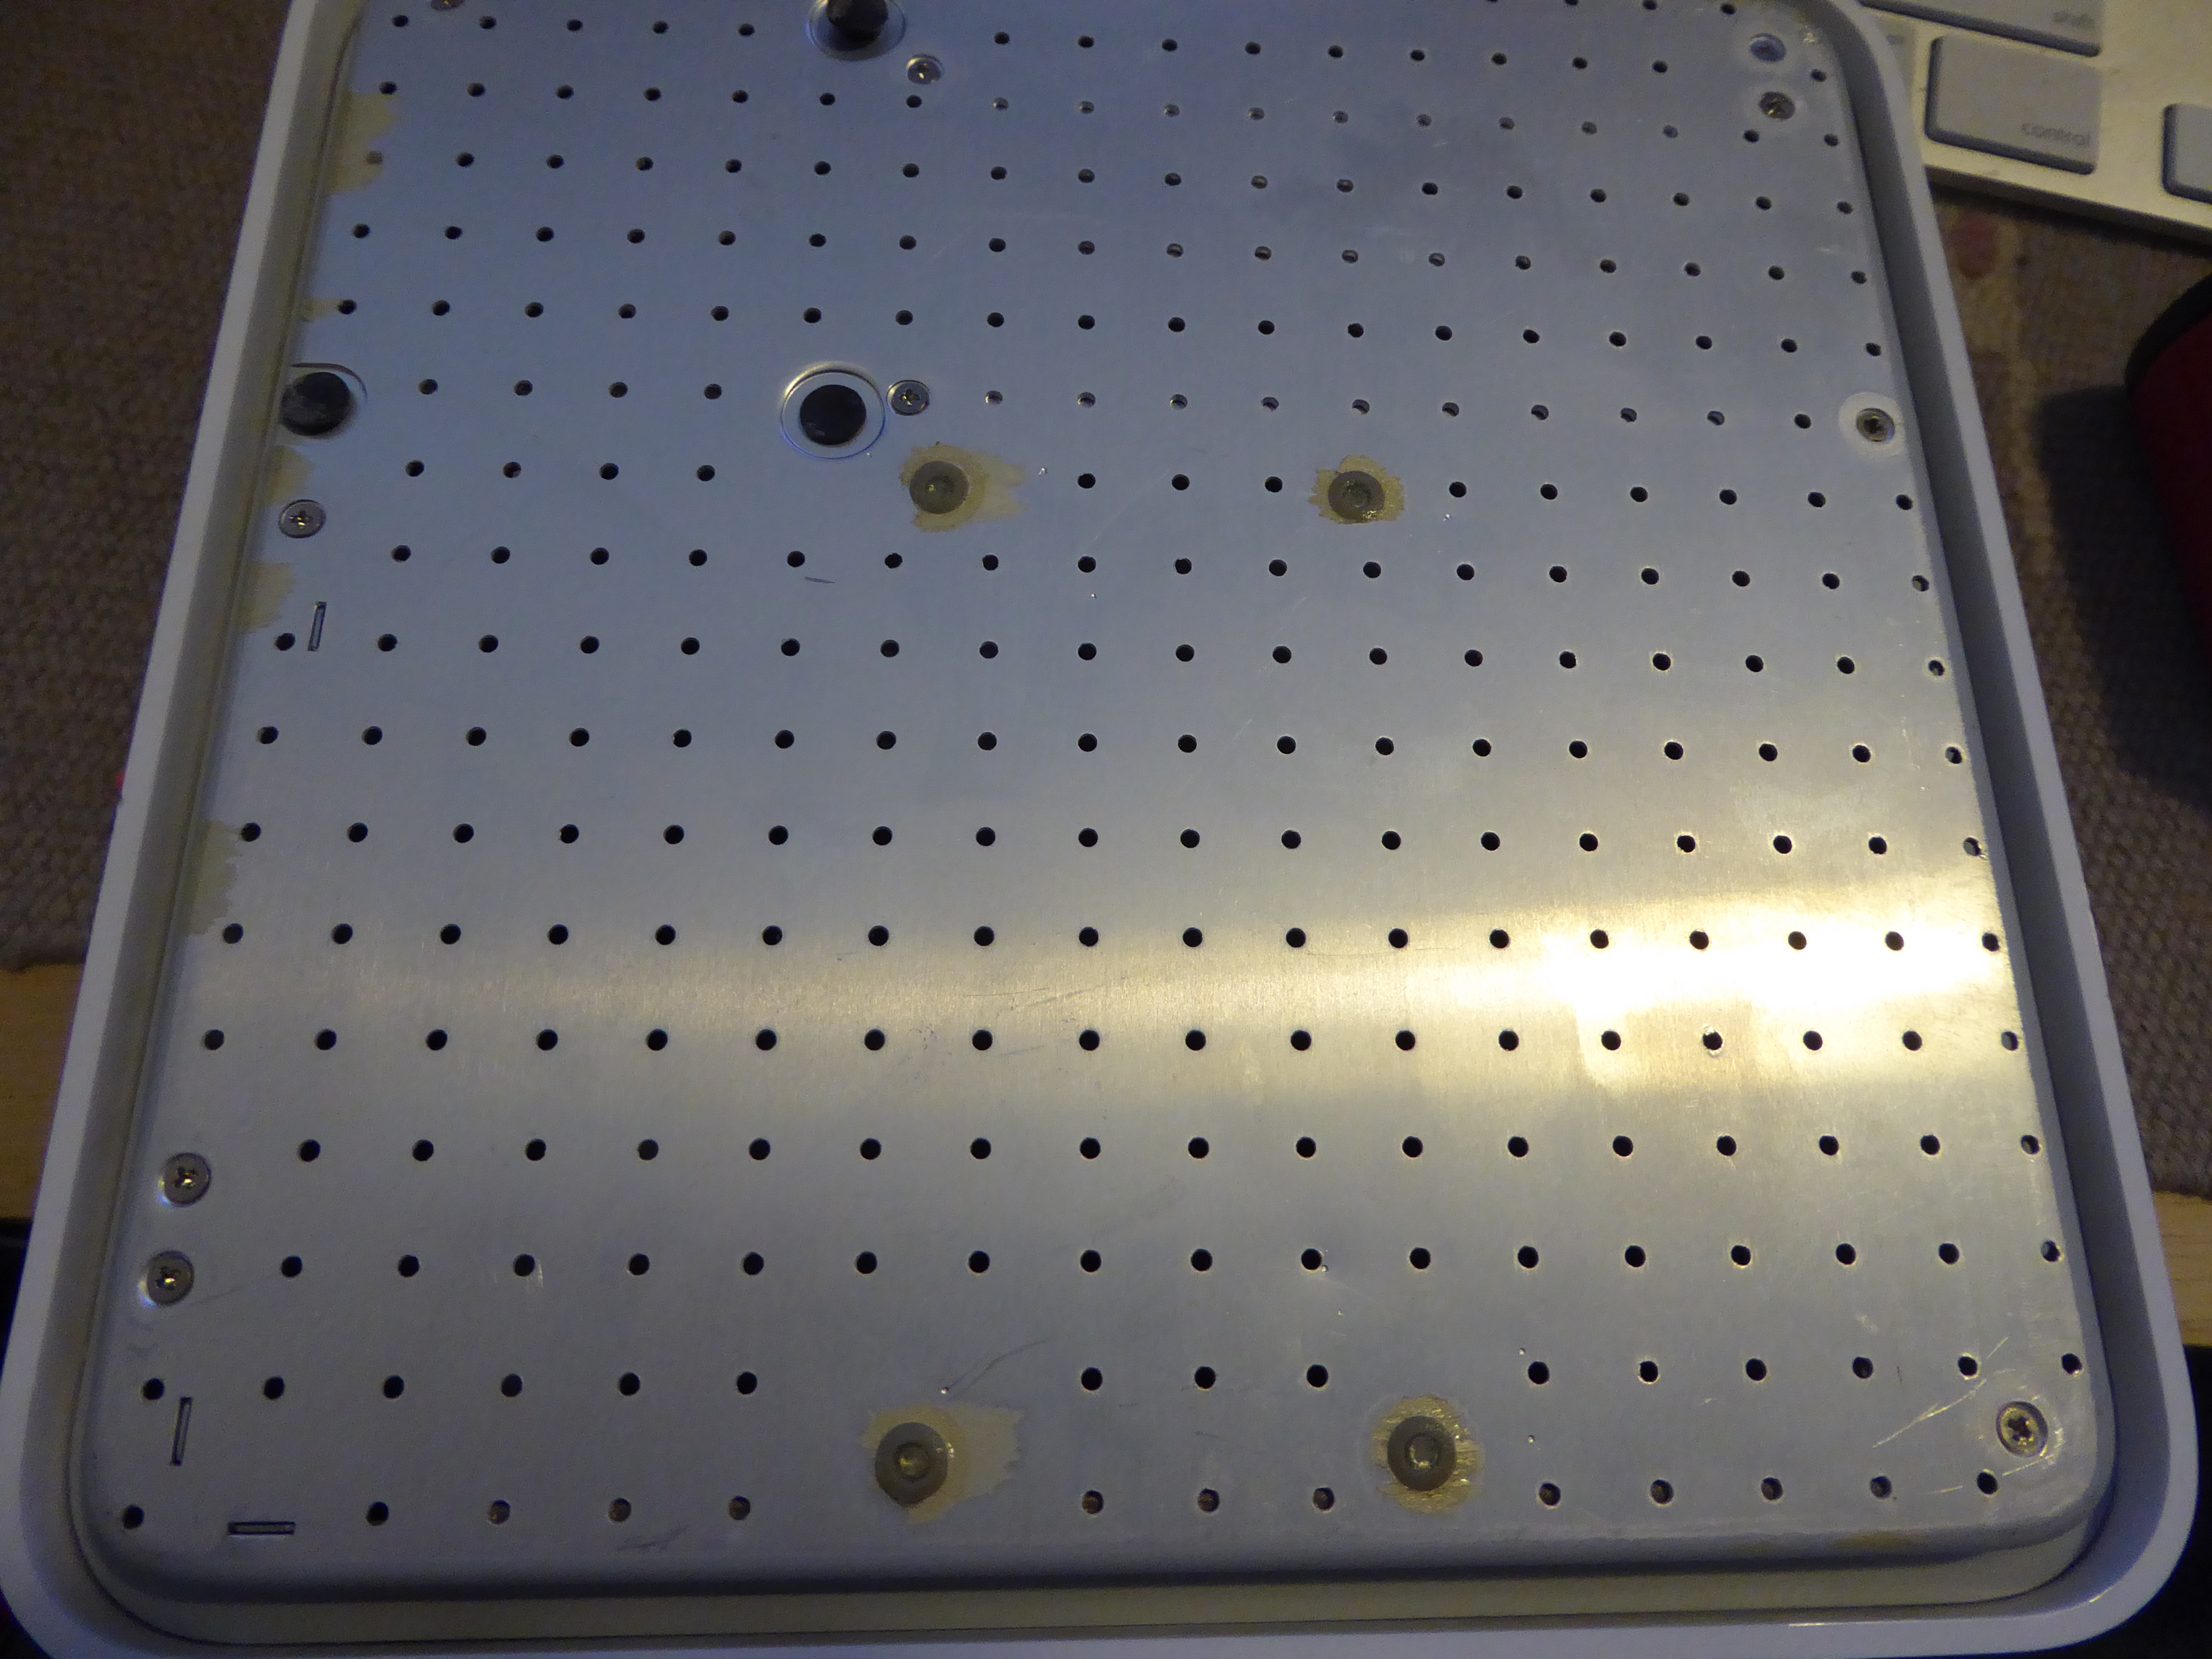
This is the bottom plate of the Airport Time Capsule.
There's a bunch of screws holding the bottom plate in place. These are simple normal Phillips head screws.
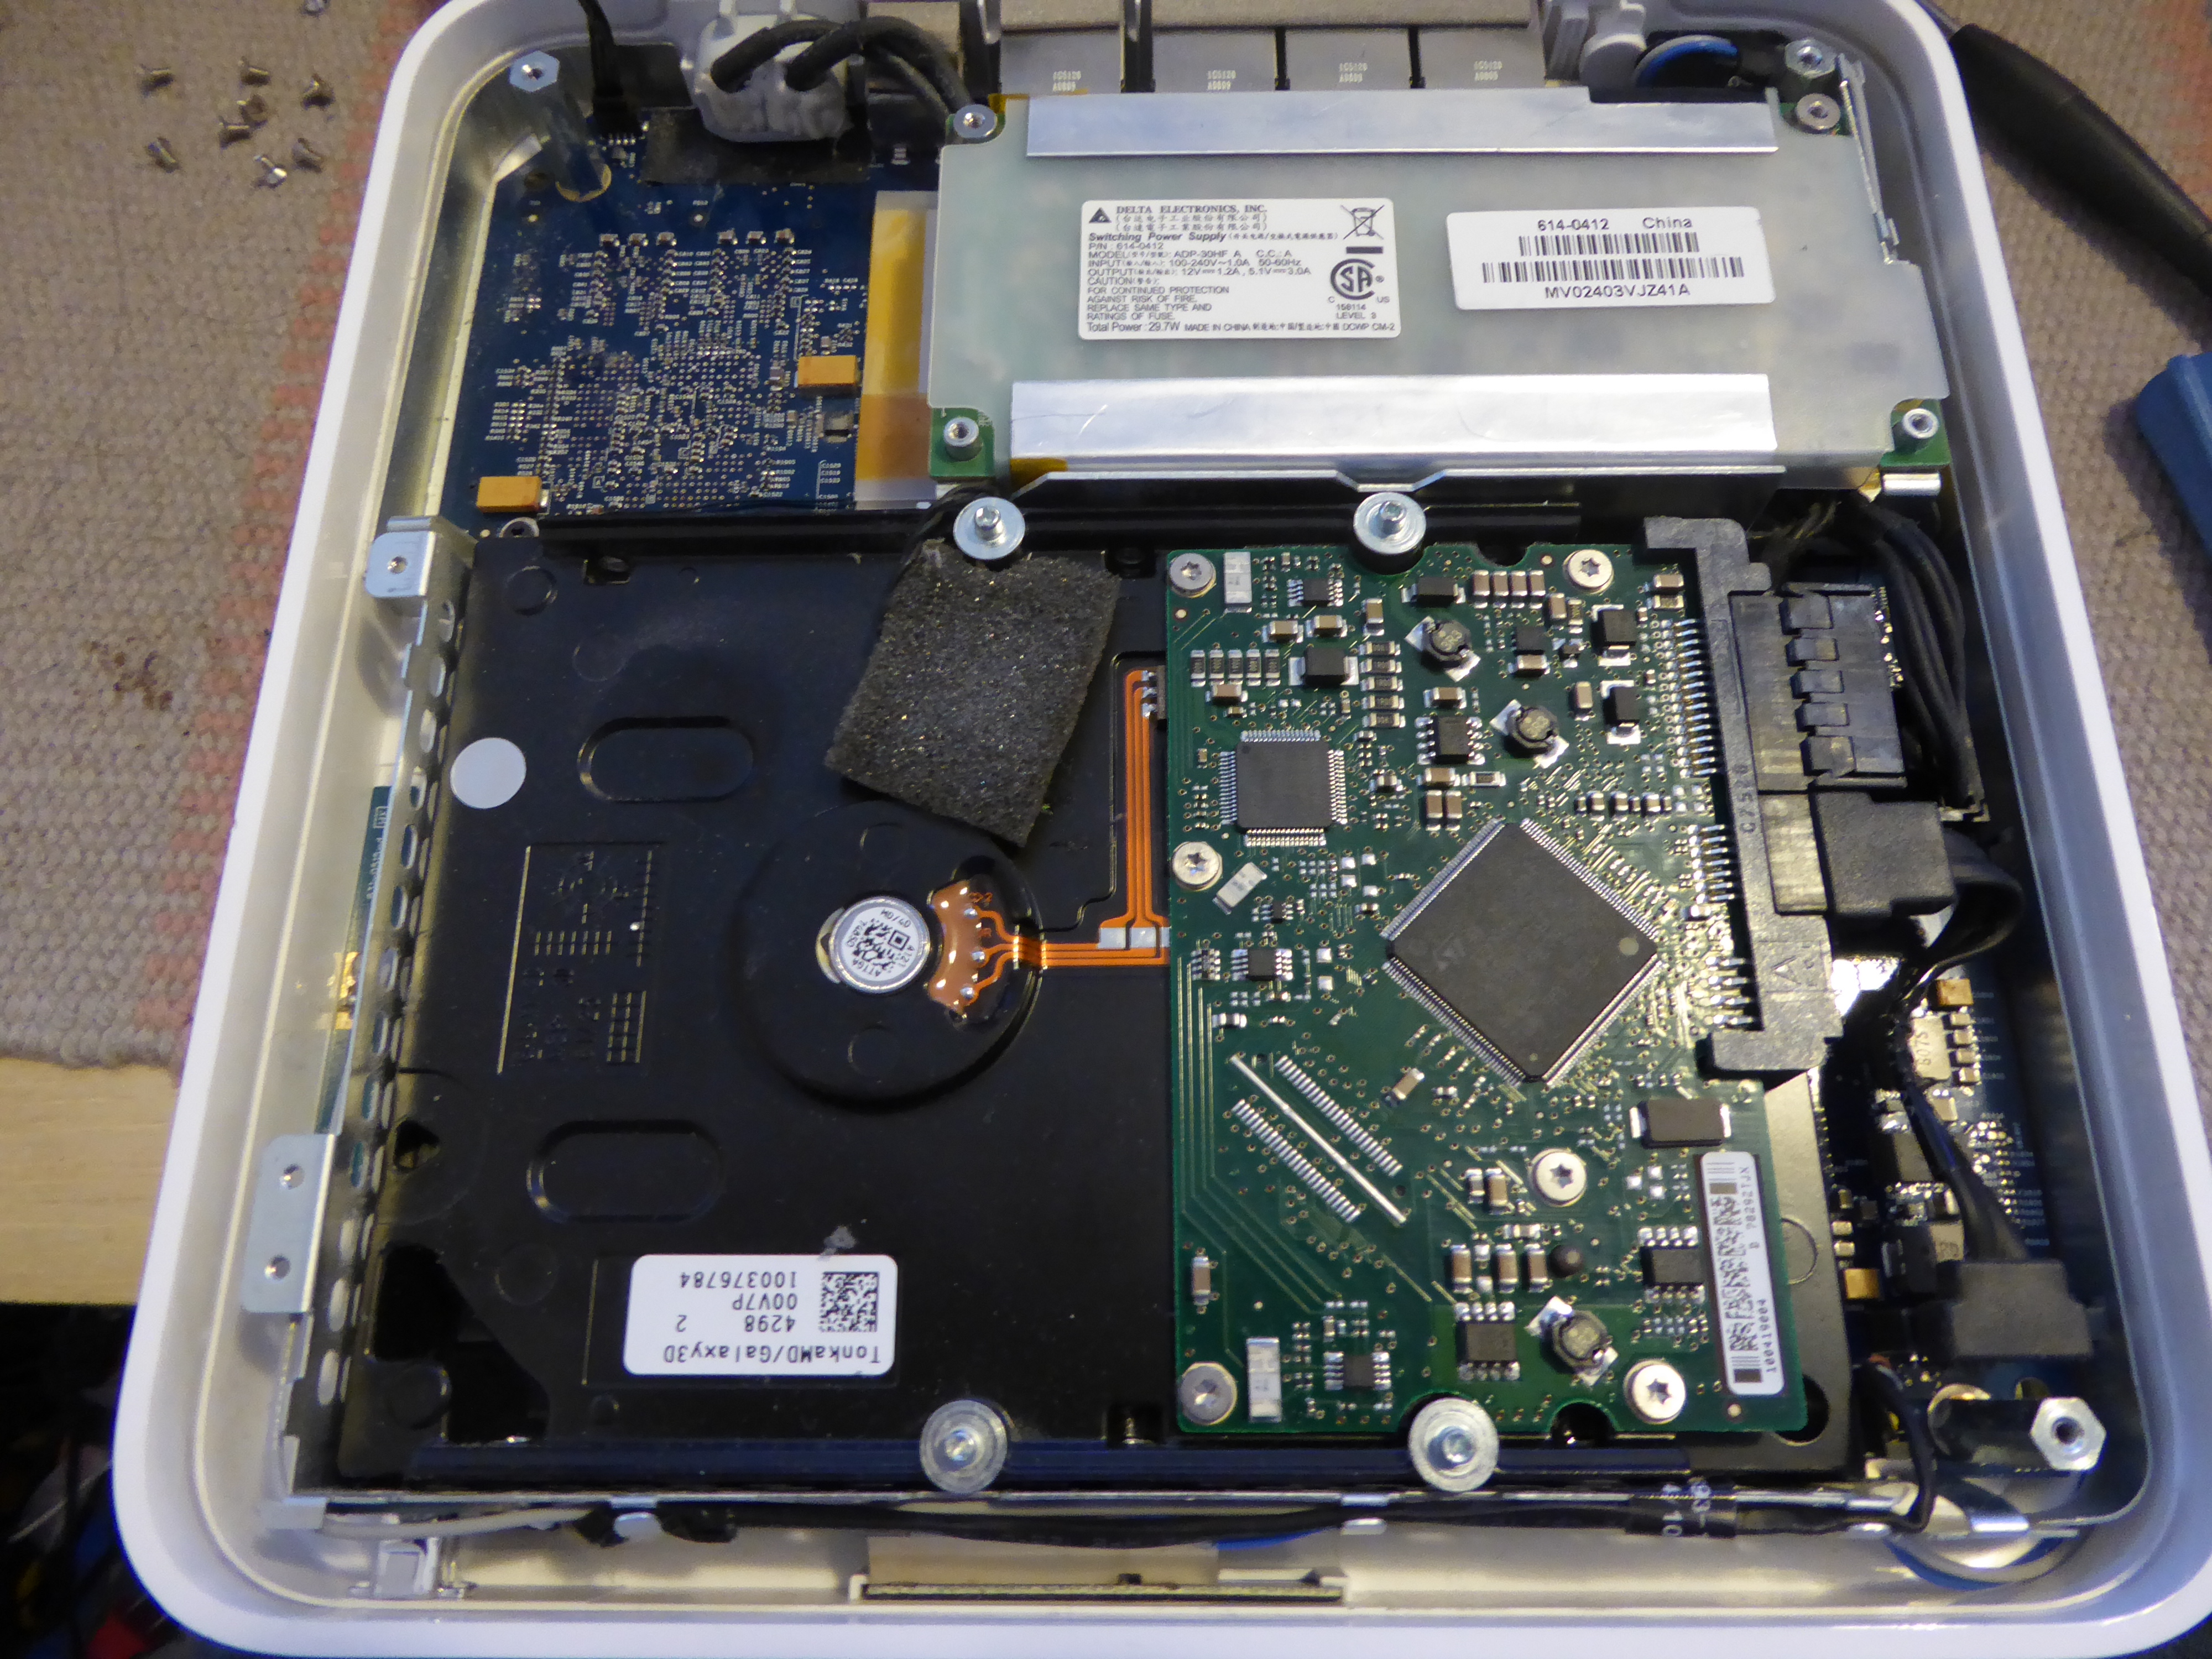
The bottom plate easily lifts off. Doing so reveals the innards.
In the front is the disk drive. This is a normal 3.5" SATA disk drive.
A disk upgrade on these devices is incredibly easy. Simply remove the existing drive, and install a new 3.5" SATA drive. There is a thermometer under a black rubber thing that has to be moved, as well as some screws.
Towards the back is the power supply. It also easily lifts up and should be easy to remove/replace if need be.
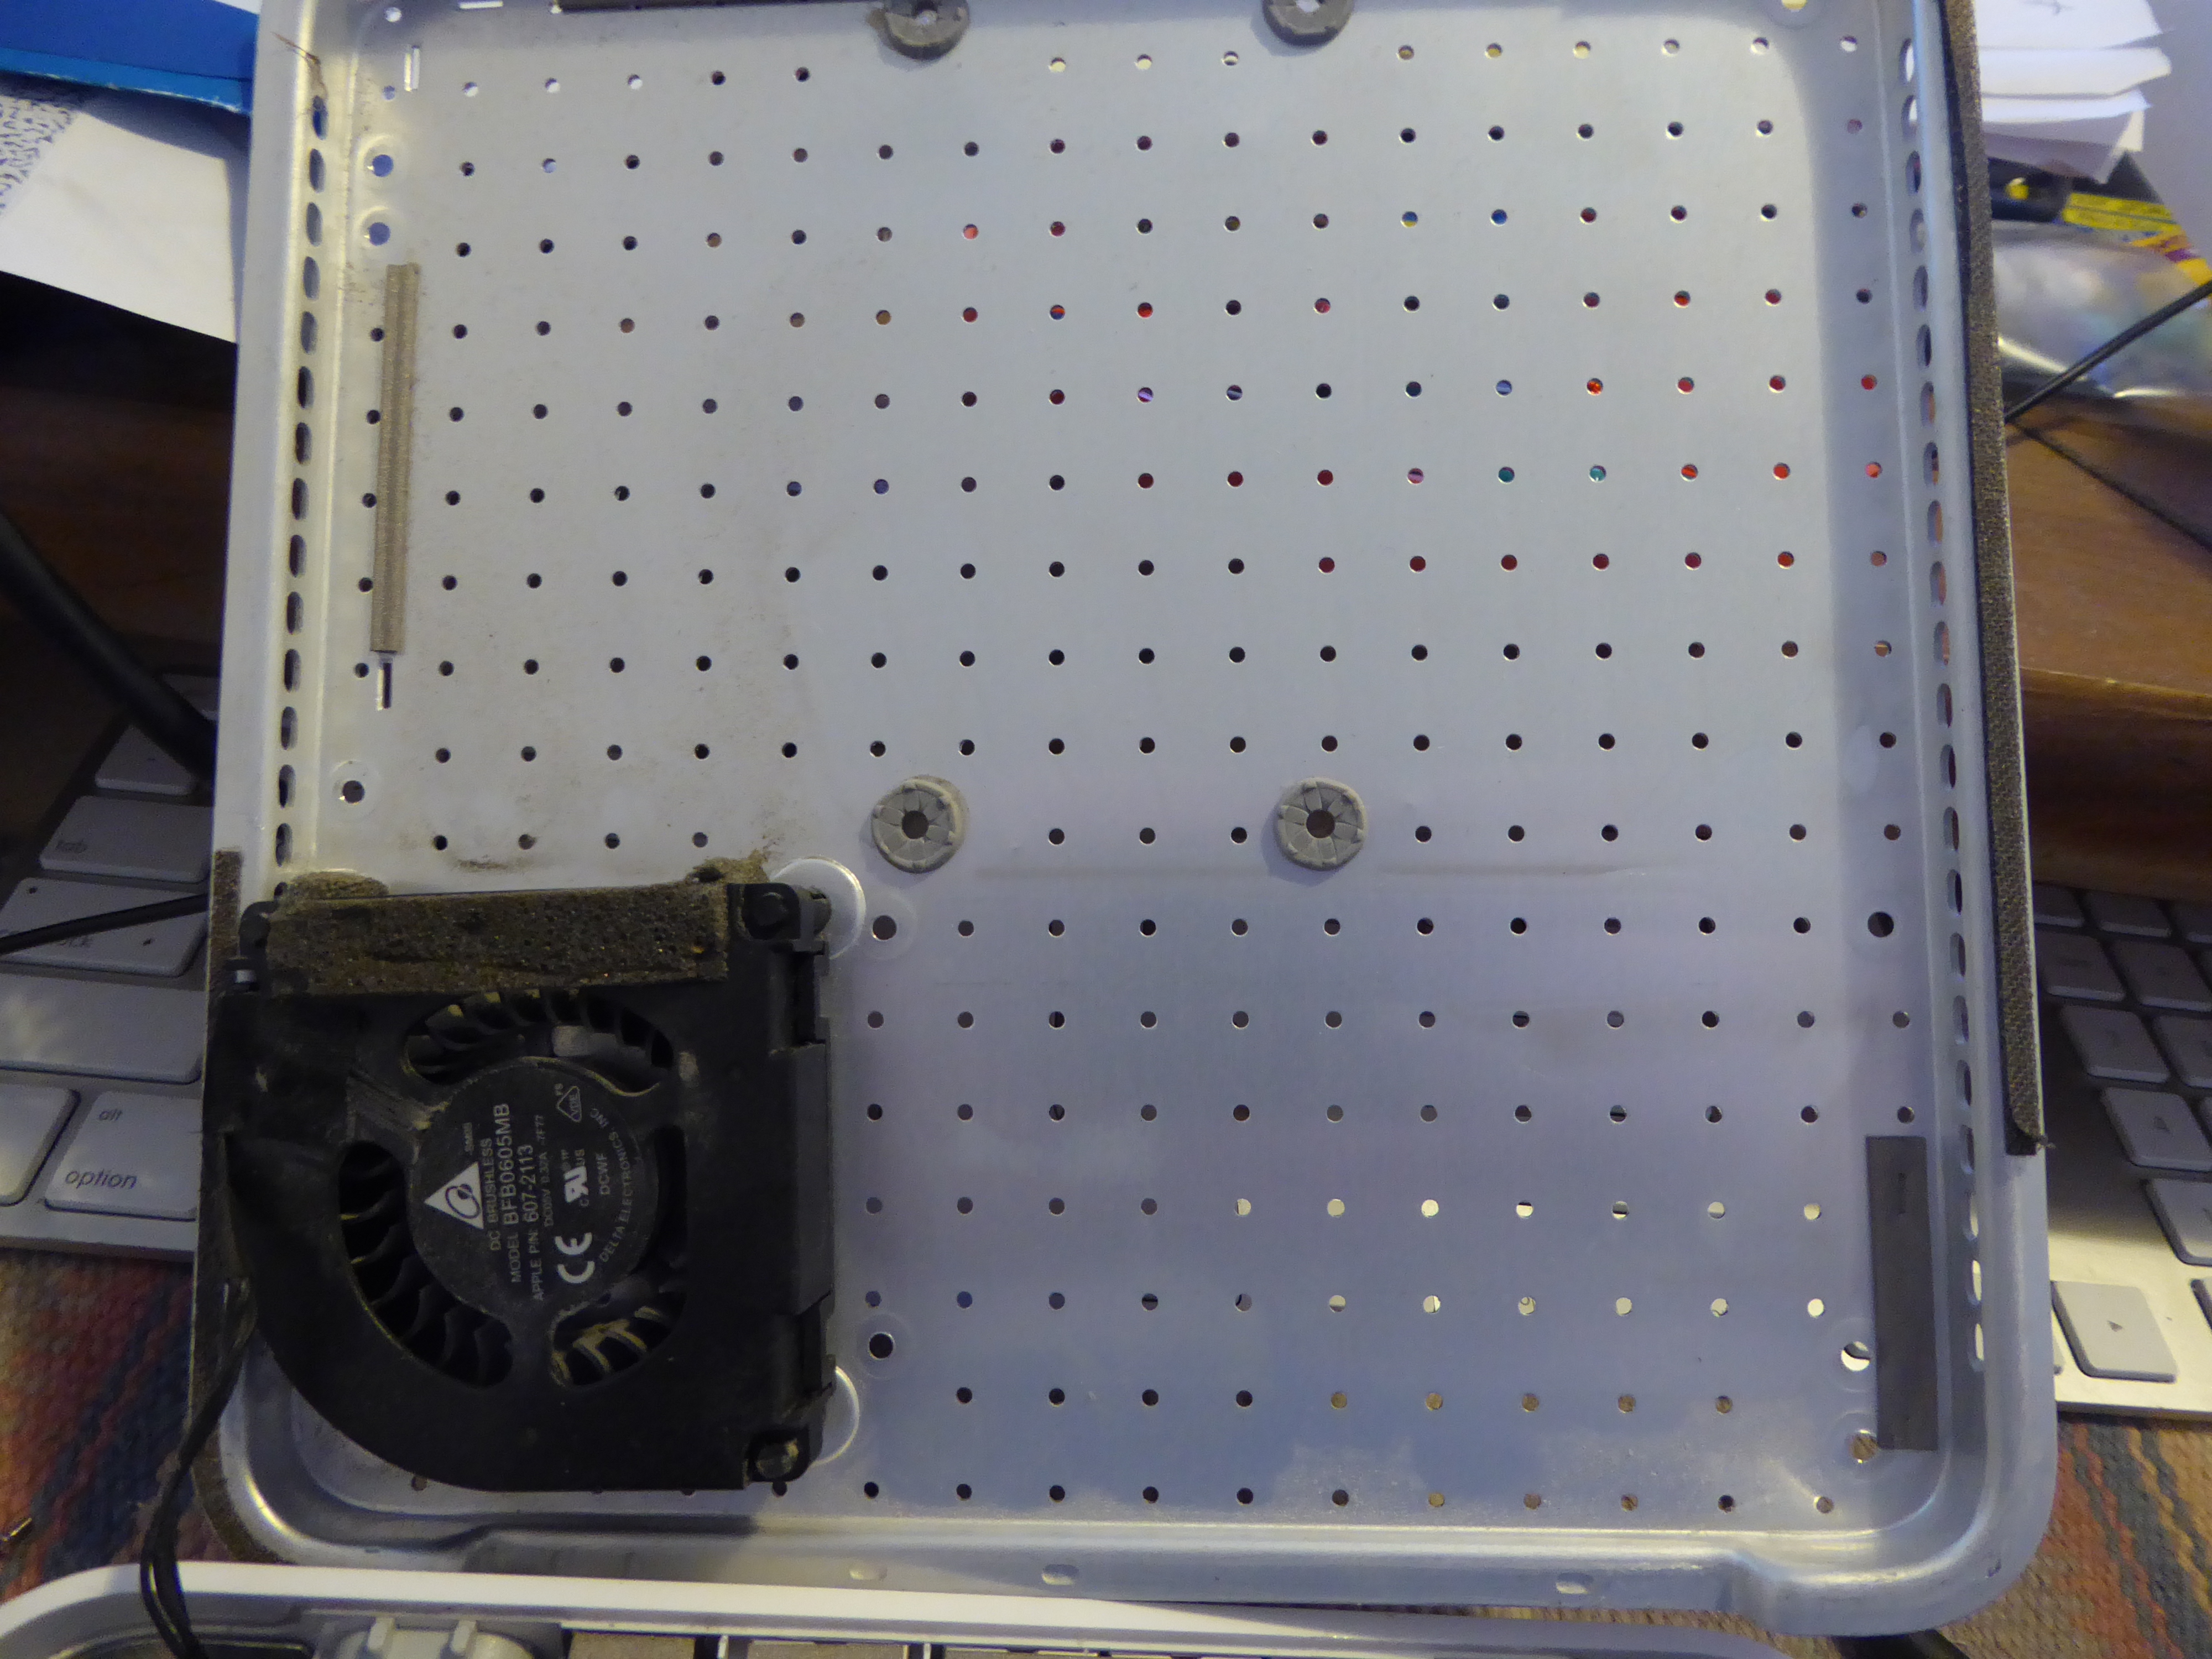
Peaking out in the left corner is the logic board. You'll notice that the fan fits into that area.
I did not try to disassemble any further, but it looks like it would be easy to do so.


