David Herron
Tags: Panasonic Lumix Cameras »»»» Digital Camera Repair »»»»
Digital camera's with a rear display that flips out to any angle are cool, but doesn't it mean the display is more prone to break? What do you do when the display panel on your digital camera breaks? Do you throw up your hands in resignation to having to buy a new camera? Or that it will be an expensive repair at a camera shop? In this article we'll show you how, in a half hour or so, to replace the display panel on a Lumix DMC-FZ100 camera.
I used to think digital cameras were specialized fragile things that required a specialized technician to repair. What I've learned is that, sure, some things like lens repair requires specialized techniques. But many other things on a digital camera are easily repaired. The display panel on the Lumix FZ-100 is one such repair.
At the high level the process was:
-
From eBay, buy a replacement LCD for $15
- Flip out the LCD panel
- Unscrew the screws holding the frame of the LCD panel together
- Disconnect the display cable from the display
- Remove the LCD panel from a bracket
- Along the way of those steps, carefully note the orientation of the two cables so you can reassemble everything
- Carefully put the replacement LCD panel in the bracket
- Attach its cable to the circuit board on the bracket
- Reattach the display cable to the display panel and bracket
- Put the plastic frame around the LCD panel
- Screw in the screws
The Lumix FZ-100 is a so-called Bridge Camera, a marketing term for what we used to call a Prosumer camera. Since it has a fixed lens it is a point and shoot camera, but the FZ-100 has a lot of features that can be used for serious photography. Prosumer is a mashup of Consumer and Professional, meaning a camera that sits in the grey area between those extremes. The FZ100 can record pictures in RAW format, it has modes to manually set aperture and shutter speed, and an extensive menu of settings and modes. There's a lot more to this camera, the bottom line being that while it won't produce the ultra crisp pictures a DSLR will (due to the size of the sensor), its features bring the users close to DSLR capabilities.
The rear display panel is very nice in that it flips out and can be manipulated to almost any angle. Need to shoot a picture and you're at the back of a crowd? No problem, just set the panel so it points down so you can hold the camera over everyones head and still see what the camera is seeing. Need to take a picture of a flower close to the ground? No problem, just set the panel so you can look down on it, and frame the flower in the display.
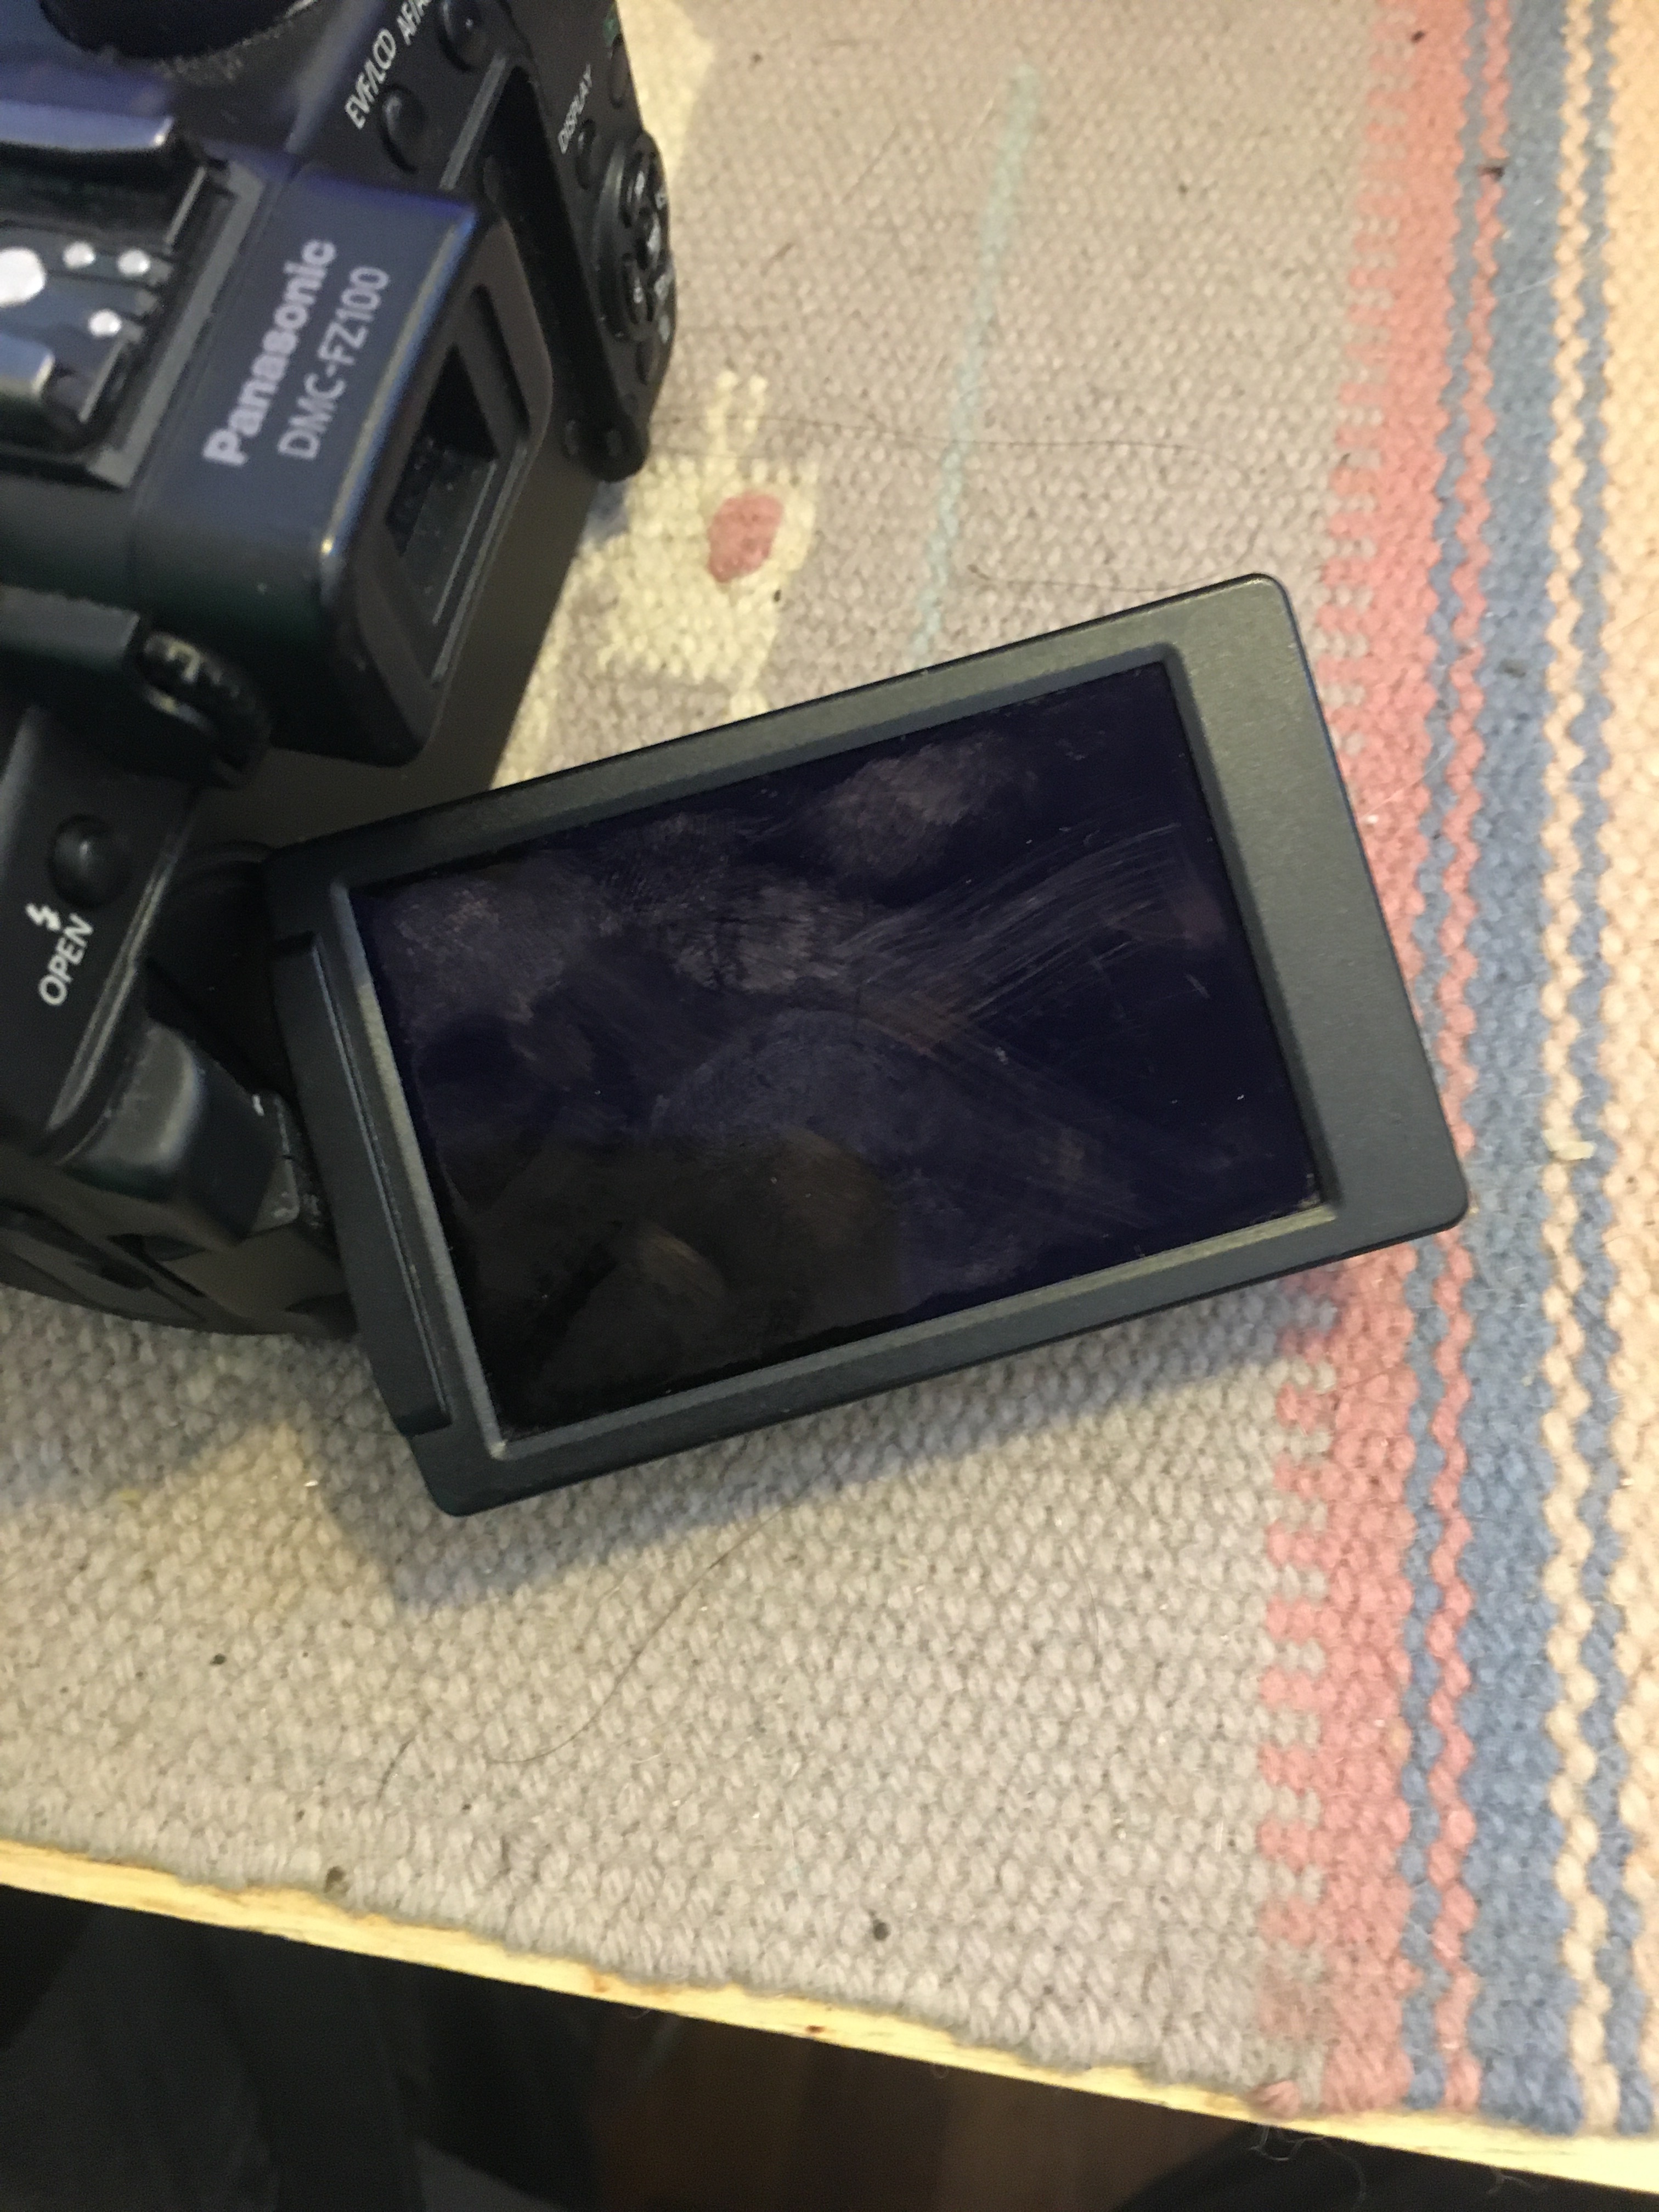
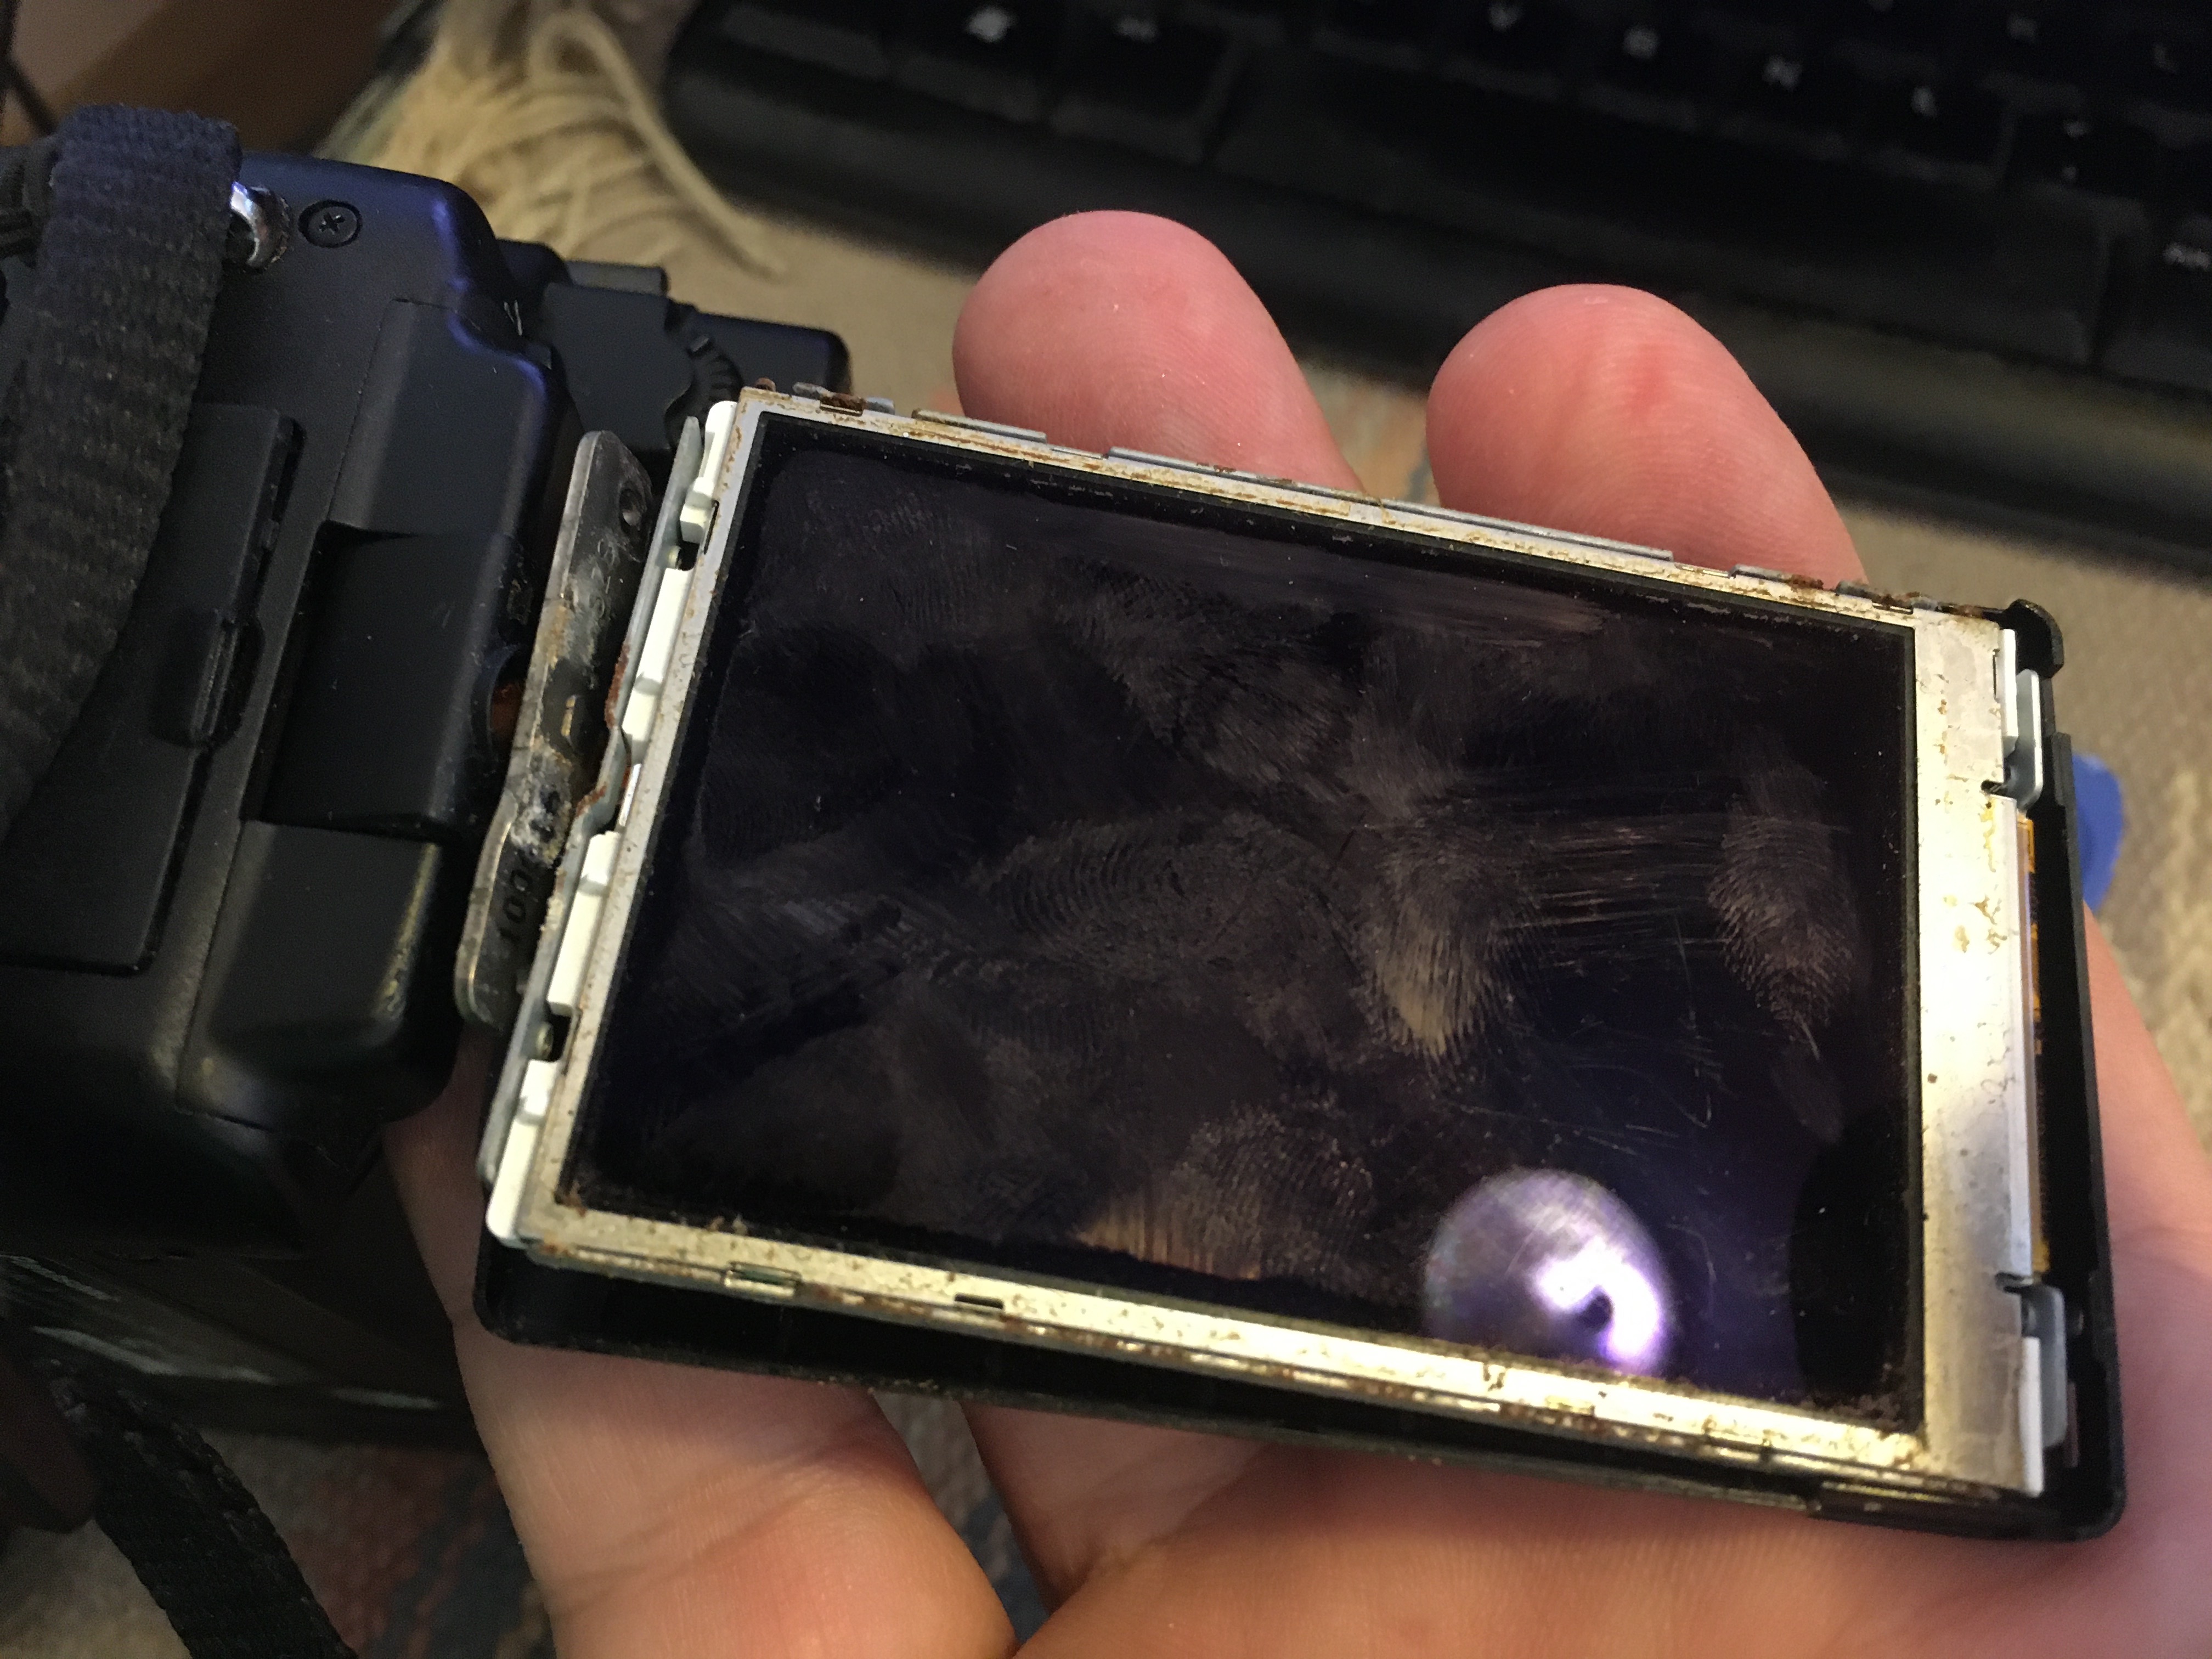
That's all really convenient, and I've used this when covering events many times. But it seems the FZ100 display may be prone to breaking.
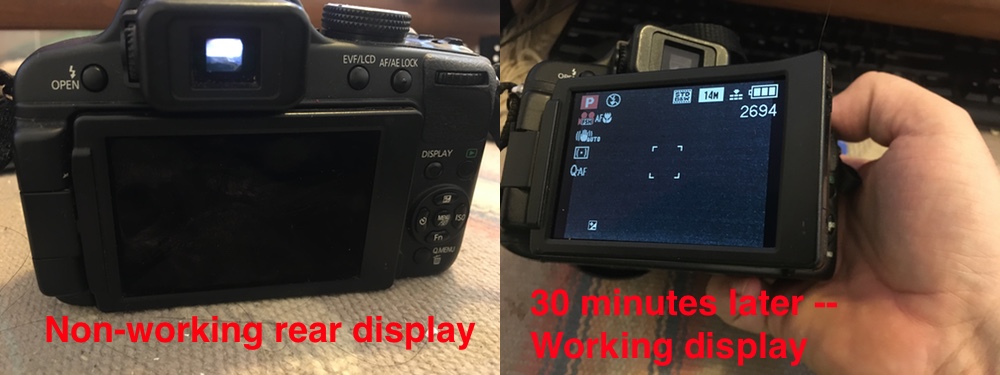
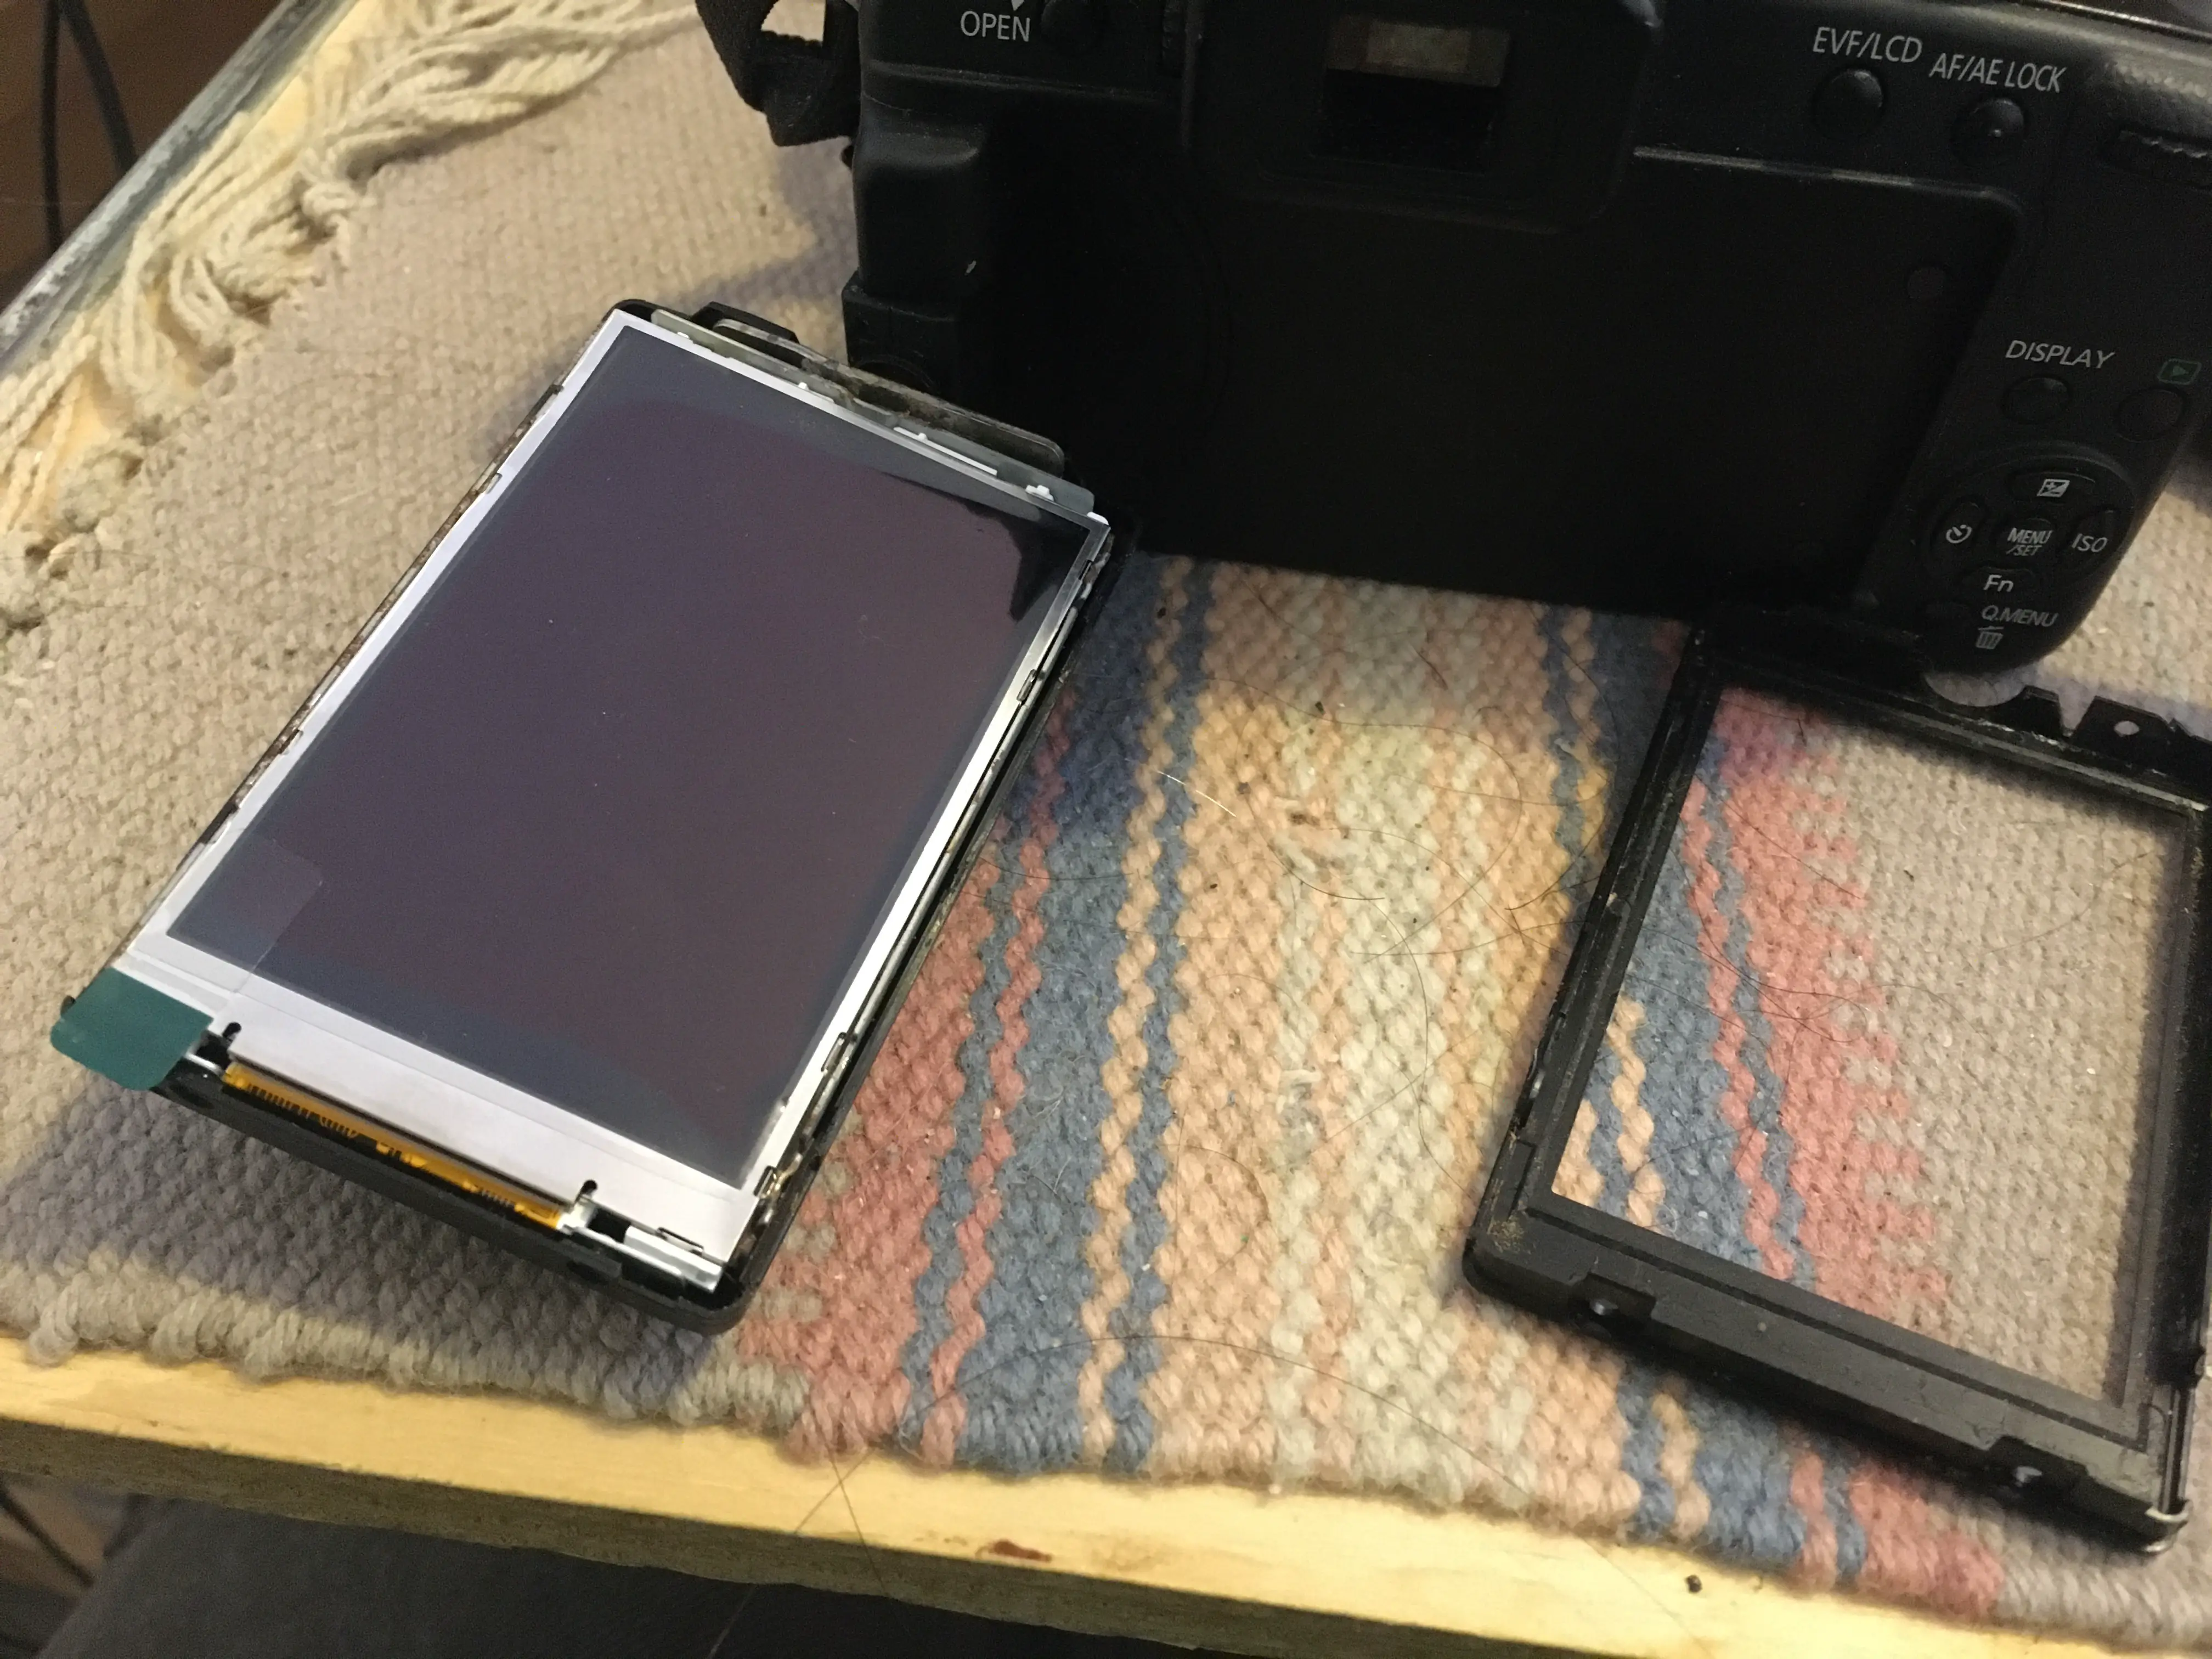
In the picture above you see my camera, and on the left you see that the display panel was not working. On the right you see the result of about a half hour that will be detailed below.
The replacement display LCD part is
available via eBay for about $15.
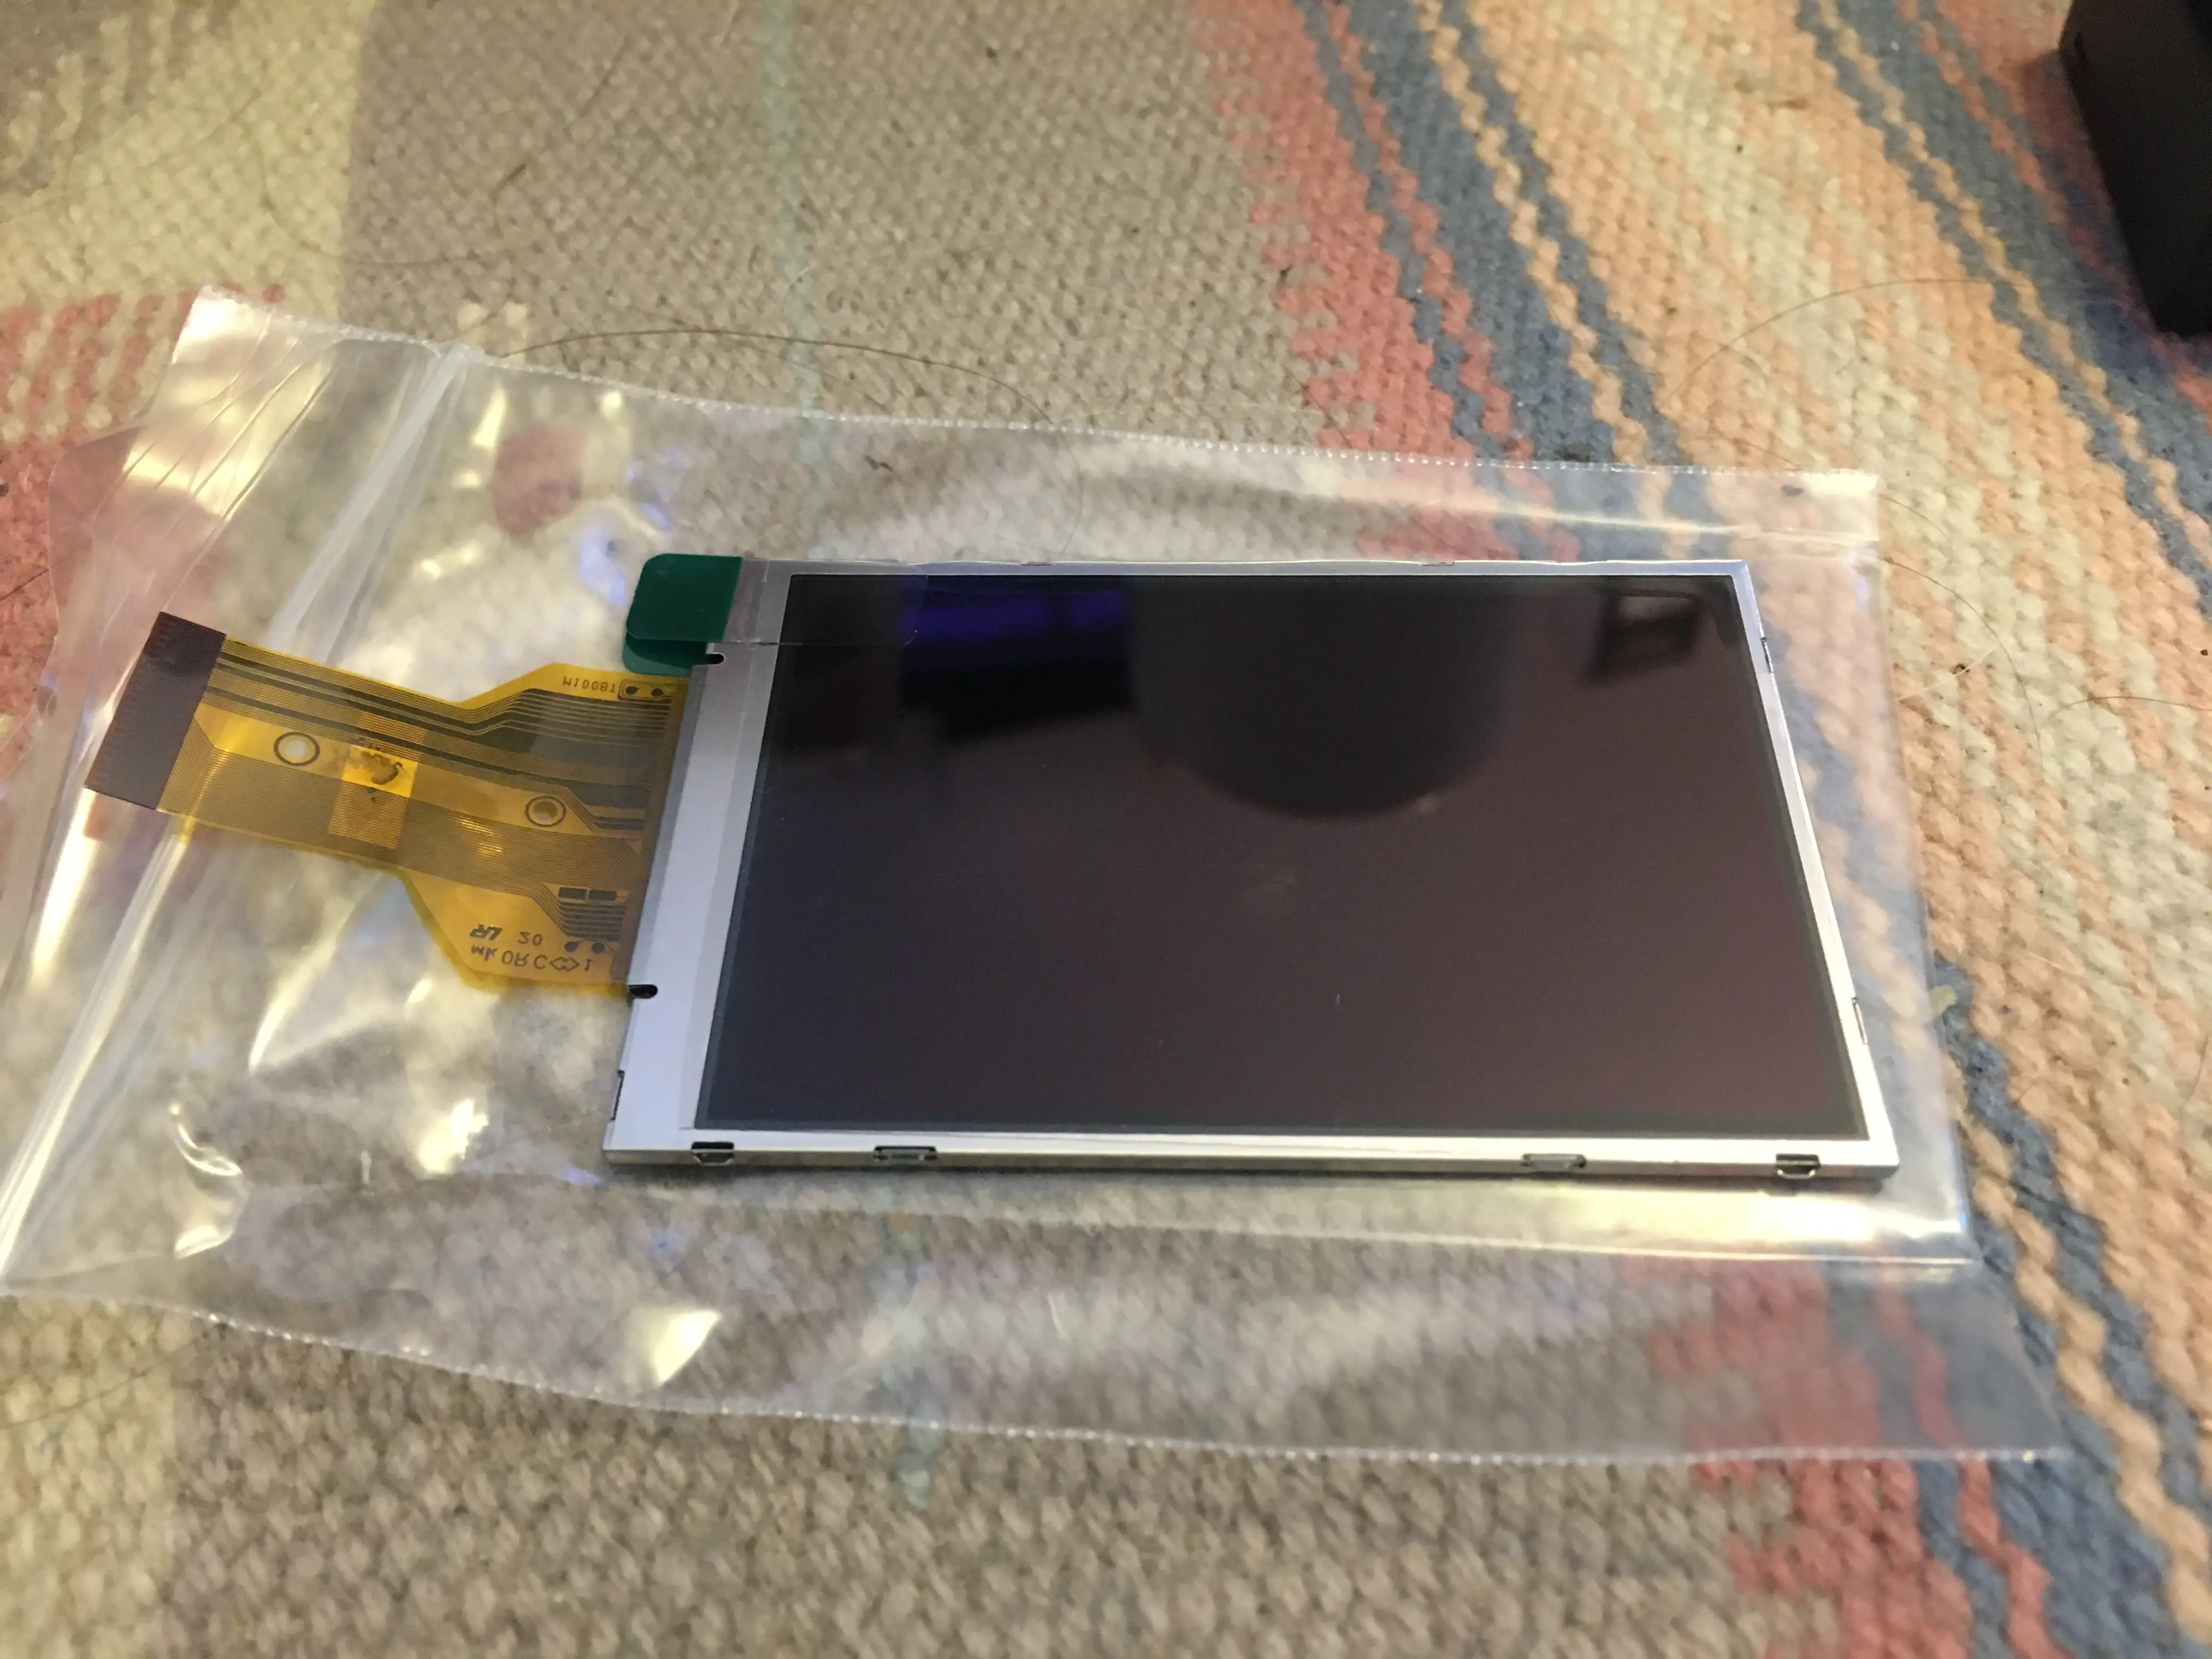
The yellow thing is the ribbon cable for the display. The green splotch is attached to a plastic protective film, and there is two such films one on both side.

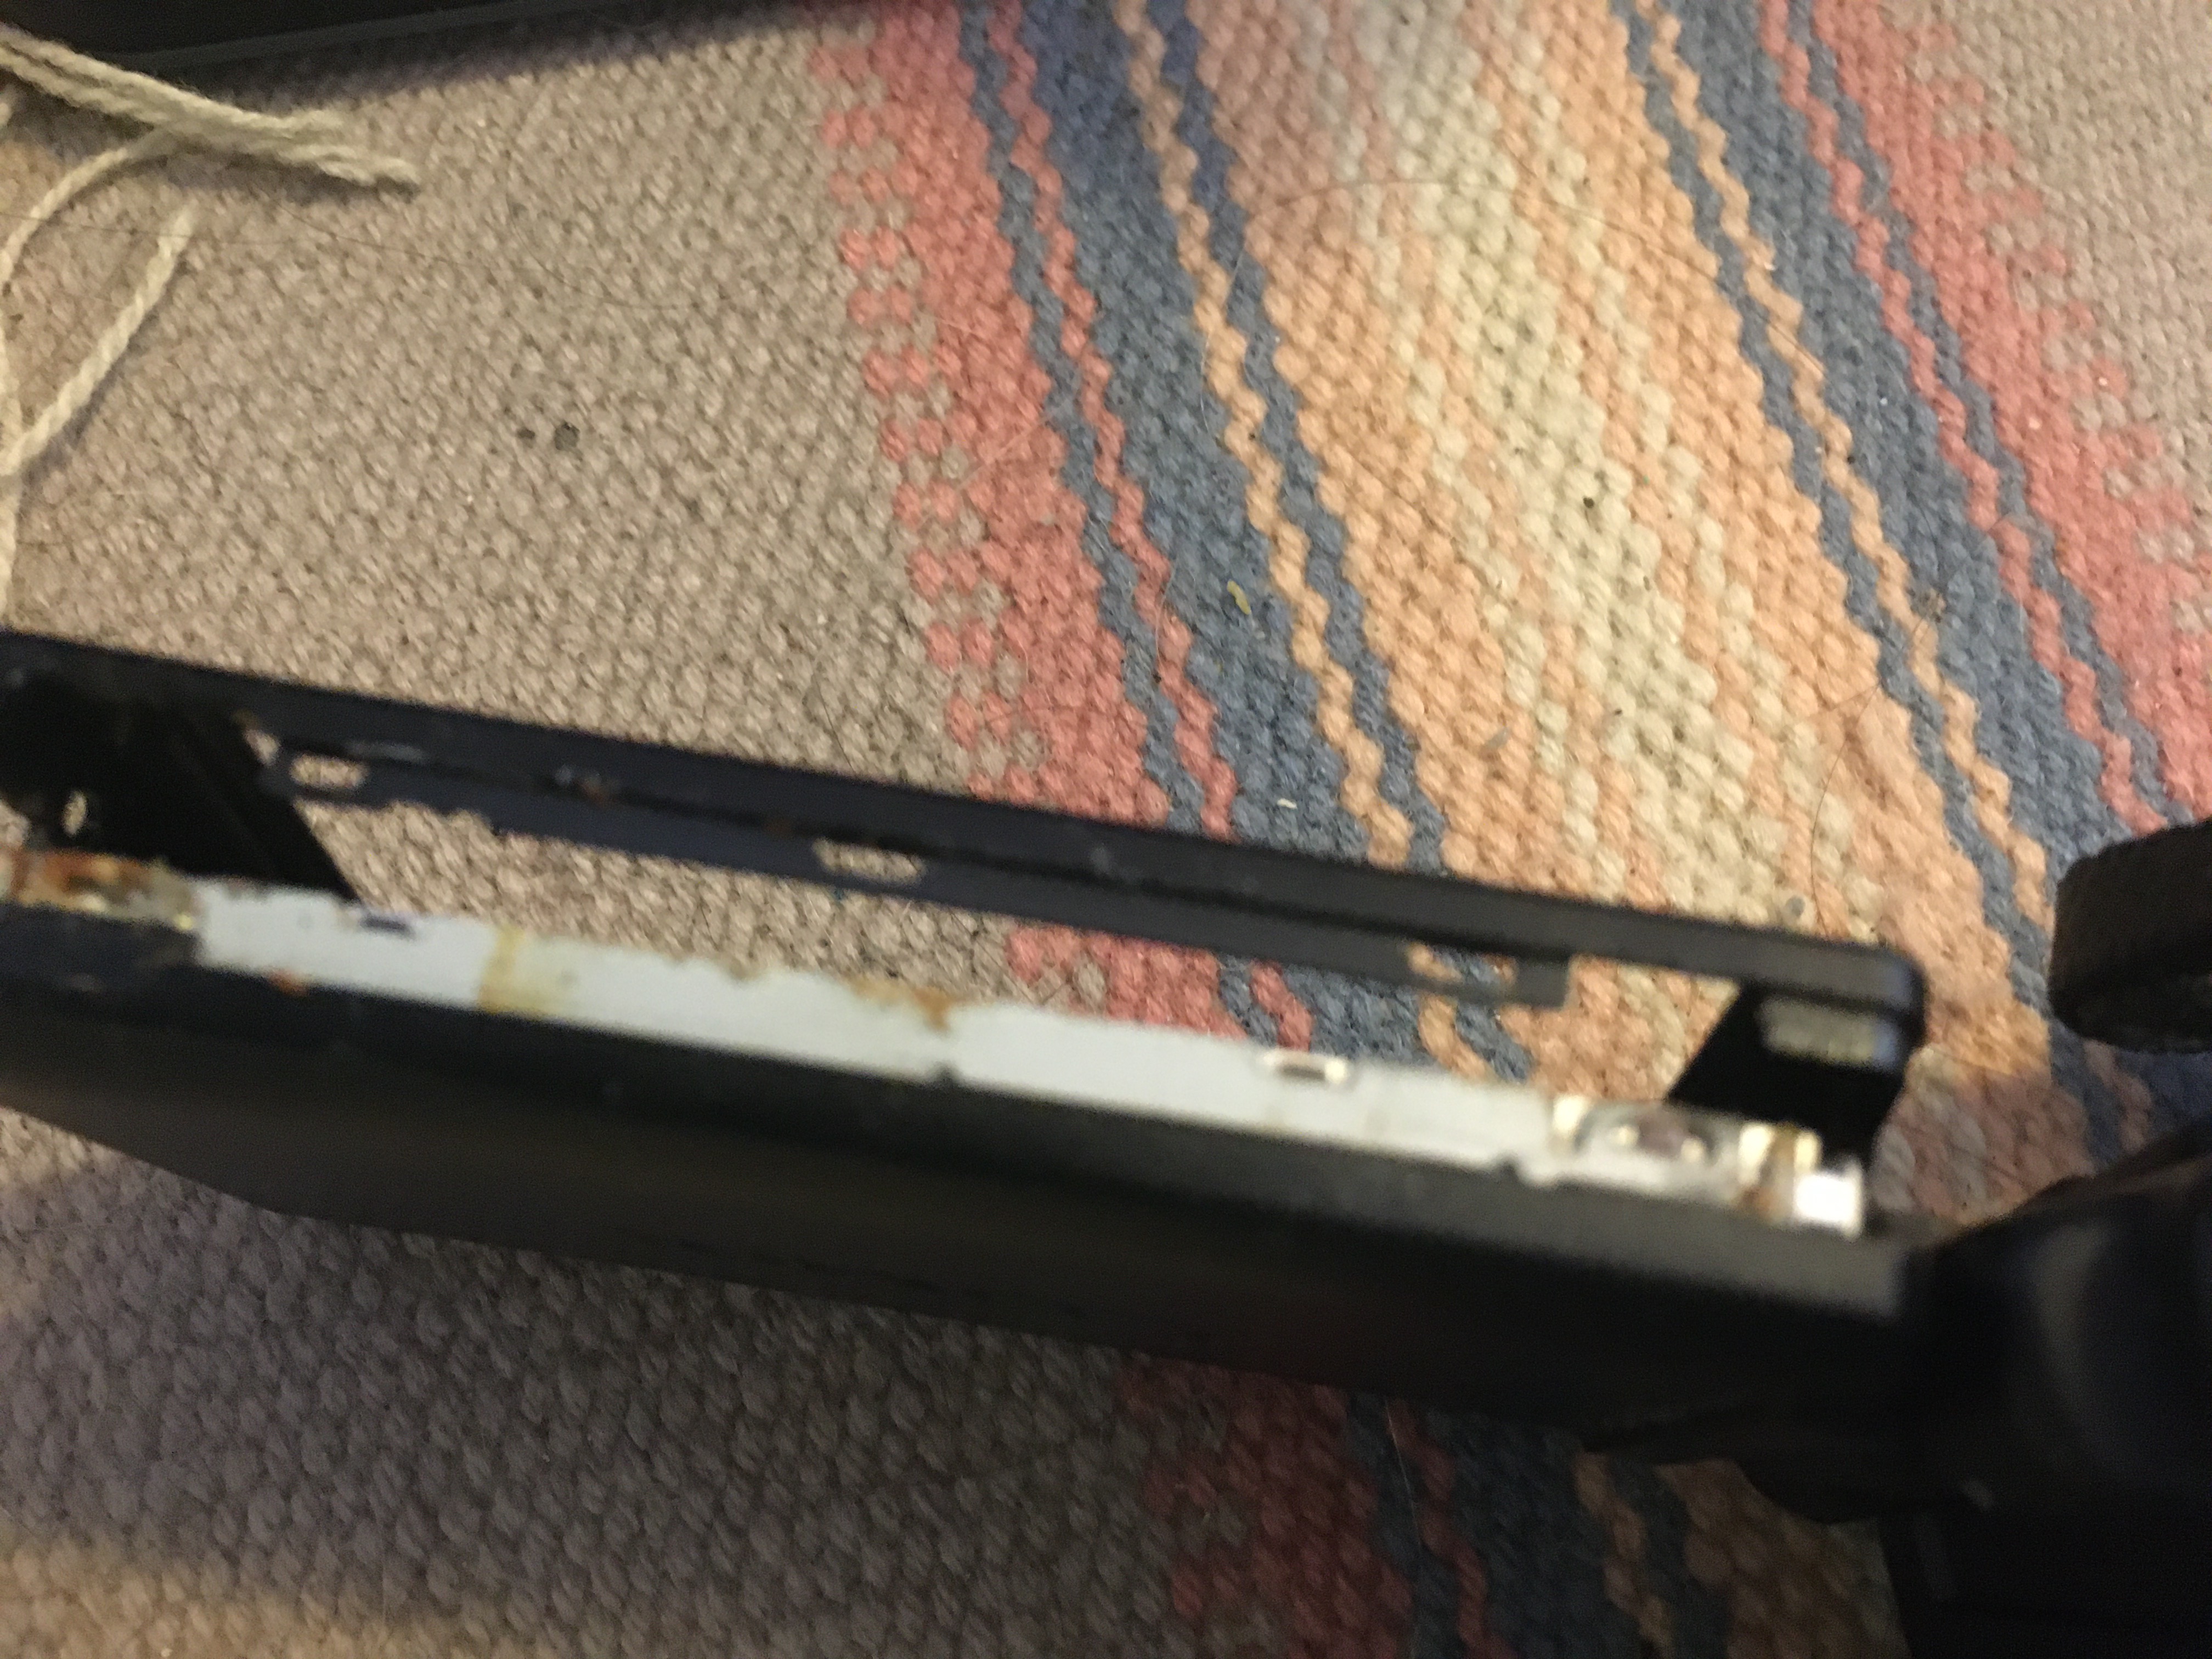
We need to take apart the display panel to replace the LCD. Examining the display panel you find that the plastic bracket is held together by four screws, two of which you see here. The other two are on the other end of the plastic bracket.
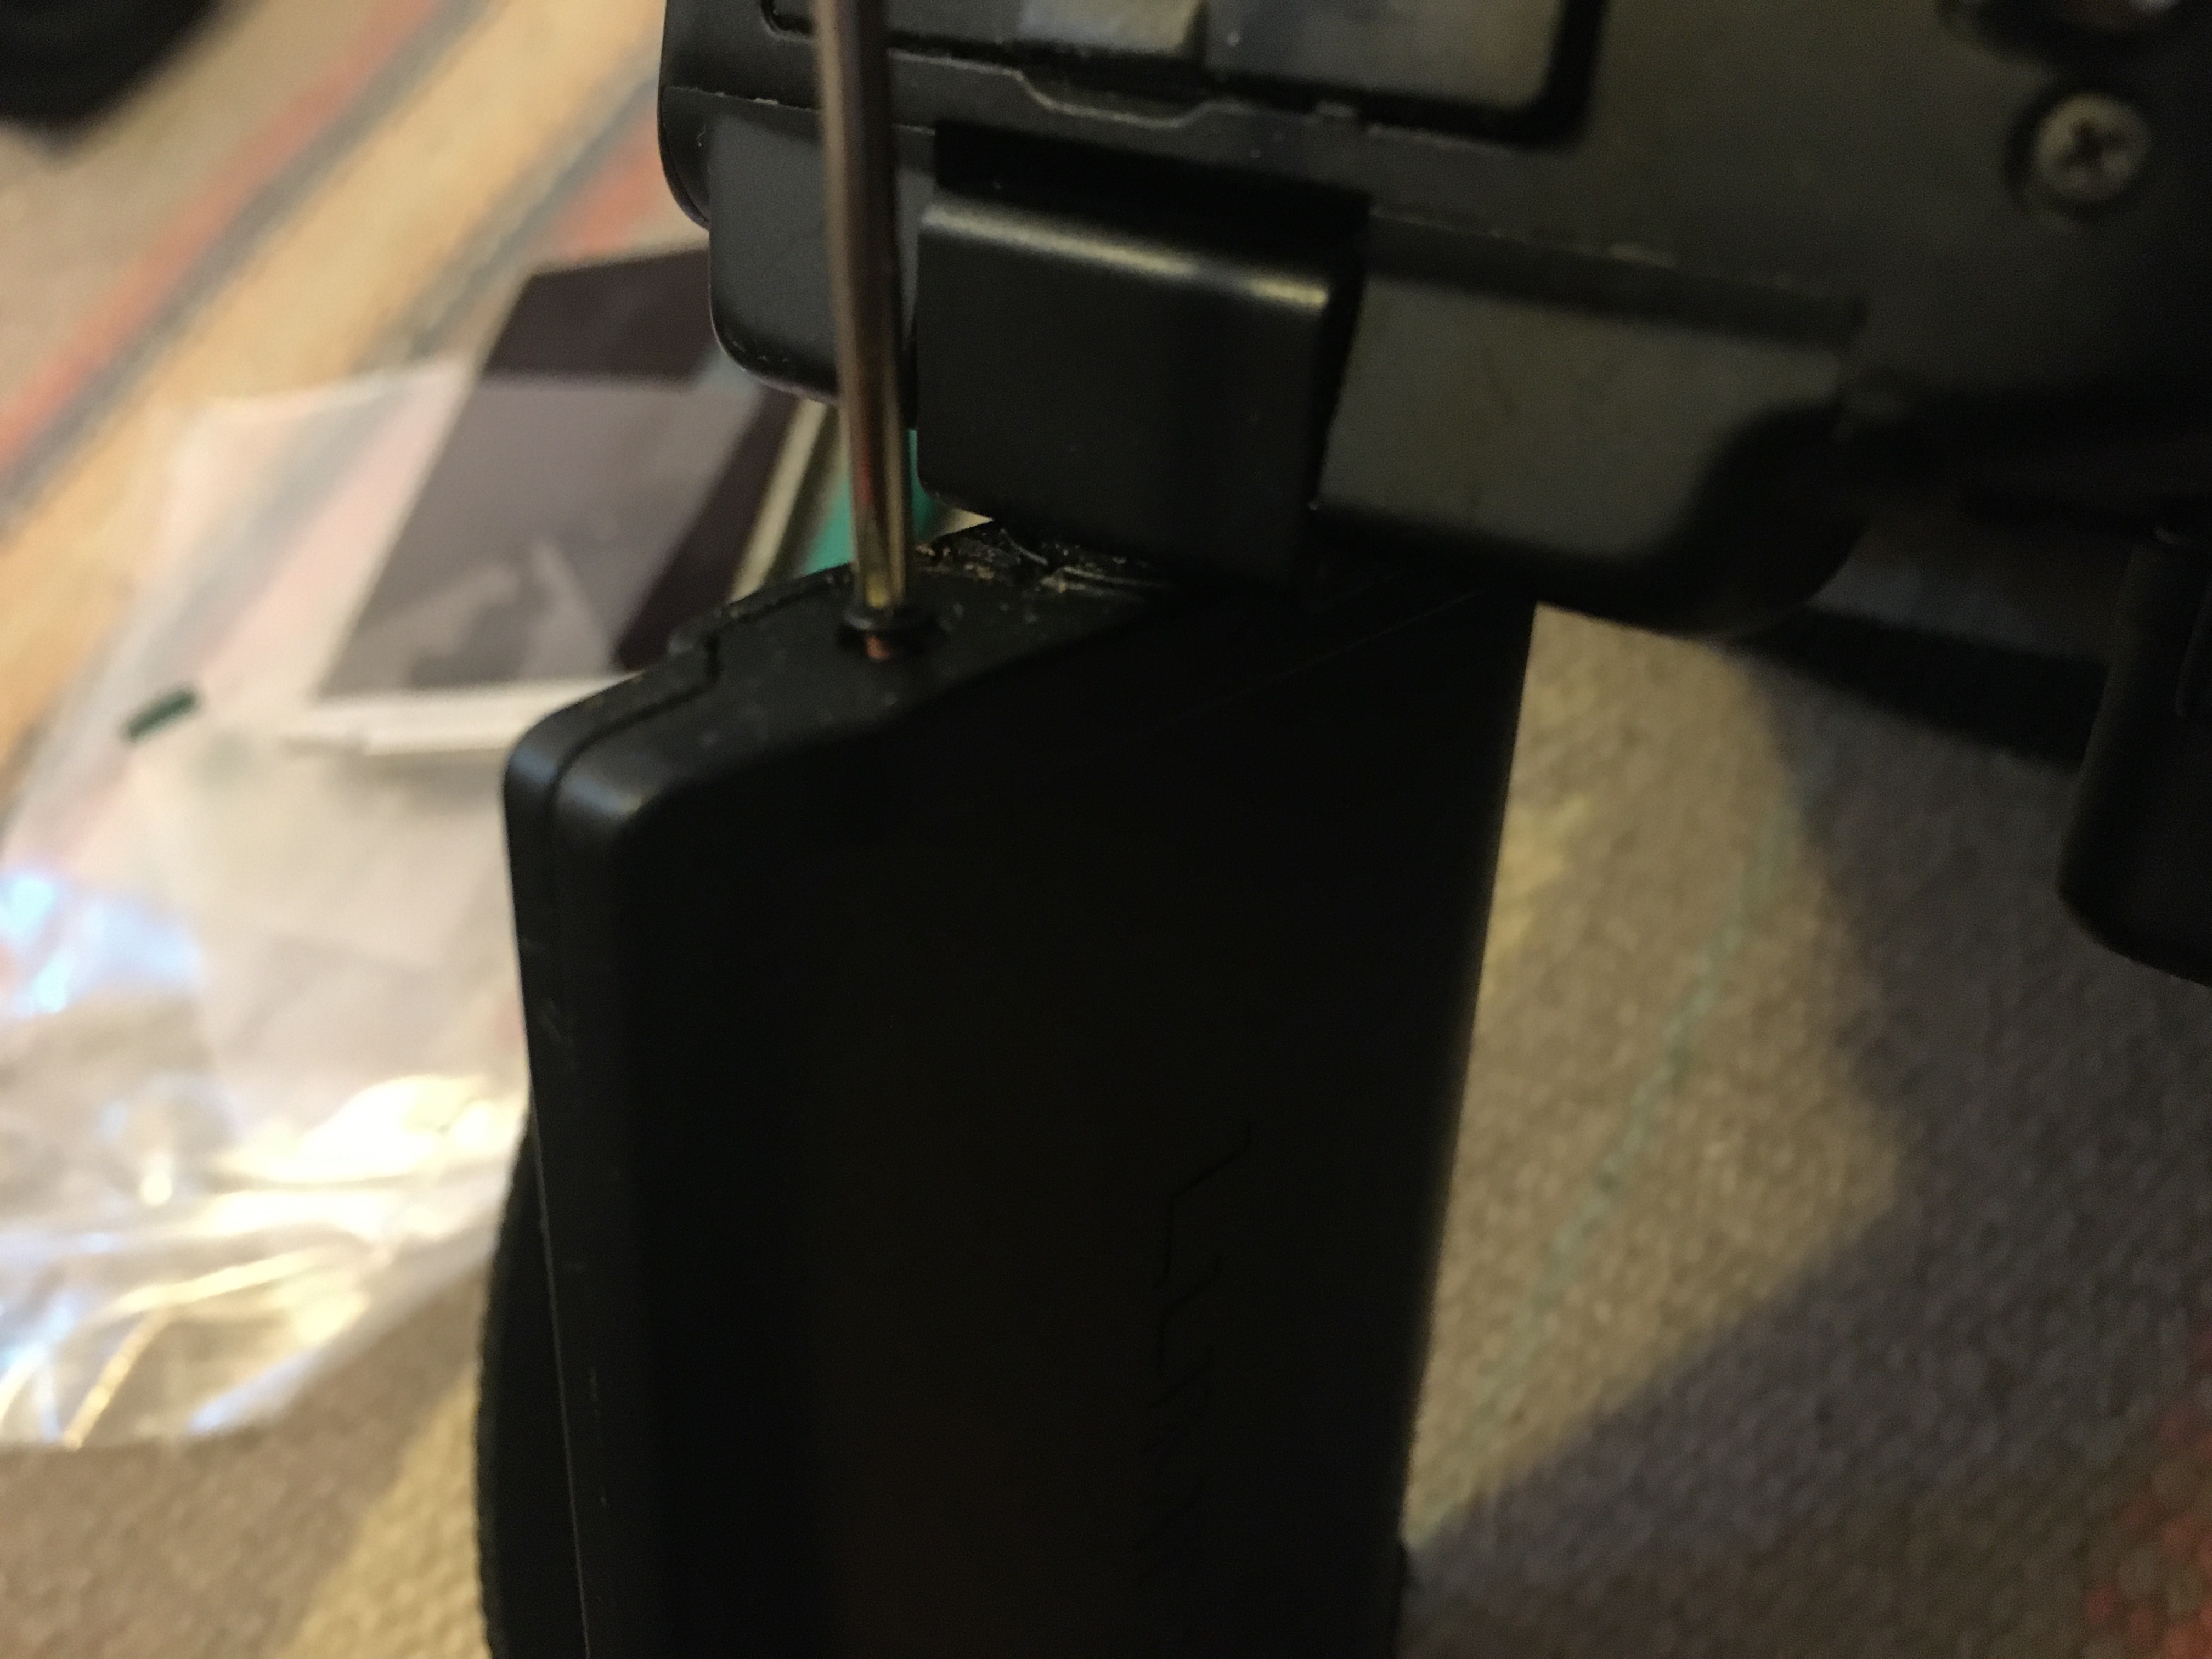
Before going too far it is of course important to pop out the battery.

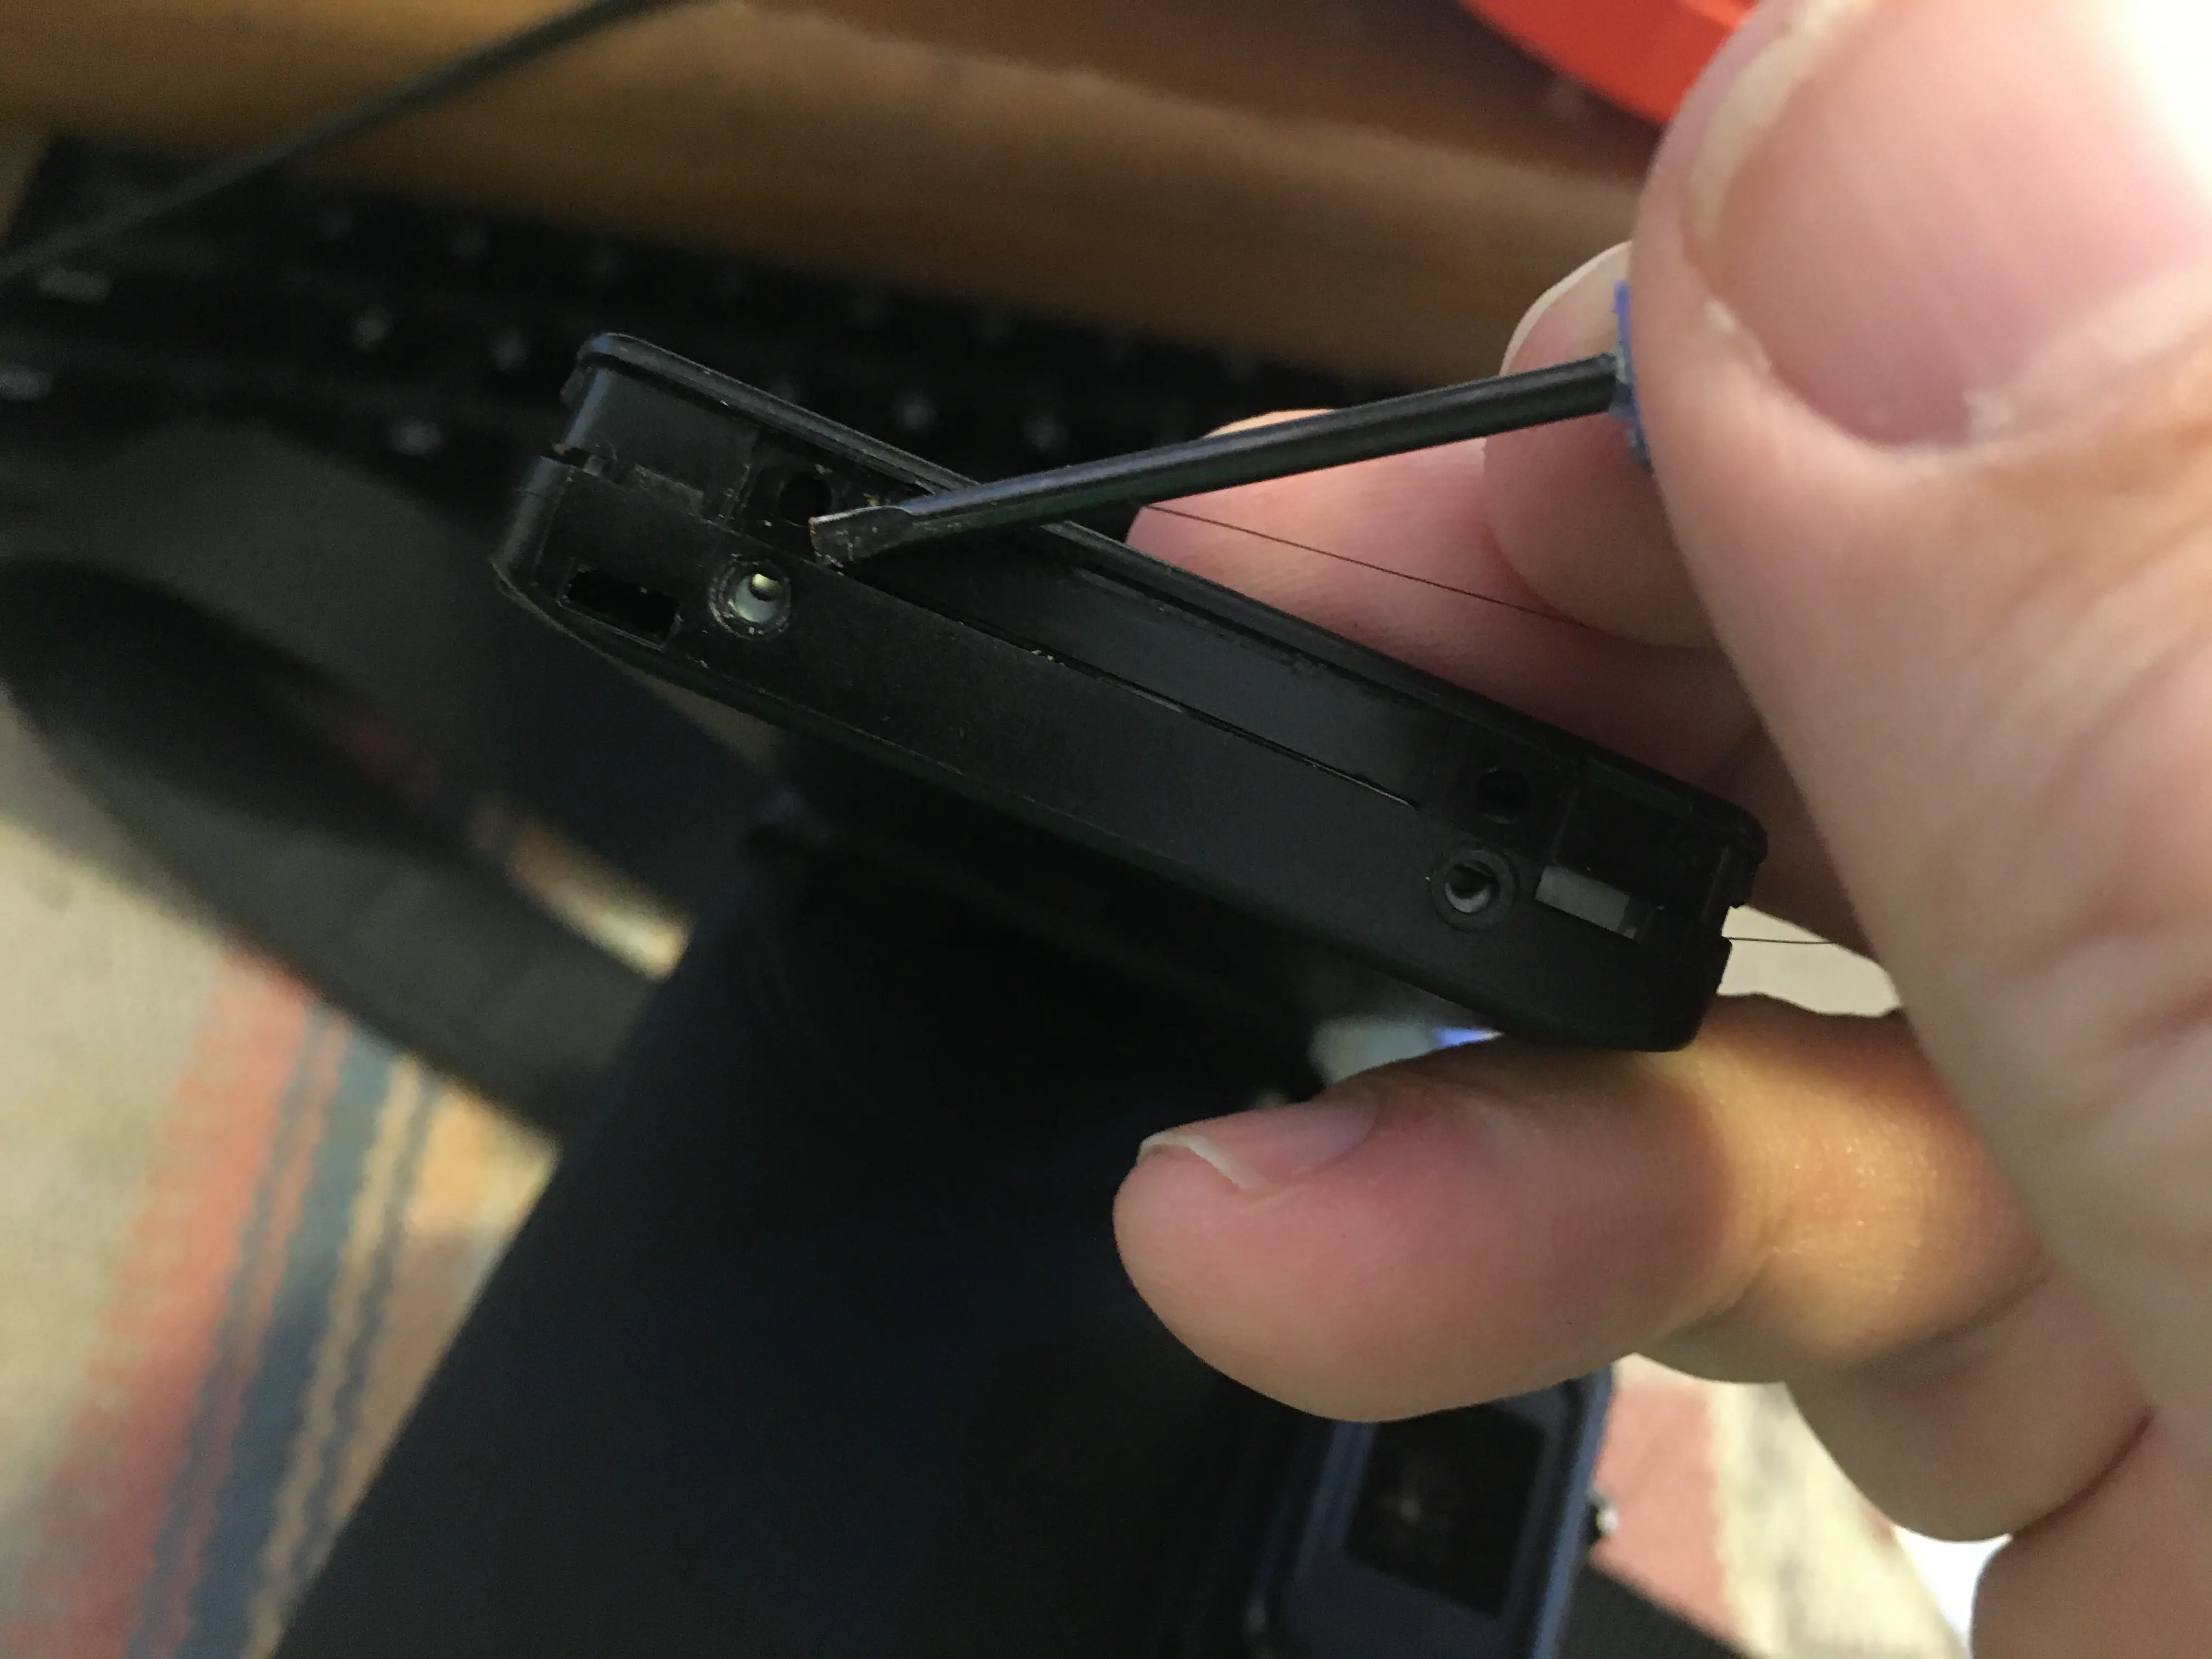
Using a small Philips-head screwdriver, remove the four screws.
The screws are small so be careful so they don't go flying away. Set them aside where you won't lose them or accidentally knock them onto the floor.
The plastic frame of the display panel simply snaps together.
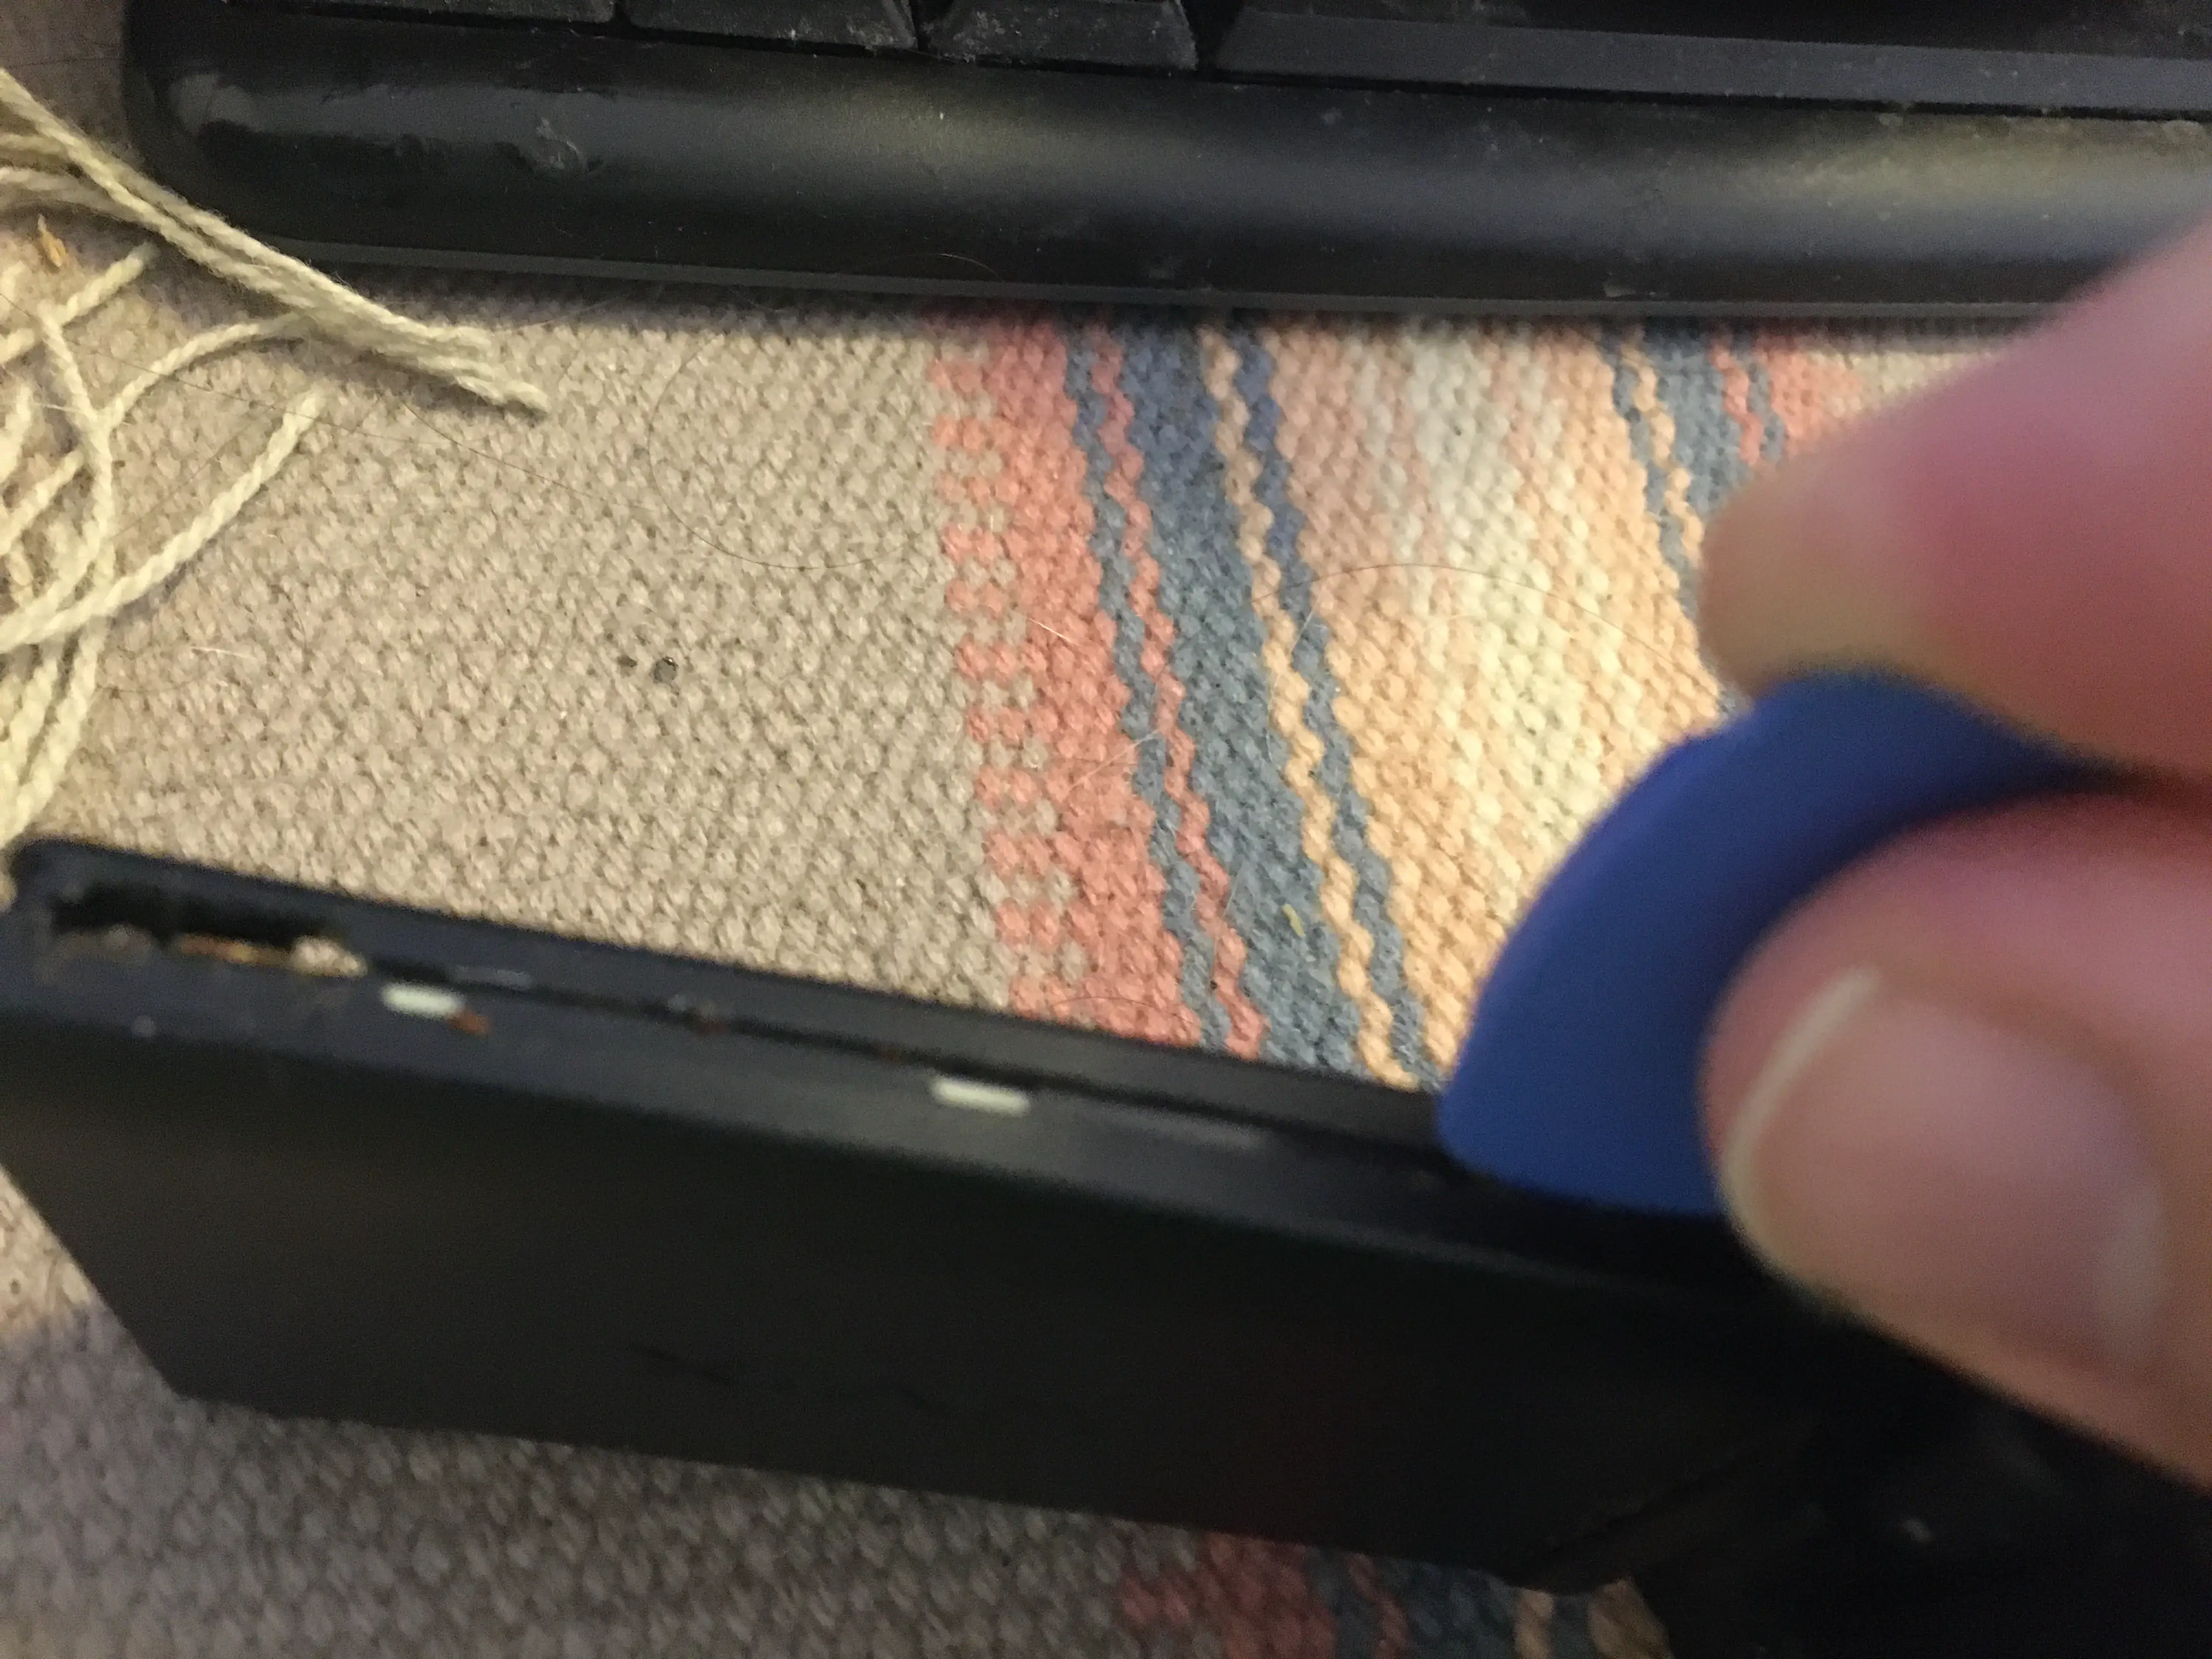
This means you can take a thin piece of plastic - what some call a Spudger - this Spudger is shaped like a guitar pic. A credit card might work. In a pinch a screwdriver might work, but you'd risk damaging something.
Simply find a place to insert this thin thing into a crack, and get the bracket to start to separate. Simply work your way around and it will come apart. You'll hear a pop-pop sound as you work, and that's just the parts unsnapping.
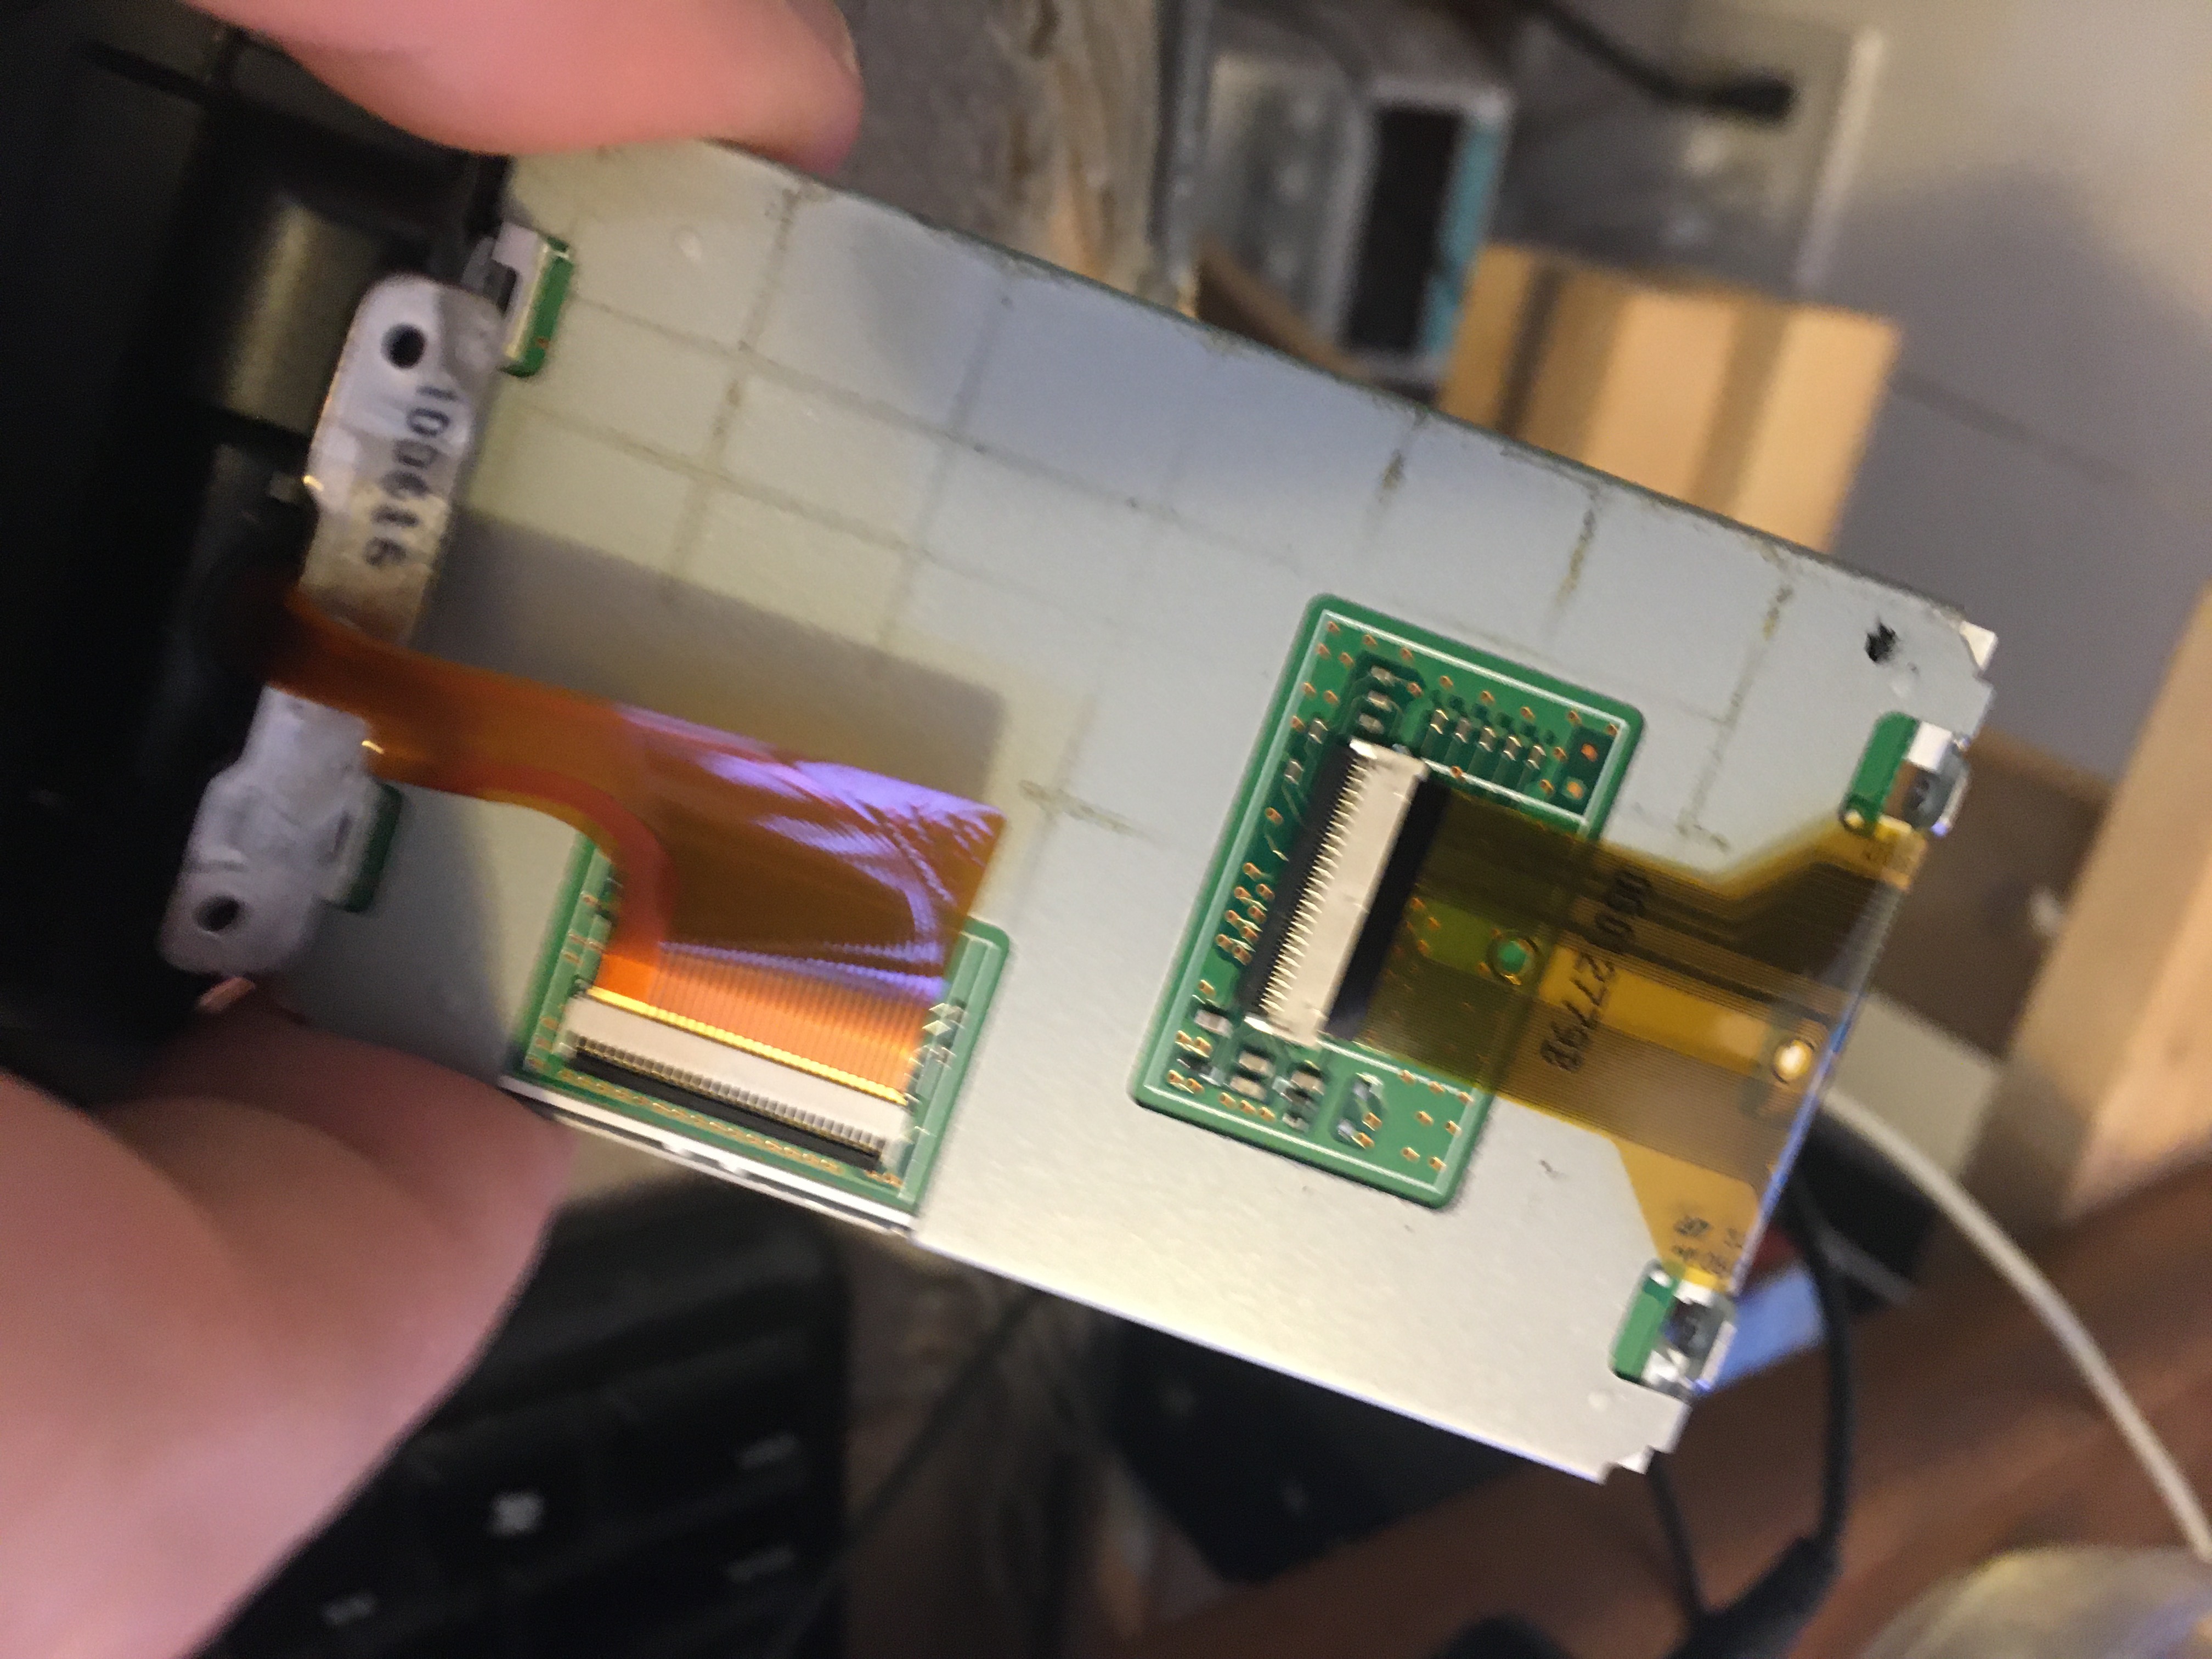
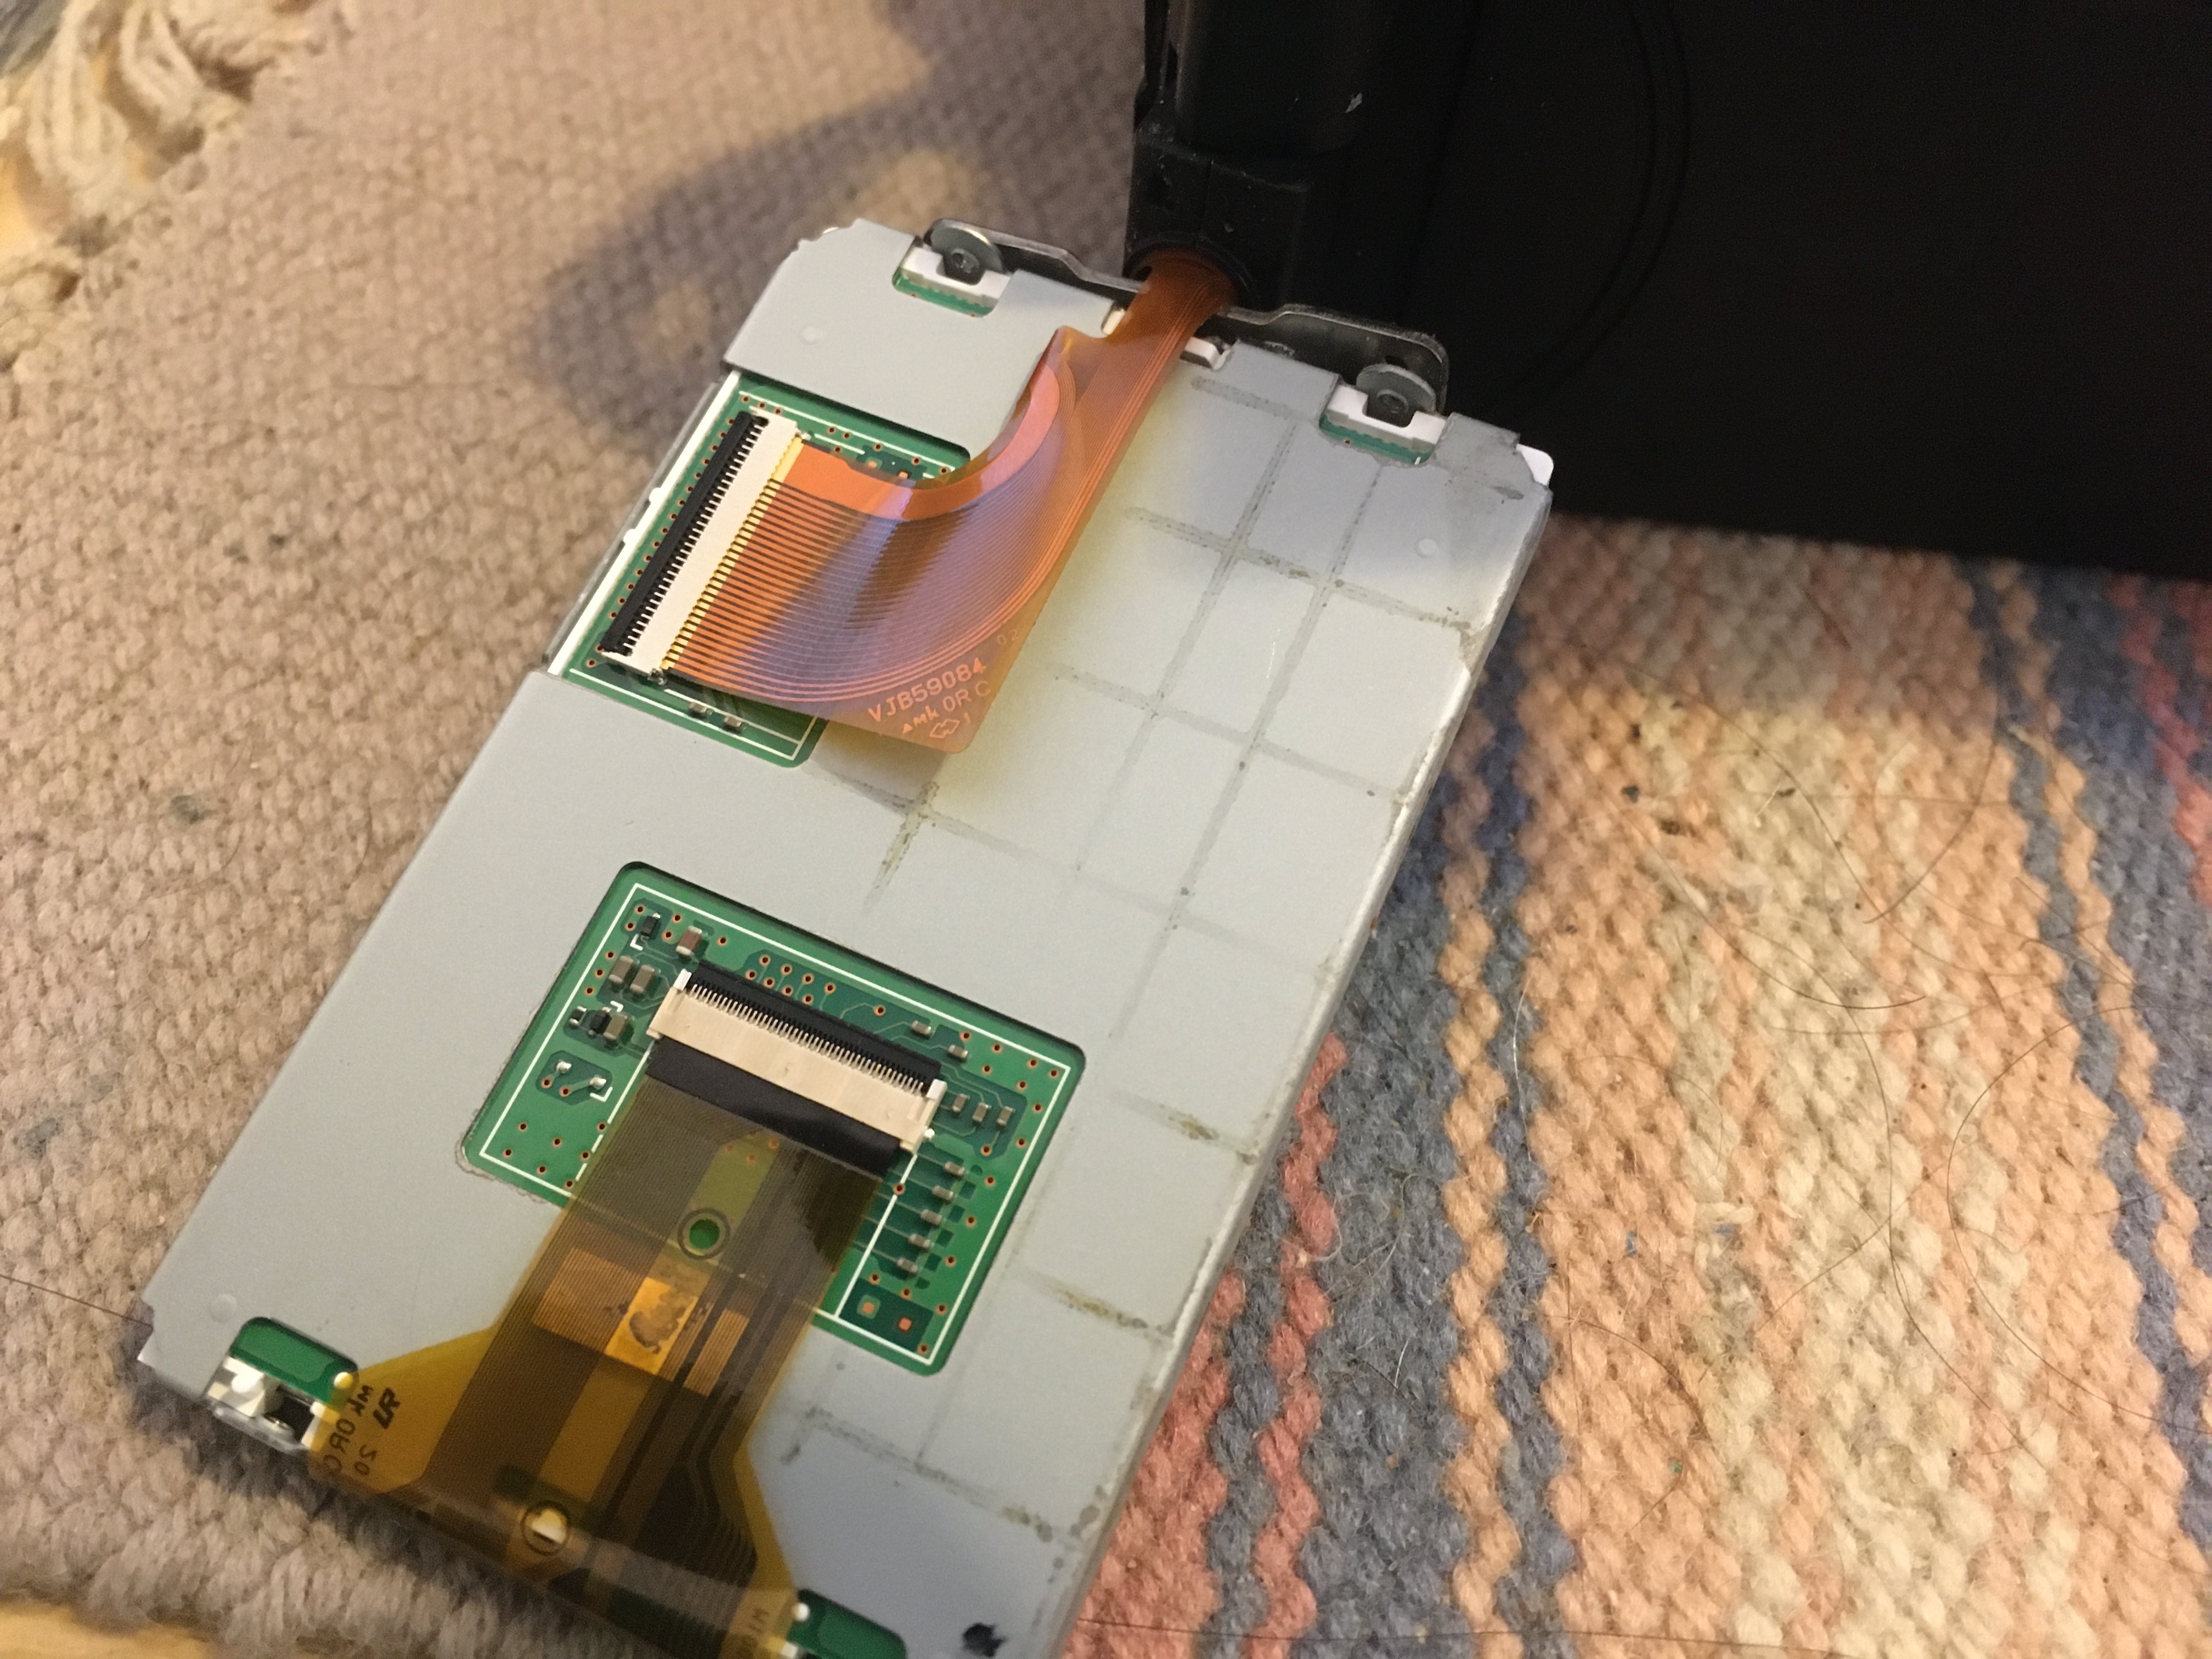
Here we see the plastic bracket is disassembled, and the LCD panel is still connected to the camera.
There is a ribbon cable at the left hand side of the picture attached to the LCD display.
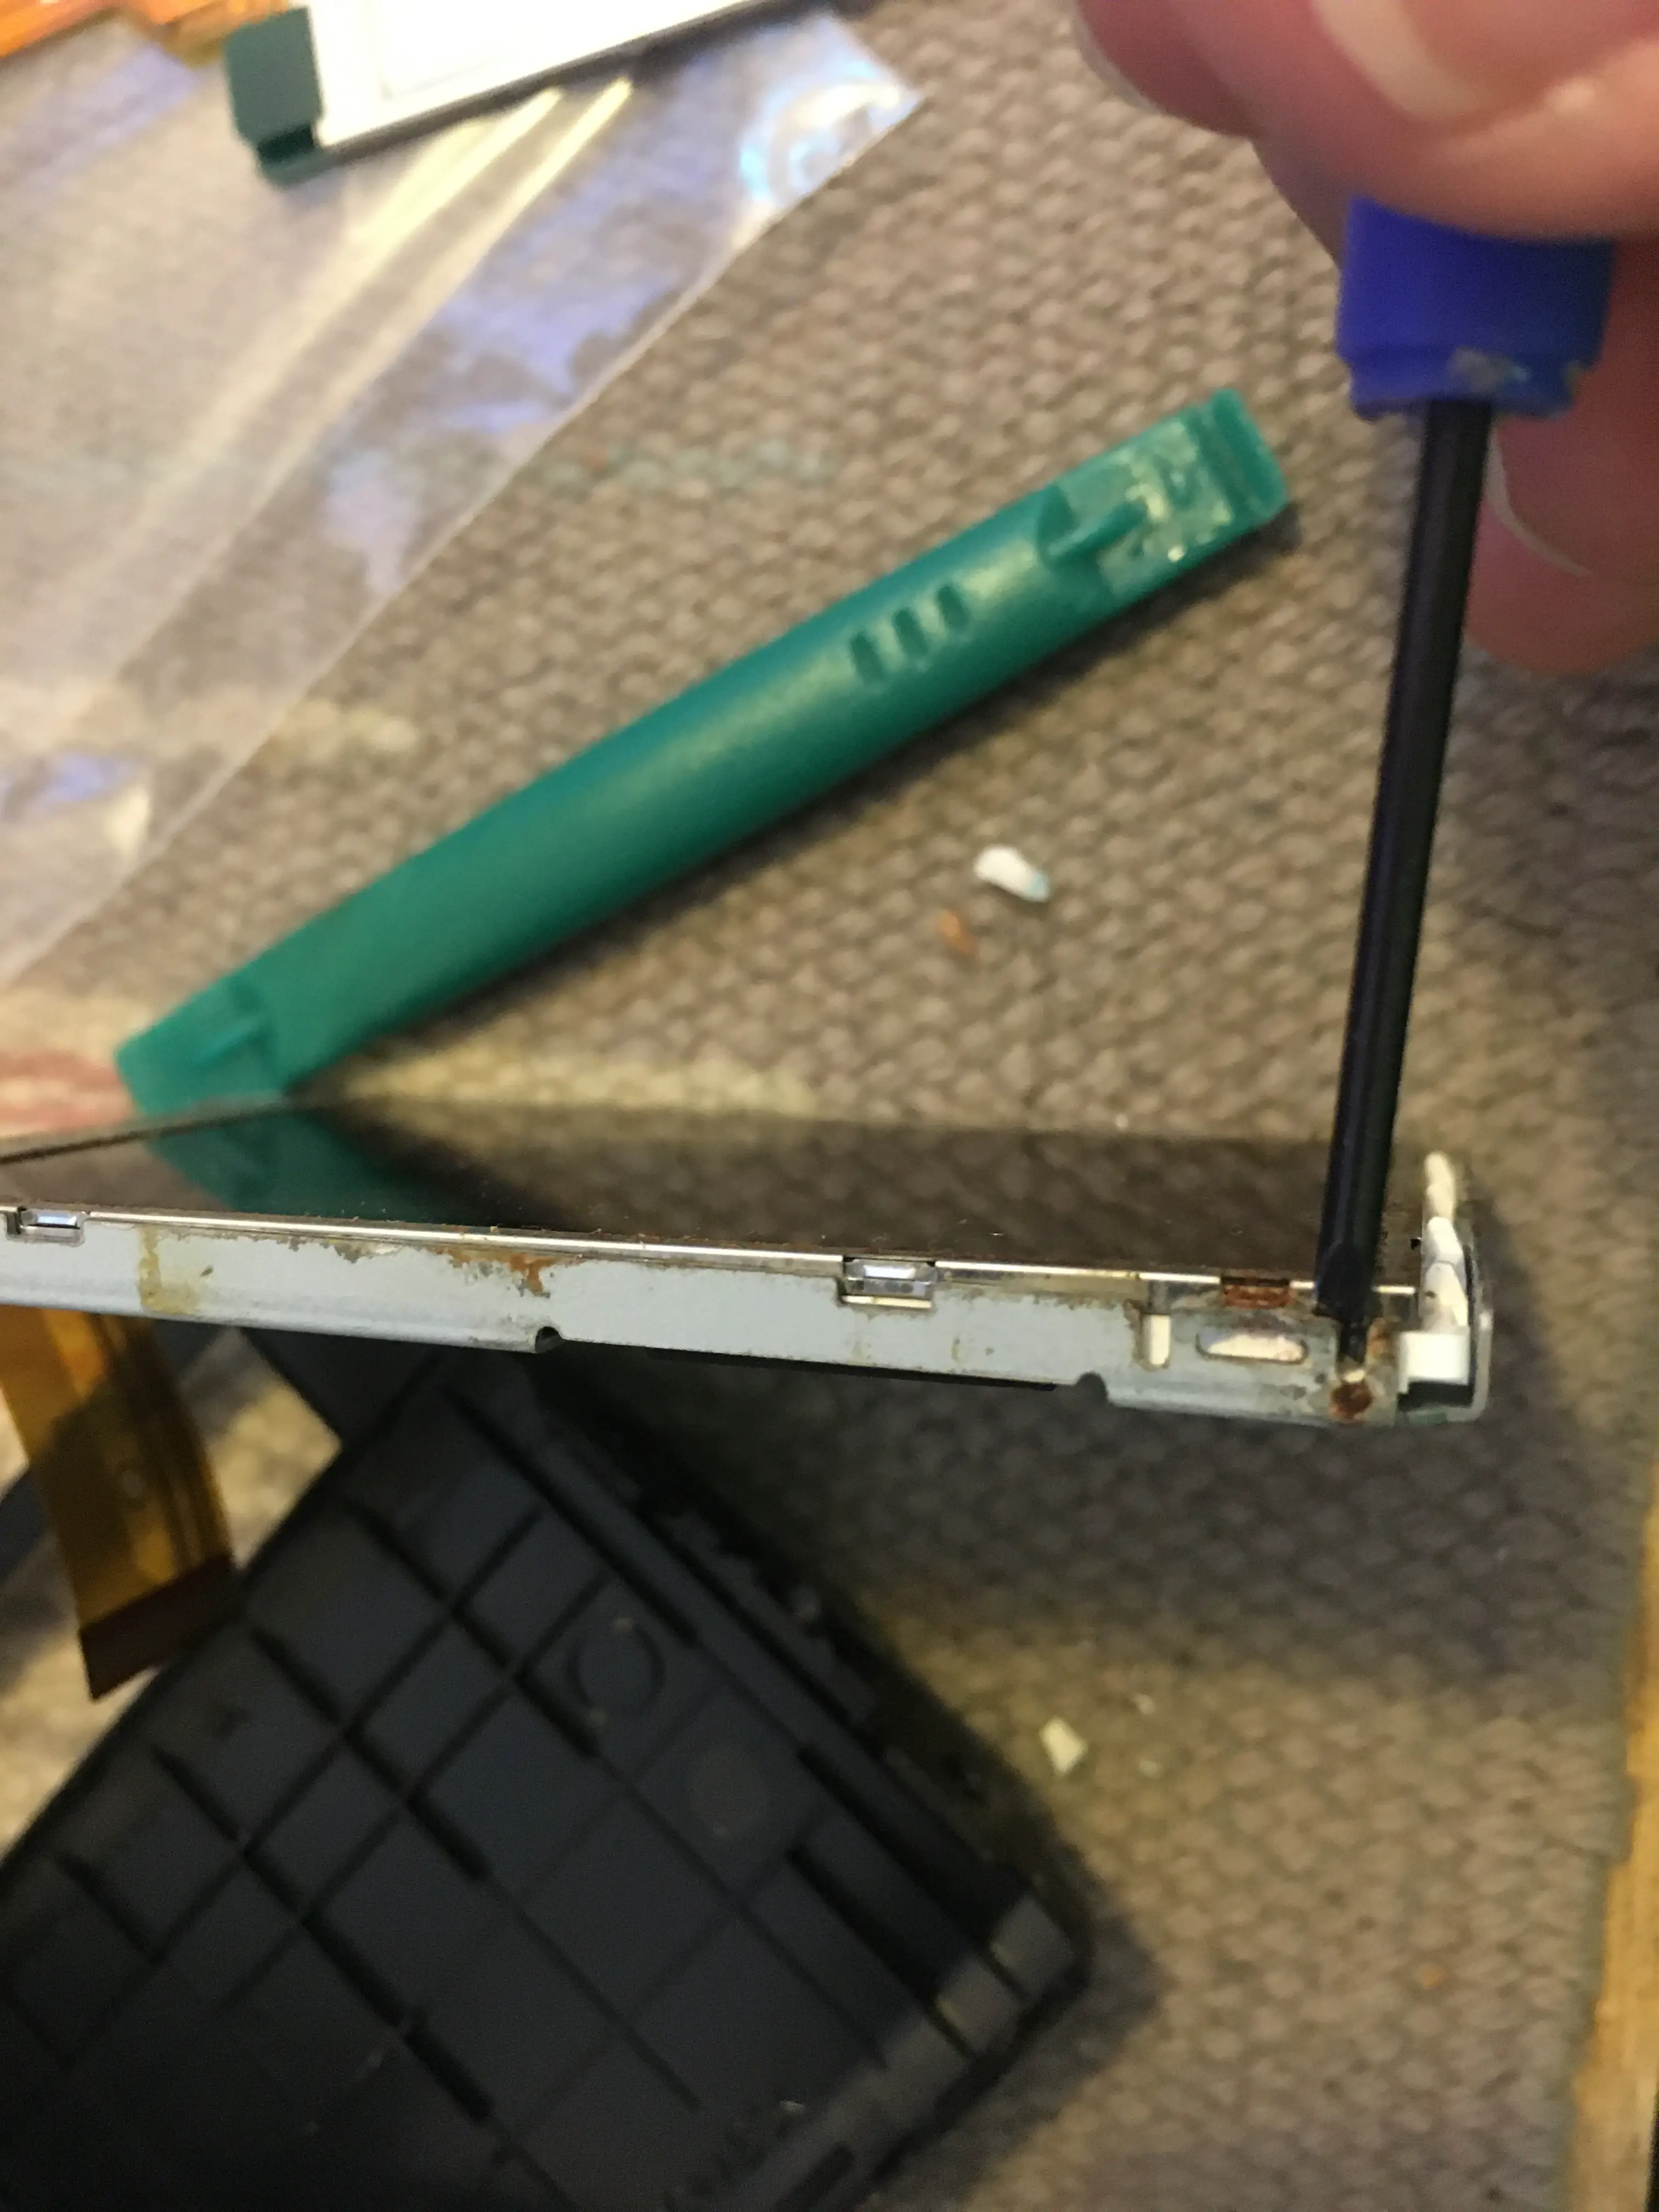
The ribbon cable is connected in the white part of the connector. The black part of the connector is a lever that holds the ribbon cable in place.
To disconnect the ribbon cable, use your thumbnail to gently lift up the black lever. As soon as it snaps up, you'll be able to remove the ribbon cable and then the LCD display is disconnected from the camera.
IT IS VERY IMPORTANT TO CAREFULLY NOTE HOW ALL THIS GOES TOGETHER. You need to reassemble everything in a few minutes. It'll go faster if you carefully recall which way everything goes.
REPEAT IT IS VERY IMPORTANT TO CAREFULLY NOTE HOW ALL THIS GOES TOGETHER. Notice how on the old panel the ribbon cable is pointing upwards, and on the new it is lying flat. If you picked it up, the new ribbon cable actually points forwards. You could easily get confused as to which way the panel goes and which way the cable goes. The old panel's ribbon cable is this way from five years or so of being bent into this position.
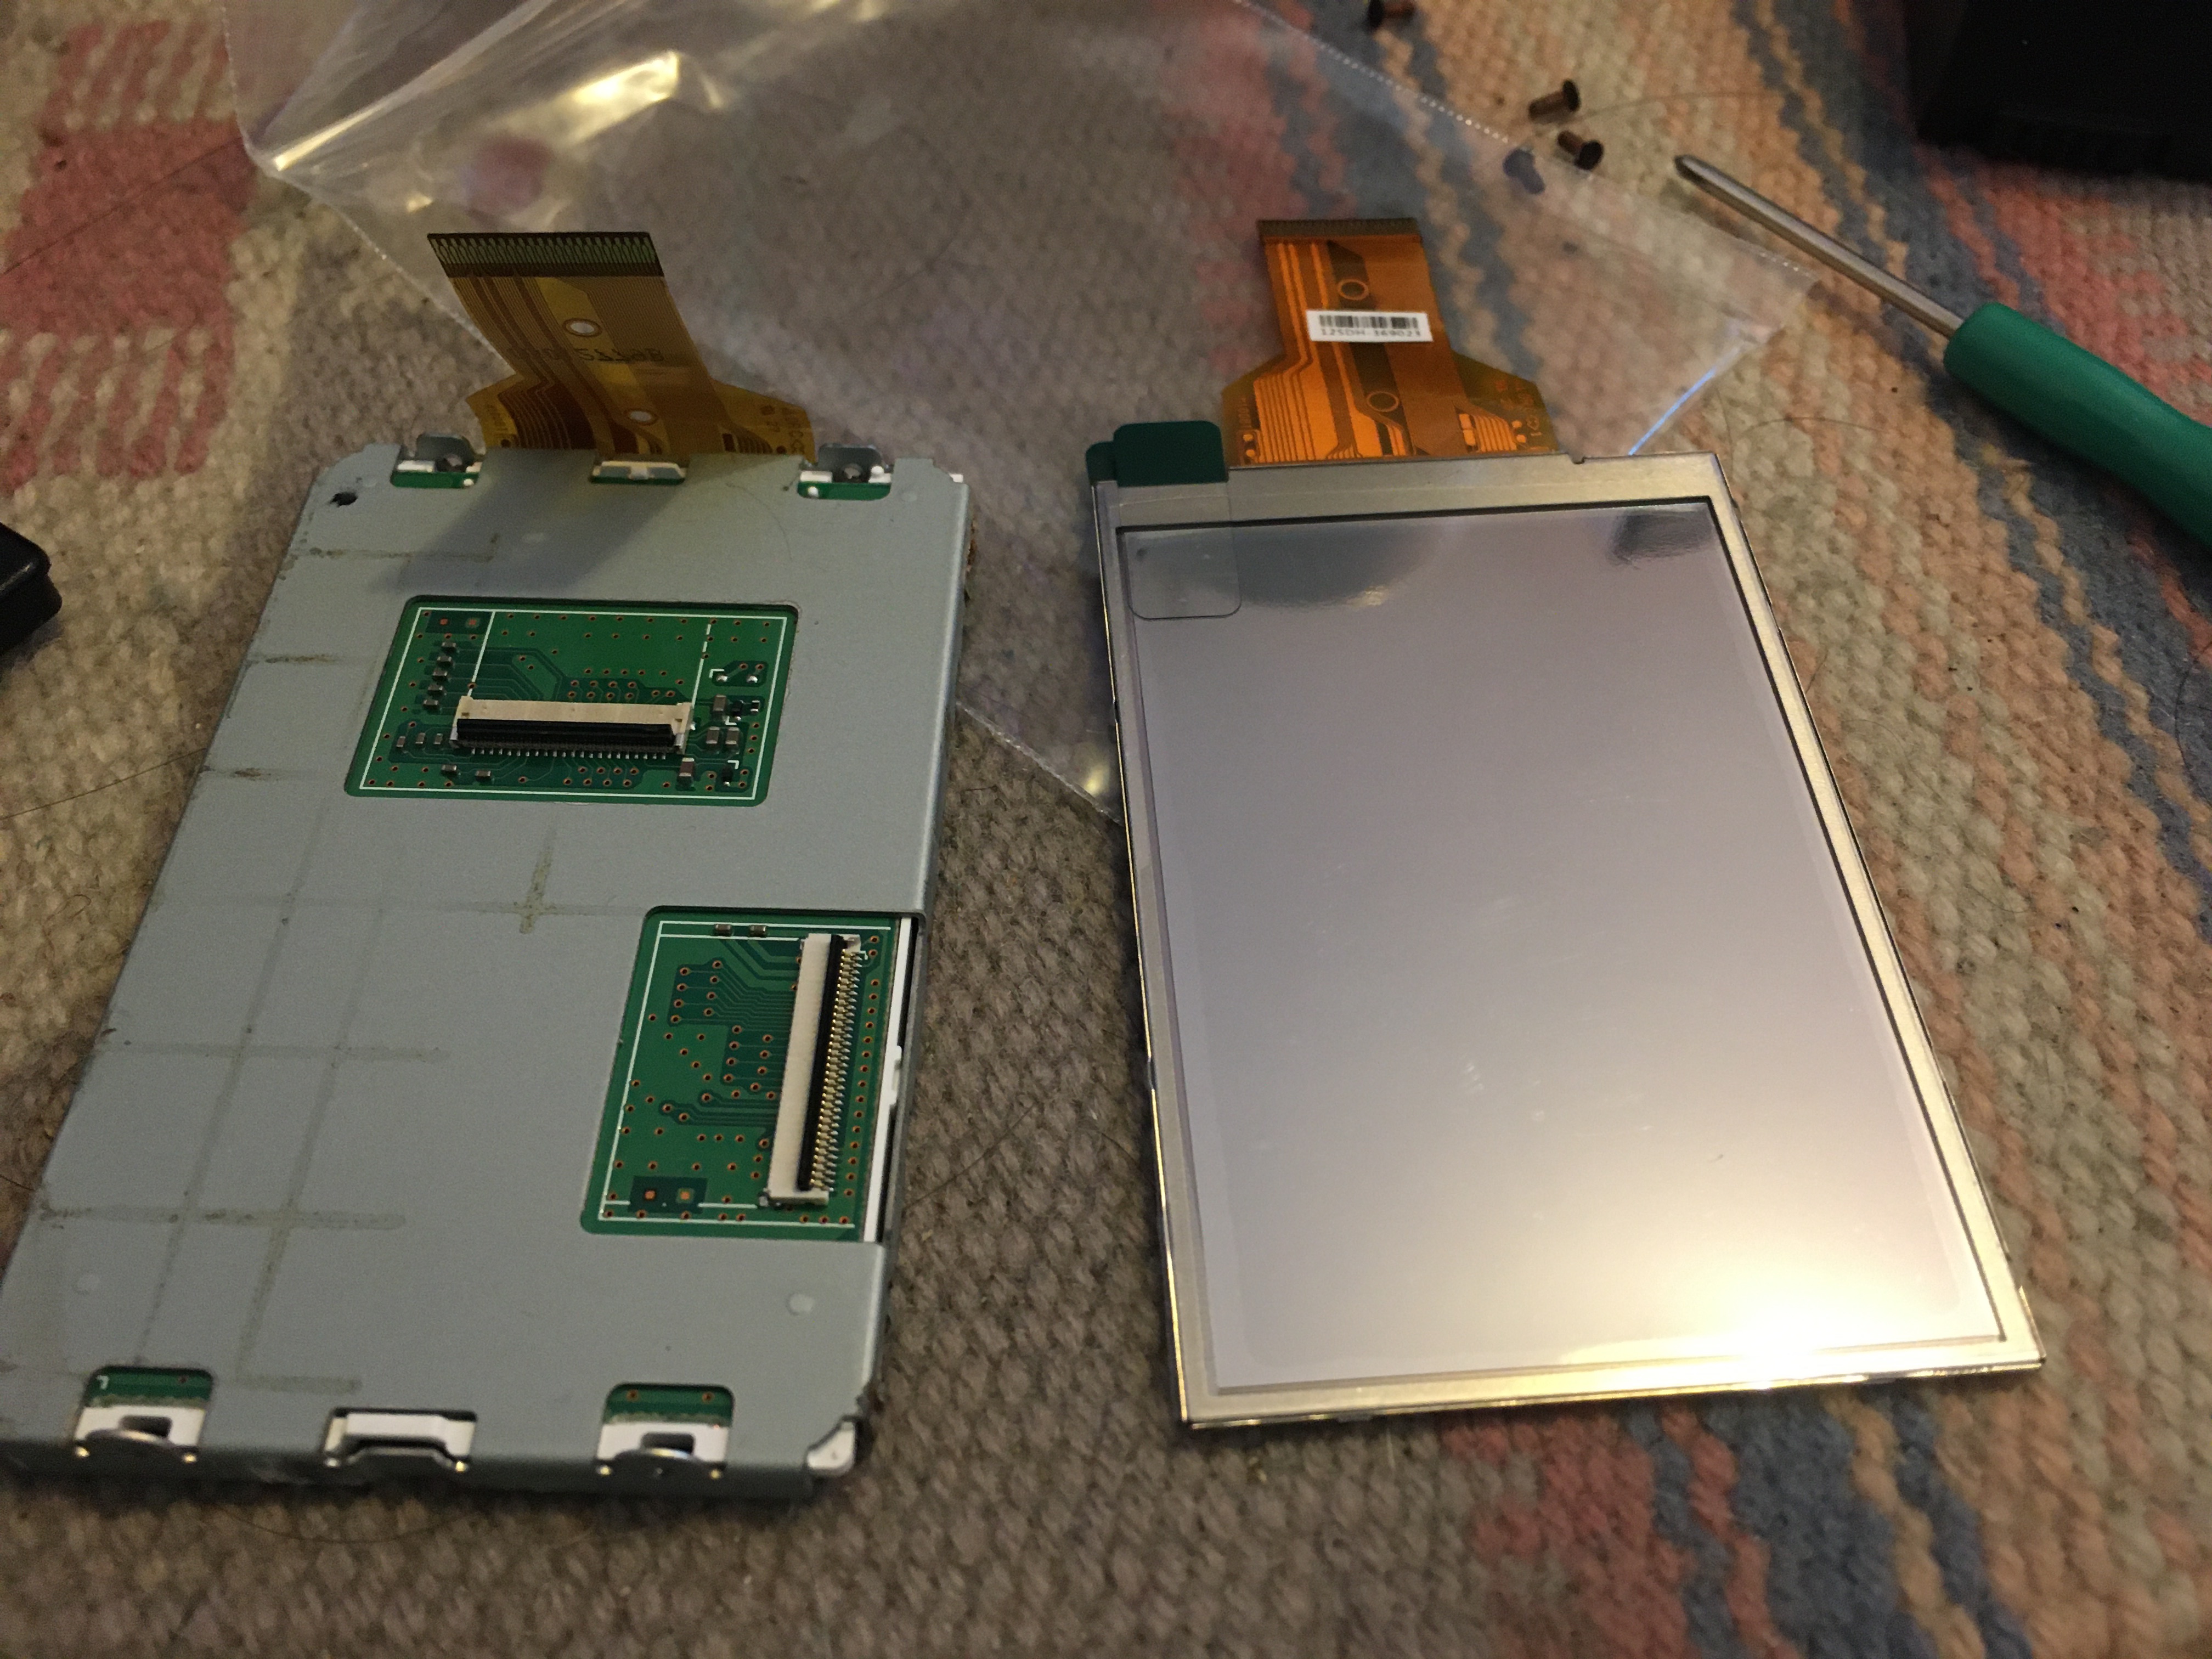
The LCD panel is held in a bracket that holds the circuit board shown here. It's necessary to remove the LCD panel from that bracket, then replace it with the new bracket.
REPEAT IT IS VERY IMPORTANT TO CAREFULLY NOTE HOW ALL THIS GOES TOGETHER. Notice which orientation the panel has in this bracket so you can put the new panel in the same way.
There are little clips holding the panel to the bracket. Use a small flat head screwdriver or something similar to GENTLY GENTLY undo the clips and lift the panel out.
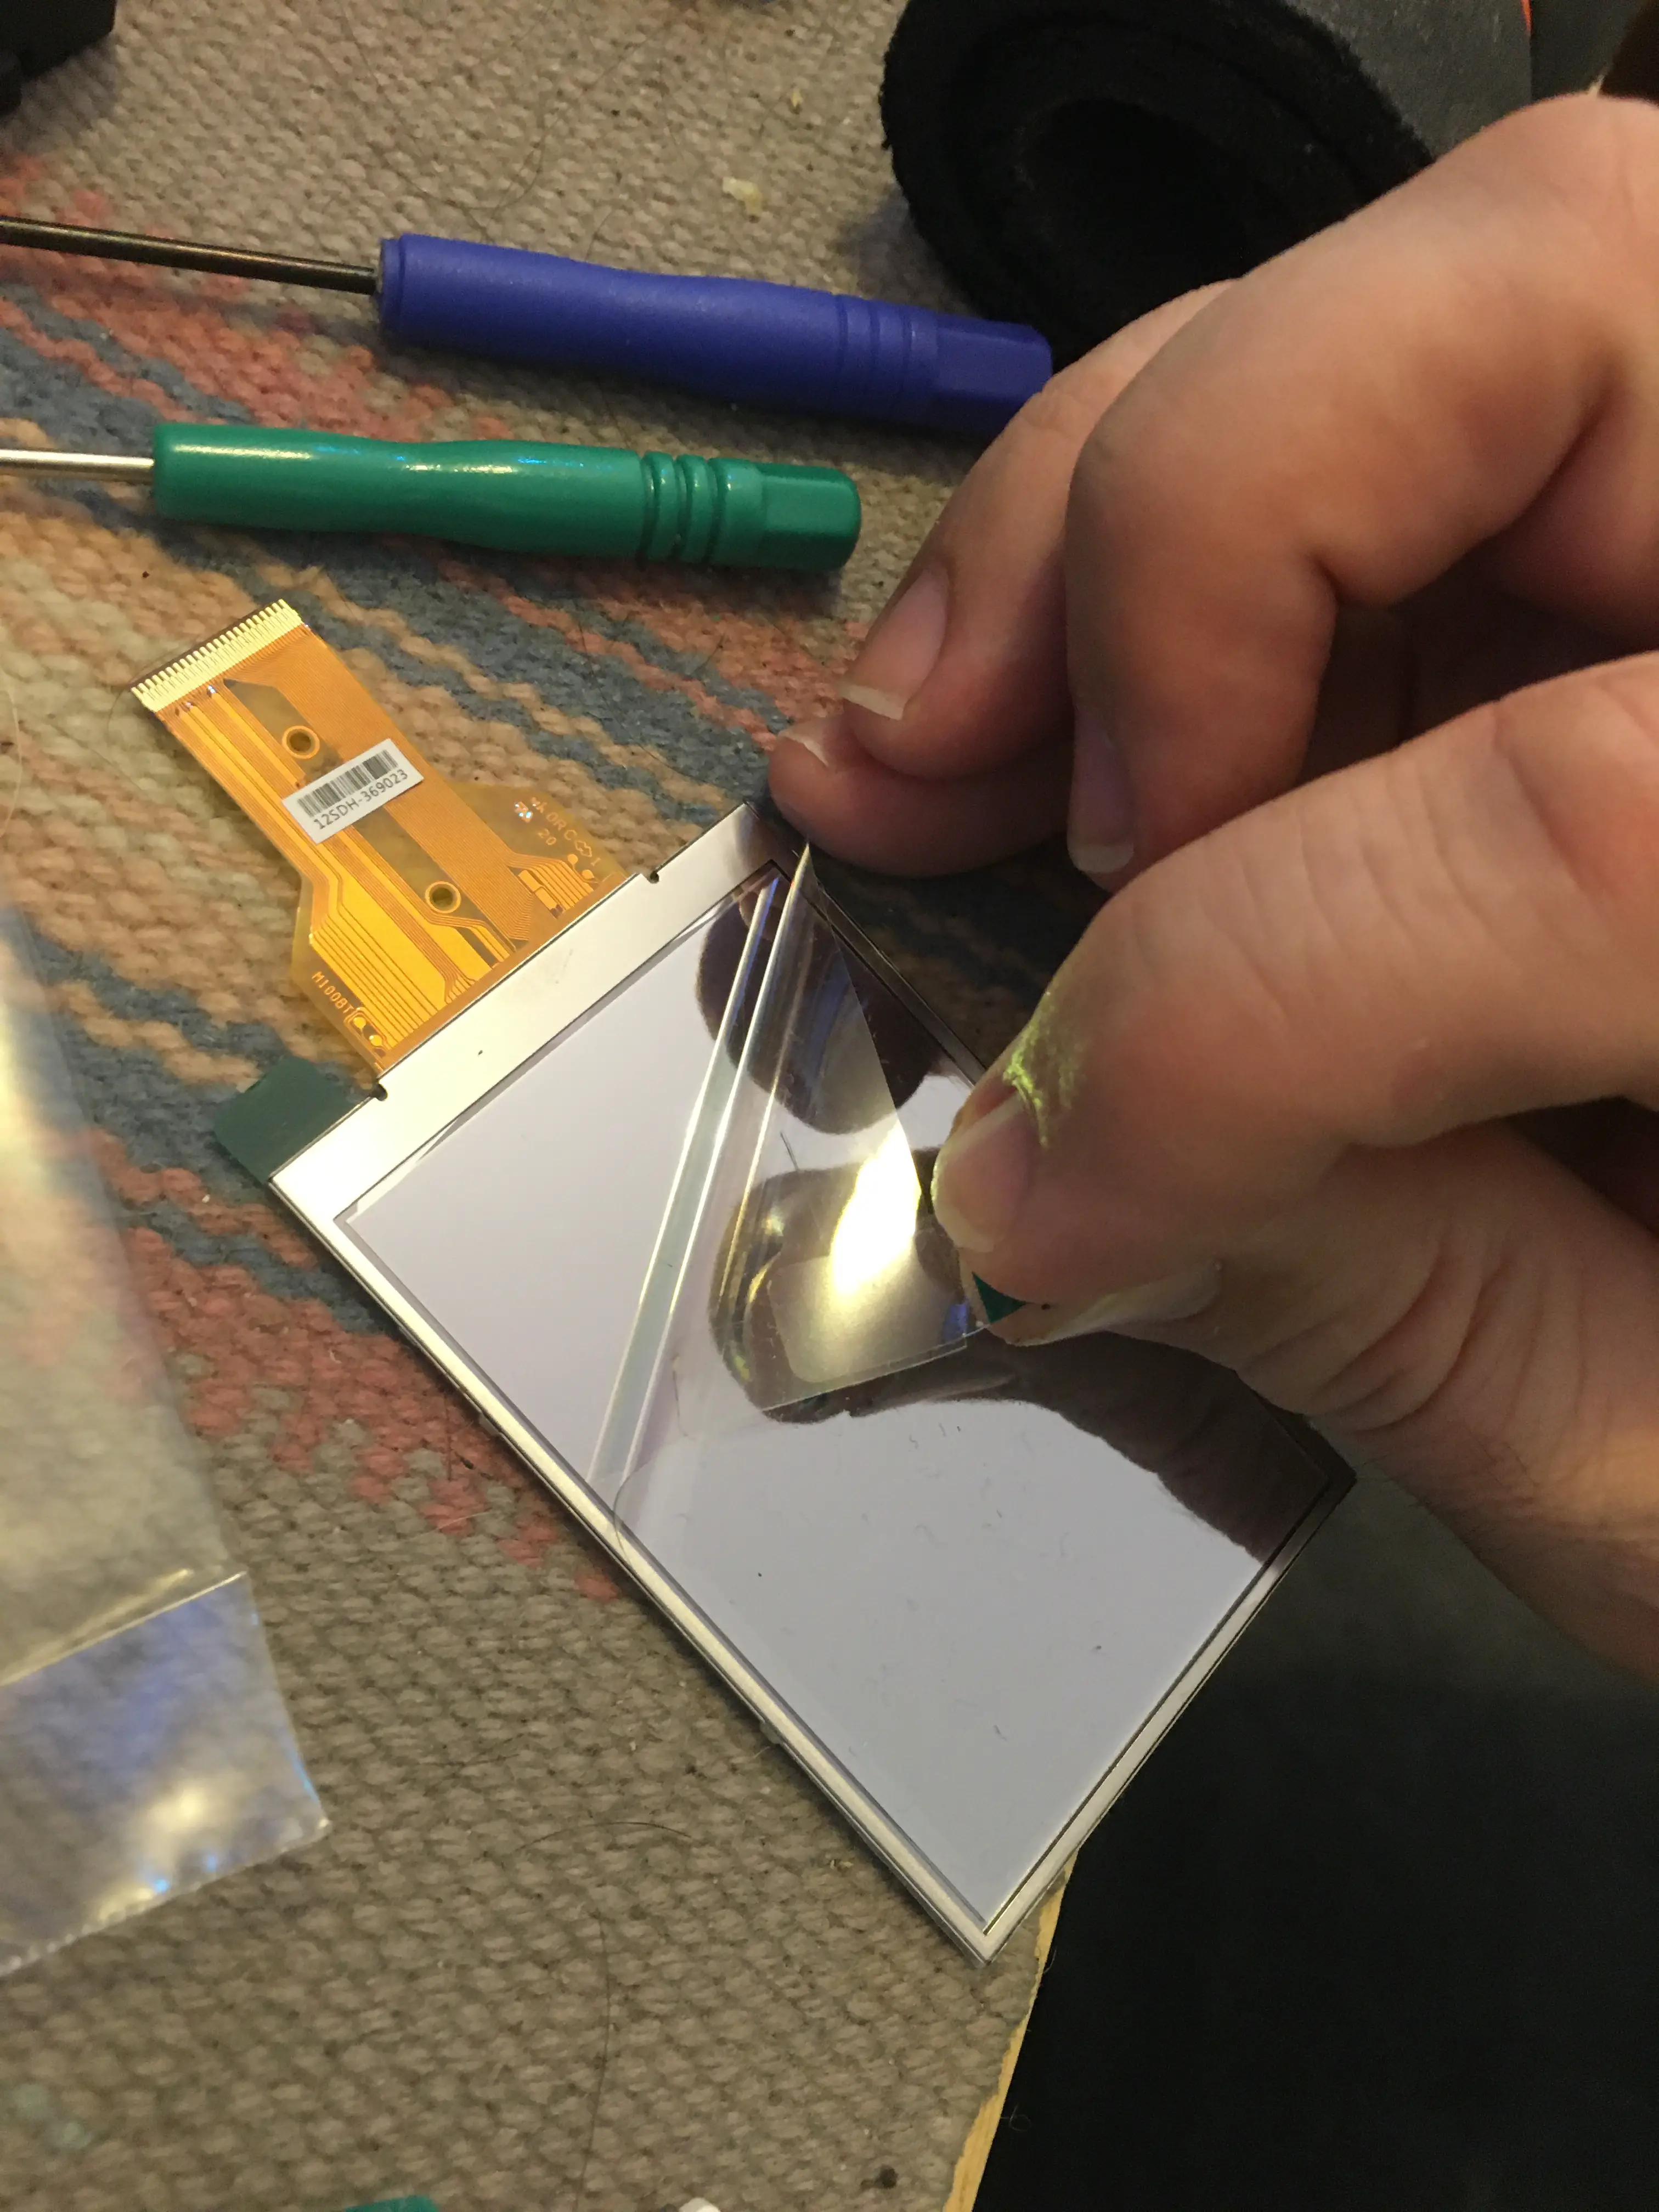

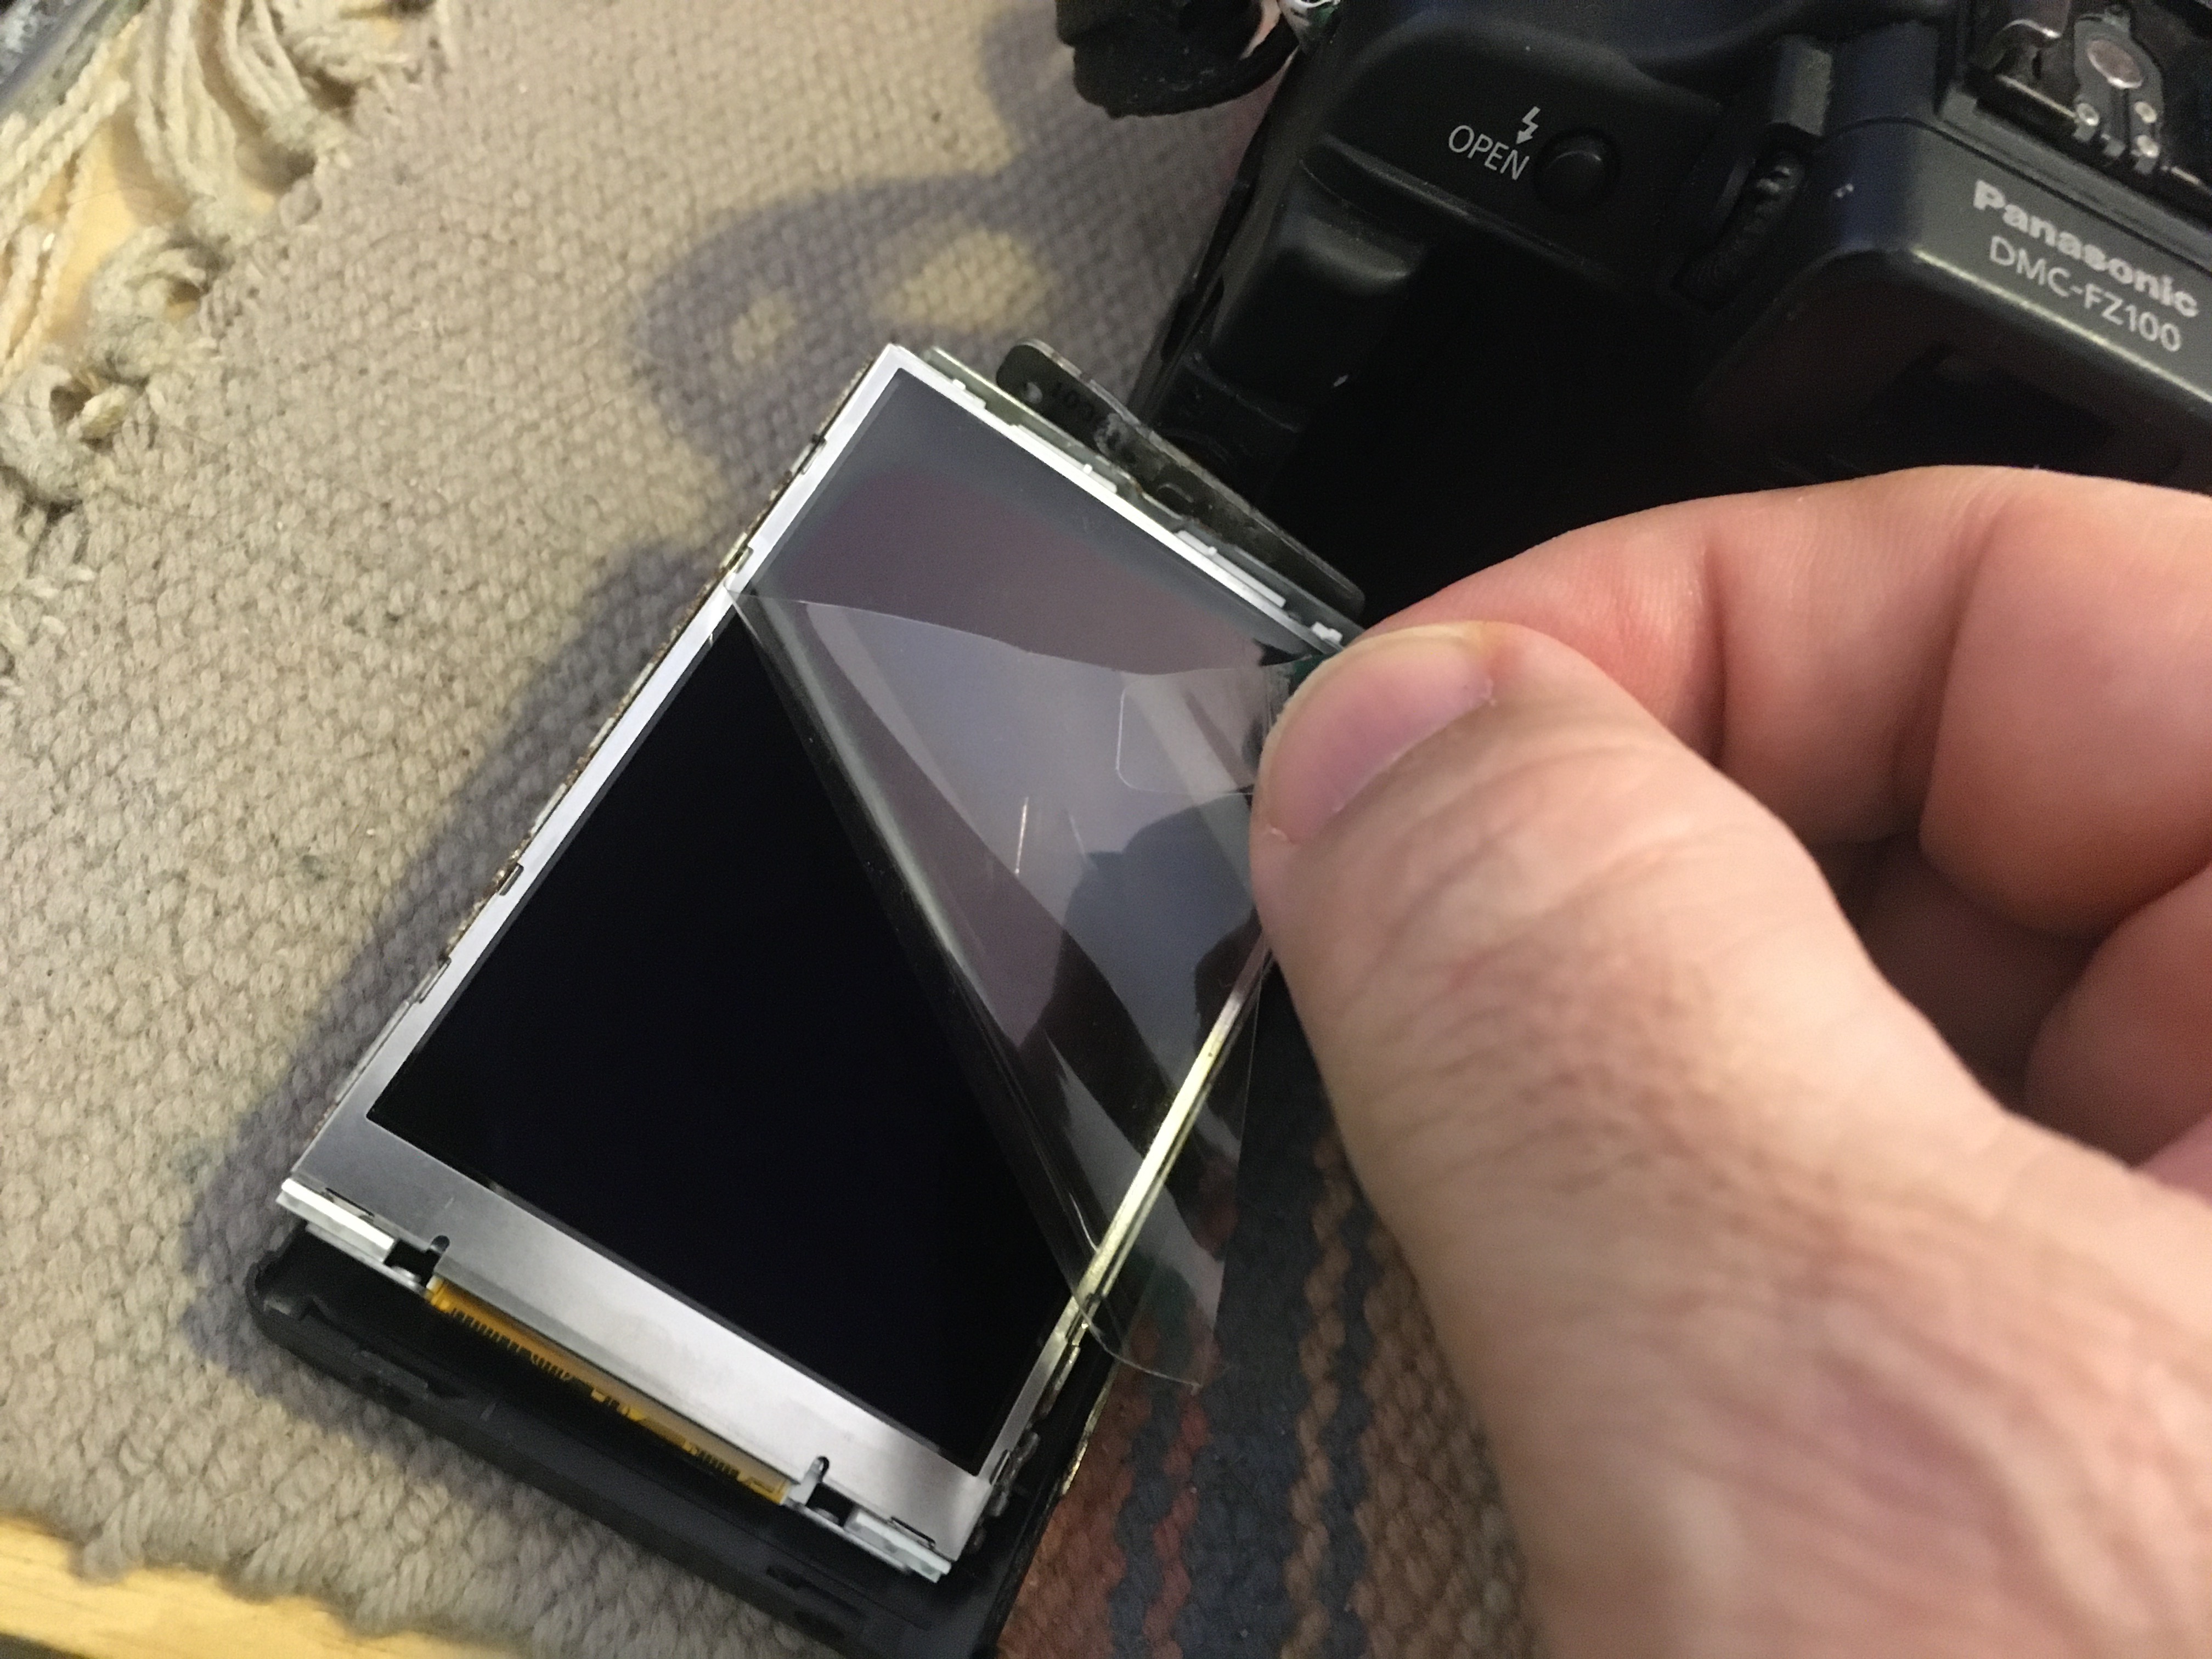
As said earlier there is a protective plastic film on both sides of the LCD panel. Simply peel this film off the back side, for now.
Getting the LCD panel into the metal bracket is a little fiddly.
The maneuver I found to work involved putting one long side in place, then GENTLY GENTLY GENTLY snapping the other side into place with its clips. BE VERY CAREFUL WHILE DOING THIS as the LCD display is on the fragile side. I slightly bent my display panel by being too rough, and might have damaged it if I hadn't caught myself.
Now we're starting the process of reassembling the display panel.
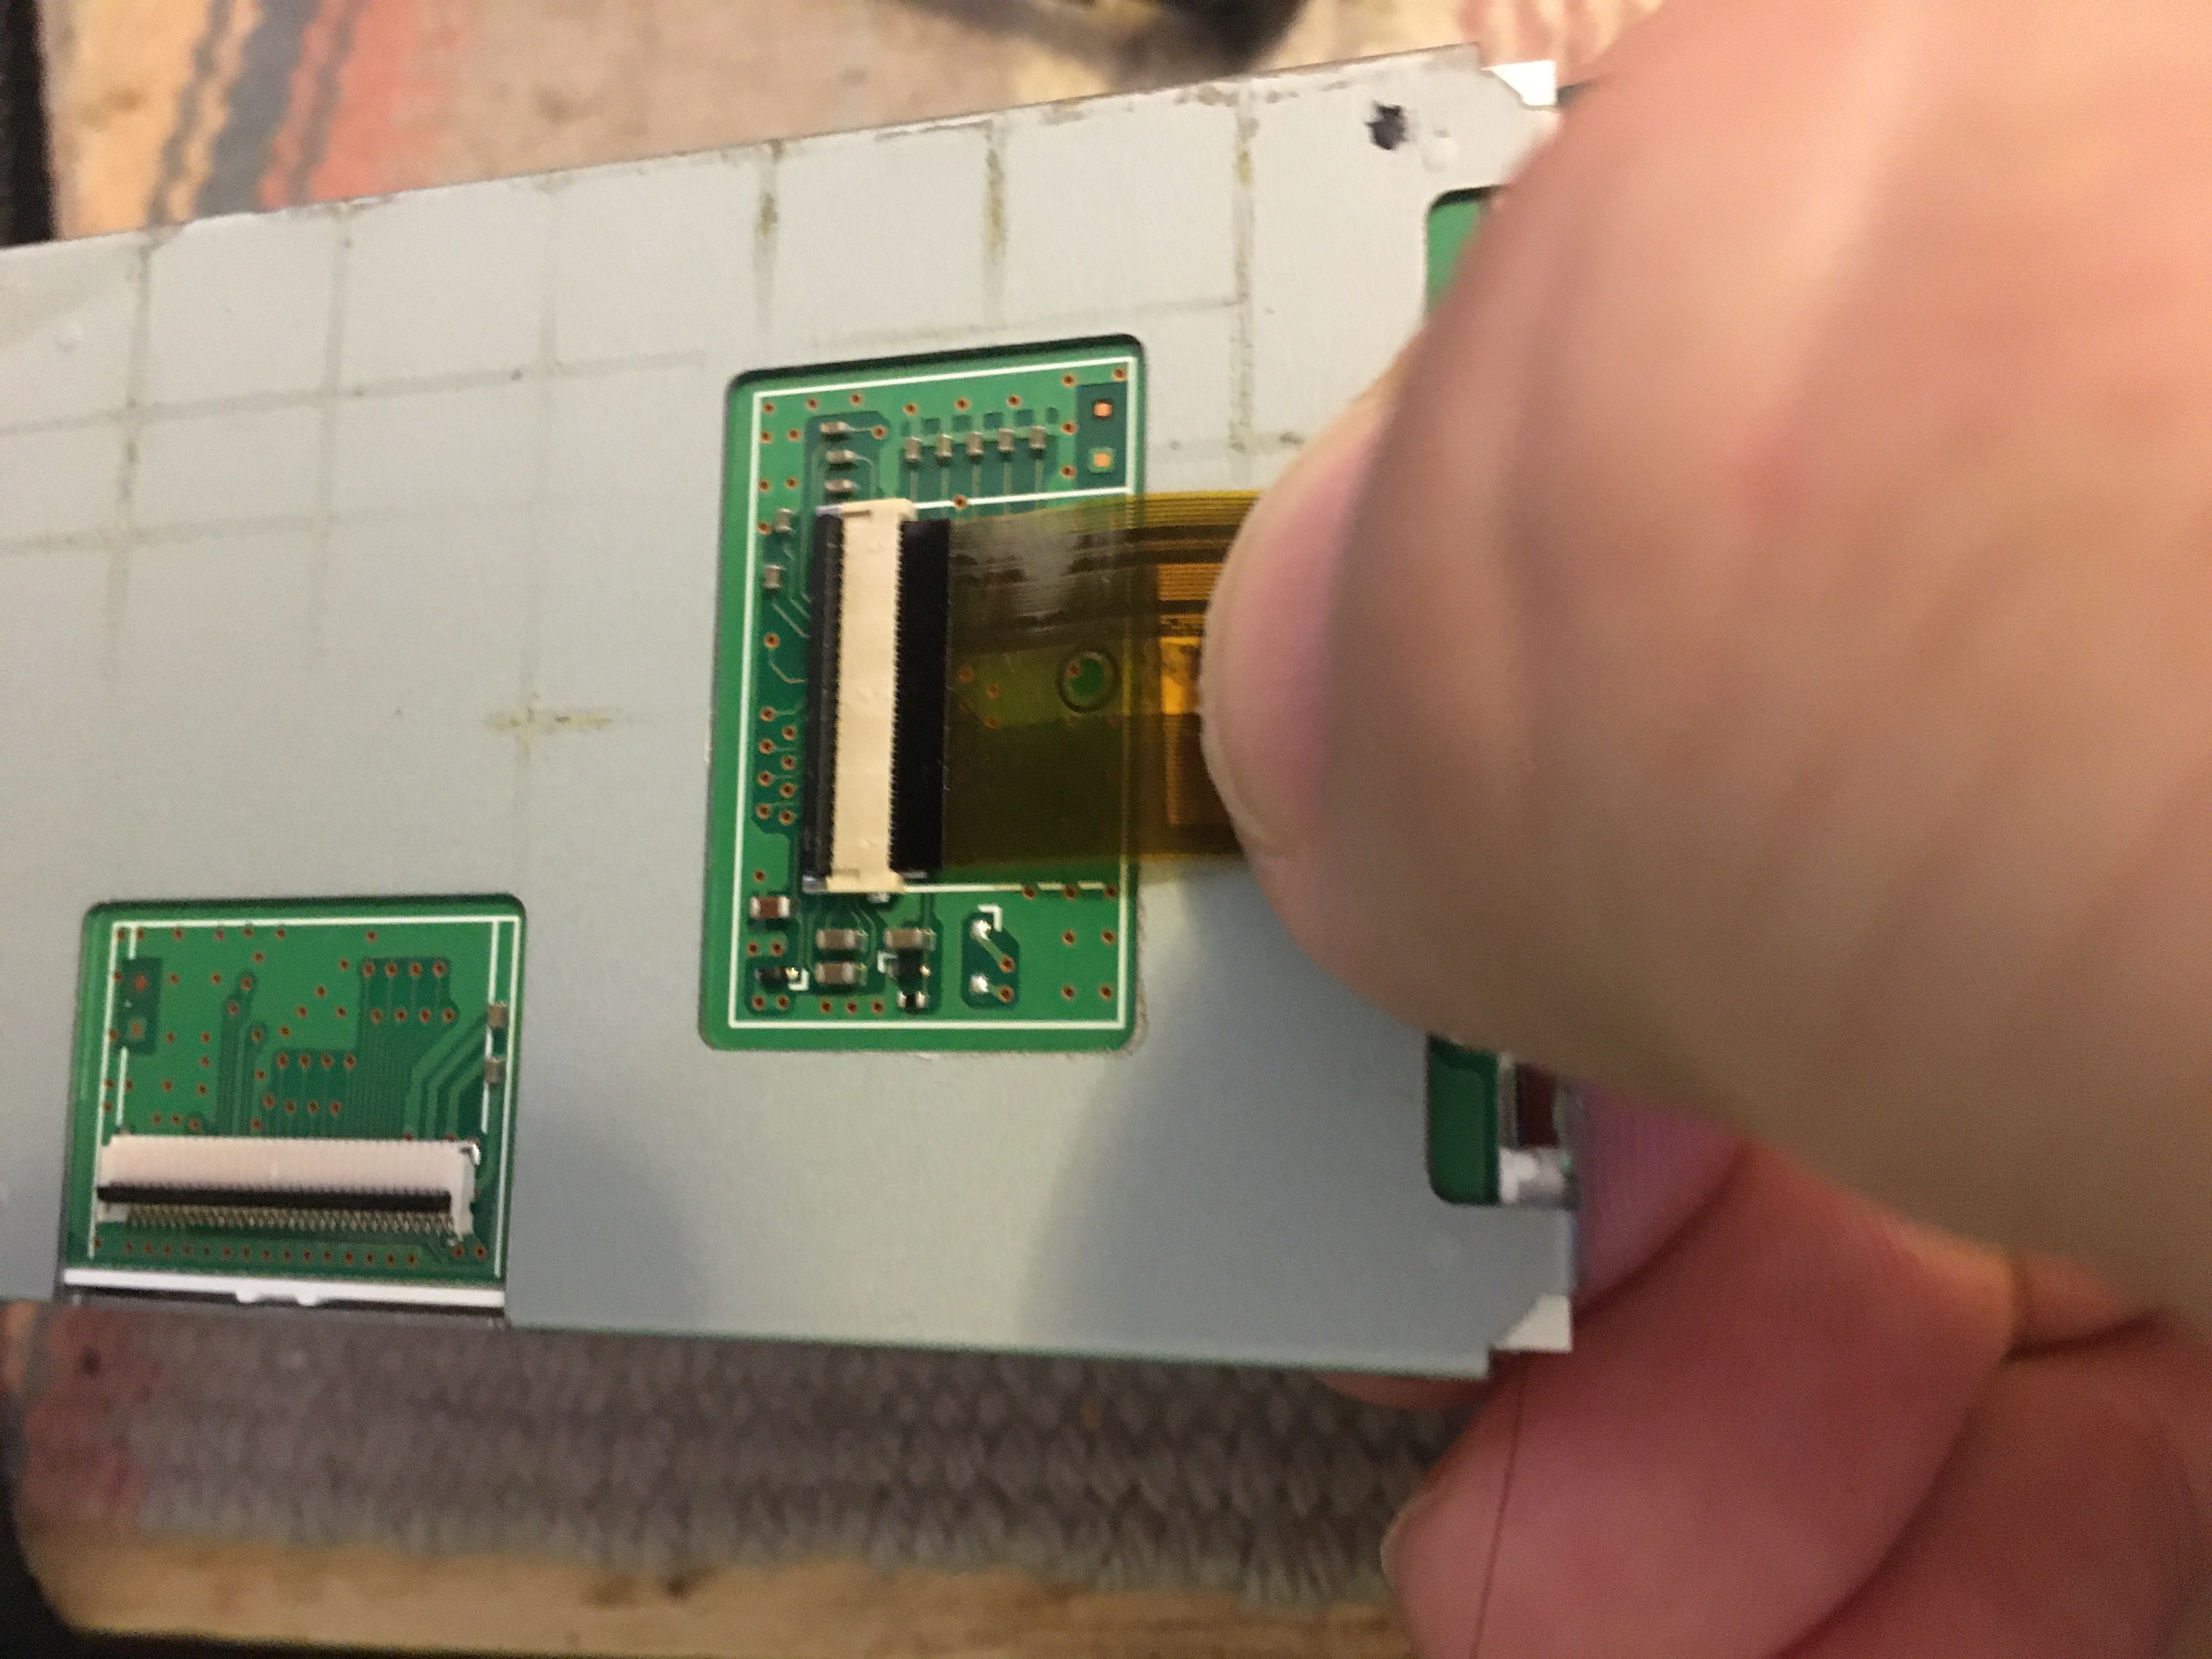
The first step is to attach the ribbon cable.
There is a little slot in the white part of the connector. Simply slide the ribbon cable into that slot. You'll need to do some GENTLE nudging with your thumb like shown here. Once the cable is inserted, flip the black lever down. The ribbon cable will now be held in place, and you can give a little tug to make sure.
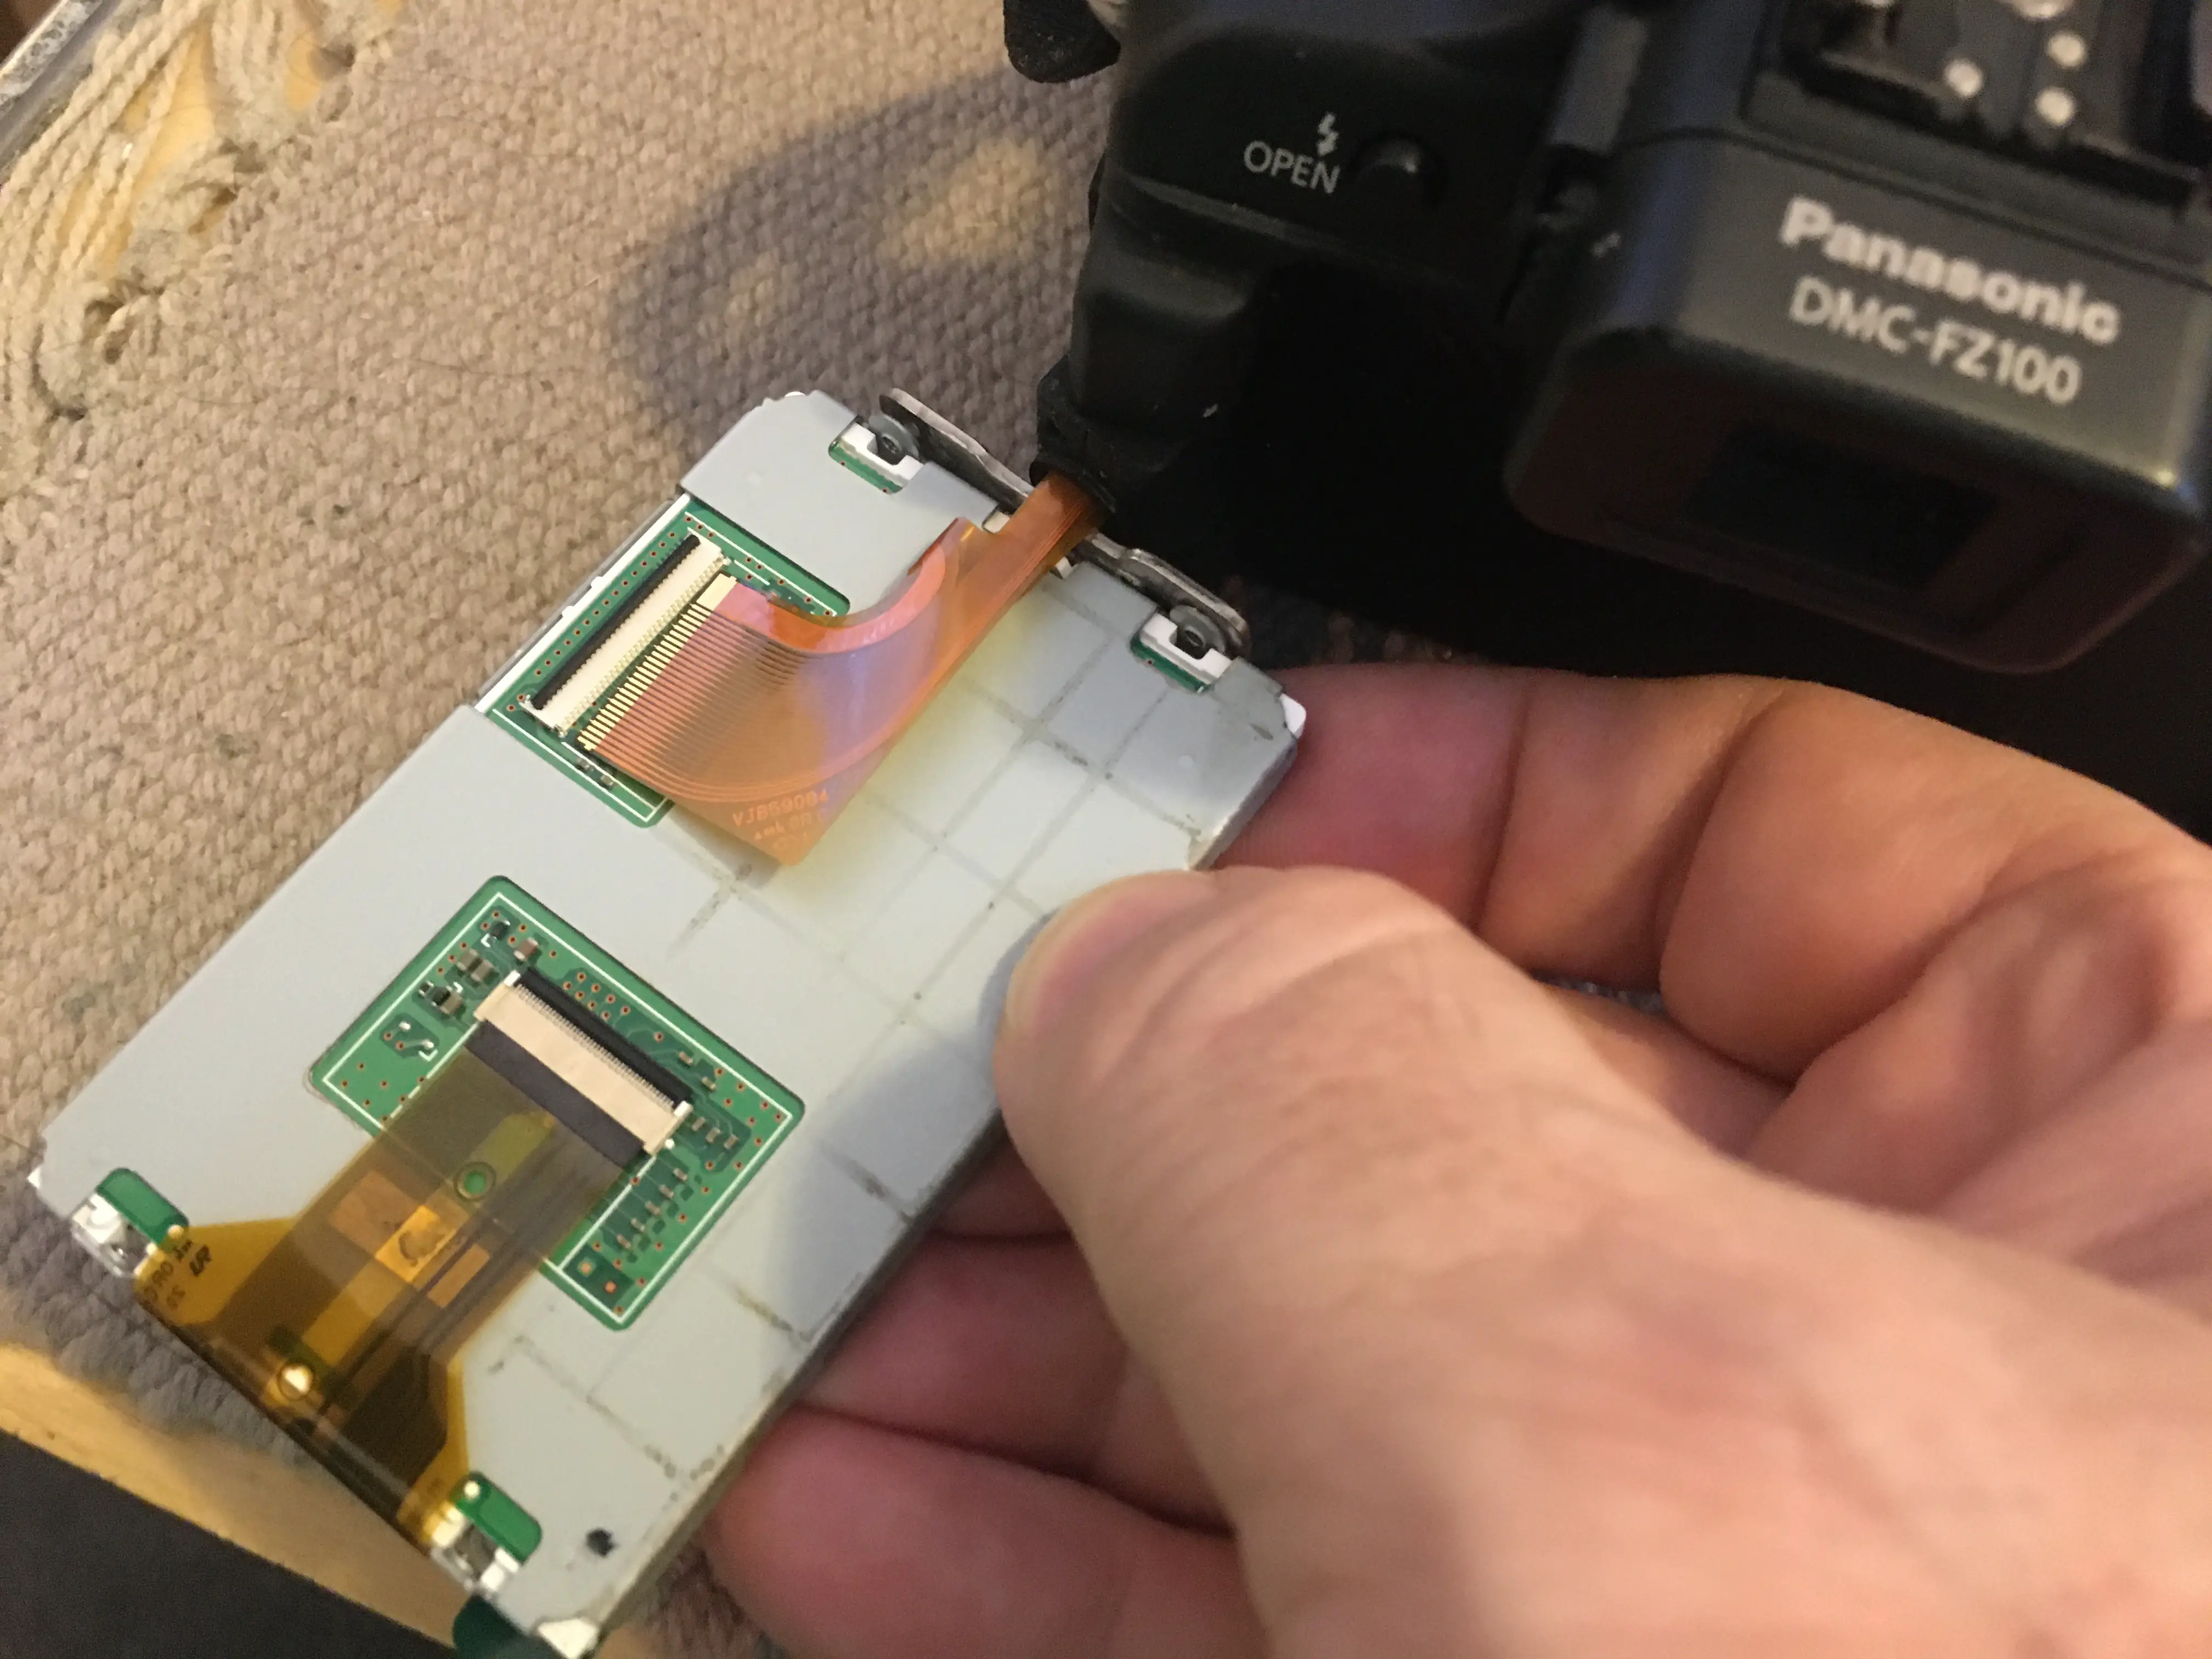
The next step is to reattach the ribbon cable from the camera to the connector on the circuit board.
What I did was put the camera down on the work surface, then position the LCD display so one end matches the bracket on the camera, and the other end is resting on the table. Then you insert the ribbon cable into its connector, and tighten the black lever.
Here's the LCD display all connected up. What we need to do next is to place the plastic bracket around this display.
Getting the plastic bracket around the display panel was a little tricky.
What I did was to first put the back portion in place. This will take some thinking to make sure the display is oriented the right way so the back portion is in the correct place. Between this picture and the previous picture, I rotated the display panel all the way around so the back faced downward like shown here.
Before putting on the front part of the display bracket remove the protective film.

Before going all the way with reassembling everything, test the display. That way if you have done something wrong you can backtrack without the hassle of taking everything apart again.
BTW the display is black here because the lens cap is attached to the lens. The key is that all the status info shows up, verifying the display is working.
Getting the front half of the plastic bracket into place is a little fiddly. Carefully think about how this goes together, and you'll work it out.
Basically the front half has to fit into specific places within the back half.
What's shown here is using a flat bladed screwdriver - a plastic spudger might have been better - to make sure the front half slips into the right place.
You cannot simply push the front half of the plastic bracket in place. You have to carefully fit it in, then push it, GENTLY, into place.
As you GENTLY push the front half into place you'll here pop-pop sounds as everything clicks together.
The last step is of course to screw in the screws.
Well, okay, there is another last step which is to properly dispose of the old display panel you can see in the background.
Once it's all done, enjoy your camera.