David Herron
Tags: HDMI Video »»»» HDMI Video Capture »»»» Raspberry Pi »»»»
How do we record HDMI video? Does recording HDMI video require expensive gear? It turns out the HDMI output from a computer can be easily recorded with a cheap HDMI video capture device costing around $25.
If you're like me, you had no idea how to record desktop video other than using software like Camtasia or OBS Studio. I've dabbled with a couple screen recorder applications like ScreenFlow, or OBS Studio. They make it easy to record video of desktop software interactions, and are widely used for screencast recordings. The common attribute is they can only function when the computer is booted up and running in normal mode.
How do you record the boot-up sequence of a computer? If your tutorial needs to show entering the BIOS of an x86 PC, for example, how do you record that interaction? Software that runs after the system is booted obviously cannot record the boot-up sequence.
Another use case I have is to supplant the need for a normal HDMI computer monitor. I may travel to another country later this year, and during the trip bring my Intel NUC. It doesn't have a built-in video screen, and I normally do not use the graphical console. Normally, I SSH in to run commands, and there are background processes it runs. I could run the NUC that way, but what if it fails to reboot. In such a case I connect it to the computer monitor to diagnose the reboot failure. The HDMI video capture device is good enough to replace an HDMI computer monitor, if needed.
Understanding HDMI Video Capture devices
Like I said, I didn't know what an HDMI video capture device would do, nor did I even know these things existed. One day while browsing YouTube I found an introductory video about explaining how even a cheap video capture device produces relatively good video.
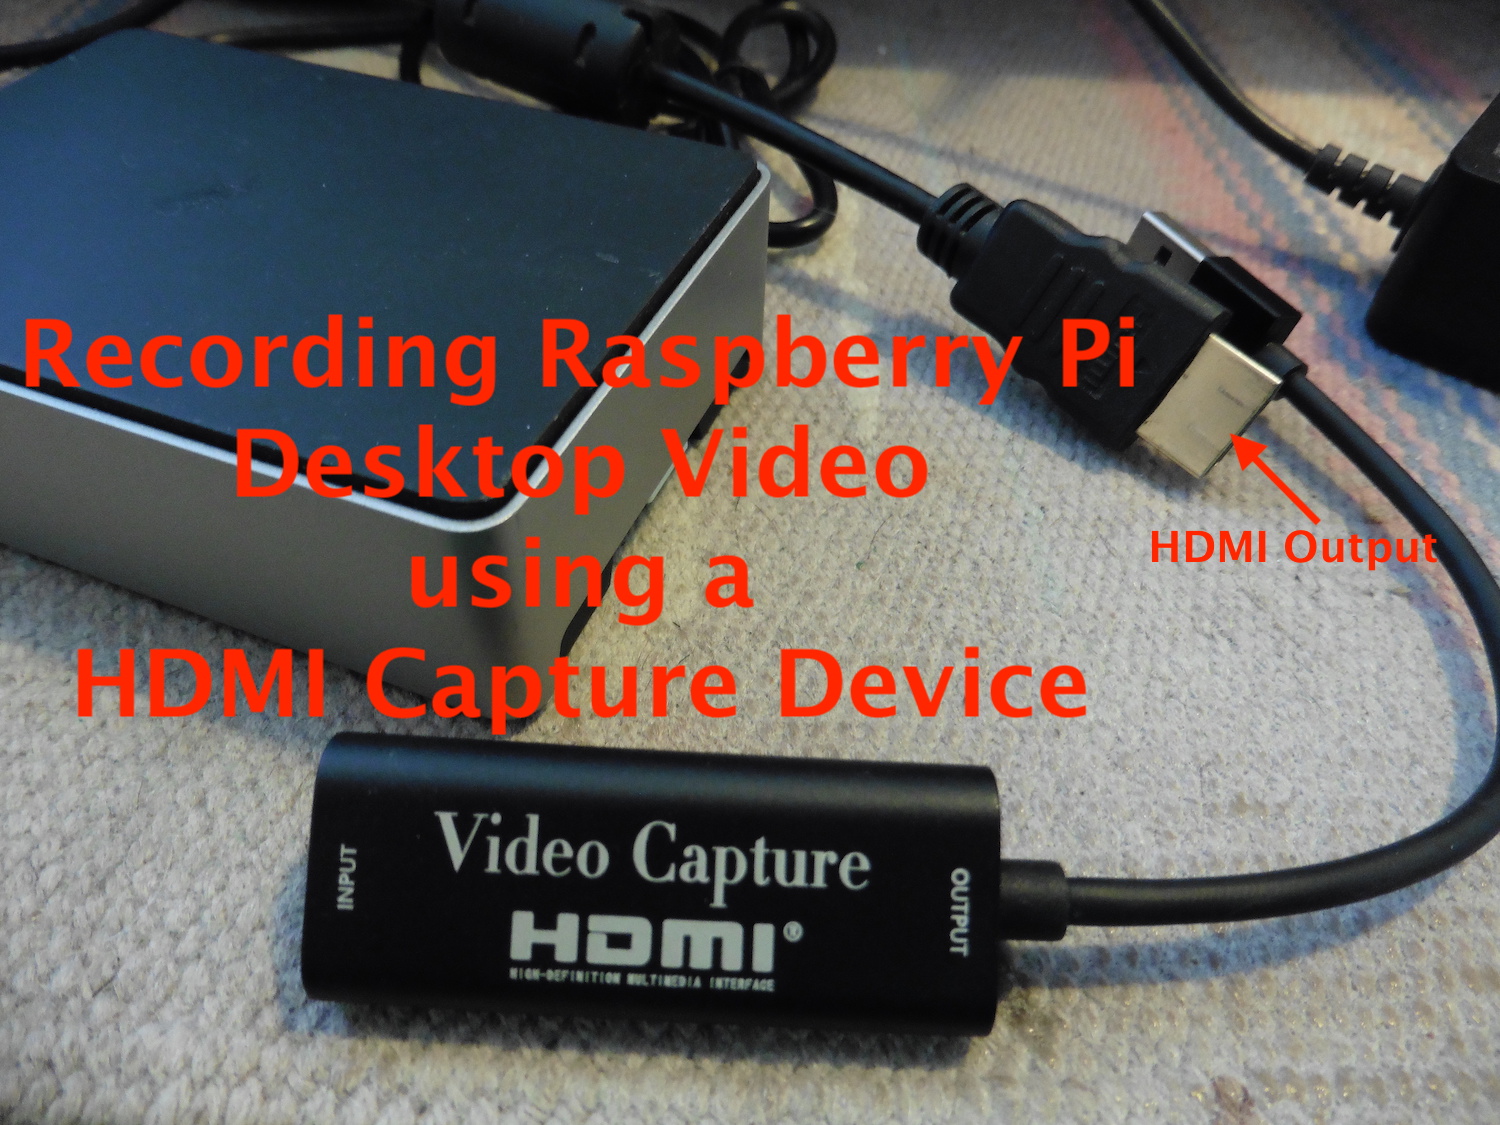
A simple HDMI video capture device has an HDMI input port, and a USB port. It is important to find one supporting USB3, or better, to ensure having enough bandwidth between the device and your computer. On your computer run video capture software, like OBS Studio, and configure it to record from the device.
There are other video capture devices with additional features, at a greater cost. A device like the one shown here costs about $20 US and is good enough for most purposes and lets you get your feet wet with video capture.
Some offer higher resolution (at 4K) video capture, which you may find important. Low latency refers to delays in processing video, and sending it to the computer which used for the recording. The device shown here has a latency which makes it difficult to interact with desktop software. Another device has a "Loop" meaning it can both send video over USB, and output video over HDMI to a monitor.
Some devices are for recording video from older Composite Video or VGA sources. Composite video capture devices have four input wires, where some are for the composite video, and others are for the audio.
At the higher end are HDMI Recorder devices that handle the whole task of recording HDMI video. With these you insert an SD card for recording video, and there is even a small display monitor to inspect the video being recorded.
Using the simple HDMI video capture device
Using a the device shown above is very simple. It simply connects to an HDMI cord coming from your computer, and it connects to the USB port of another computer. The manufacturer promises it does not require any drivers, and is automatically recognized by every operating system.
I've only tested this with a macOS laptop. It is readily recognized by macOS, and is visible to every application I've tried.
With OBS Studio - a free and open source application for video recording or video streaming - the device shows up as USB 3.0 Capture. You simply configure both a video source, and an audio source, coming from the device. You then click the Start Recording button, and voila you're recording desktop video.
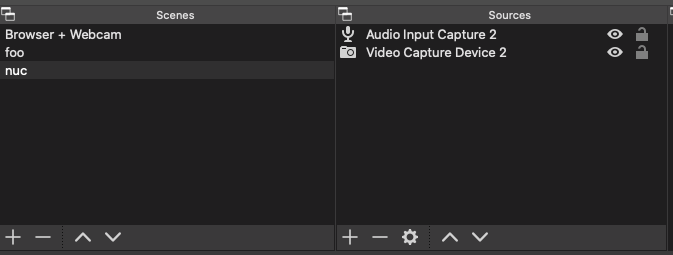
This image shows a Scene setup in OBS studio that records from the video capture device. This scene receives video and audio from the capture device, and could conceivably mix it with other video or audio sources.
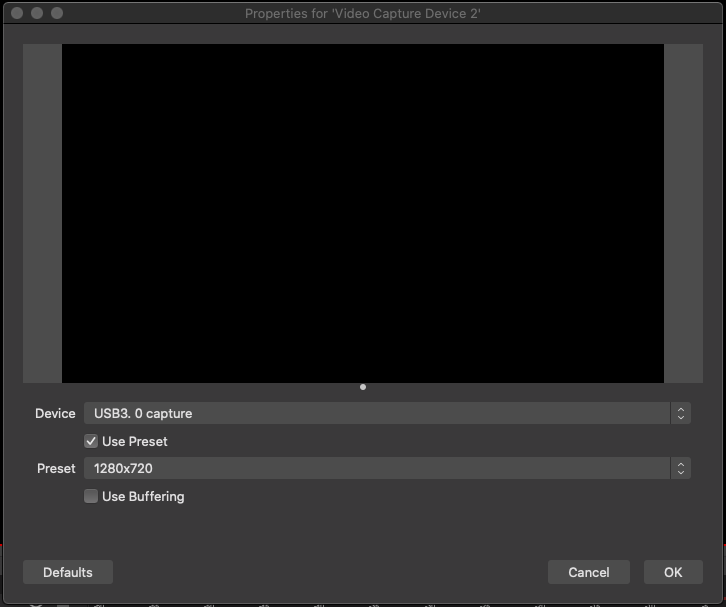
This shows the setup of the video source. Notice it gives "USB 3.0 capture" as the device name. The setup is the same for the audio source.
You might want to overlay webcam video in the corner, and to record your audio so you can narrate what's going on.

The setup is approximately like this. It involves adding two new sources, for audio and video input. The video is configured to come from the webcam built into the laptop, while the audio is configured to come from a built-in microphone.


