David Herron
Tags: DIY Repair »»»» Right to Repair »»»» Computer Repair »»»» Computer Hardware »»»» Acer C720 »»»»
How many of us, if the trackpad on our laptop stops working, get frustrated, set the computer aside, and buy a new one? That costs money to replace the computer, more 'stuff' piles up, it disrupts our lives, but somehow it's easier to just replace than figure out how to fix it. Turns out this specific issue, the trackpad puzzlingly not working, could be easily fixed. In my case the battery pack had swollen pushing against the trackpad making it not work correctly. The swollen battery pack itself is very dangerous and I wouldn't have known of it otherwise. Further, the replacement was next to trivial and a lot cheaper and less disruptive than replacing the whole computer.
I have owned an Acer C720 Chromebook for a couple years now and in many ways it's the best computer I've ever owned. It's small and light and is easy to carry around anywhere. The keyboard and trackpad are excellent. The screen field-of-view leaves something to be desired, but when viewed head-on the screen looks good and the sound quality is acceptible. I do a lot of writing and software development and web browsing and image editing and related work, and have solutions to do everything (including software development) on the Chromebook. I did stop using it a few months ago, because my work shifted to Java/Spring that's not possible to run on the Chromebook. If it weren't for that I might still be using the Chromebook daily all day long.
A few weeks ago I noticed the trackpad wasn't working well. The other day I decided to take a look, to see how replaceable the trackpad is -- thinking that perhaps something had gone wrong with the trackpad. Upon removing the bottom of the Acer C720 -- easily done by unscrewing screws and lifting off the bottom -- I instead found the battery pack had swollen. That set me on a little journey of repairing the Acer C720 that I want to write about today.
I've done a lot of repair of MacBook Pro's - Up to the 2012 MacBook Pro, Apple did a good job with making those machines repairable. You can completely disassemble a MacBook Pro, replace every part, and make it all new again, and even do upgrades like install an SSD disk that makes the machine run like crazy. I've written up a page about
repairing and upgrading MacBook Pro's in case you're interested.
The point is, that I approached this Acer C720 repair with that background. But what I'm about to demonstrate does not require much ability - because it's just a matter of removing screws, then removing and replacing some parts. While this is about the C720, this information should apply to the Acer C730, C740 et al.
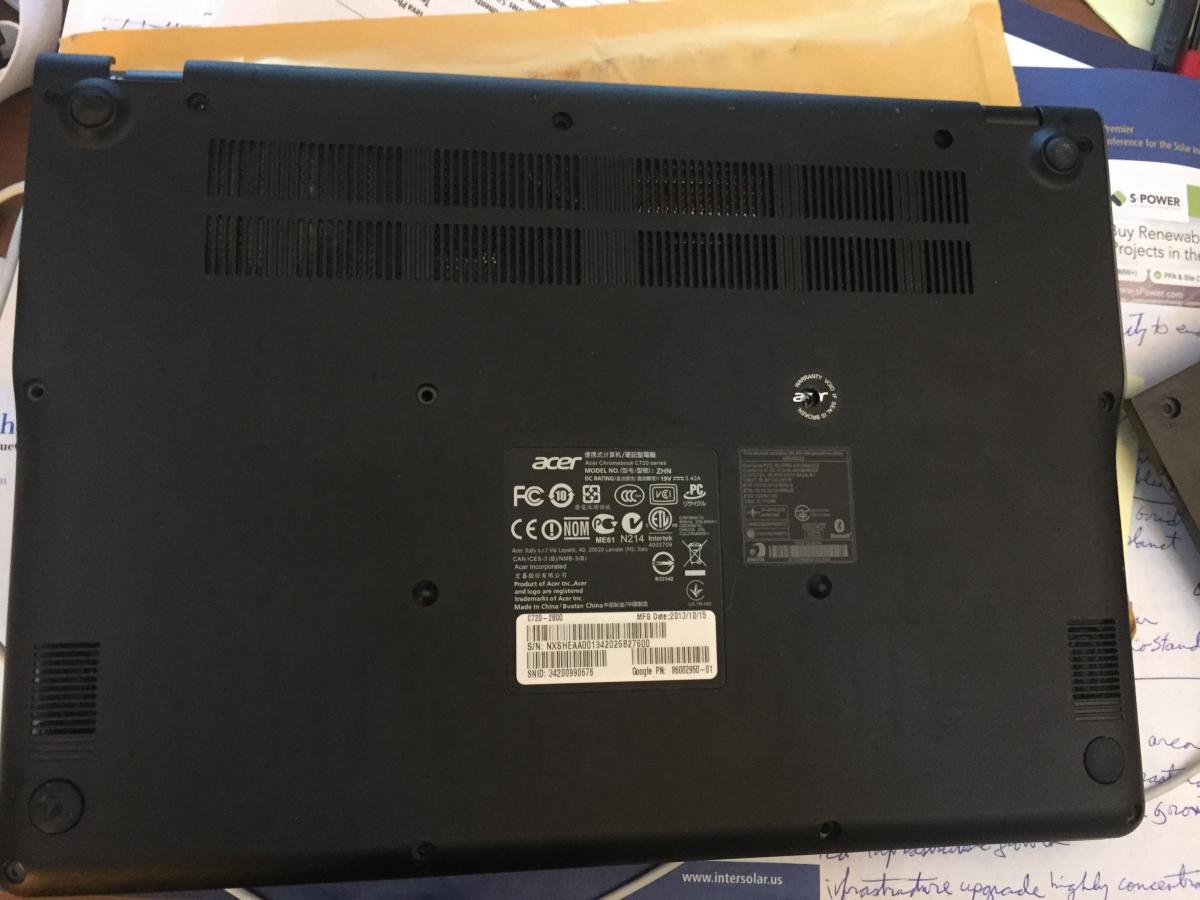
The Acer C720 Chromebook back is shown above. It's probably not visible in this picture, but there are 13 phillips-head screws on the back. It's easy to unscrew them all - you'll need a fine-point screwdriver - then lift off the back. One of the screws is behind a piece of paper warning about violating the warranty. You are hereby warned that the warranty will be violated. Removing the back will require using a flat blade something to give some leverage as you're popping some plastic parts apart. It's easy to do, and so long as you don't over-do your exertions it'll come off easy with zero danger of breaking the plastic.

This is the internals. The insides of this computer are very straight-forward compared to what I've seen inside MacBook Pro's and Mac Mini's. In this case it's obvious how to remove everything, because it's all held down by simple screws that are easily identified.
The battery pack is right in front of you. It's held down by two screws, and a part of the battery pack's frame slides underneath some plastic hold-down's. There's a cable that plugs into the logic board. It's easy-as-pie to remove and then replace.
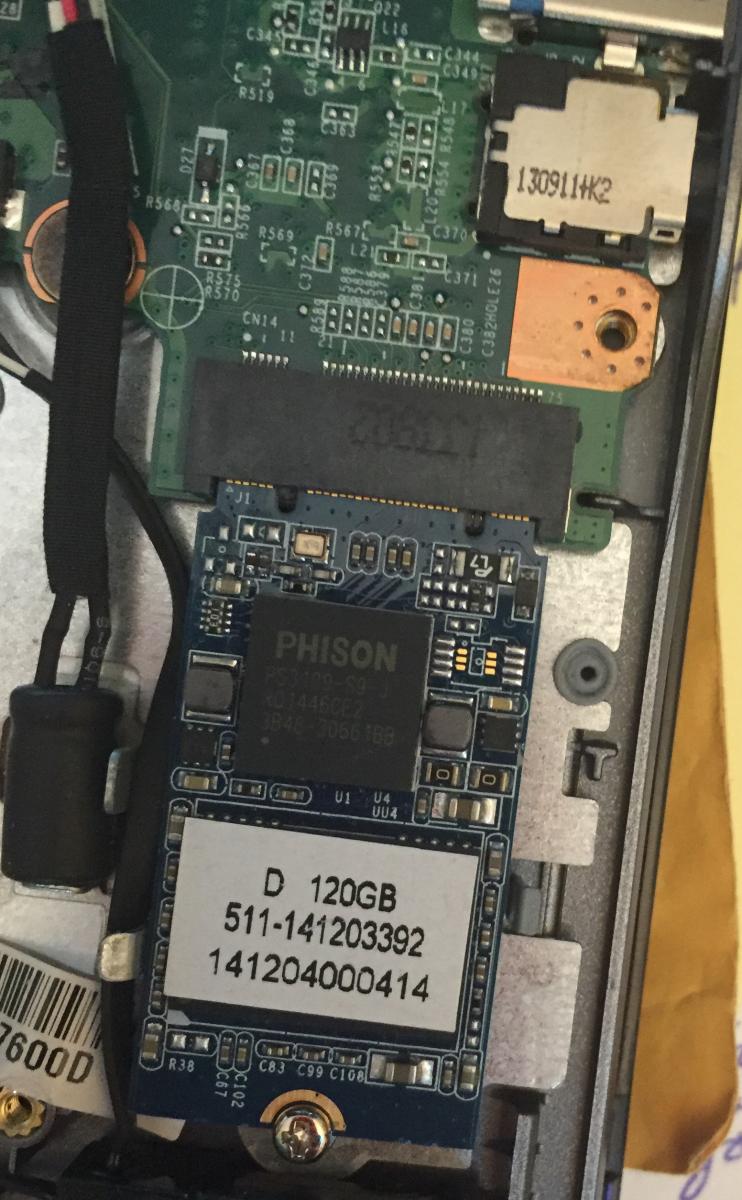
Here's another easily replaced part - the SSD. Technically this is an M.2 42mm SSD (

There are plenty of guides out there how to do the upgrade. It's essentially - use ChromeOS to make a recovery thumbdrive, remove the old SSD (that just requires removing a screw then sliding the SSD out), insert the new SSD (replacing the screw), then rebooting the computer and using the recovery thumbdrive to put your ChromeOS on the drive. It's very easy.
If you look around the picture above you'll find a couple daughter boards - it's easy to remove those by removing screws, insert a replacement part, and tighten the screw back down.
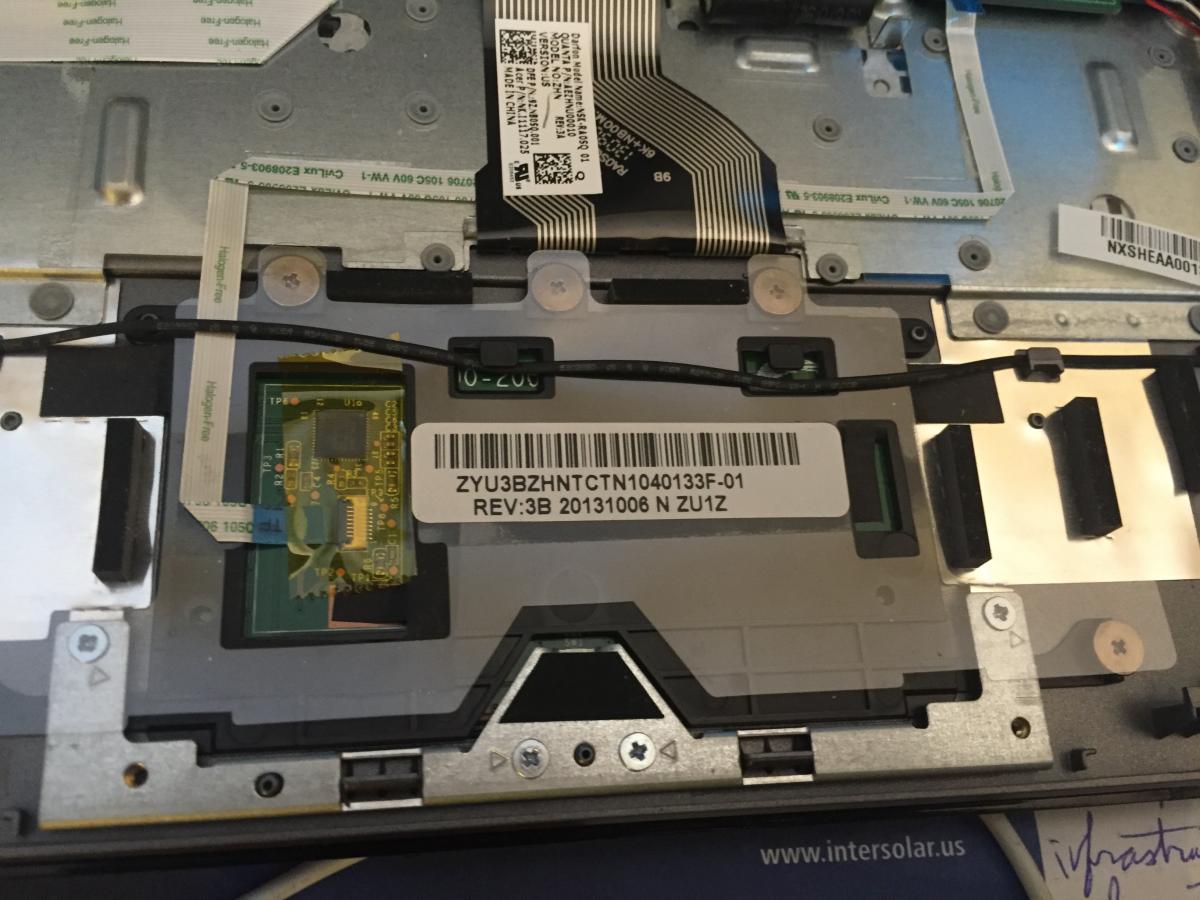
This is the trackpad -- notice the screws all around it. It looks to be trivial (I didn't try) to replace this. Believe me, this looks immensely easier than replacing a MacBook Pro trackpad.
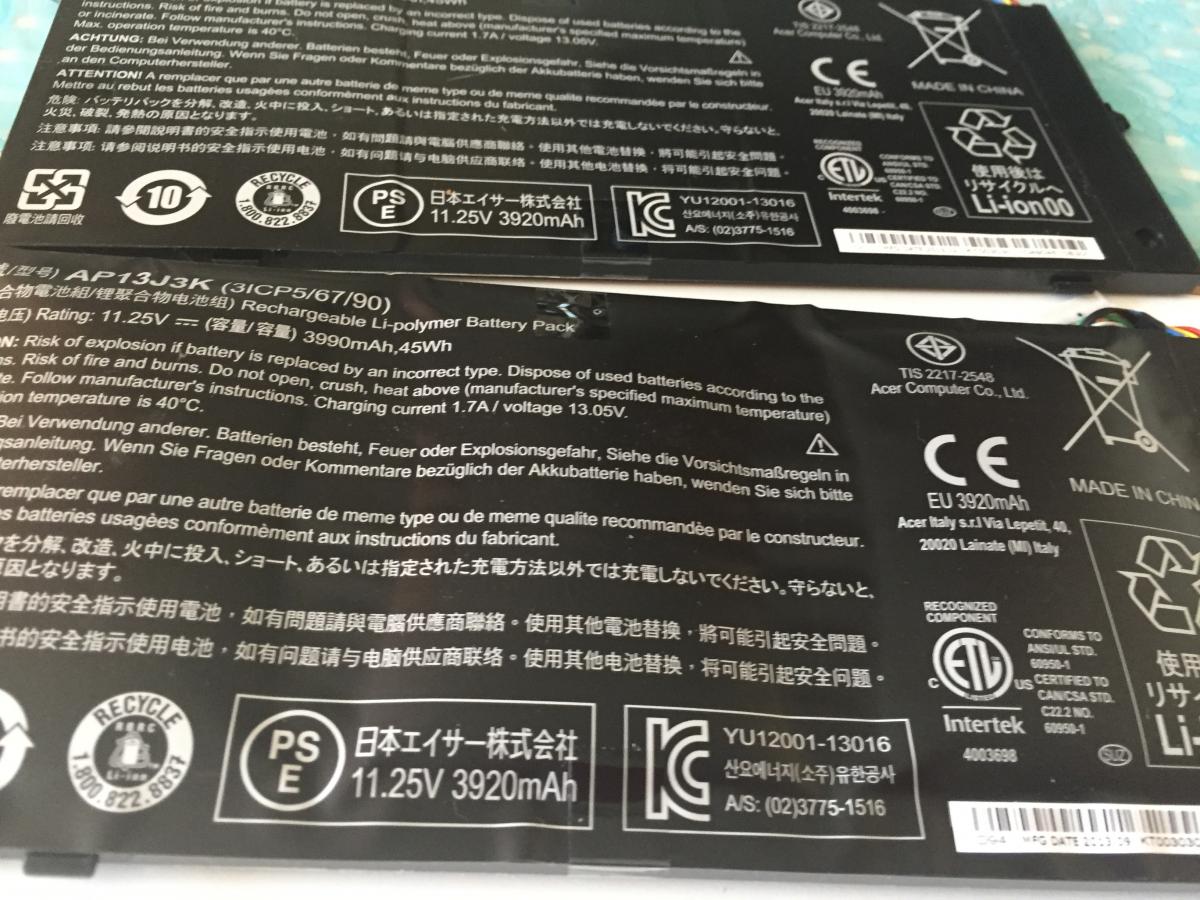
Here's the old and new battery pack. Notice how the front-most pack is a little bulgey.
This should be a little clearer - notice how the pack is puffy or bulged out.
The reason the trackpad didn't behave right is the puffy battery packs push against the trackpad interfering with its operation.
Puffy battery packs are extremely dangerous because they're filled with gas and can explode. It's best to replace the battery pack when it gets to this state. Fortunately, as we've just seen, it's a trivially easy process.
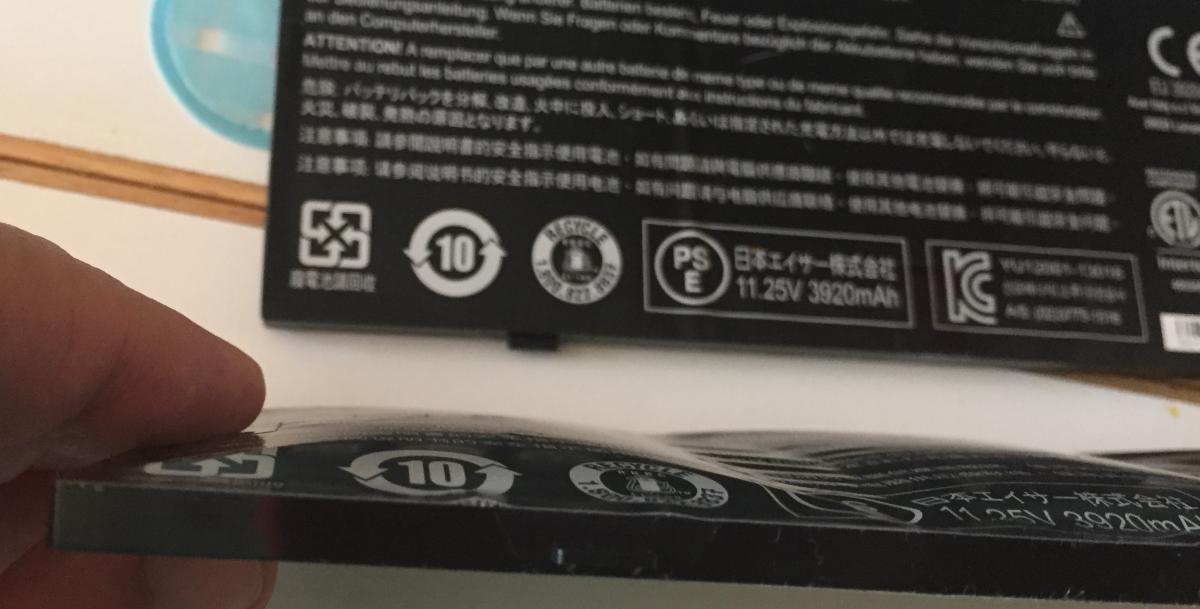
So, then, how to you find a replacement battery pack? I went to eBay, typed in "Acer C720 battery pack" then found that there are two models. You have to look carefully at the model number - mine is AP13J3K - and make sure to select a vendor that's providing a matching model number.
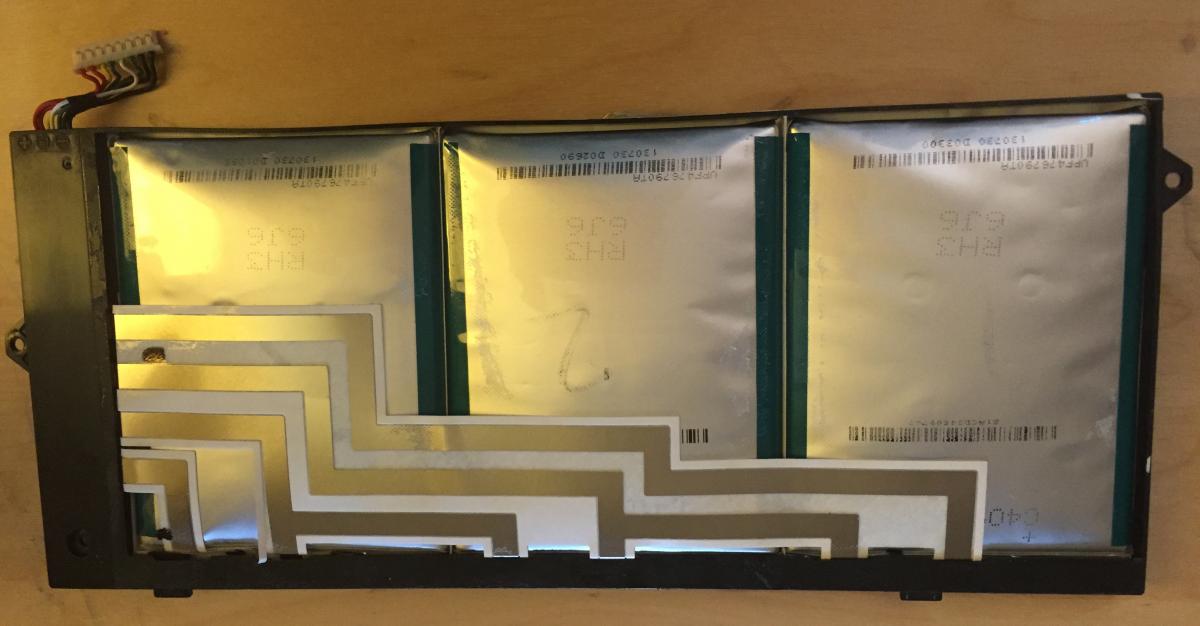
And, by the way, if you're interested, this is the battery pack innards. If you want to take it this far you might be able to find replacement lithium-ion battery cells and insert them into this carrier.


