David Herron
Tags: Digital Photography »»»»
Some of us still shoot with film, and lots of us have old film lying around that we want to scan to digital. There are labs who will scan film to digital files, and there are bulky scanners that do the same. But neither work well in the field. This method requires a regular tripod, a film holder, and some software.
Shooting with film is less convenient than shooting with a digital camera, which is why so many of us long ago converted to digital. But of course film photography has advantages like improved dynamic range. And then there's those of us with film we shot in the 1980's or whenever, that we have been meaning to scan and never got around to doing so.
One method to scan regular film negatives is with a desktop scanner. Often this is a flatbed scanner you'd use to scan papers, and sometimes this is a special purpose film scanner. In either case you're talking about a heavy object that is impractical to take into the field.
There are labs that will scan film negatives for you. But as film photography is slowly disappearing, these labs are closing down.
Presented in the attached video is a two-part solution.
- Carefully use a tripod along with a film carrier and a portable light table. Shoot pictures of the negatives using a digital camera.
- Use an Adobe Lightroom plugin, Negative Lab Pro, to process the images.
The film carrier is a device where you insert the film into a bracket, and the bracket ensures the film is perfectly flat. Any of us who have dealt with film knows it curls. Hence, making a good quality scan a picture from film requires getting the film to lie flat. The carrier recommended in the attached video is a very good tool for achieving flat film.
Once you have the film in the carrier you need to shine light through the film. To avoid the light becoming part of the picture, it needs to be a perfectly flat white light. The attached video recommends a portable light panel. It occurs to me one could DIY build a light panel using an old laptop screen.
You need the camera to be held perfectly level above the light table. For this purpose use a good quality tripod along with a small spirit level in the camera hot shoe. Line everything up carefully.
The last physical step is to use a timer on the camera to avoid camera shake resulting from pressing the shutter button.
With all that set up it's easy to line up the photos and quickly digitize them using the digital camera.
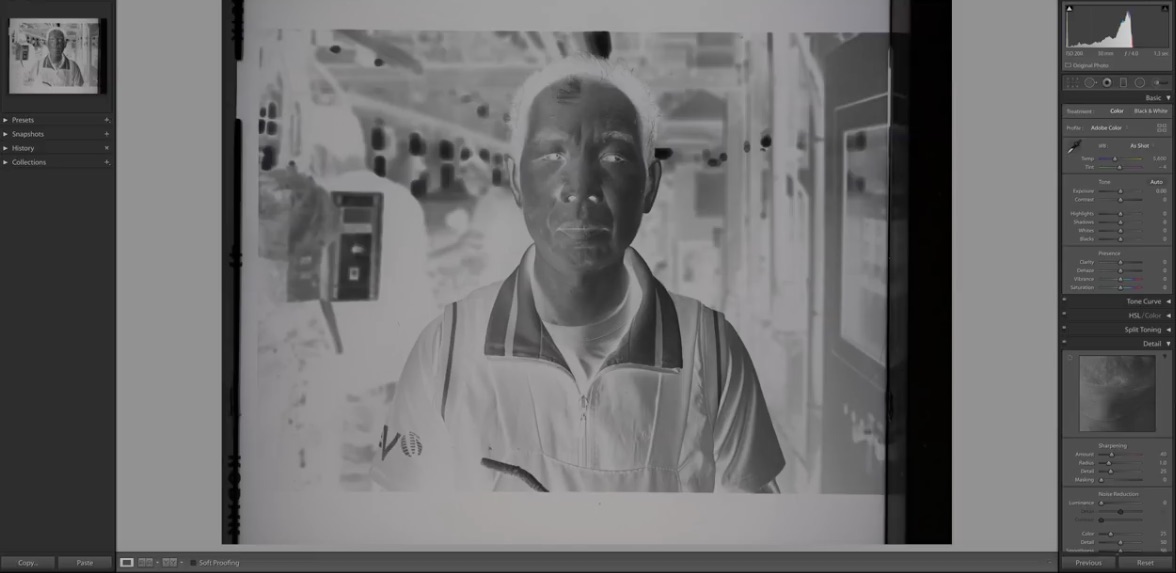
You'll end up with a bunch of digital pictures - of film negatives. Unless you're into using negatives as an artistic statement, you want to convert the negative pictures to positive. Of course we used to do that with special paper and a dark room, but that mode of photography is long gone.
Instead the attached video recommends a LightRoom plugin called Negative Lab Pro. With this software you make a few settings and voila the negative picture is converted to a regular positive image.
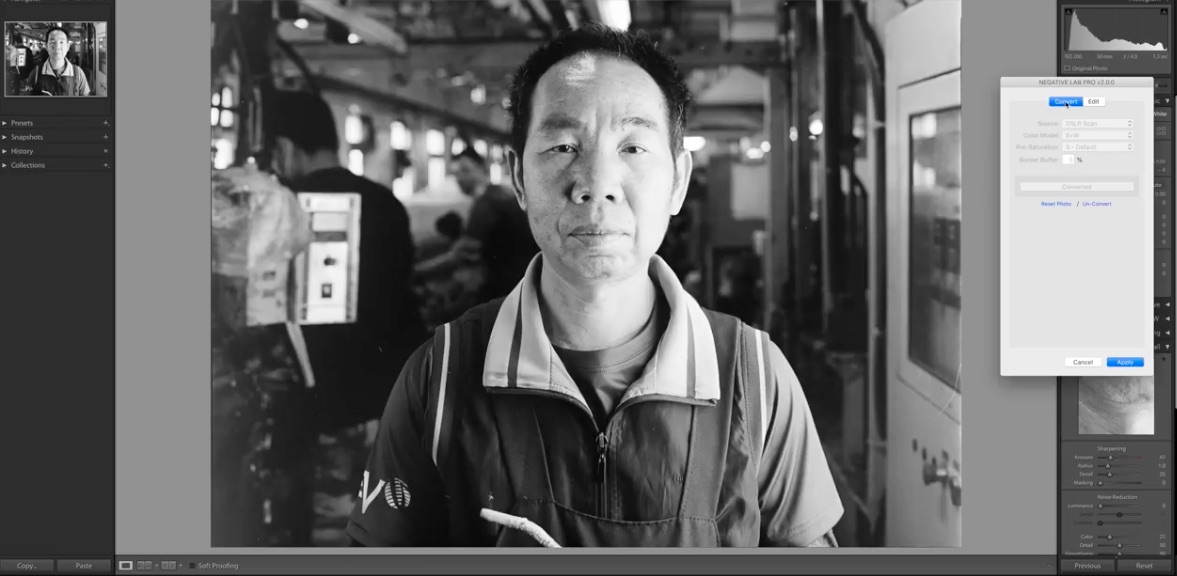
The software works with both color and black/white negatives.
Best way to scan film negatives with a digital camera & Negative Lab Pro


