; Date: Thu Jul 11 2019
Tags: Digital Photography »»»»
Scanning film negatives using a DSLR does not require using a tripod. It's possible to repurpose some items from Home Depot to build a stand along with a macro lens on a regular DSLR. The process also does not require special software, just a preset in Lightroom.

Yesterday I presented a different method: A simple method to digitally scan film negatives using a regular camera and Negative Lab Pro
In that video we saw the photographer using a tripod to hold his camera above a light table, and putting the film negatives into a film holder. In Lightroom he used a plugin that is special purposed for converting negative pictures into positive pictures.
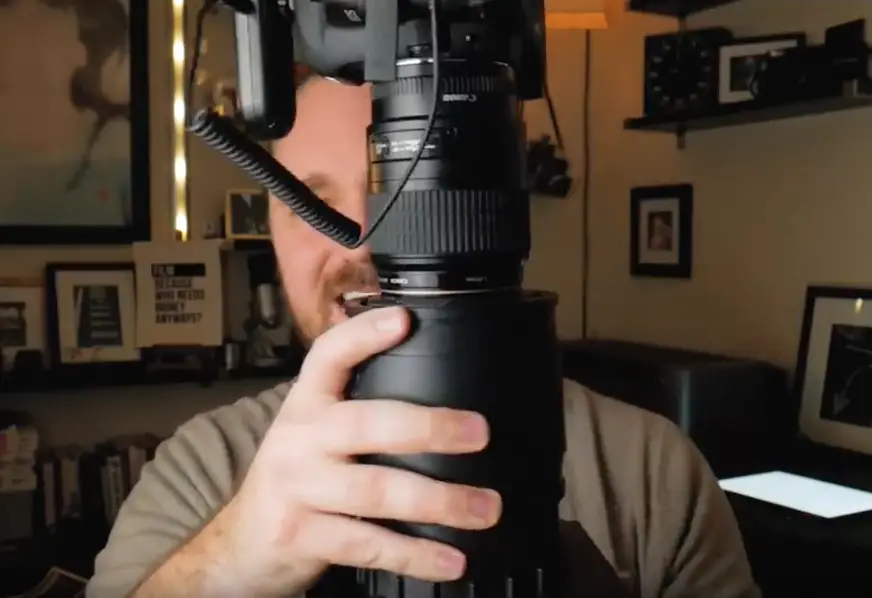
In todays video this photographer repurposed parts from Home Depot to make a holder that fits over the lens hood for his macro lens. This automatically holds the camera perfectly level over the light table, simplifying the process.
Everything said in yesterdays blog post about holding the camera perfectly level applies here. The camera holder helps a lot with this.
Another big difference is that instead of using special software, this photographer just uses a preset in Lightroom. One of the filters in this preset inverts the colors, causing it to convert from negative to positive.
The examples are with black/white photos. A second video recommended by this photographer goes over a workflow for DIY film scanning, and processing both color and black/white photos. That other video suggests using Negative Lab Pro - the same special software mentioned in the previous video.
That second video then recommended a third video showing how to use Photoshop to convert color negatives.


