; Date: Sat Feb 16 2019
Tags: Digital audio »»»»
Many of us, especially from the 90's and earlier, have a pile of cassette tapes taking up space. On the one hand big business wants us to keep buying stuff, but we end up needing a bigger house to store all the stuff and we fritter our lives away. Folks like Marie Kondo teach minimizing possessions, keeping life simple, reducing clutter, etc. That includes all those cassette tapes taking up space. In the 2010's almost 2020's surely it is better to digitize audio cassette tapes and then responsibly dispose of the physical object. But the question is what's the best way to convert audio cassettes to a digital format like MP3 files?
The picture above is the audio cassette digitization solution I've settled on for now. This is a Walkman-style cassette player connected to a USB audio interface that's connected to my laptop, with the audio being recorded by software on the laptop.
This is but one way to digitize audio cassettes, so let's go over the options.
Cassette tapes were primarily (99.999% of the time) used for audio, generally music recordings. In my case I have lots of lectures on tape. These were either purchased courses or recordings of training classes I took or public lectures I attended. A few are music tapes. The cassettes are in a large pile of cassette albums that take up lots of space that I'd rather use for something else.
The other .001% were the few people (like me) used cassette tapes with computers to store programs and data. We're not going to cover that use case in this blog post. If that's you, you're on your own. Sorry.
Therefore the problem statement is simple:
- How to convert analog audio sound on cassette tape to an MP3 file (or other audio)
- This is the main focus of today's blog post, but there is another similar scenario
- How to convert vinyl album audio sound to MP3 file (or other audio)
- I don't have any albums any longer, but many of us do, and will long to convert them to audio files.
- How to convert VHS tapes or other video tapes to MP4 files
- I have a few VHS tapes, and some DAT tapes for a camcorder, but will handle this in another posting
Auto-reverse cassette players
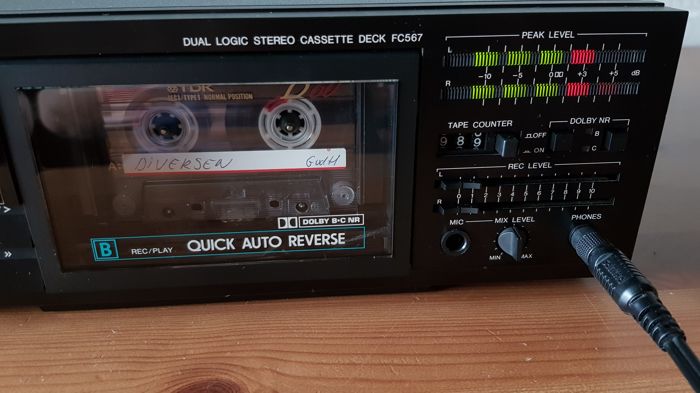
As you'll learn from the rest of this posting, there is nothing magical about converting a cassette tape to a digital file. The process is similar to recording from one cassette to another cassette. The difference is that we're instead recording into software that converts audio to a digital audio file.
Therefore easing the cassette playback will simplify your task of recording the cassette tapes.
Auto-Reverse cassette players greatly simplifies cassette playback. When we're recording a stack of audio tapes it adds to the burden to have to flip tapes over. Find an auto-reverse cassette player to reduce your effort.
Simplest method -- cassette deck, to "line input" on computer
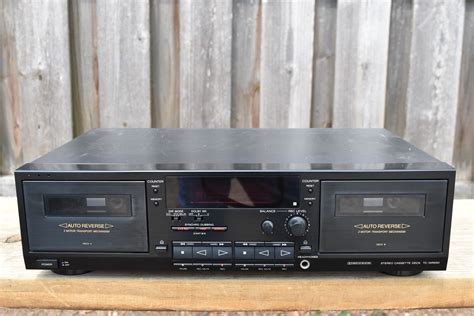
Many of us with a cassette tape collection also have a cassette deck gathering dust in the corner. I used to have a fancy Sony dual-tape cassette deck (very much like this one) that I used to produce audio tapes, as well as to listen. But no longer, that cassette deck was sold long ago in another space clearing downsizing phase.
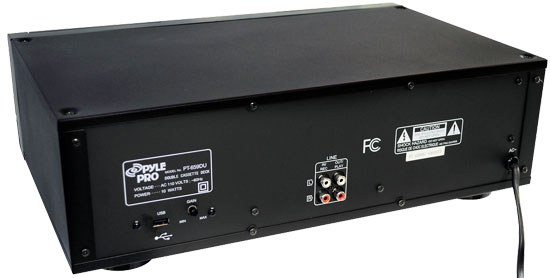
These cassette decks usually had RCA plug connectors on the back producing what's known as "line level output". It was meant to be input into the stereo/amplifier component so you could play over loudspeakers. The phrase "line level" refers to voltage/wattage characteristics.
It's possible to find old school cassette decks for real cheap (e.g. Goodwill) since nobody wants them any longer.
The headphone jack on your computer might or might not be compatible with line-level audio signals. Your laptop computer might not even have a headphone jack, now that we're entering a phase where the headphone jack is probably going away in every device (sigh).
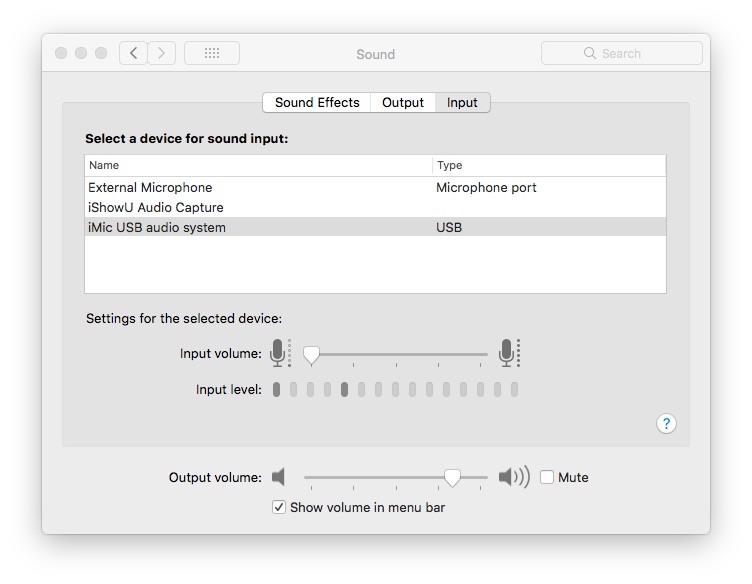
What I have in the picture above is a USB-audio interface - specifically a Griffin iMic - that has two settings: "Line" and "Mic".
Process:
- Using an audio cable that has a headphone jack on one end, and RCA plugs on the other end, connect the RCA plugs end of this cord to the cassette deck, and insert the headphone jack into the audio interface
- Set the audio interface to "line input"
- Connect the audio interface to the computer USB port
- Start audio recording software on the computer, to record to disk
- Insert a cassette tape into the cassette deck
- Set the recording software to RECORD
- Hit PLAY on the cassette tape
- When the cassette is done playing, hit STOP on both the cassette deck and the audio recorder software
- The audio file will be on your computer
In other words this is just like recording from one cassette to another. Instead of using two cassette decks, the destination is the computer.

MP3 Audio recording software for desktop computer
MP3 is one of many audio formats. It isn't absolutely necessary to record to MP3. Whatever audio format you record to needs to be a standardized format usable in every application. Avoid using an audio format unique to one manufacturer.
Typically for this task we're told to use Audacity. It is free open source software you get from
https://www.audacityteam.org/
Recording to MP3 with Audacity requires installing an extra module, which is a little finnicky. The big issue with Audacity is that -- it is excellent software, with a full set of audio editing features, and is a near-professional audio processing application -- but for the task at hand it is extreme overkill. Further, in my experience Audacity is "heavy weight" meaning when it is recording my computer cannot be used for anything else.
What's needed is a lightweight application that does the simple task of recording audio.
Looking in the Mac OS X app store I found several applications of this sort. I downloaded the free version of "Simple Recorder" and am happy with the results.
USB Cassette players -- old school meets modern age
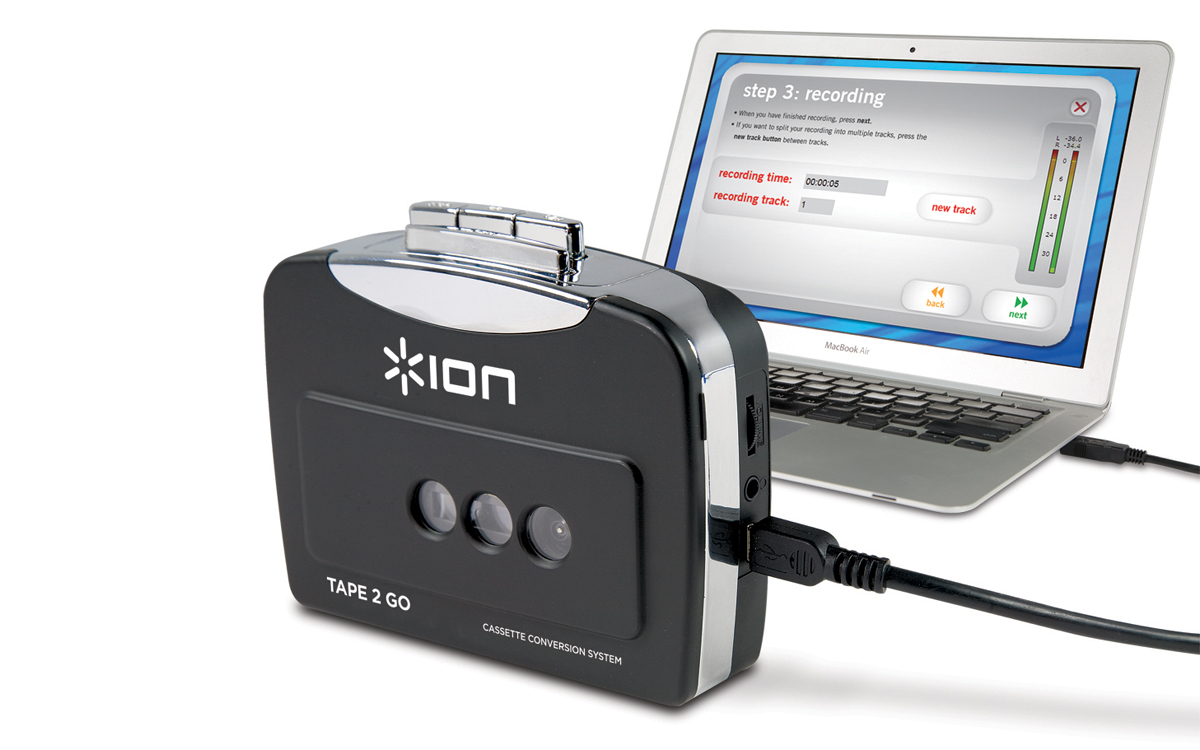
USB-based cassette players are being made today. What's pictured above is a "Walkman-like" cassette player that has a USB interface, and can be powered by a USB charger. There is a variety of these, some are really bad, some are barely acceptable, and maybe some are really good.
The ION unit shown here is in the "really bad" category. I own one of these and inserting tapes in the unit is finnicky, and it does not support auto-reverse. Hence recording an entire cassette tape means flipping the tape over halfway through, while dealing with the finnicky process of putting the tape in the player. Bah.
The cassette player shown at the top has two advantages over the ION player. First, inserting the cassette tape is relatively easy. Second, it supports auto-reverse, meaning you hit PLAY once and the entire tape (both sides) plays.
Cassette decks/players with Auto-Reverse were a big advancement in the 1990's.

Some of these players connect directly to a USB port on the computer. When connected, a new audio interface appears in the computer. You simply instruct the Audio Recording software to record from that audio device.
In the case of the player shown at the top, it has a claimed advantage of recording directly to a USB flash drive. Instead of running audio recording software on the computer, the audio is recorded directly to a flash drive, and the audio files are retrieved from the flash drive. The problem with that is the audio is unusable because the audio jumps (skips a few seconds) every so often. I've owned two identical units of this kind under different brands and both had skips in the audio.
The device shown above is therefore completely unusable when recording to flash drive. I sent the first one back, and then accidentally ordered this one and found it had the same problem. BUT I also discovered that playback through the headphone jack did not have these audio skips. THEREFORE ...
Recording off "headphone jack" on cassette player
The technique shown here will work with any "Walkman-like" cassette player.
I have a Griffin iMic as a USB audio interface. As mentioned earlier, your computer might not have a headphone jack, or if it does have a headphone jack it might not work for audio input. There are several USB audio interfaces like the Griffin iMic, supporting both audio input and output through a USB port. The quality is probably better than the built-in audio input/output, and you're assured it will work.

Process:
- With a cable with headphone jack on each end -- connect one end to the headphone port on the cassette player, connect the other to the input port of the USB audio device
- The cable shown here has instead two RCA plugs, so I used an adapter taking RCA plugs to a headphone jack
- Set the input level on the USB audio device to "Microphone"
- Earlier we used "Line Level" audio from a cassette deck. The headphone output from a cassette player is not LINE LEVEL. On my Griffin iMic, the "Microphone" setting worked fine.
- Connect the audio interface to the computer USB port
- Start audio recording software on the computer, to record to disk
- Insert a cassette tape into the cassette deck
- Set the recording software to RECORD
- Hit PLAY on the cassette tape
- When the cassette is done playing, hit STOP on both the cassette deck and the audio recorder software
- The audio file will be on your computer
This is largely the same process as for the cassette deck. It is like recording from one cassette to another, but instead the target is audio recording software in the computer.
Recording to a dedicated audio recorder device
There are many dedicated devices for recording digital audio without a computer. For example the hand-held voice recorder many use to take voice memos. Or, the higher end professional portable digital audio audio players used by audio engineers in the field. Or, there are inexpensive USB devices that record audio direct to an internal flash drive.
When selecting among these devices look for LINE LEVEL or MICROPHONE LEVEL audio input. The inexpensive hand-held voice recorders might not have such an input. The other devices will.
You'll use that audio input port just like in the other recording modes. The difference is it will record to either an SD card, or an internal flash drive. You might then insert the SD card into your computer, or connect the USB port on the device to your computer.

Bulk erasing tapes
One goal of recording old audio tapes into the computer is to not have to own the physical tape any longer. We'll go over disposing of the old tapes in a moment, but there's another issue.
What if some of the tapes you recorded contain audio you cannot redistribute? For example in my collection I have lectures from a school I attended where I agreed to be the sole person to listen to those tapes. The lectures were confidential enough that it would violate some kind of trust I had with that school to hand the tapes to someone else. Therefore it's necessary to erase those tapes.
What's used for this purpose is a "
Bulk Tape Eraser". I bought the Realistic model off eBay.
Proper disposal of audio cassette tapes
After you've ensured that sensitive content has been destroyed, let's discuss disposal.
You could just throw the tapes away. But as they say, there is no "away", and like anything else you throw "away" just clutters up a landfill somewhere causing serious environmental problems.
Unfortunately cassette tapes and the like are not terribly recyclable. It's the kind of product which was built with zero consideration for reuse at the end of life.
Consider these linke:
-
https://earth911.com/recycling-guide/how-to-recycle-cds-tapes/
-
https://www.greencitizen.com/how-to-recycle-vhs-tapes/
Catalog
USB Audio devices


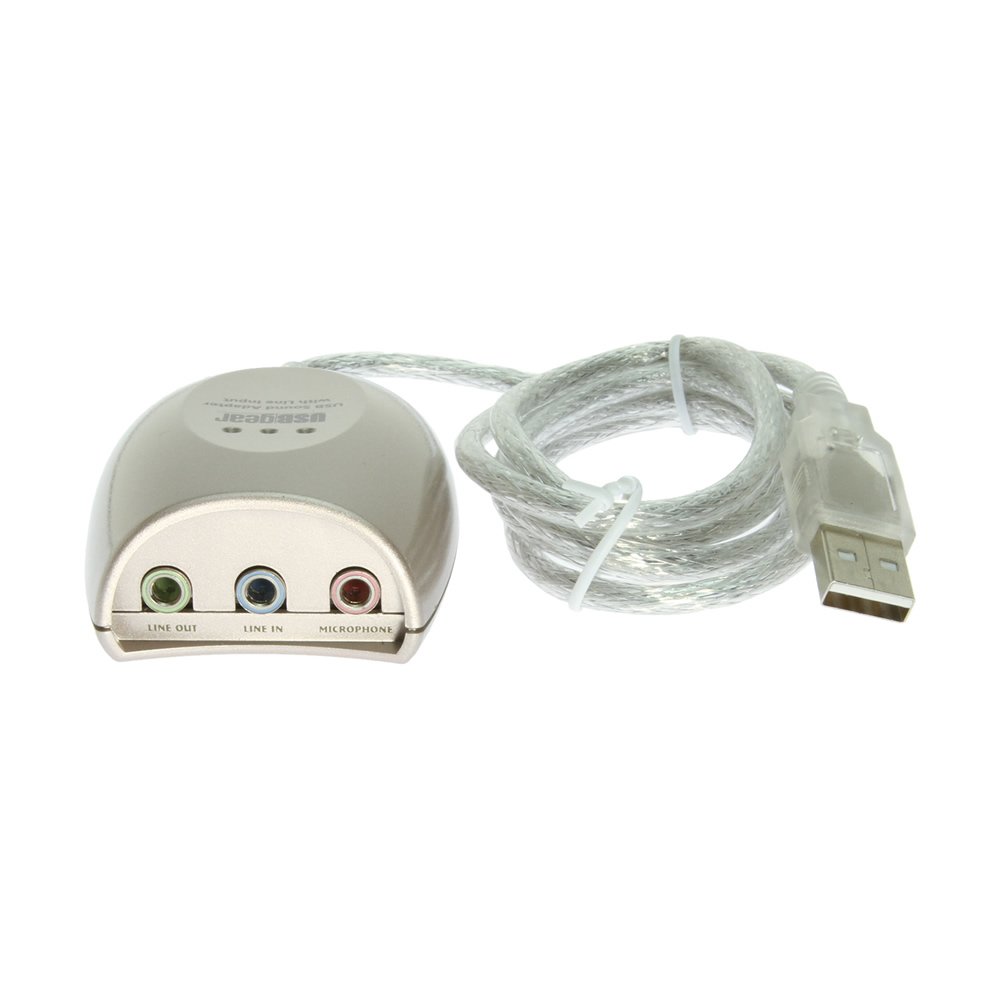
 USBGear USB 2.0 Audio Adapter Box with Line Input and Mic Input
This audio device is exactly what is required for converting/digitizing cassette tapes. It has two inputs, one for a mono microphone, another for line-level stereo input. The third jack is a speaker/headphone output.


 Behringer U-Control UCA202 Ultra-Low Latency 2 In/2 Out USB Audio Interface with Digital Output
Behringer is a leading name in professional audio gear, and this device provides line-level stereo input and output, as well as a headphone jack. This connectivity easily handles recording stereo audio from a cassette, connecting to the stereo input, so long as you have a line-level signal.


 USB Audio Capture Card, Audio Grabber Recorder Device with Music Editing Software - Capture Audio from FM Radio Boombox, Cassette Tape to MP3 CD Via PC Mac iMac
This inexpensive audio interface is explicitly meant for capturing audio from cassette tape players. It provides both a 3.5mm stereo jack, to connect to the headphone output of a cassette player, and a left/right pair of RCA connectors, to connect with a cassette deck. At the other end it connects to the USB port of a computer. Hence this is exactly what is needed if you already have a cassette player.


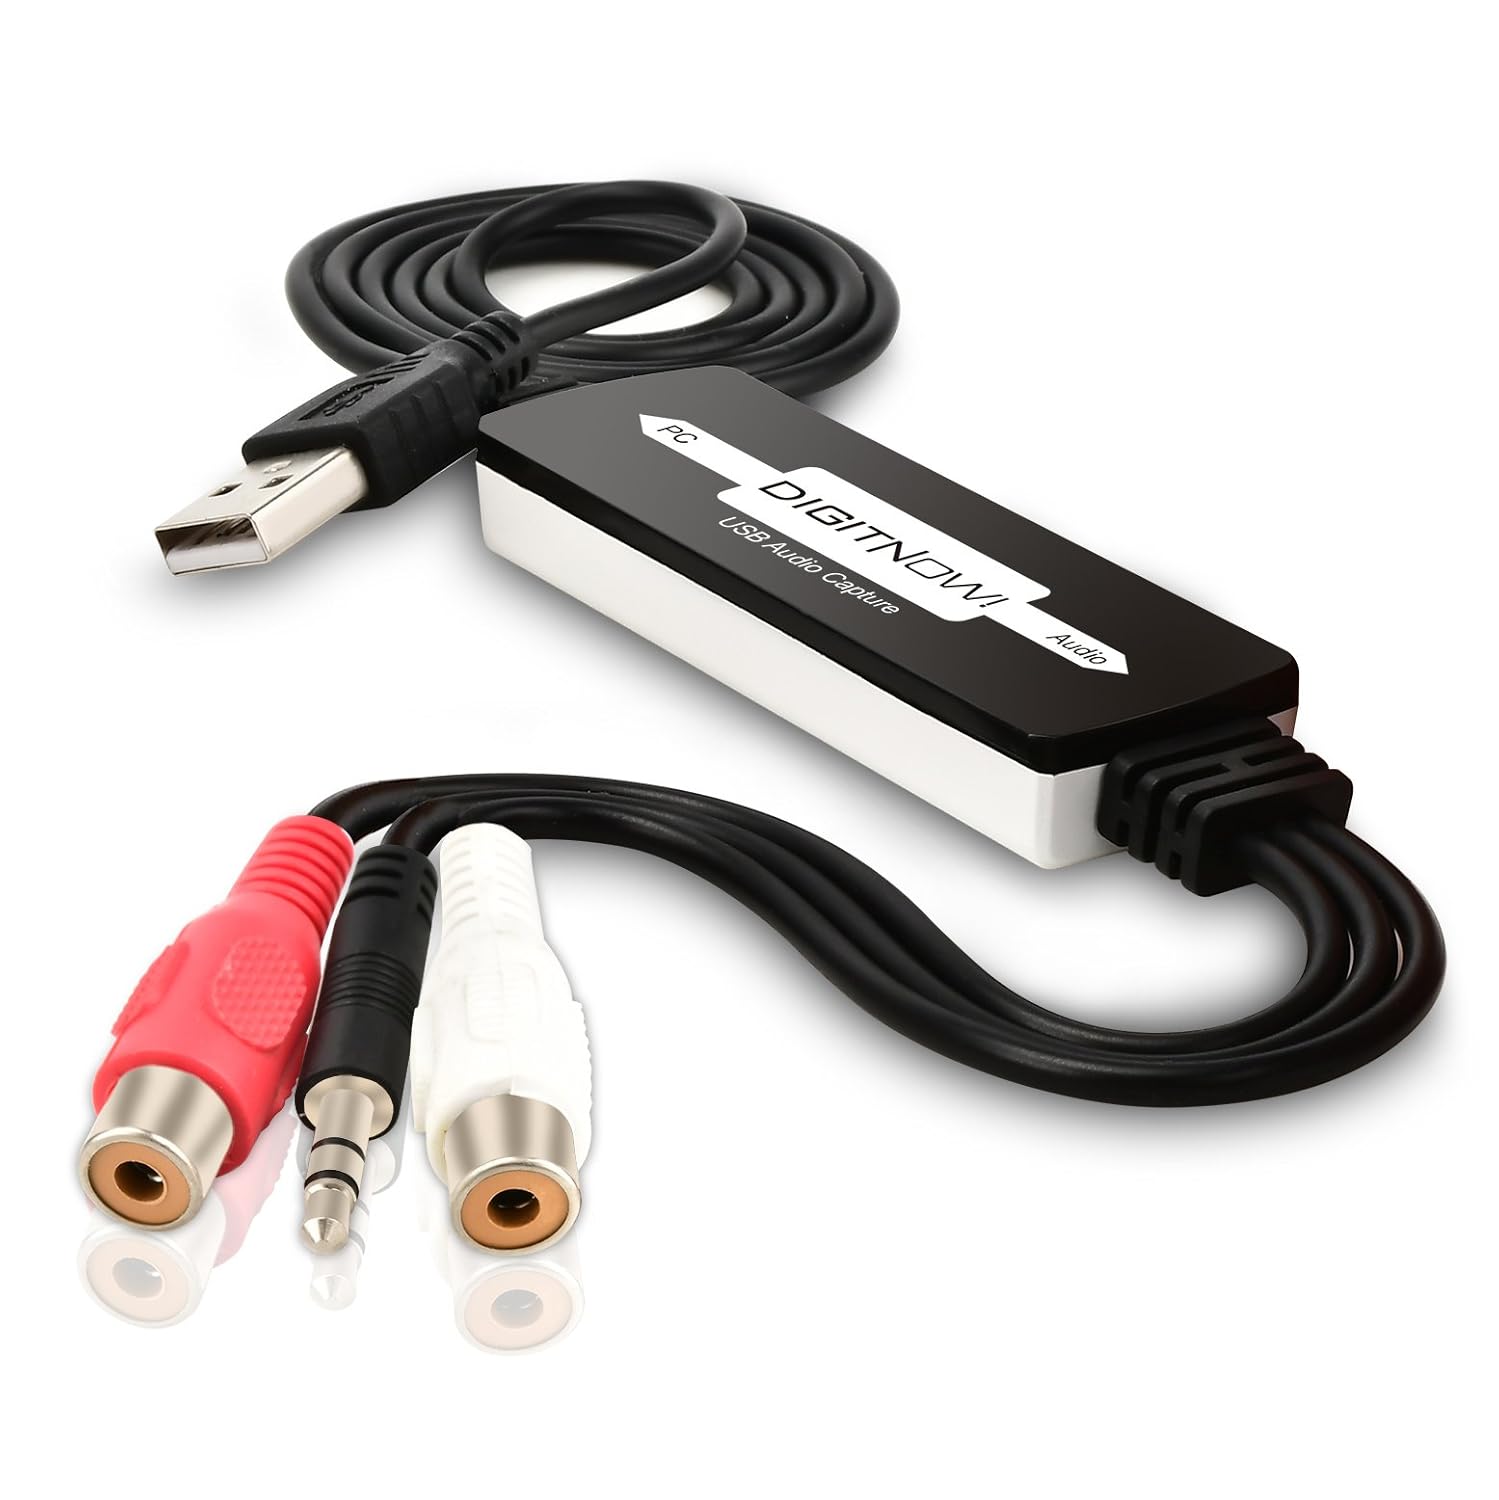
 DIGITNOW USB Audio Capture Card Grabber for Vinyl Cassette Tapes to Digital MP3 Converter, Support Mac & Windows 10/8.1/8 / 7 / Vista/XP
This inexpensive audio interface is explicitly meant for capturing audio from cassette tape players. It provides both a 3.5mm stereo jack, to connect to the headphone output of a cassette player, and a left/right pair of RCA connectors, to connect with a cassette deck. At the other end it connects to the USB port of a computer. Hence this is exactly what is needed if you already have a cassette player.


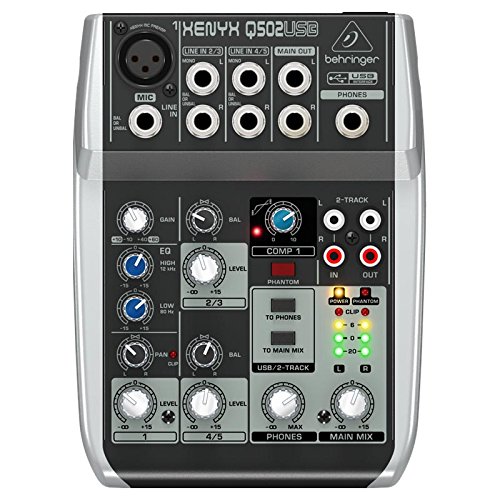
 Behringer Xenyx Q502USB
Behringer is a leading name in professional audio gear, and this device is beyond what we need for recording audio cassettes into the computer. This is an ultra-compact mixer letting you connect professional microphones and audio inputs to the mixer. It will do the job, given correct adapter cords, and you may be interested in the additional capabilities of this unit. If so there is a whole realm of larger professional mixers supporting more audio channels and more capabilities.
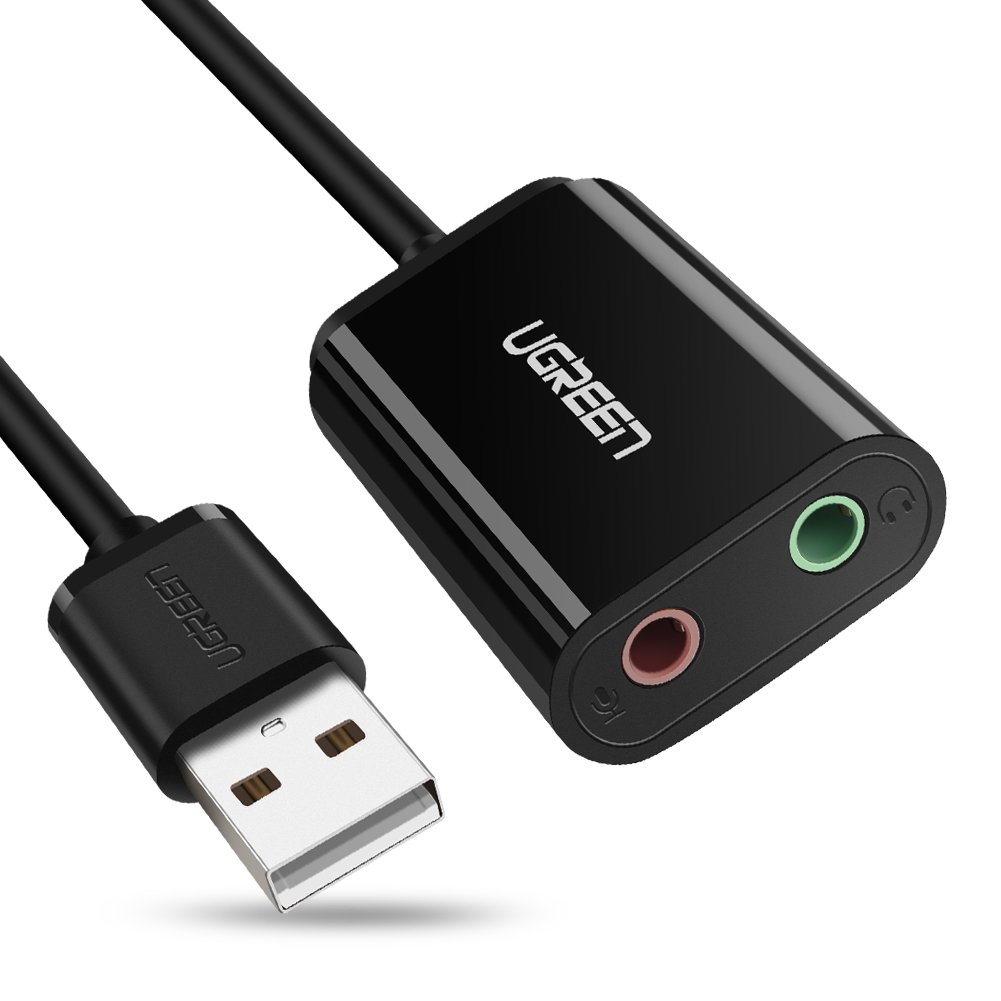

 UGREEN USB Audio Adapter External Stereo Sound Card with 3.5mm Headphone and Microphone Jack for Windows, Mac, Linux, PC, Laptops, Desktops, PS4
This simple audio device supports a stereo output (for headphones) and a mono-line-input for recording audio. While the input looks for "line level" audio, it only records mono (single channel) audio. Because of that we cannot recommend this device.
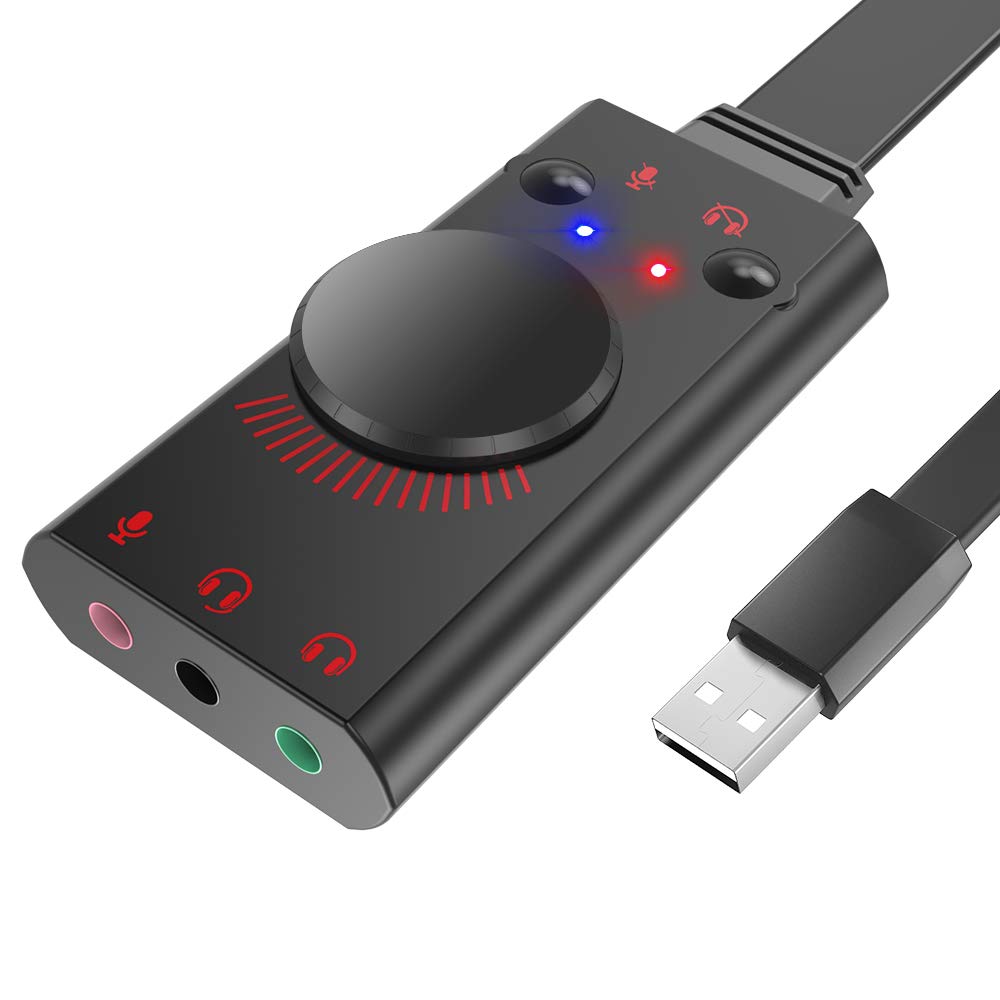

 USB Sound Card Adapter BENGOO External Audio Adapter Stereo Sound Card Converter 3.5mm AUX Microphone Jack for Gaming Headset Earphone PS4 Laptop Desktop Windows Mac OS Linux, Plug Play
This audio device supports a stereo output (for headphones), a headset-with-microphone input, and a mono-line-input for recording audio. Conveniently it has a volume control knob. While there are two forms of audio input, both support only mono audio. The device is aimed at Gamers, who need a simple microphone. Since our task on this page is recording cassette tapes, we need stereo audio input.
USB Cassette Players


 Tape-2-Mac USB Audio Tape Capture Device for Apple Mac OSX - Copy, Capture, Transfer & Convert audio cassette tapes onto your Mac. For all iMac, Macbook, Mini & Pro models.
This inexpensive walkman-like USB cassette player connects to the USB port on your computer. Hence it will automatically appear as an audio device, with which you can use any audio recording software. It is the same form factor as the devices that record to USB flash drive, however this device instead has a USB port for connecting with a computer.
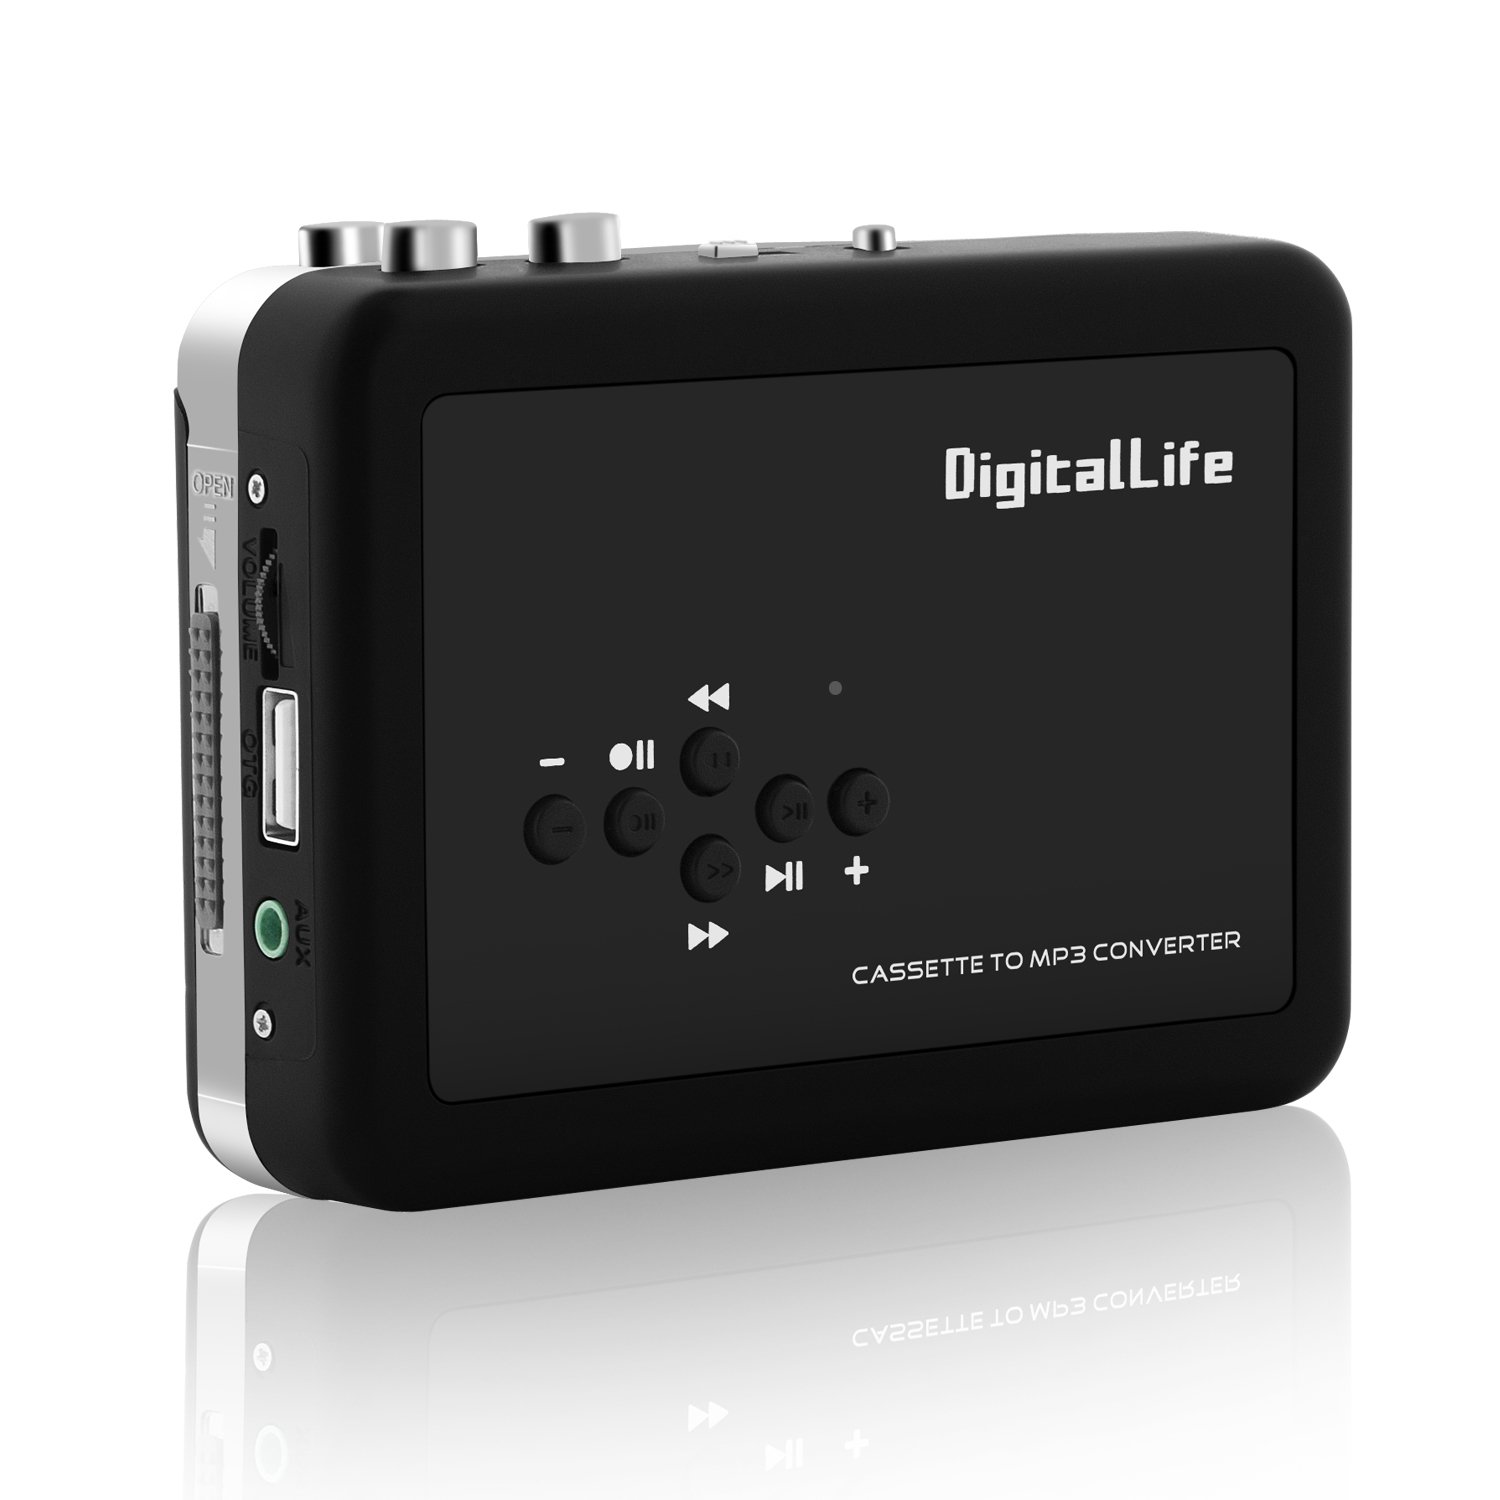

 Standalone Stereo Music Digitizer - Dual Functioned Cassette to MP3 Converter Player (Auto-Reverse,Record to USB Flash Drive)
This cassette player/recorder allows one to record MP3 files direct to a USB flash drive. There are a couple dozen identical players, when looking for devices be extra careful. The advantage of this player is that it is easy to insert/remove the cassette tape, and that it supports autoreverse. However, there is a lot of noise in the recording, and when recording to MP3 on the flash drive there are skips/jumps in the audio. It is not recommended to use this with a flash drive. For playback over the headphone jack there are no skips/jumps, and therefore one can record audio via the headphone jack. It is better to get a different player, for example the Tape-2-USB player looks to be identical and instead of a flash drive it uses a USB connection to a computer.
Standalone audio recorders


 LinkStable Standalone 3.5mm or L/R Analogue to Digital Audio Recorder Capture Box (Music Digitizer, Cassette to Mp3 Converter)
This inexpensive audio recorder provides both left/right RCA stereo audio input jacks, and a 3.5mm stereo input port. You connect either a USB flash drive or an SD card to the device. Pressing the record button on the top starts a recording. Hence it is simple and straightforward to use. When done recording, insert the flash drive or SD card into your computer to retrieve the files.
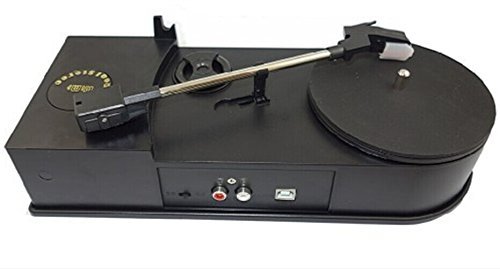
Vinyl record/album USB players
