; Date: Thu Jul 06 2017
Tags: Arduino »»»»
The most useful debugging tool many programmers have is the Print statement. They insert Print statements throughout their code, to see if the program got to certain points and if so what was the values. While there are fancy schmancy debugger packages available, the Print statement is extremely useful and simple. An Arduino presents a challenge because the software executes over on that teensy board, there's no computer display, no direct connection, where would the print statement send its output? Turns out the Arduino software stack includes a Serial console that you can view from inside the Arduino IDE. What we'll do in this article is go over a trivial example of reading an analog value to print on the serial console.
Built-in to the Arduino IDE is the capability for a Sketch to output through the USB connection to the Arduino serial console in the IDE.


The Arduino Playground
has more ideas on interfacing an Arduino to the Serial port on another computer to interact with software on an Arduino. For our purposes, the simple Serial Console provides an easy way to get messages out of an Arduino.
To explore this we'll set up a simple Arduino program to read some data, displaying it through the Serial port.
The circuit
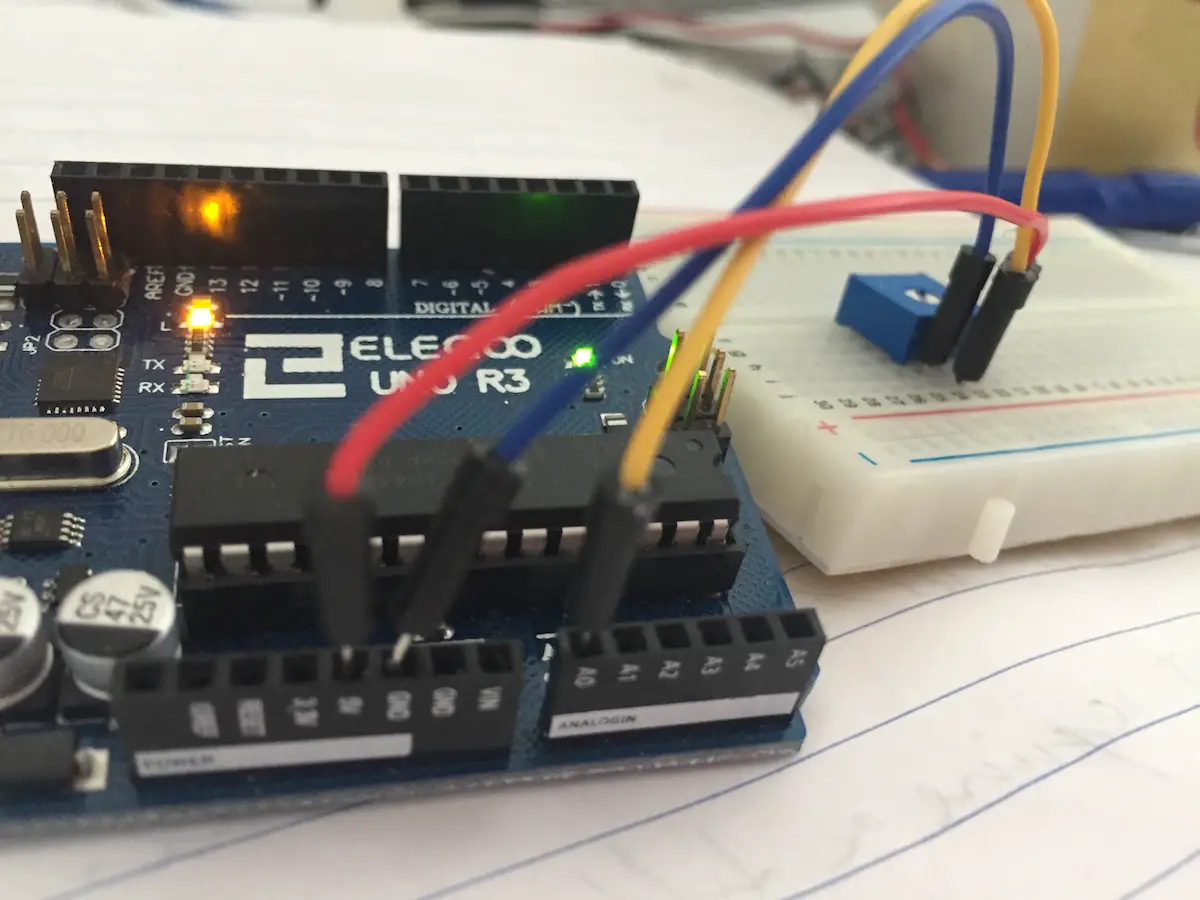
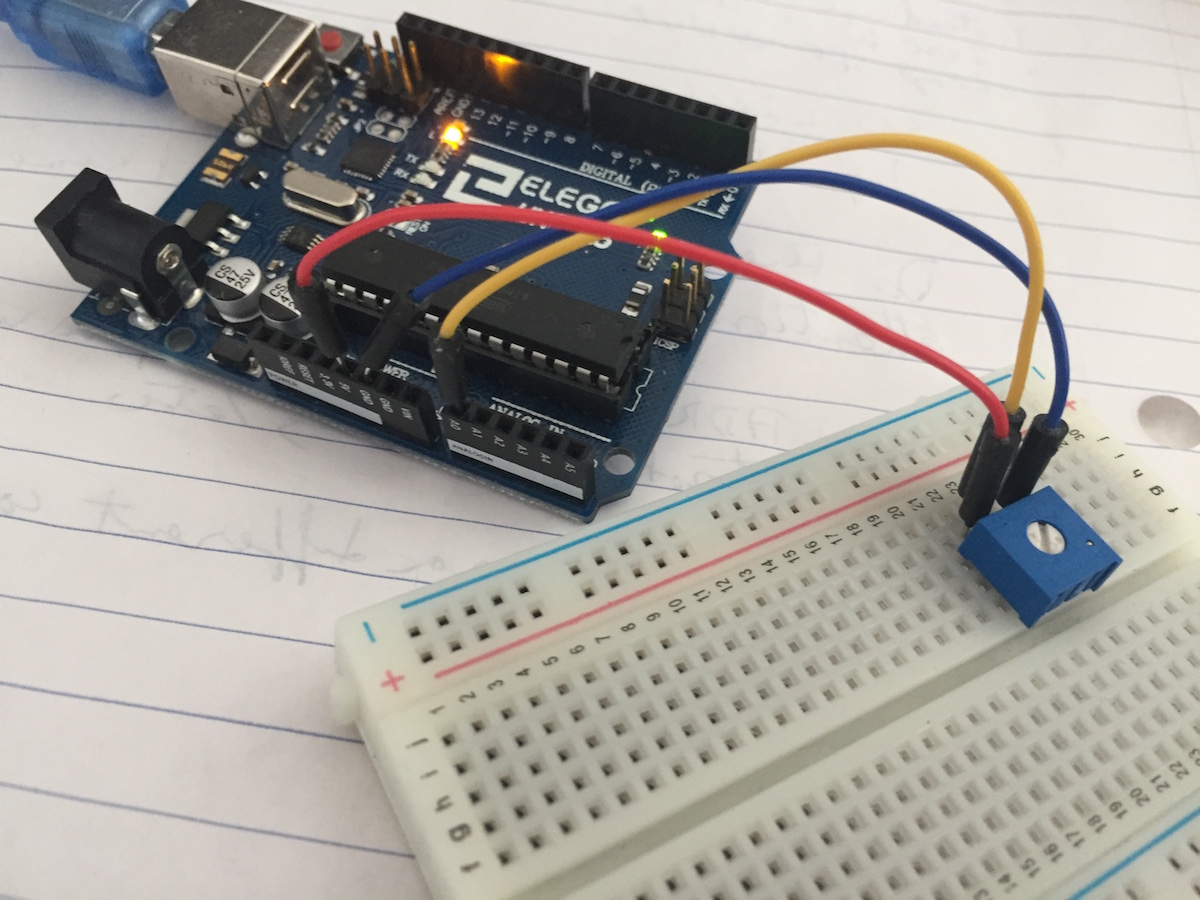
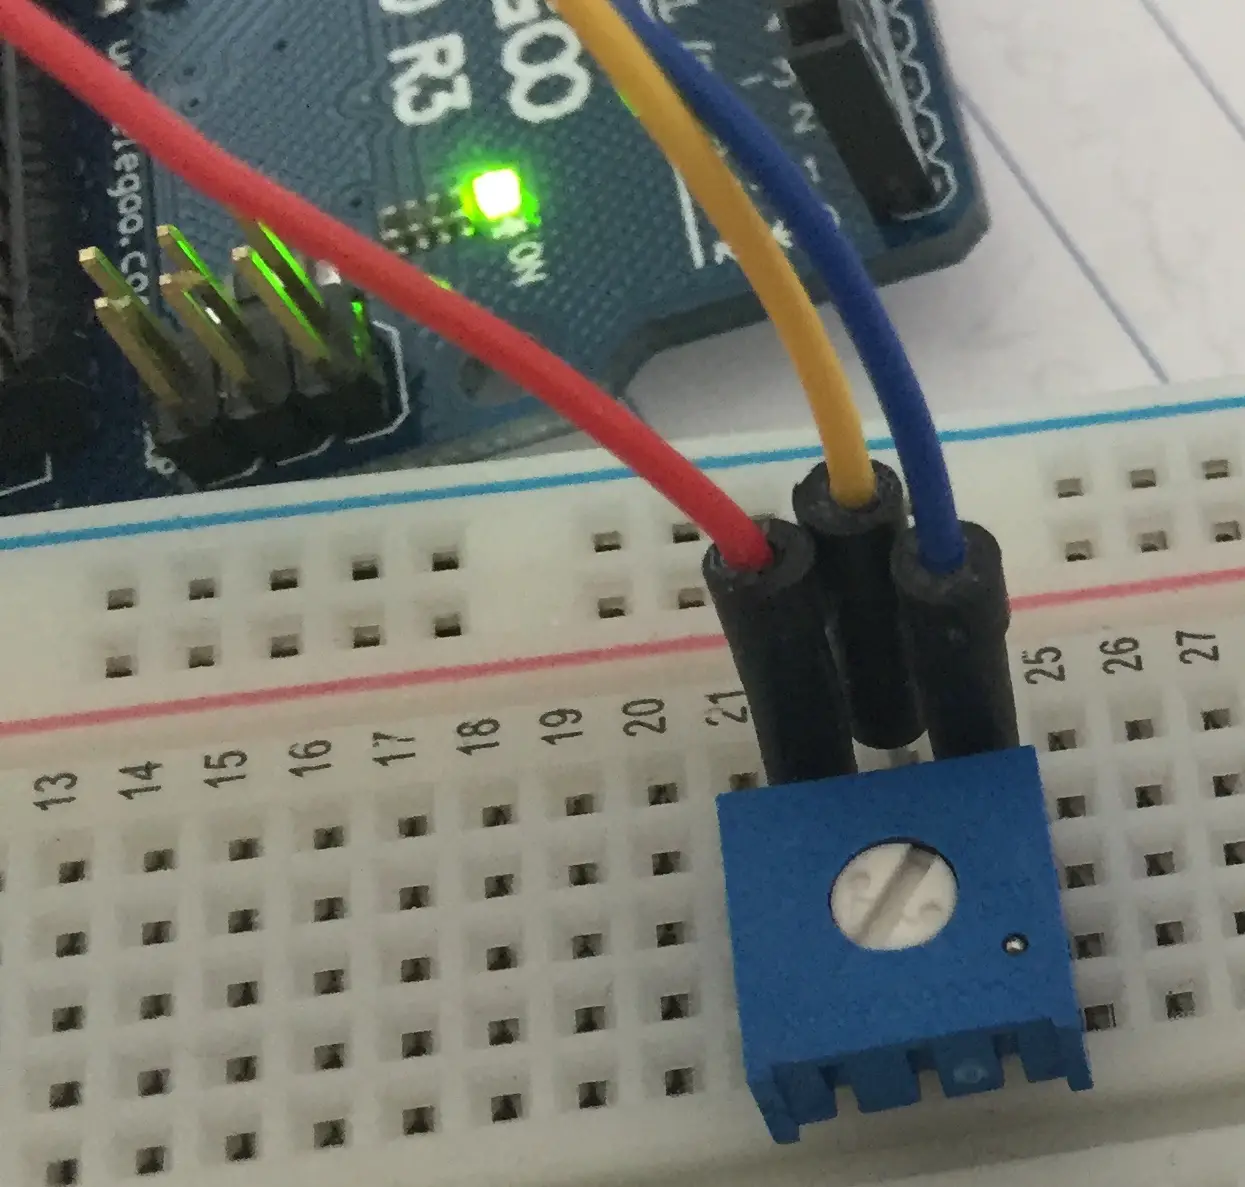
We wire a Potentiometer so that one end is connected to the +5 volt pin, the other end is connected to the Ground pin, and the middle pin (the wiper) is connected to analog pin A0.
There's a huge range of possible sensors and such that can be connected to an Arduino. This is one of the simplest, but as we go through the following Sketch imagine other possible sensors.
The wiring for this is easily accomplished on a simple prototyping breadboard. It was fortunate the surface-mount potentiometer I happened to have fit with the holes on the breadboard. Wired as so, a simple screwdriver is enough to adjust the potentiometer, and pin A0 will receive a variable voltage depending on where the potentiometer is turned.
The Sketch
Now let's look at how we read the analog data, and print to the serial console.
int sensorPin = A0;

void setup() {
  Serial.begin(9600);
}

void loop() {
  // read the value from the sensor:
  int sensorValue = analogRead(sensorPin);
  Serial.println(sensorValue);
  delay(1000);
}
The setup function simply initializes the Serial connection. We've set it to 9600 baud, so set the Console to the same data rate.
In loop we use analogRead to read pin A0 giving us an int from 0 to 1023. We print the value using Serial which goes out to the serial console as previously configured.
A call to delay keeps the data being printed at a reasonable rate.
You may want to convert the 0..1023 value into a voltage. We know from the circuit the value represents a voltage between 0 to 5 volts. Some division and conversions are required, which is an exercise for the reader.
A common application is to have multiple sensors, and a line-by-line output of data, with an easily generated and easily parsed format. For example a timestamp followed by several numerical values all separated by a space or tab character. The serial line outputting this data could be connected to another device that records the outputted data. There might even be commands sent to the device to cause relays to open or close. Arduino's are capable of this sort of thing.
Reference
-
arduino.cc Tutorial AnalogReadSerial -- Demo to read Analog values, printing to Serial
-
arduino.cc Reference Serial -- Documentation for the Serial object
-
arduino.cc Reference AnalogRead -- The analogRead function
-
arduino.cc Tutorial AnalogInputPins -- Tutorial on the Analog input pins


