David Herron
Tags: Windows »»»»
Upgrading an older computer with an SSD drive breaths a new life into the computer. I have upgraded several MacBook Pro's (2009 through 2012) and joyfully experienced a great performance improvement -- each felt like a new machine, even though we're talking a 6-8 year-old computer. Today the task is upgrading my girlfriends Windows laptop with an SSD drive. You know the story, it takes 2+ minutes to boot the system, and doing anything takes forever. We're hoping that an SSD drive will mean a huge experience upgrade. Fortunately the process is fairly simple, even though Windows does not have built-in migration software.
As it is that I'm coming at this from having done many Mac OS X system upgrades, I need to point out something. On Windows there is no built-in migration assistant. On a Mac, the process is to download the OS installer from the Mac app store, run a script to burn it to a thumb drive, attach the new disk to the computer using an external USB enclosure, boot off the thumb drive, install macOS to the new disk, swap the new disk into the computer moving the old drive to the enclosure, boot off the new disk, and then run the Migration assistant to copy over all files and applications to the new drive. Very simple, and using solely built-in Mac OS X software.
With Windows, the process is somewhat similar.
First step is the same, you install the new disk into an external USB disk enclosure. You plug it into the computer, and it might show up as a new drive depending on if it was pre-formatted.
The question at that point is - how to install Windows on the new drive, or how to copy the stuff on the old drive to the new. There isn't a built-in way to install the Windows OS to the new drive. You can install Windows from an installer, but that would then require a new Windows license key which is silly because you already have a license key that's perfectly good.
Partition Wizard
https://www.partitionwizard.com/free-partition-manager.html -- This application purports to be a powerful disk partitioning application, with disk cloning capabilities.
You install the application (it's free) and then run it. Using the application you first delete any partitions on the new disk (the SSD drive in the external enclosure). Leave the disk as fully unallocated. One trick with this application is that after making some changes (like deleting partitions) you must click the Apply button, because the changes are not actually performed until that button is pressed.
After that, you use the "Migrate OS to SSD" option to duplicate the disk setup onto the SSD. This mode is supposed to be straight-forward, and to completely duplicate the old drive onto the new drive.
Unfortunately I ran into some problems with this. Halfway through duplication the C: partition an error was shown, with Retry and Restart choices. Clicking Retry just returned to this error dialog. It explained that with the Restart choice, the system would boot into a special that will finish the duplication process. Apparently it was unable to duplicate the running operating system disk while it is running?
But once the computer went into this special mode, it claimed the disk setup had changed and it couldn't proceed. I went through this 2 times (or more) with the same result each time.
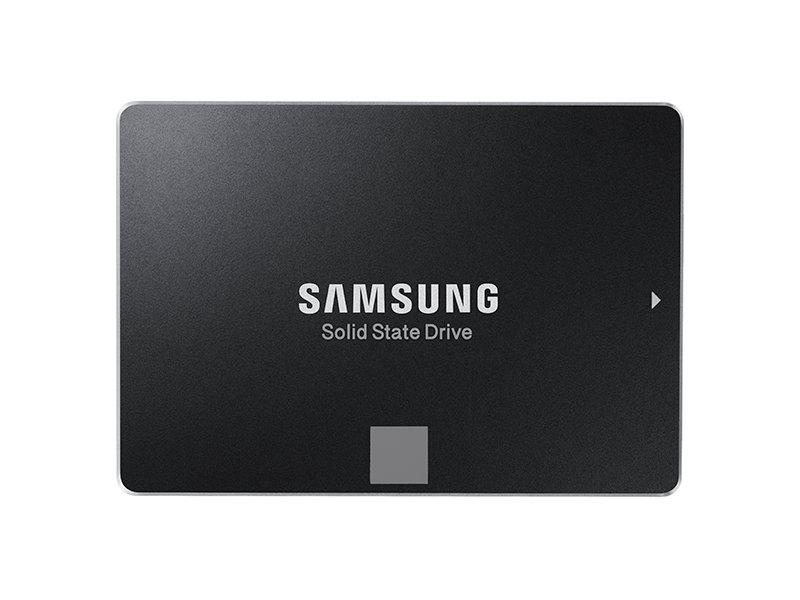
Fortunately, I chose to buy a Samsung SSD. According to reviews online, this seemed to be a very popular and reliable drive. What's important for this is that the drive came with a DVD with software including a Data Migration program.
Samsung Data Migration app
As I said, this came on a DVD with the Samsung SSD. Using it to migrate the drive was extremely simple.
With the new drive in the external hard drive enclosure and attached to a USB port, I ran the Samsung Data Migration app. It automatically detected the new drive and old drive, and basically you just click the START button and sit back for an hour. This computer did not have much on it, so there wasn't much for the app to copy. I did see a YouTube video of someone claiming this app took them 6+ hours to duplicate the drive, but in that case they apparently had lots of stuff on the computer.
Trading places -- swapping the new drive into the computer
After the data is migrated - with the tool of your choice - it's time to install the new drive. Simply remove the old drive from its current location, and put the new drive in its place.
Of course the details for that are completely vague because I don't know what hardware you have and the steps involved. In my case, we had a Dell something-or-other that used a hard drive caddy. You simply unscrew the screws holding the drive in place, slide the drive out, move the caddy to the new drive, then slide the new drive in place. Very simple and straight-forward.
I did need to remove the bottom of the case to aid with sliding the drive back in. Even that is simple and straight-forward.
Then - nothing magic - you boot the machine and notice how quickly it reboots.
The other thing to do is install the Samsung Magician software off the DVD drive. It's also available on Samsung's website. This automatically tracks S.M.A.R.T. status, enables TRIM mode, and includes a performance benchmark. The benchmark said read and write speed was over 500 MB/second which is excellent.
A small nitpick
The Partition Wizard showed 4 partitions on the original drive. One was marked Recovery Partition.
Using the Samsung Data Migration tool, there were 2 partitions, a small one and a very large one. I don't kow enough to tell whether the Recovery Partition was moved over. How do I tell?
Hardware observation
At the top I said some great things about Mac OS X and that it includes built-in migration tools. That's wonderful, and there are many other wonderful things about Mac OS X.
One of the not-so-wonderful things is the repairability of Mac hardware. Apple is making it harder and harder to do anything with the hardware. They use specialized screws, specialized highly integrated hardware pieces and more. It means they can deliver amazingly thin and light computers, but also that those computers are a bear to take apart and repair.
Apple has begun soldering memory to the logic board, gluing batteries into the case, and more. How are we supposed to fix our computers if they break? Oh, Apple wants us to buy new computers instead of repair them. Well, sorry Apple, that's not for me.
By comparison the two Windows laptops I've dealt with were a joy to maintain and upgrade. In both cases the manufacturers publish excellent in-depth maintenance manuals that show how to completely disassemble the computer and replace any part. And, the process to do so is very straight-forward. No specialized screws, the parts are easily accessible, and so forth. WiFi for example is an M.2 card rather than being tightly integrated to the board.
The downside to this is each of those Windows laptops are heavier and thicker than typical Mac laptops. All that tight integration Apple is doing comes at the cost of unrepairability.


