David Herron
Tags: Raspberry Pi »»»» VNC »»»» Remote Desktop »»»»
Connecting to a remote computer is very powerful, because you can access remote files, remote applications, and so forth. Those of us building home automation or other Internet of Things devices sometimes install those devices at a remote location behind a NAT firewall, and then need to access the computer's desktop environment. For example, I have a Beaglebone Black at a remote site over 3000 miles away, and needed to run Firefox on the BBB to access some things. It's not feasible to go to the device in person, therefore the question is how to access the remote desktop. VNC is the primary choice for this purpose. It has a lower bandwidth requirement than running X11 over the Internet, plus you avoid the complexity of installing an X11 server on Windows or Mac. Simply install a VNC client, instead. The key hurdle is getting past the NAT router.
Set up a VNC server
On the BeagleBone Black or Raspberry Pi or an Ubuntu desktop run this to install tightvncserver (
http://www.tightvnc.com/). The website has binaries for other systems like Windows.
$ sudo apt-get install tightvncserver
Depending on your system you may need to do this instead:
sudo apt-get install xorg lxde-core lxde-icon-theme tightvncserver
This command ensures an X11 server is installed along with the lightweight LXDE desktop environment.
Next we set up a tightvncserver configuration as so:
$ tightvncserver :1
The string :1 is a display number, and can be any number you like. It will ask you for a password for remote clients.
When you're done, the VNC server session can be killed this way:
$ tightvncserver -kill :1
From there starting the server just requires:
$ tightvncserver :1
Set up a VNC client
For the next step we need a VNC Client. There's a large variety available, even for mobile devices. Put "VNC Client" into the application store for your computer. A key for this particular task is ensuring the VNC client can run over an SSH tunnel, or even includes SSH tunneling capability.
I used ChickenOfTheVNC which is a good free VNC client for Mac OS X. Go to:
http://chicken.sourceforge.net/ ... which lands you at: https://sourceforge.net/projects/chicken/
The TightVNC team have a client program Remote Ripple (which seems to not support SSH tunneling) at
tunes.apple.com ru app remote-ripple and play.google.com store apps details id=com.glavsoft.rrviewerpro
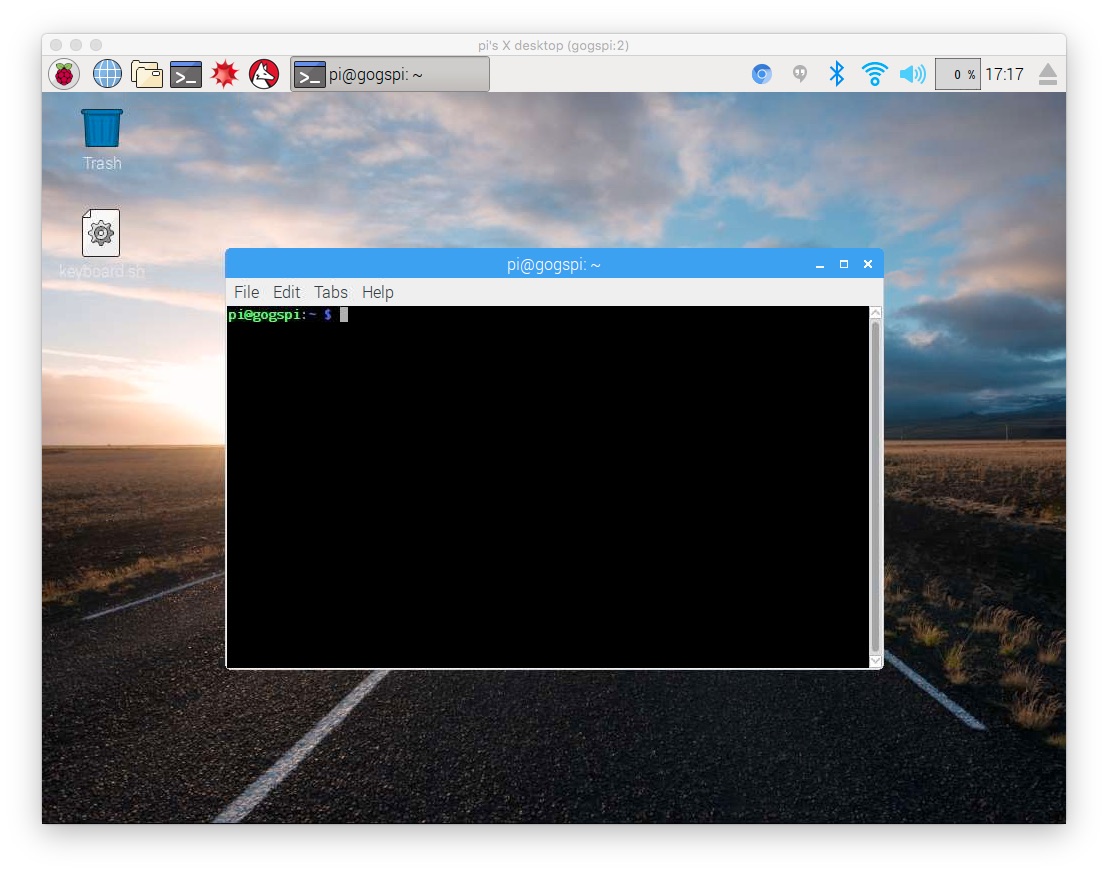
Testing the VNC server locally
The first thing is to test a local connection. Run the tightvncserver on your target computer as above, then run the VNC client on your client computer.
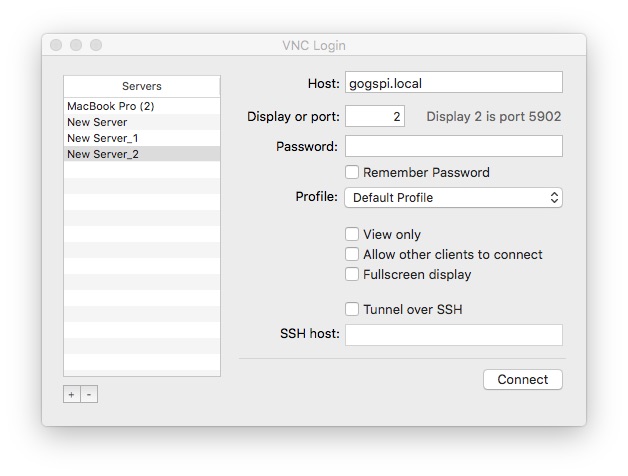
The connection setup details will vary a bit from client to client. In ChickenVNC it asks for the hostname (or IP address) of the target computer. In others it will as for a URL like vnc://IP-ADDRESS:portNumber. In this case I started tightvncserver on display number 2, which corresponds to port number 5902, as shown in the ChickenVNC window.
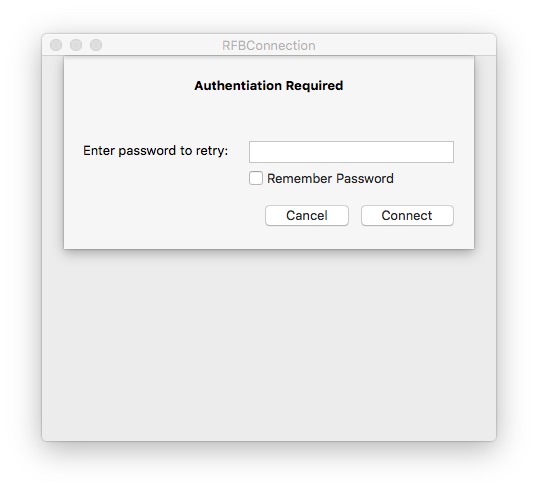
It then asks for the password.
And then voila, a desktop for your remote computer shows up. This should work relatively well since it's all on the local network.
Congratulations, if you got this far you have successfully set up VNC server and client. It's time to take this to the next level and enable a remote VNC connection.
SSH'ing into a remote computer behind a NAT router
The next step is a little complex if only because the various NAT routers do this in infuriatingly different ways.
A NAT router is what keeps your home network relatively safe. "NAT" stands for Network Address Translation. It's the feature that assigns a local network address for devices on your home network, without having to assign IP addresses from a global pool. A NAT router instead maintains a local network such as 192.168.1.NNN from which it hands out IP addresses to local devices. The NAT router then translates network addresses between the ones it assigned locally to IP addresses on the Internet.
In other words, NAT routers perform a bit of magical subterfuge. Local devices aren't directly connected to the Internet. The connect instead to the local WiFi router. The NAT router connects to the Internet instead.
Most importantly, NAT routers allow devices on its local network to connect OUT to the Internet, but they do not allow outside devices to connect IN to devices on the local network.
This is great for the typical use-case of people browsing the Internet. They simply turn on their device, connect to the local WiFi, and start browsing.
In this project we're doing the opposite. We want a computer outside our local network to connect to a VNC session on a computer on our local network. To do this we must do a bit of virtual tunneling.
Opening ports on the router
Most NAT routers (a.k.a. WiFi routers) let you set up port forwarding. This means a port will be open on the public side of the router, and any connections to that port will be connected to a port on a computer on the local network.
In other words -- we want to support an SSH connection to a local computer. We want the router to have a public port that then connects to the SSH port on the target computer. Additionally, the public port probably should not be on the standard SSH port (port 22) because miscreants have scripts scanning for open SSH ports to try and hack into remote computers.
In the admin area of your router, hunt around for the port forwarding section. Define a connection with these characteristics:
- Public TCP port number 2222
- Private IP address matching your local computer
- Private TCP port number 22 (for SSH)
With that setup, any connection to port 2222 of your public IP address will go to port 22 on the local computer.
At this point it is also useful to have a fixed IP address for your home network, or to use a Dynamic DNS service. Otherwise, your public IP address will be reassigned at the whim of your internet service provider and you'll always have to check what's your current IP address. Setting up fixed IP addresses or dynamic DNS is beyond our scope. (I have a fixed IP address thanks to the geek-friendly service at
sonic.net)
The next step is taking your laptop computer to a remote place, and SSH'ing into the target computer. Like:
$ ssh -l YOUR-USER-NAME -p 2222 YOUR-PUBLIC-IP-ADDRESS
If all went well, you should be able to log in using SSH.
Connecting to the remote VNC -- SSH tunneling
In the previous step you could have opened up the VNC port (port 5901) to forward to your computer. You would then connect the VNC client to YOUR-PUBLIC-IP-ADDRESS and voila have the VNC session. But, that leaves you vulnerable to security intrusions if VNC security is weak.
Instead we can make an SSH tunnel. Connecting the VNC client through an SSH session means it is encrypted and has other strong protections, especially if you use password-less SSH. SSH tunnels are extremely useful, for example it's fairly easy to remotely access a MySQL server with an SSH tunnel:
davidherron.com book-page 4-using-ssh-or-putty-remotely-access-mysql-server
An SSH tunnel sets up a port on the local computer that connect through to a port on the remote computer, passing data back and forth seamlessly.
The command looks like this:
$ ssh -l YOUR-USER-NAME -p 2222 -L5901:localhost:5901 YOUR-PUBLIC-IP-ADDRESS
It's the same as above except for the -L5901:localhost:5901 parameter. This is where the SSH tunnel is described. The 5901 in this case corresponds to the port number for the VNC session, so adjust this as appropriate.
Once you've done this, you tell the VNC client to connect to localhost on port 5901.
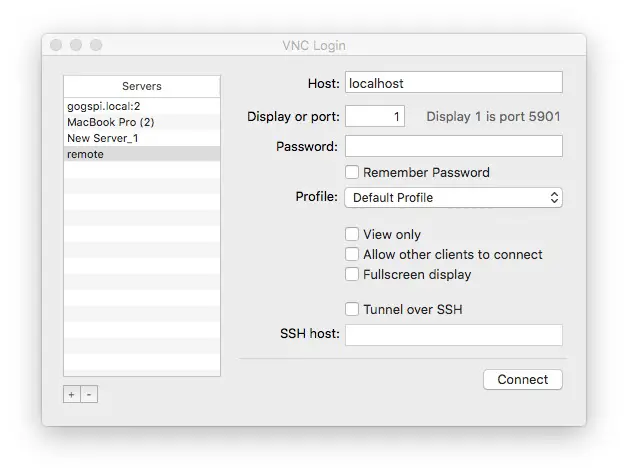
You specify the remote connection as so. The connection is named remote but it connects to localhost on port 1.
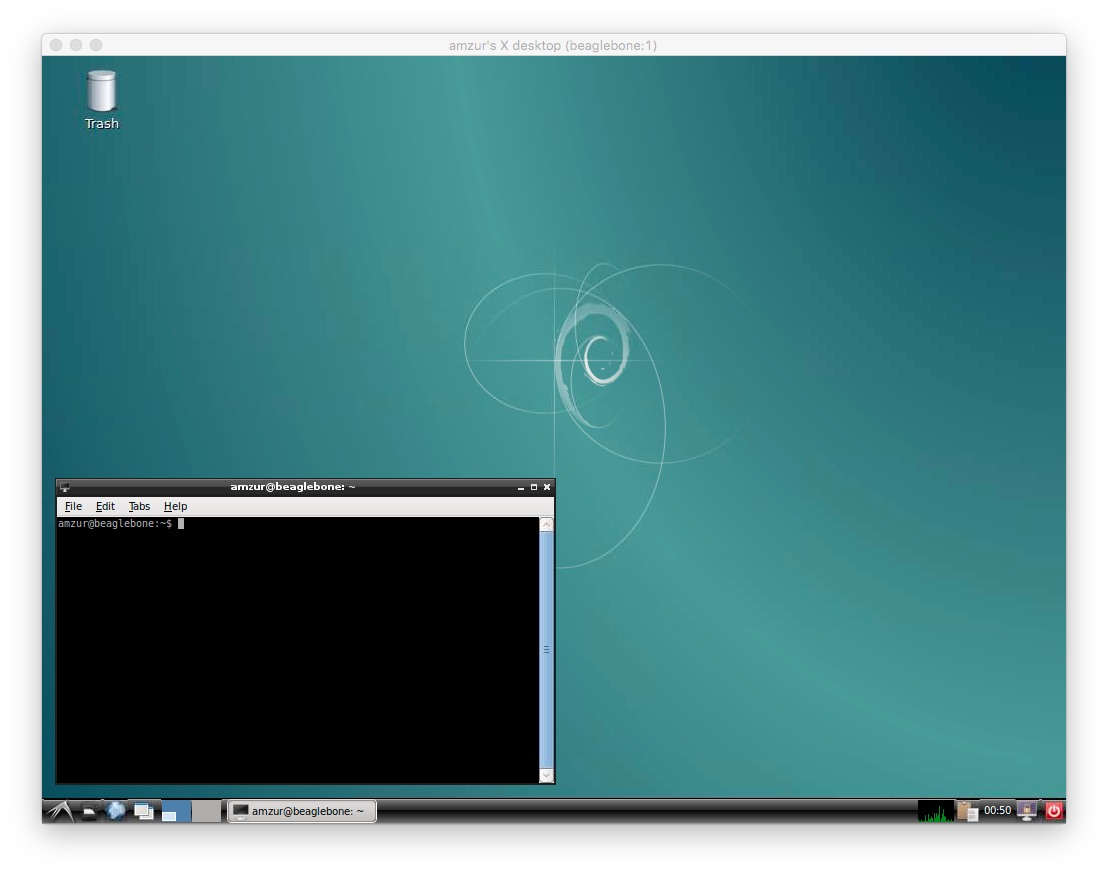
And then voila, it connects to the remote computer. In this case a remote BeagleBone Black sitting behind a firewall.
Unfortunately throughput is very slow. But we must remember that we can even do this is, by itself, amazing.


